
DIY / Furniture
Wobbly Chairs and Scratching Legs: Tighten + Felt Pads
Wobble may come from a loose accessible fastener, cracked part, failed glued joint or stripped insert. This guide covers a cautious fastener check and felt-pad installation only for an otherwise sound domestic chair.
Quick answer
How do you fix a wobbly chair?
Inspect first. If every part and joint is sound, follow the maker's sequence and hand-tighten accessible fasteners with the correct tool. Fit floor-compatible pads to clean, dry leg ends. Stop for cracks, stripped inserts, loose glued joints, bent legs or continuing wobble.
Otherwise sound domestic chairs with accessible maker-documented fasteners / Compatible hard floors when the felt-pad maker permits the surface
Chairs with cracked wood or metal / Glued joints that are separating / Furniture with stripped screw holes / Chairs of unknown load rating or condition / High chairs or safety-critical seating
What you need
What you need
Use the supplied or an already-owned correctly fitting hand tool. Choose pads sized for clean, dry leg ends and approved for the floor. Verify the cited UAE retailer price before buying.
- Difficulty
- Easy
- Active time
- 10–15 minutes per chair
- Total time
- 20 minutes for two to three chairs
Allen key set or hex key set
1 set (or individual keys matching your furniture)
Screwdriver set (flathead and Phillips)
1 set
Self-adhesive felt pads
One correctly sized pack
Clean, dry cloth
1
Typical UAE retail ranges. Prices vary by pack and store, and your total is lower when you already own the reusable tools.
Step by step
How to Fix Wobbly Chairs and Scratching Legs
Inspect, adjust, then test the empty chair.
-
Step 01
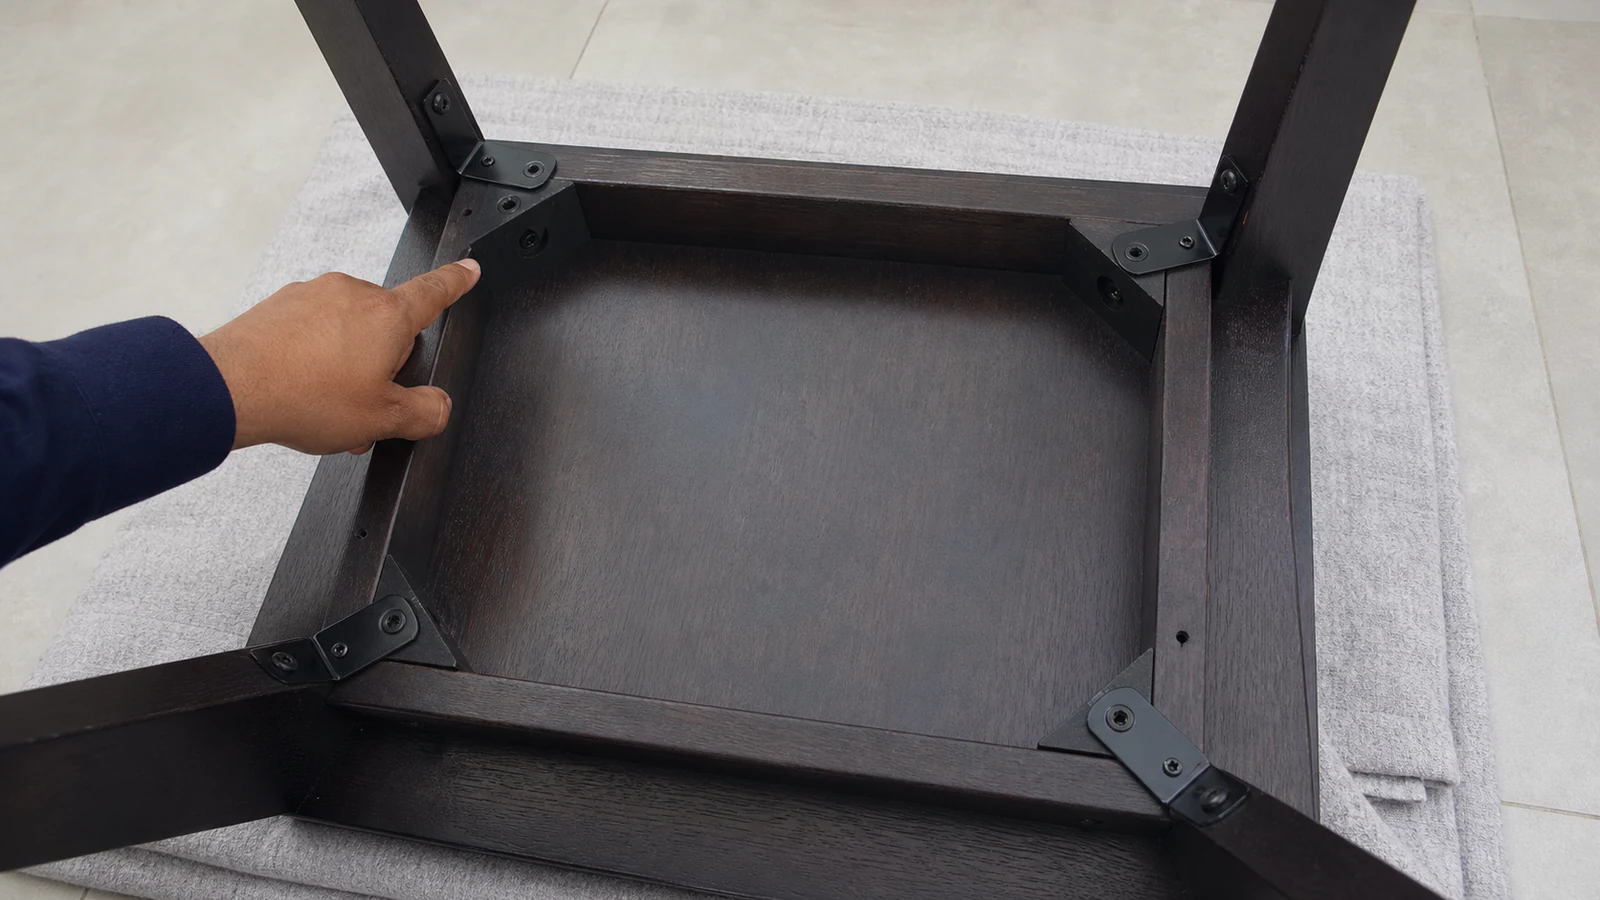
Locate and inspect all fasteners
Support the chair upside down. Inspect visible fasteners, legs, stretchers and joints. Stop for cracks, gaps, bent parts, loose glued joints or stripped inserts. Note each sound accessible fastener's type and size.
-
Step 02
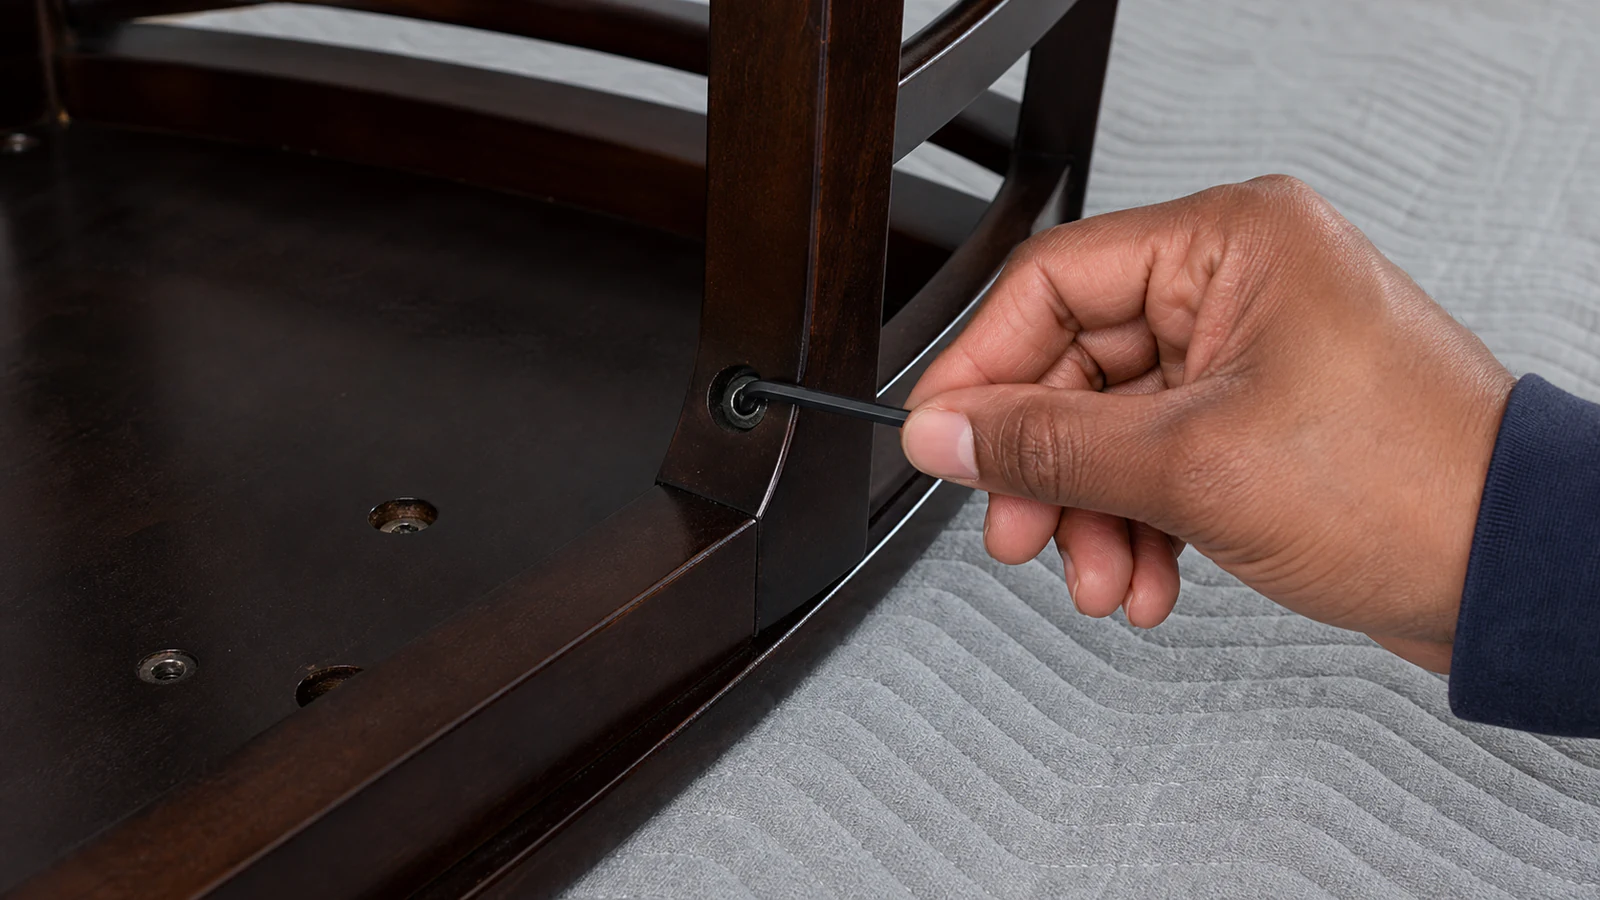
Select the correct tool for the first fastener
Seat the Allen key or screwdriver fully in the fastener. Do not force it. Confirm a snug fit and stop if the head grinds, slips or is damaged.
-
Step 03
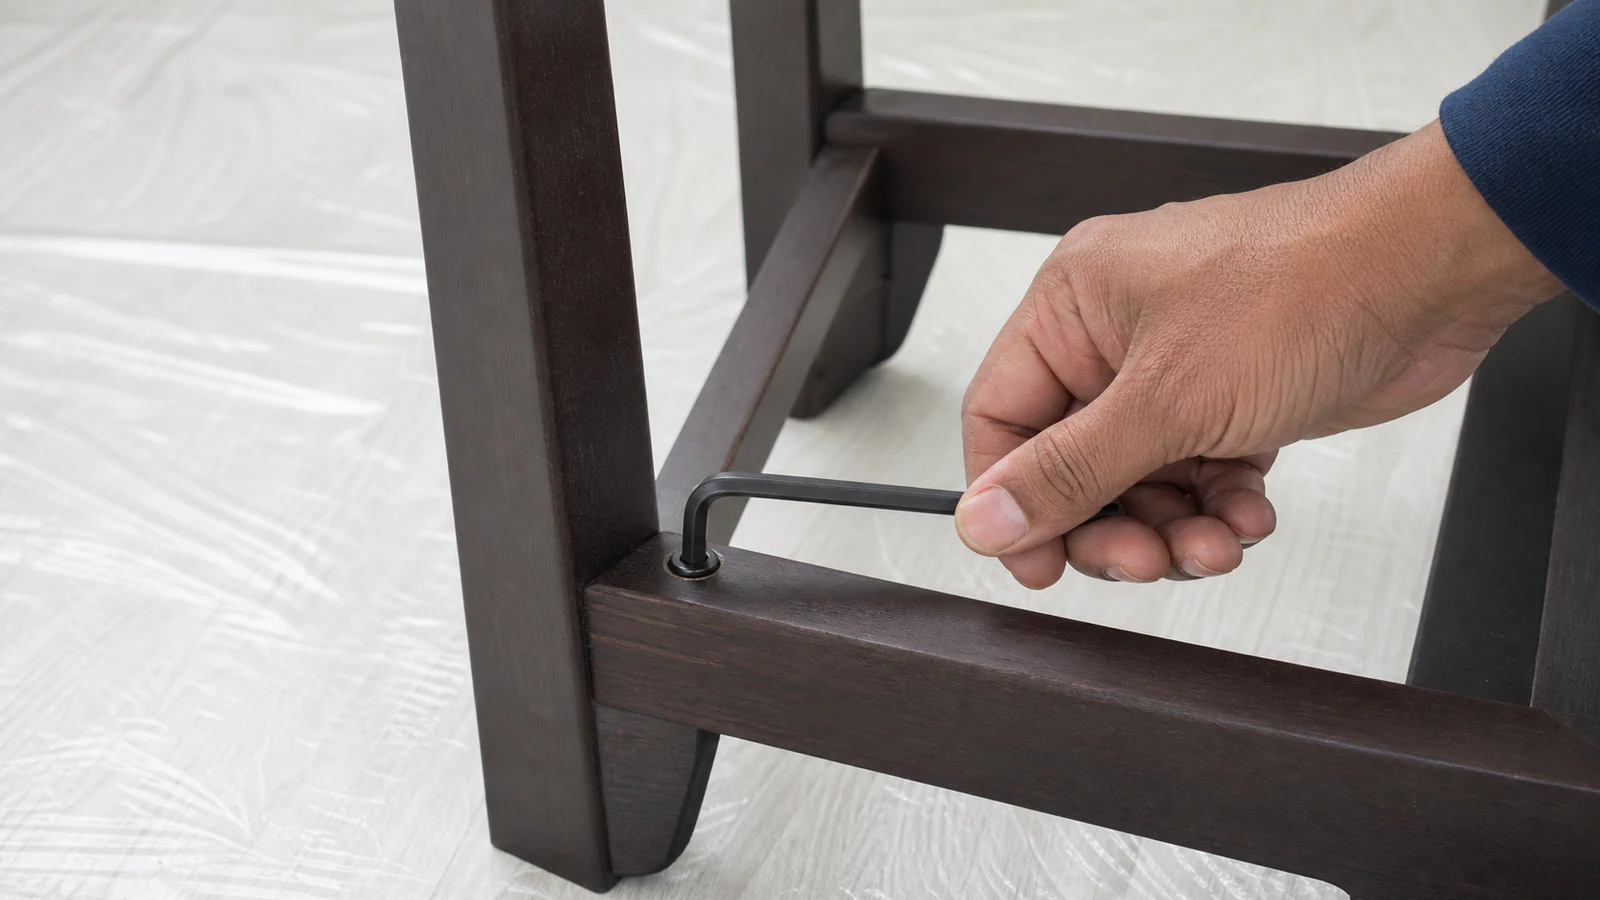
Tighten fasteners using hand pressure only
Turn slowly by hand and stop at firm resistance or the maker's stated torque. Never use a powered driver. Stop if the joint twists, gaps or remains loose.
-
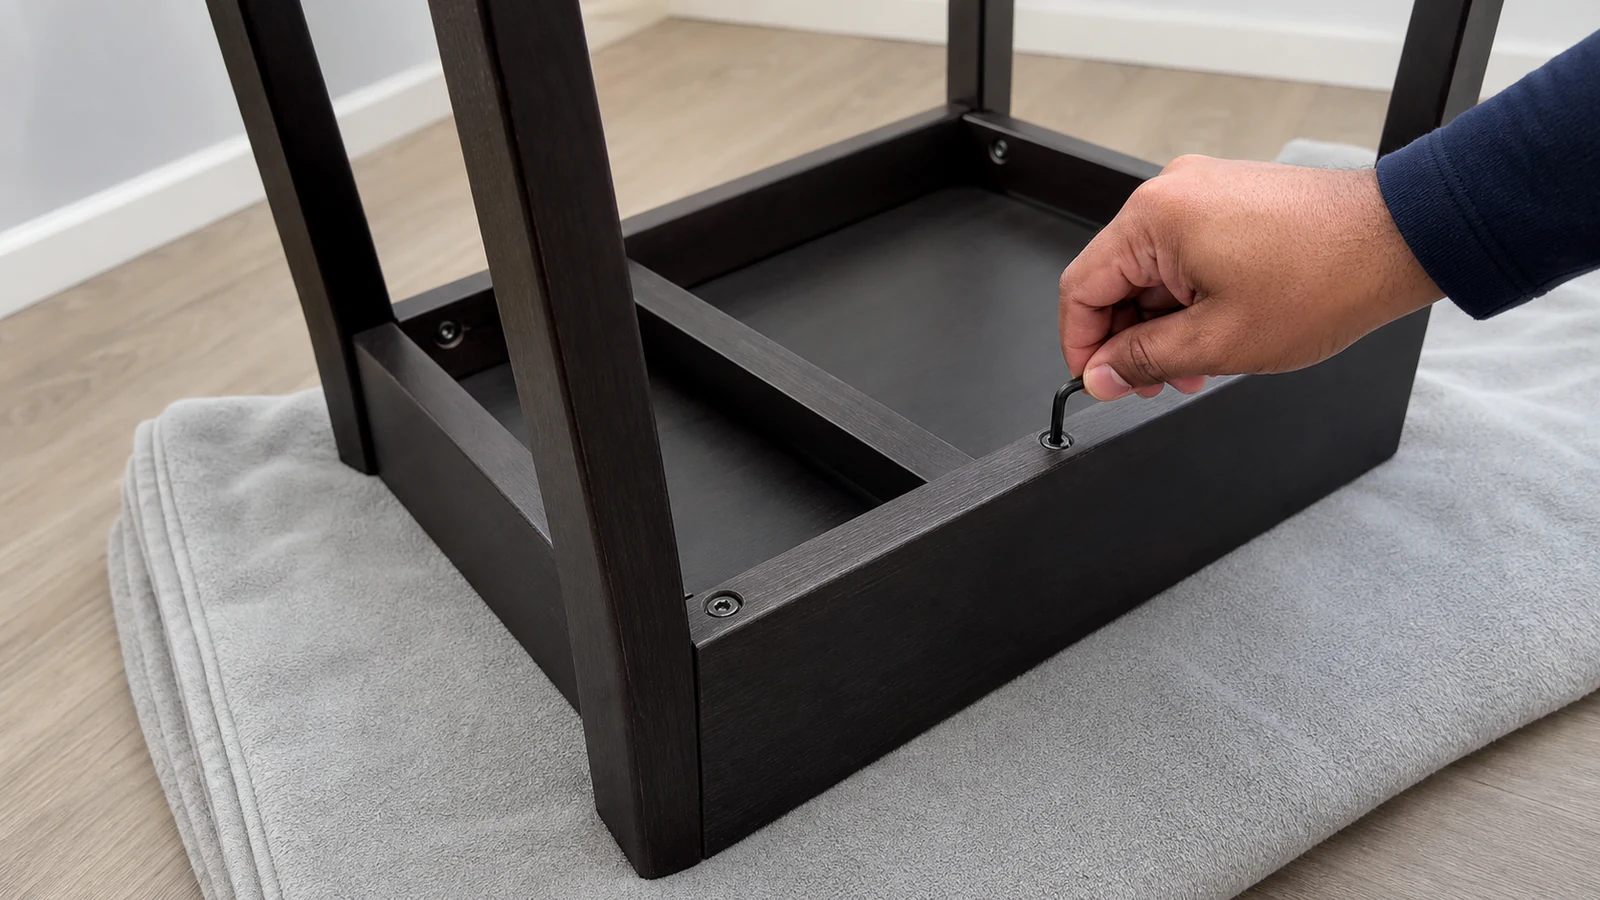
Step 04
Repeat for all other fasteners on the chair
Follow the maker's order and torque. If none is documented, make only small, even hand adjustments to clearly loose accessible fasteners, checking alignment after each. Leave seized or damaged hardware alone; stop for gaps, twisting or looseness.
-
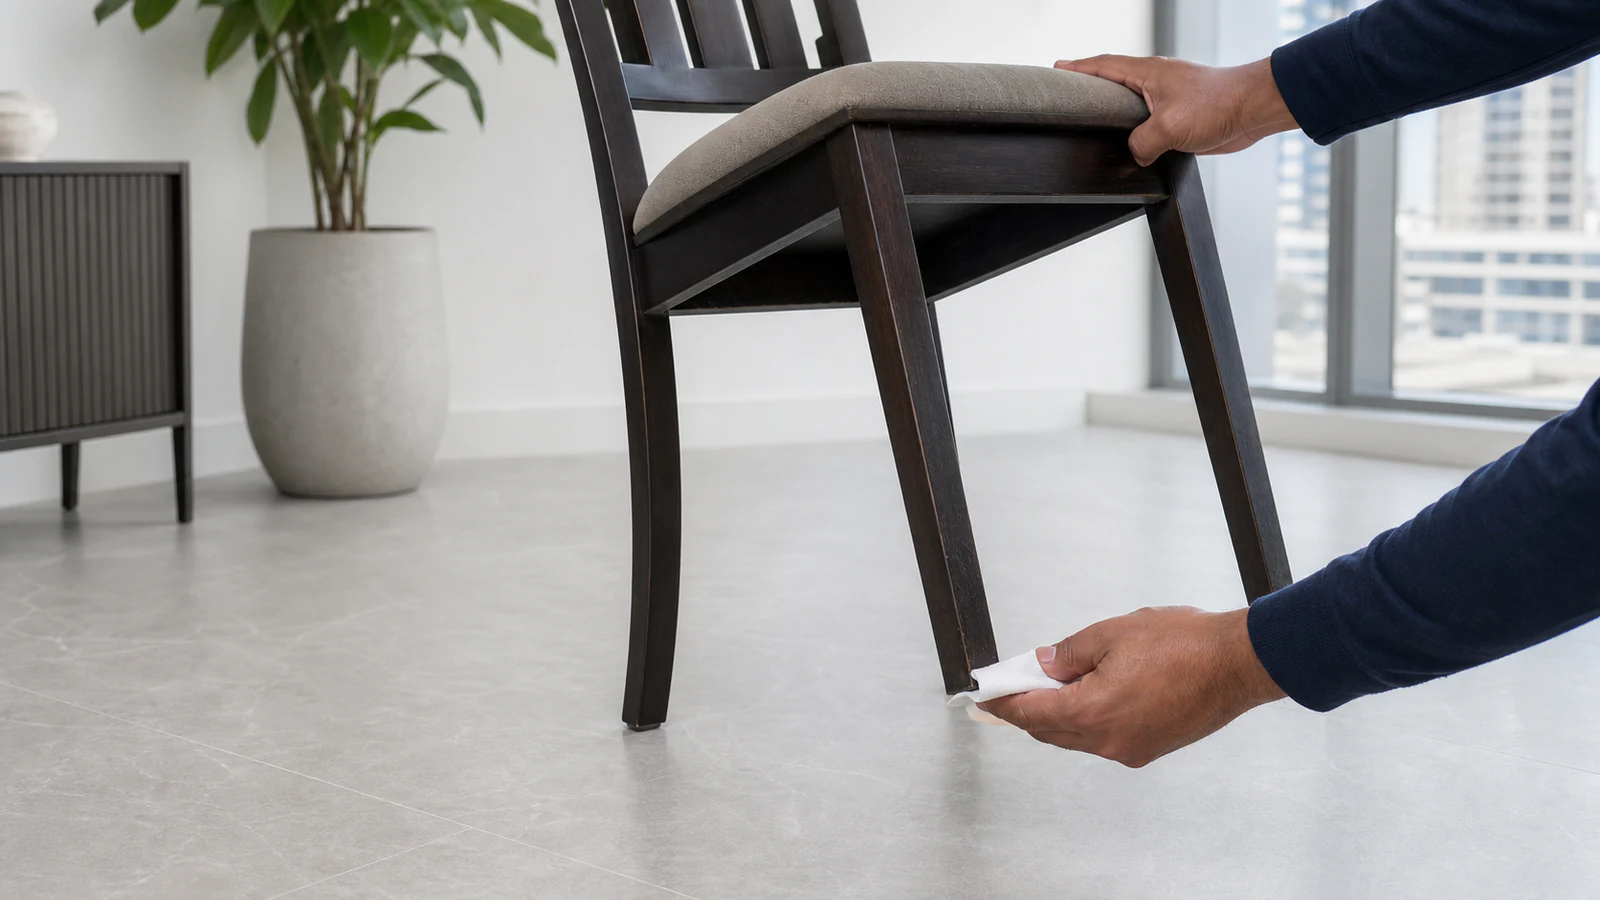
Step 05
Clean the underside of each leg
Turn the chair upright. Wipe each leg end with a dry cloth until clean and grit-free so the approved pad can adhere.
-
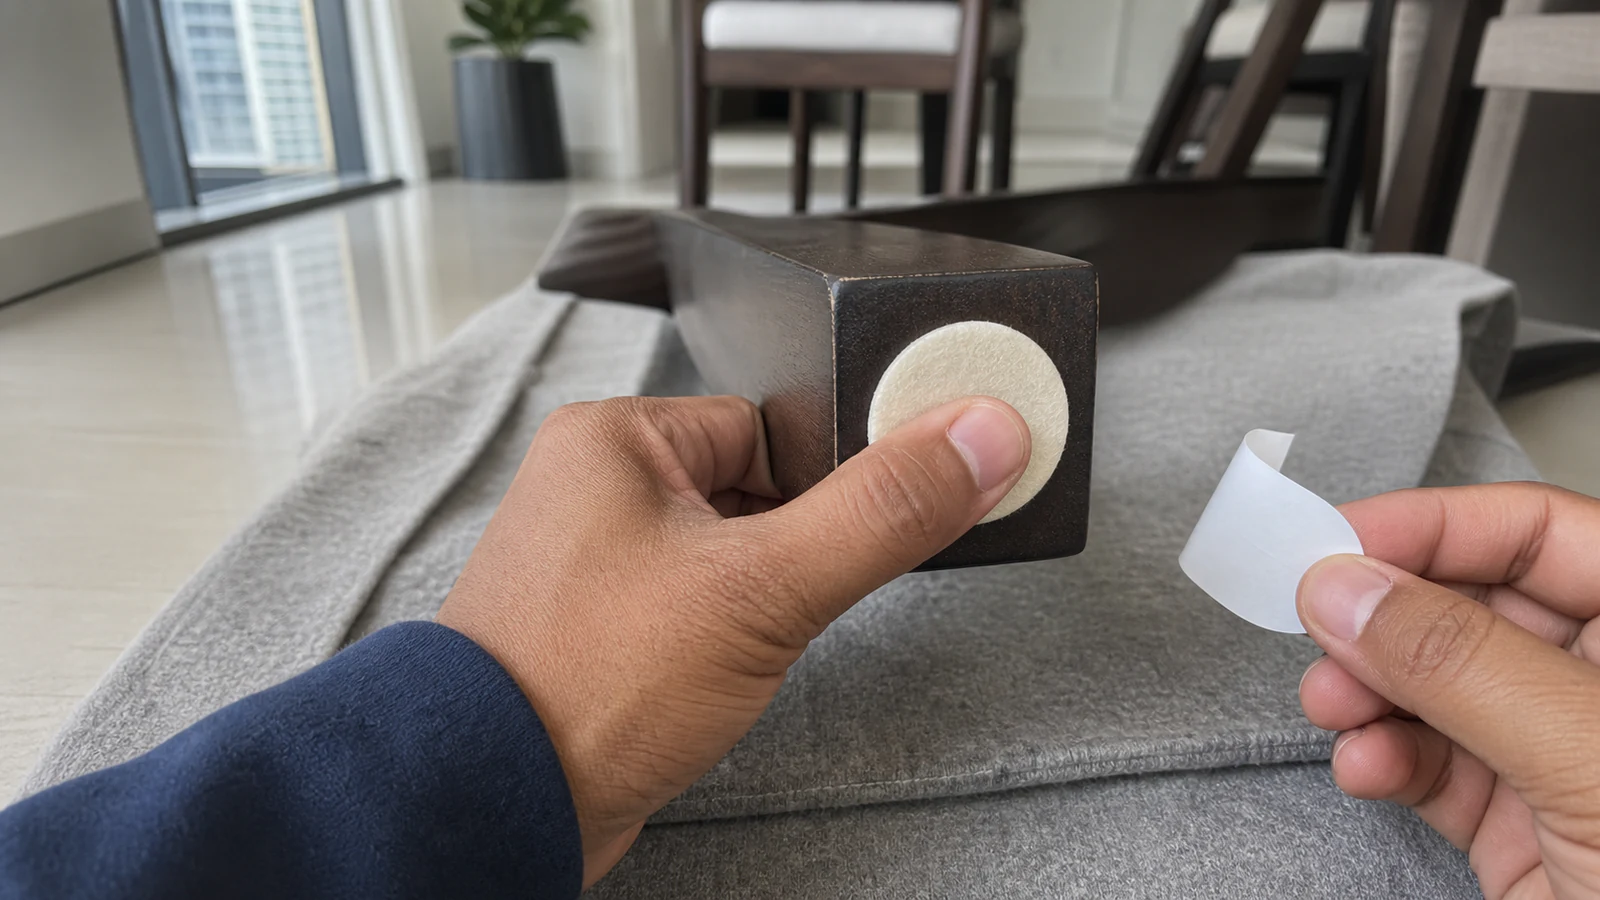
Step 06
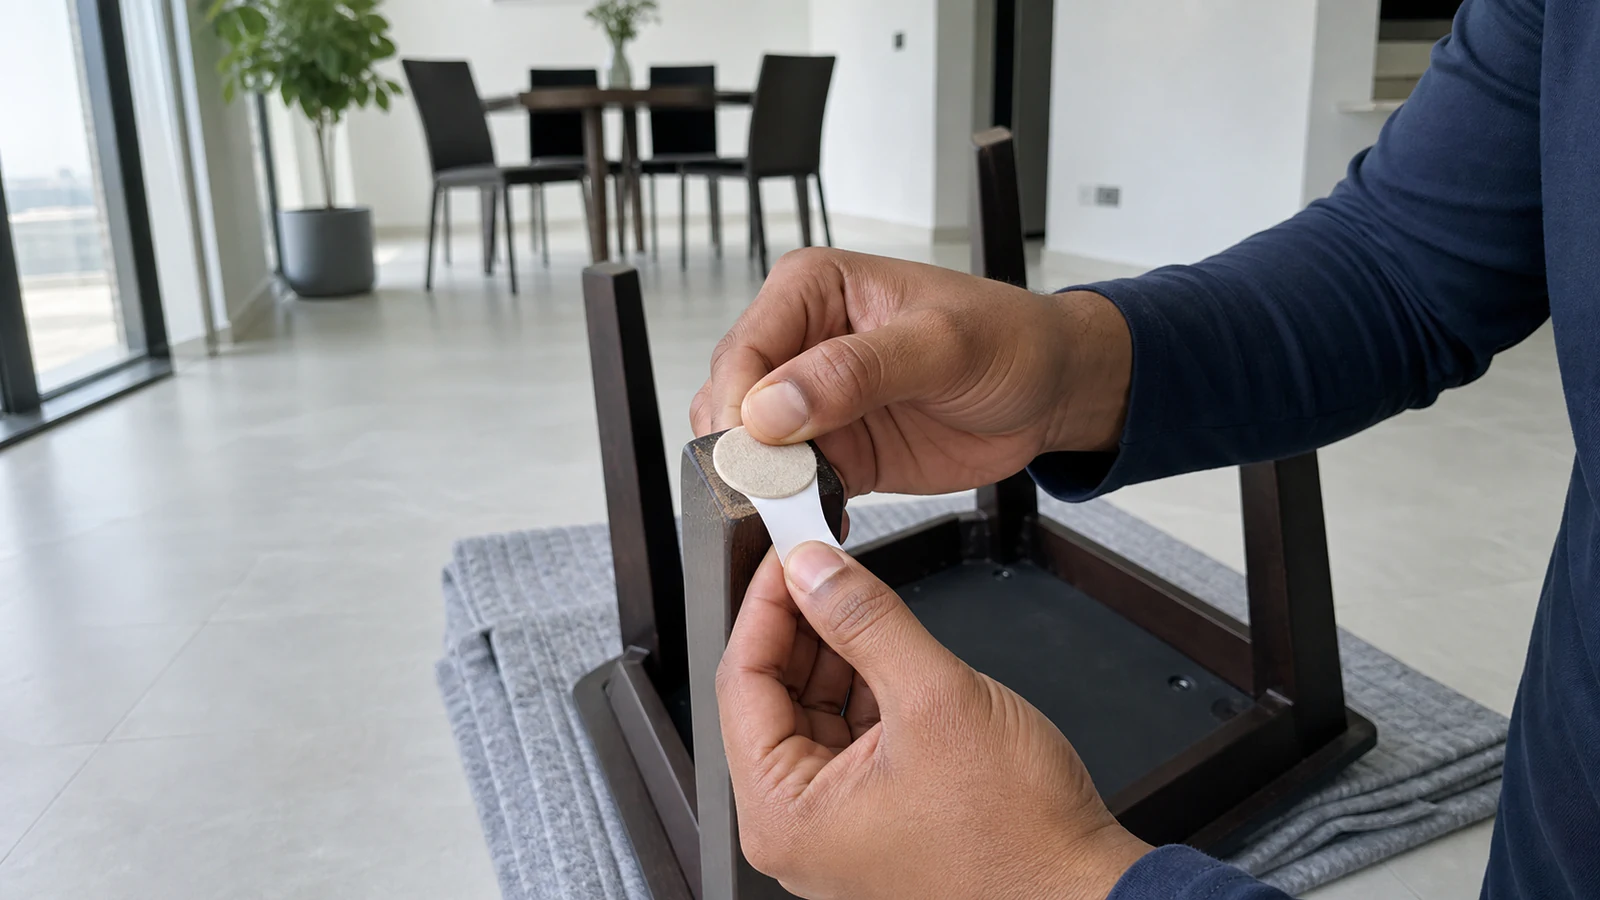
Peel and apply the felt pad
Follow the pad label. Centre the correctly sized pad on the dry leg end, leave its edges within the footprint and press for the labelled time.
-
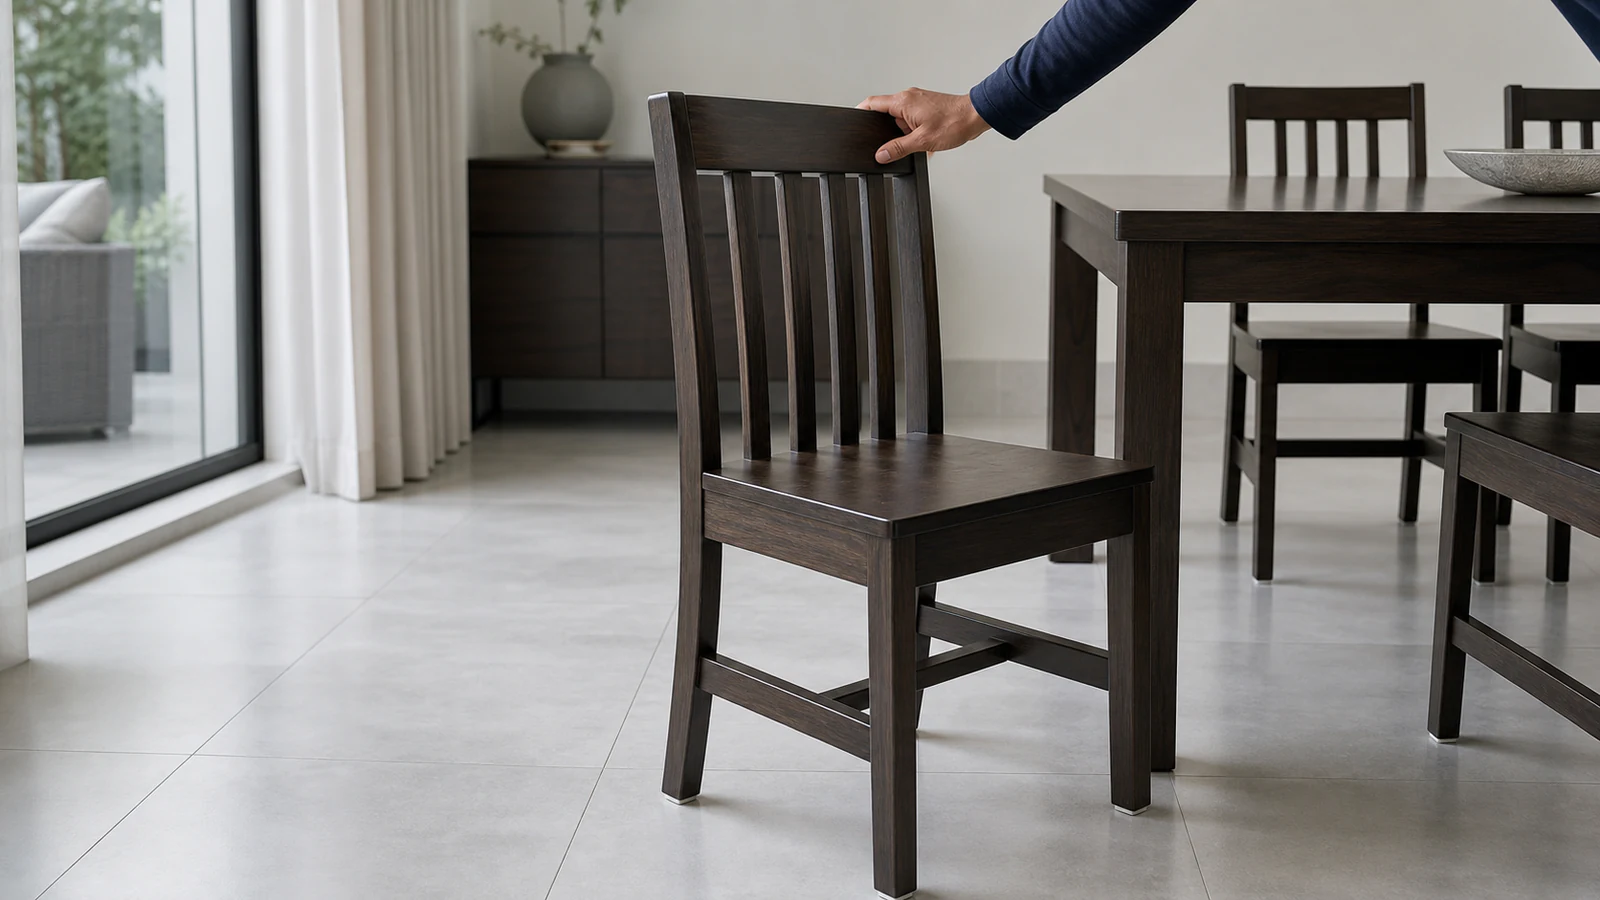
Step 07
Apply felt pads to all remaining legs and test
Repeat on every leg. On a level floor, test the empty chair from beside it by gently pressing seat and back. Do not sit until it is level with no joint movement. Remove it from use if wobble remains.
Quick answers
Frequently asked questions.
Do felt pads really protect floors?
Correctly sized felt pads can reduce direct contact with compatible hard floors, but they are not a structural repair. Inspect them and replace them when they shift, wear through or collect grit, following the pad maker's instructions. Never use pads to level or disguise a damaged chair.
How often should you tighten flat-pack furniture?
Use the interval in the chair's assembly or maintenance guide, and inspect whenever it moves, rocks or squeaks. There is no universal schedule or tightening sequence. Stop for a high chair, unknown load rating, cracked part, loose glued joint or wobble that remains after documented adjustment.
What if a fastener is already stripped?
Stop using the chair. A spinning fastener or stripped insert needs the correct replacement part or a maker-approved repair. Do not pack the hole with toothpicks, matches or glue; that can hide weakened material without restoring rated strength. Seek professional repair when the maker provides no procedure.
Sources and review notes
- IKEA: Repairing a Wooden Chair - Furniture-maker guidance starts with inspection, limits tightening to sound joints and directs replacement when a joint cannot be secured.
- 3M Scotch Custom Fit Felt Pads - Manufacturer information defines intended furniture and hard-floor uses for self-adhesive felt pads.
- IKEA UAE: TRIXIG Stick-on Floor Protectors - Current UAE product page supplies the cited price and instructs users to clean the surface before fitting and replace worn pads.