
DIY / Furniture
Scratches on Wood Furniture: Marker, Wax, or Filler?
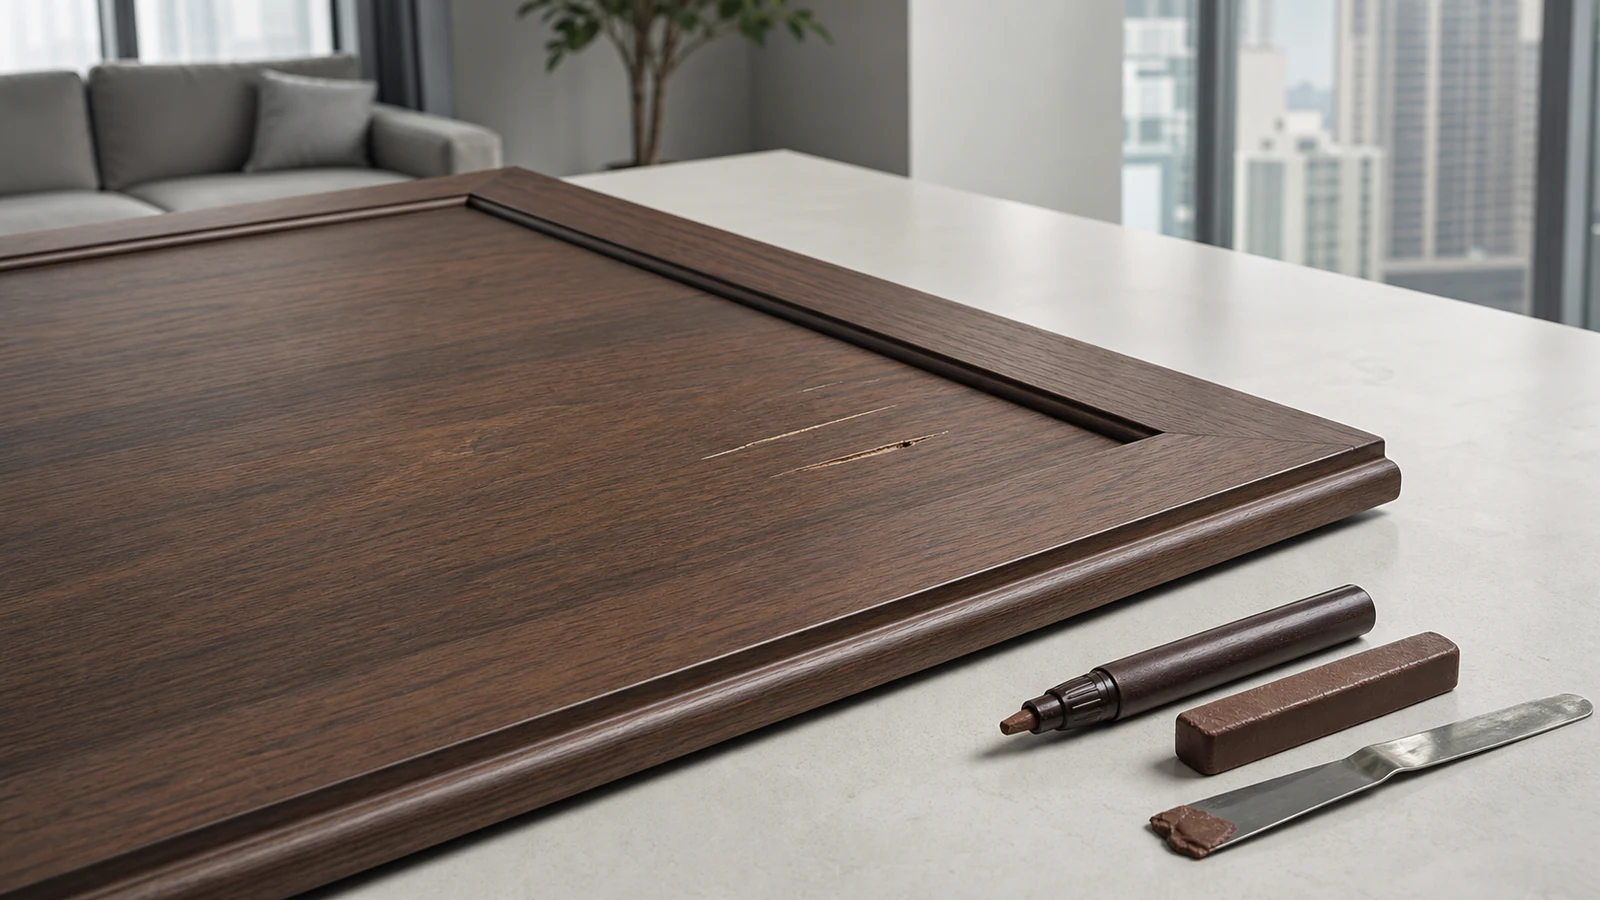
Minor furniture scratches can sometimes be camouflaged without refinishing. Match any marker or wax to the identified substrate and finish. Use filler only within an approved solid-wood repair system; deep, structural or valuable pieces need a specialist.
Quick answer
What is the best furniture scratch repair marker?
Identify the substrate and finish carefully first, then choose a compatible maker-approved marker or wax. Test it on a hidden area and wait the full labelled dry time. Deep damage, lifted veneer, loose joints or valuable furniture needs a specialist.
Identified solid wood with a stable compatible finish / Wood veneer or laminate only when its maker approves a surface marker or wax / Factory-finished cabinets only with a compatible touch-up system / Wooden doors and frames with cosmetic surface scratches
Thin veneers (risk of penetration) / Lacquered finishes (marker compatibility uncertain) / Food-contact surfaces (unless product approved) / Structural cracks or split wood / Antique or valuable furniture (seek specialist advice)
What you need
What you need
Identify solid wood, veneer or laminate and its finish first. Use marker or wax only when permitted. Filler and sanding require a compatible labelled system on suitable solid wood.
- Difficulty
- Easy
- Active time
- 5–10 minutes
- Total time
- The product label's full dry or cure time
Wood touch-up marker (colour-matched to furniture)
One pen
Wax filler stick (colour-matched)
One stick
Wood filler compound (two-part or water-based)
One container
Putty knife or plastic scraper
One 25–50 mm blade
Fine-grit sandpaper (220–400)
One sheet
Soft cloth or cotton pad
One piece
Matching wood stain or marker (optional, for filler)
As needed
Typical UAE retail ranges. Prices vary by pack and store, and your total is lower when you already own the reusable tools.
Step by step
How to repair scratches on wood furniture
Match the method to the identified surface and damage depth.
-
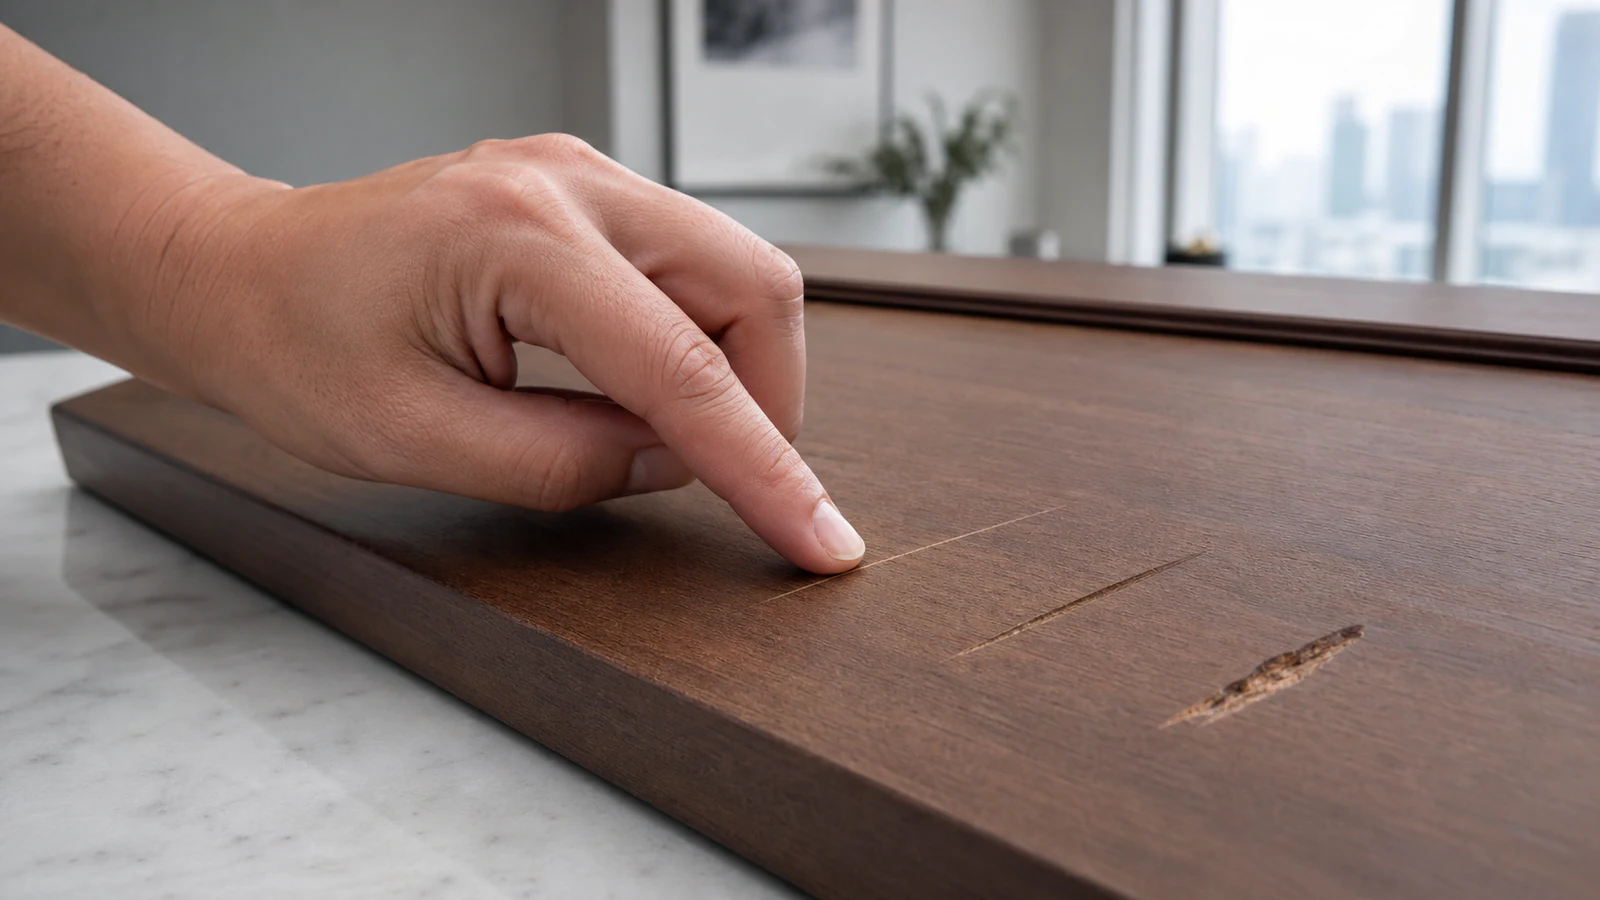
Step 01
Assess the scratch depth and finish type
Identify solid wood, veneer or laminate and its finish from maker information. Examine without scraping. A shallow stable scratch may accept compatible marker or wax. Stop for lifted veneer, a deep split, loose joint, unknown finish or valuable piece.
-
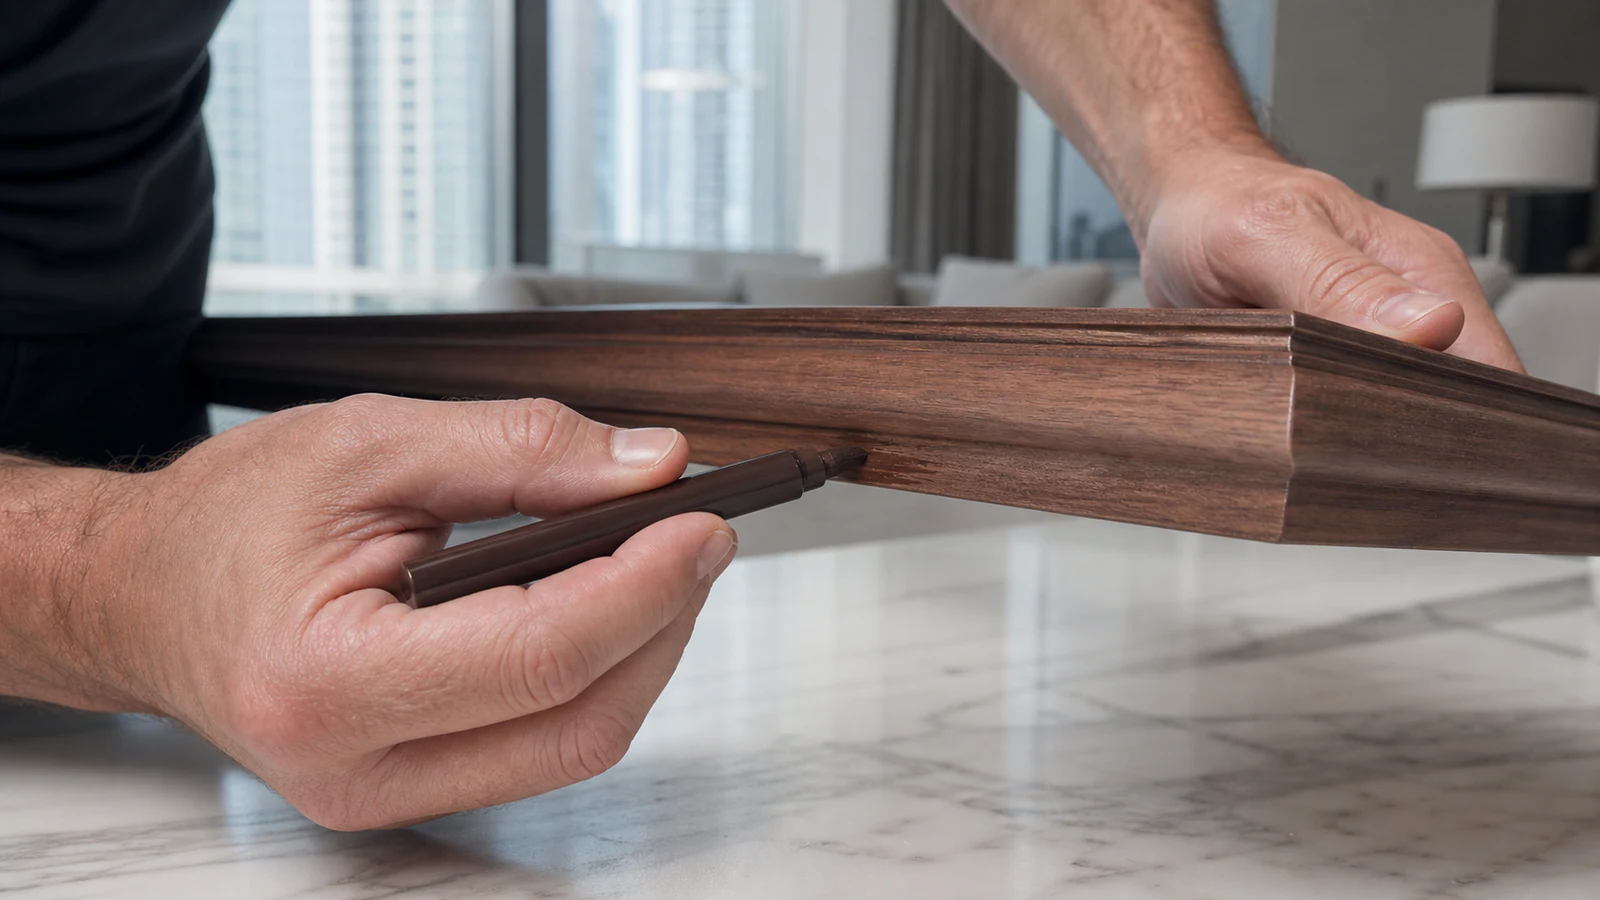
Step 02
Test colour match on a hidden area
Test the product underneath or inside the furniture. Apply a small amount, allow the full labelled dry time, then inspect colour and finish in the same light as the scratch.
-
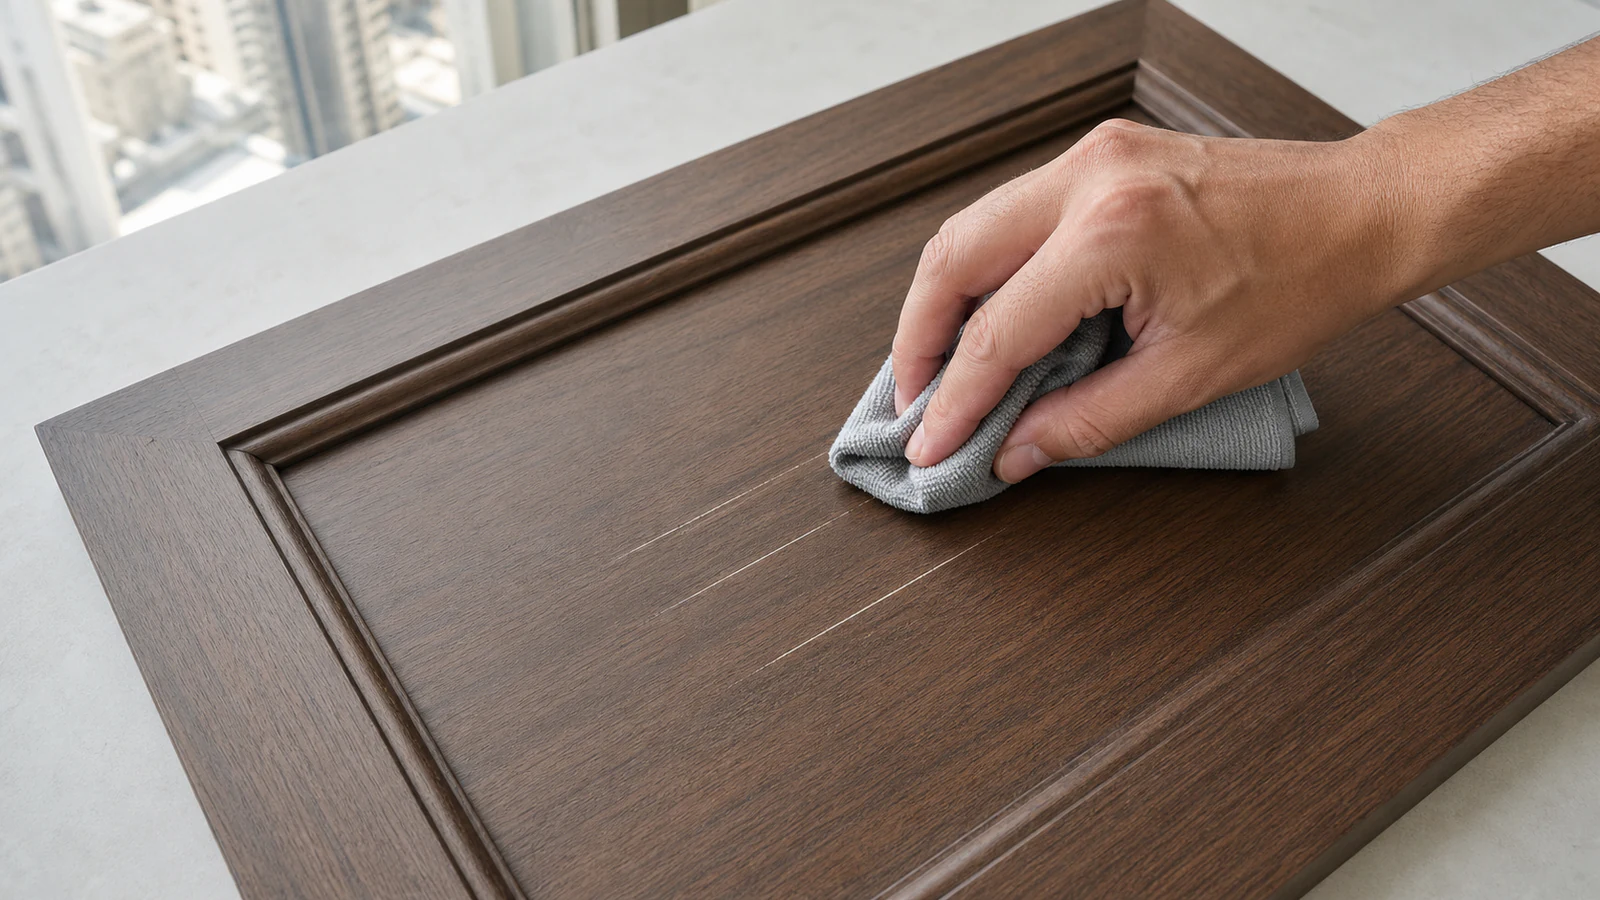
Step 03
Clean the scratched area
Remove dust with a soft lint-free cloth. Use slight moisture only when the finish permits it, then dry fully. Avoid solvents unless the approved product instructions require them.
-
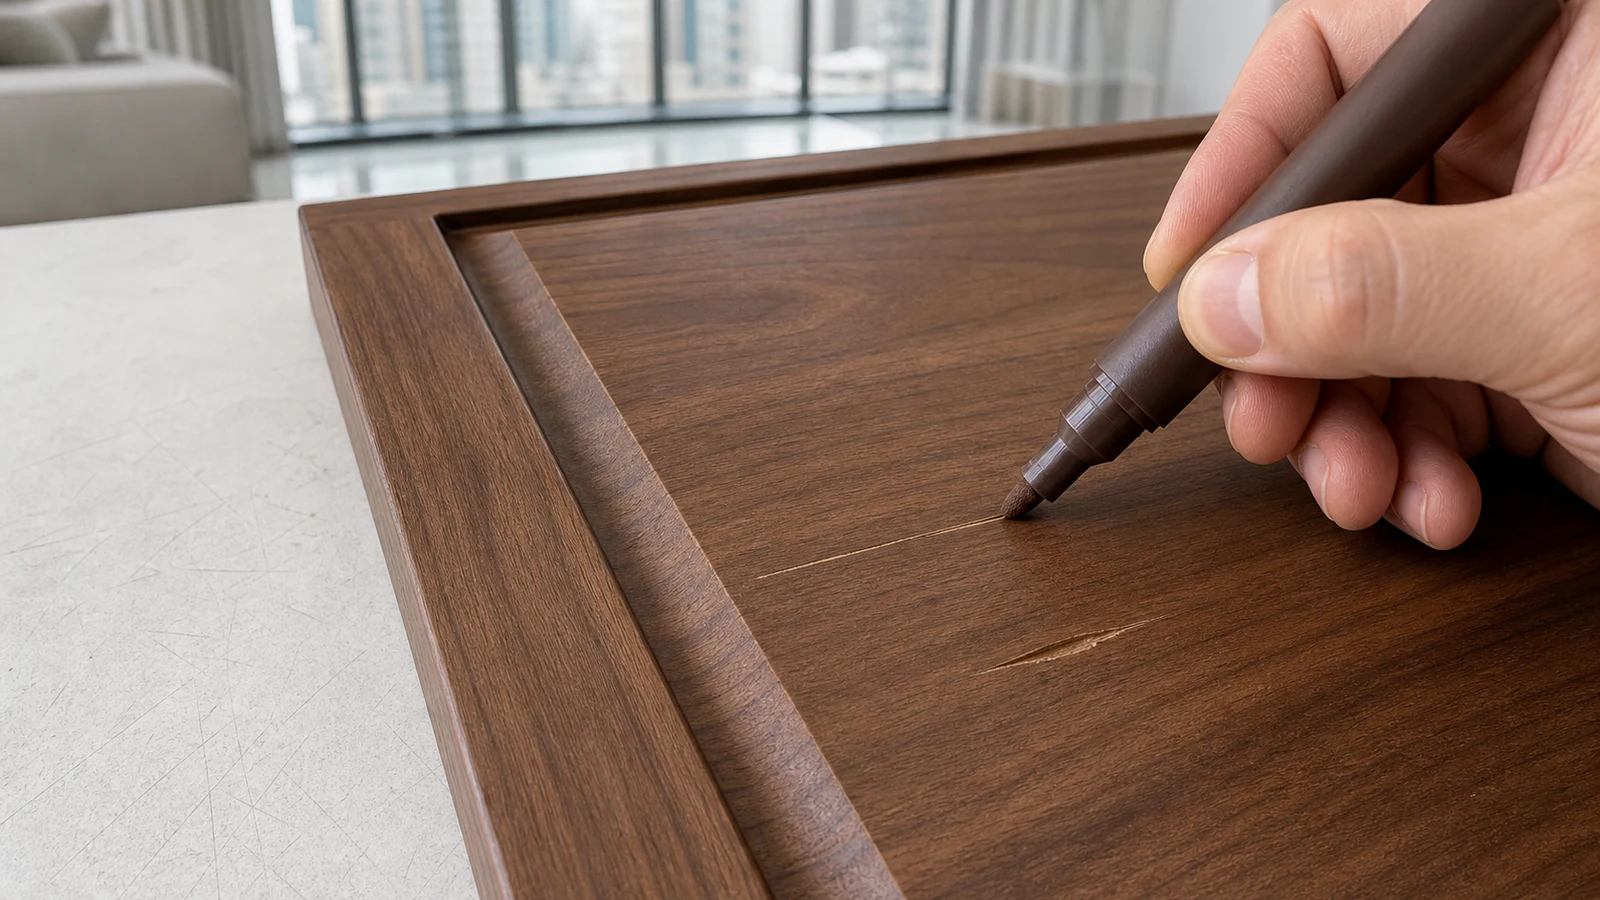
Step 04
Apply marker or wax to shallow scratches
Apply compatible marker along the grain and wipe as labelled. For compatible wax, press it into the minor defect and level it as directed. Do not use walnut oil or another food product.
-
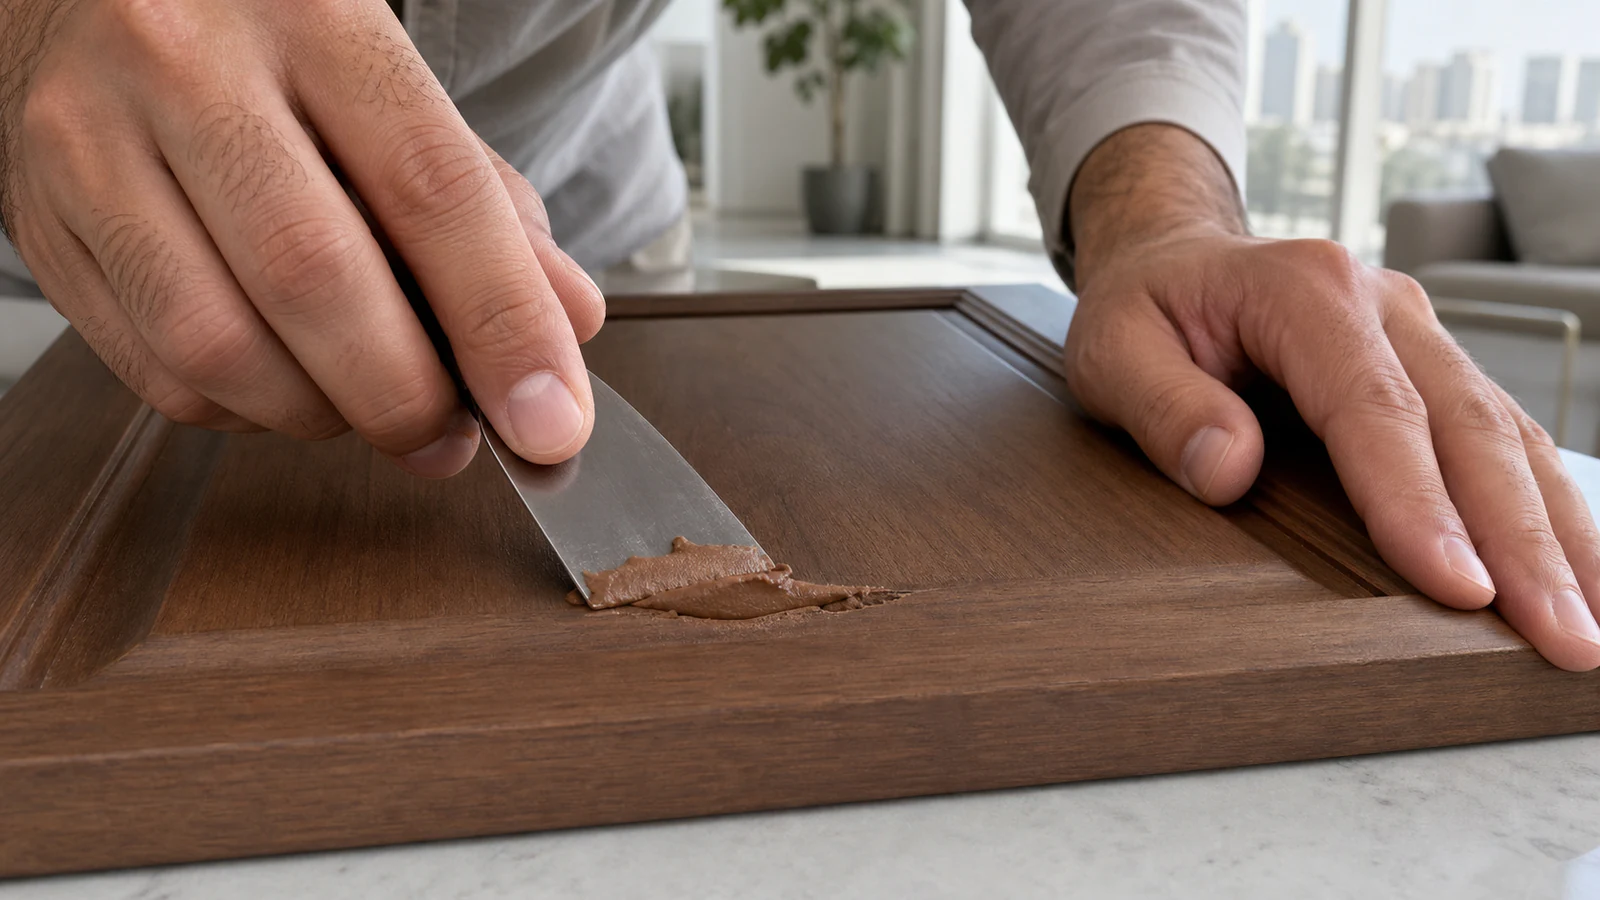
Step 05
Fill deeper scratches with wood filler
Use filler only on suitable solid wood when the furniture maker and label confirm compatibility. Apply, level and cure as directed. Never fill through veneer, laminate or factory coating; stop if damage reaches a joint or weakens the piece.
-
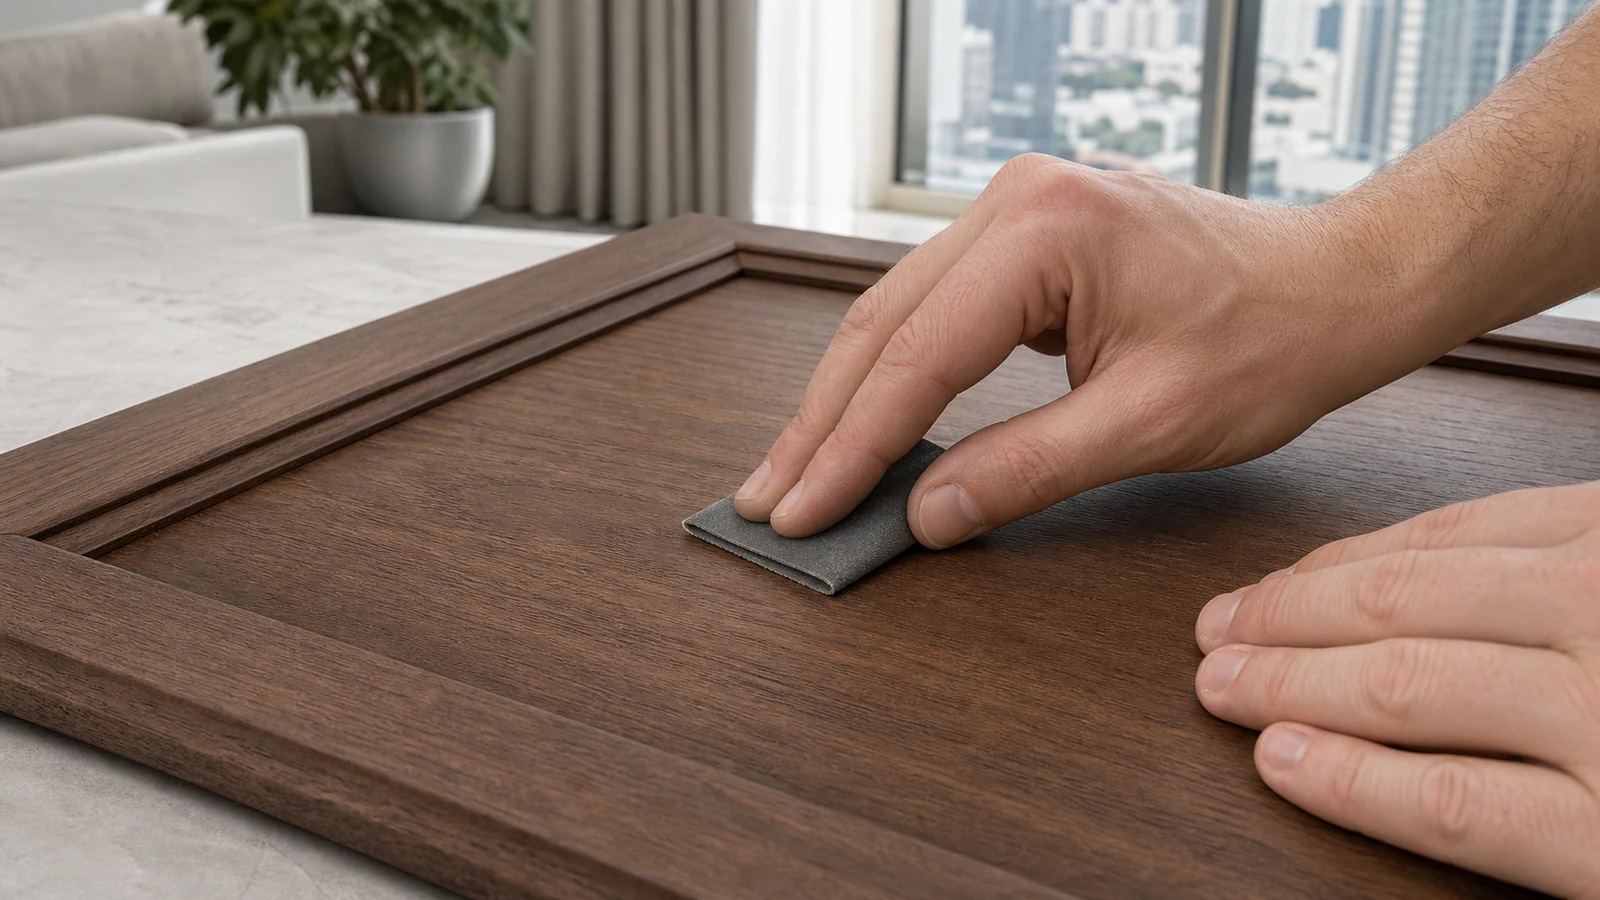
Step 06
Sand only when the approved repair system requires it
Sand suitable solid wood only when both maker and repair-system instructions require it. Use the stated grit and dust controls within the repair. Never sand veneer, laminate or factory finish. Apply colour only after labelled cure and compatibility checks.
Quick answers
Frequently asked questions.
What is the best furniture scratch repair marker?
Choose a marker labelled for the identified substrate and finish, then compare colour in the room's normal light. Test underneath and wait the full labelled dry time. Use it only for minor cosmetic scratches, ventilate as directed, and stop if the finish softens or transfers colour.
How do wax filler sticks work?
Compatible wax is pressed into a small cosmetic defect and levelled with a plastic scraper according to its label. Test colour and finish compatibility first. Do not sand wax or use it on lifted veneer, structural splits or loose joints unless the furniture maker expressly approves that repair.
Can you fix scratches without refinishing?
Often, for minor cosmetic damage on an identified compatible finish. A maker-approved marker or wax can camouflage a shallow scratch after a hidden test and full labelled dry time. Use filler only on suitable solid wood. Deep splits, lifted veneer, loose joints and valuable pieces need a specialist.
Sources and review notes
- Minwax Wood Finish Stain Marker: Product Directions - Manufacturer directions cover minor wood touch-ups, application and wiping excess.
- Liberon Product Guide: Wax Filler Sticks - Manufacturer guide defines the intended defect size, colour matching and scraper application without sanding or heat.