
DIY / Walls & Ceiling
Touch-Up Paint That Doesn't Look Like a Patch
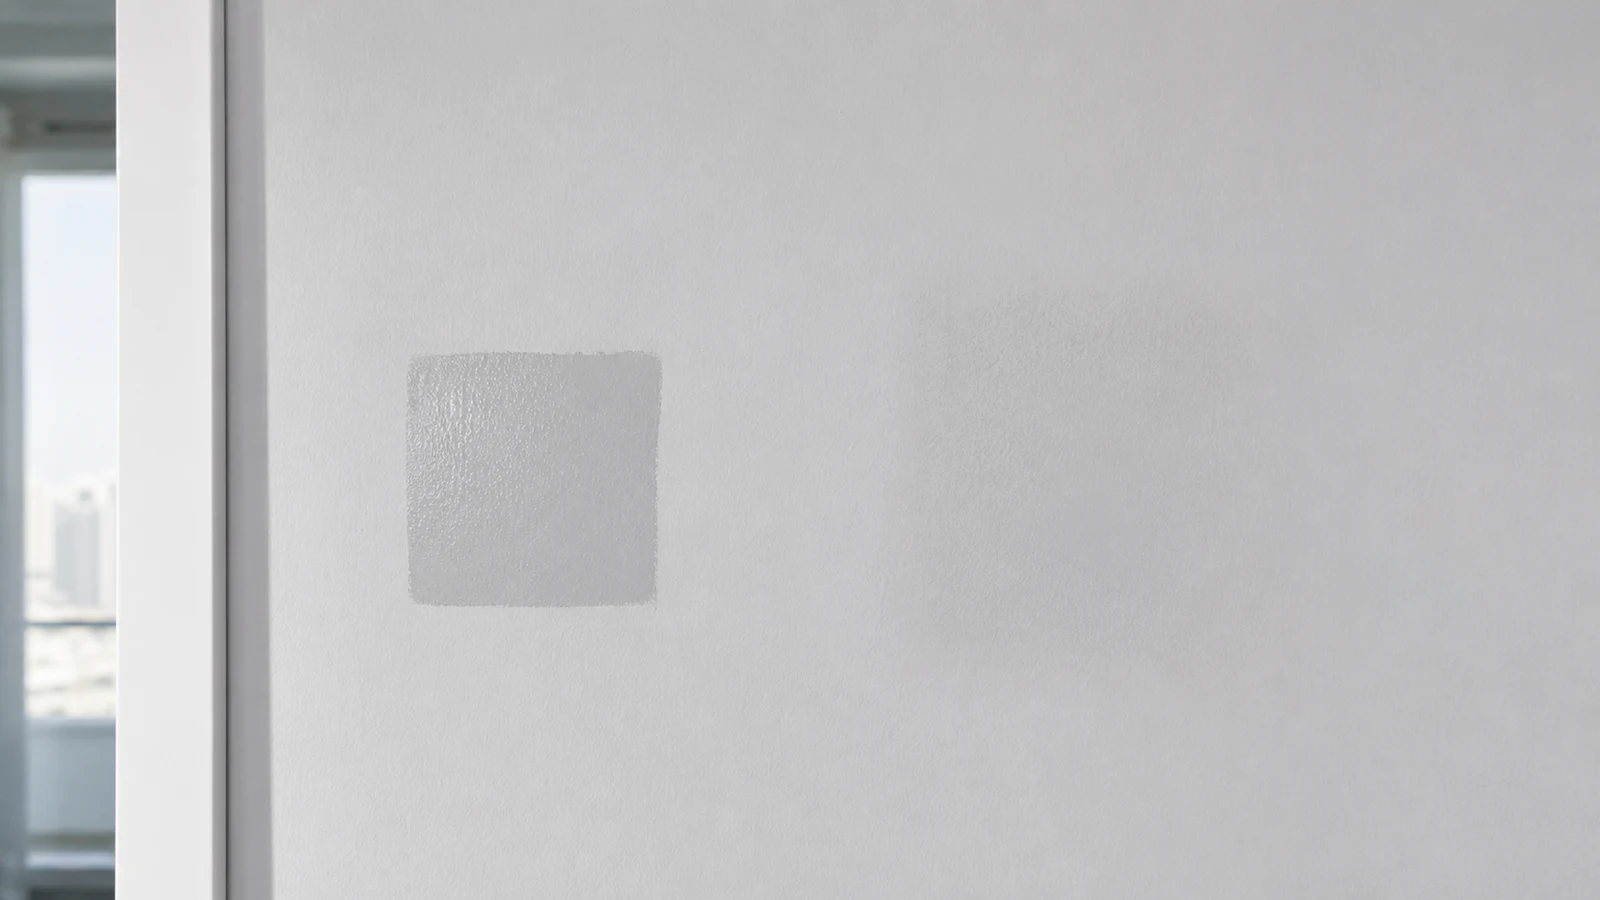
A spot on your wall needs repainting, but the fresh paint looks darker or has a different texture than the surrounding area. This happens because paint ages, stored cans may not match the original batch, and brush or sponge marks differ from roller texture. The solution lies in matching the original product exactly, testing on a hidden area, and using one of three blending techniques to make the repair invisible.
Quick answer
Why does touch-up paint look darker?
Match the exact paint colour, product and sheen, then use the same brush or roller texture as the original coat. Hidden-test first and assess only after the label's full dry time. If the patch still shows, stop enlarging it and paint to a natural boundary instead.
Interior walls painted with solid colour emulsion or acrylic paint in good condition
Damp or chalky walls / Walls with active movement cracks / Mouldy surfaces / Walls with peeling, flaking or unsealed paint
What you need
What you need
Source the original paint by finding the product name, colour code and sheen on the wall or in storage. If unavailable, take a paint chip to a local supplier for matching. Have applicators ready before opening the can.
- Difficulty
- Medium
- Active time
- 20–30 minutes
- Total time
- 30 minutes plus full dry time (follow paint label)
Original or matched interior paint (emulsion/acrylic)
Small quantity (50 ml sufficient for typical touch-up)
Natural sponge or foam applicator
1 piece
Small angled brush (25 mm)
1 piece
Low-tack painter's tape
1 roll
Plastic drop sheet or dust sheet
1 metre square minimum
Gloves (latex or nitrile)
1 pair
Clean cloth or disposable wipes
Small pack
Typical UAE retail ranges. Prices vary by pack and store, and your total is lower when you already own the reusable tools.
Step by step
How to Touch-Up Paint That Doesn't Look Like a Patch
Prepare the area, test the paint colour, then apply using one of three blending methods depending on the damage size and your wall's original texture.
-
Step 01
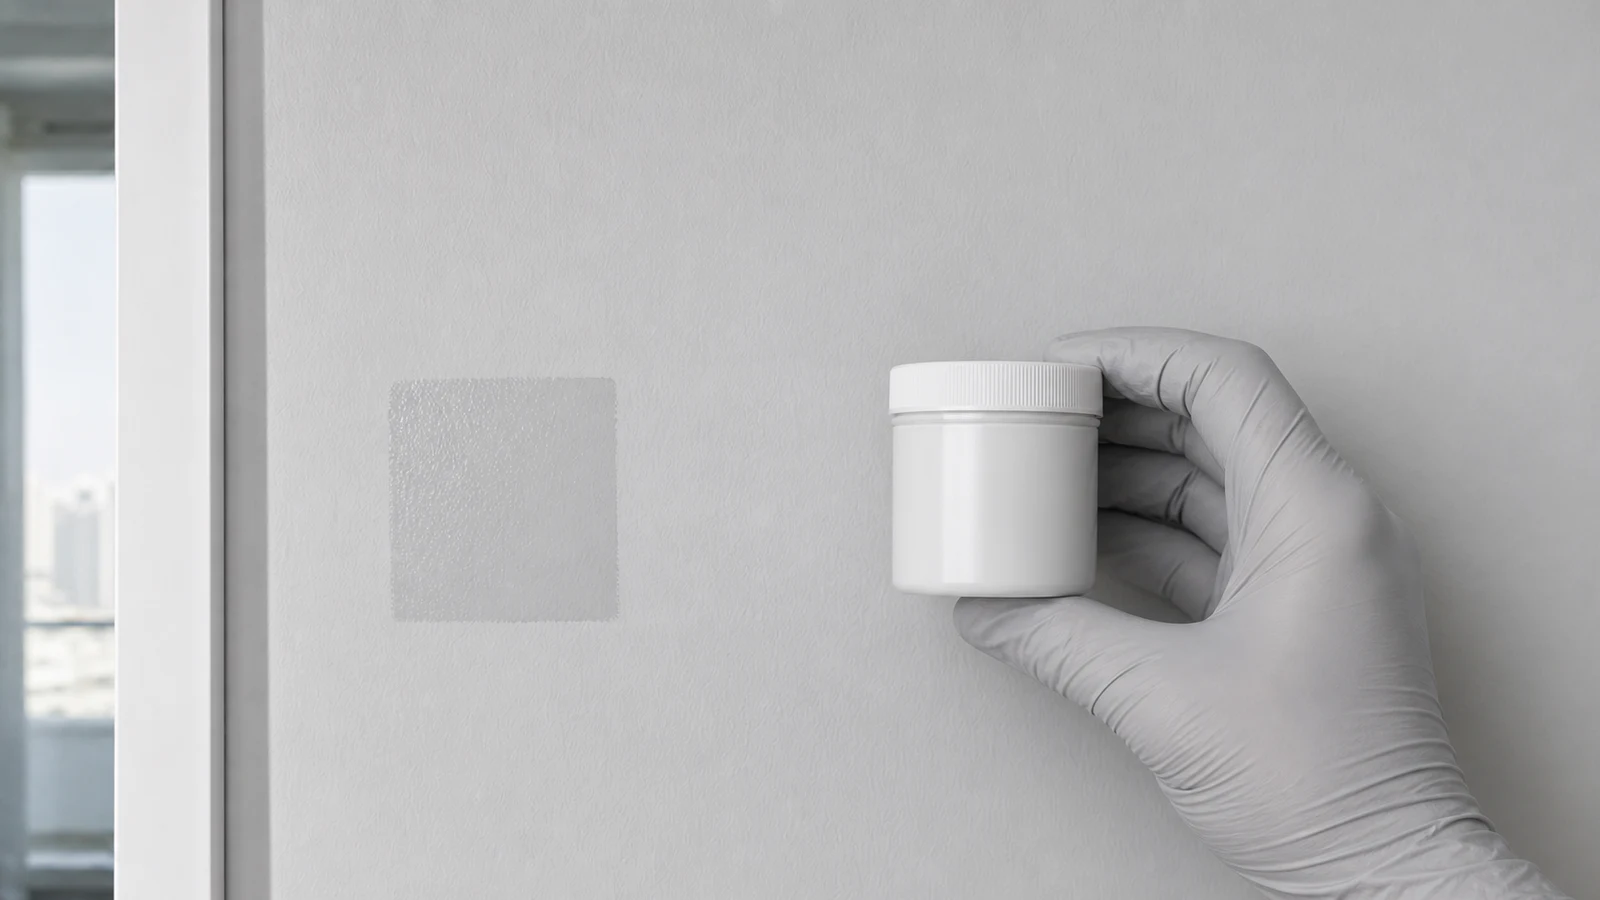
Verify and test the paint colour
Locate the product name, colour code and sheen on the original can or home record. Do not use paint that is lumpy, foul-smelling, contaminated, frozen, overheated or beyond its labelled storage life. Mix only as directed, then apply a hidden test and allow the full labelled dry time.
Paint product name, colour code and sheen match the original wall
Test patch dries to the same colour as the surrounding wall after full dry time
Paint consistency is uniform with no lumps or separation after stirring
-
Step 02
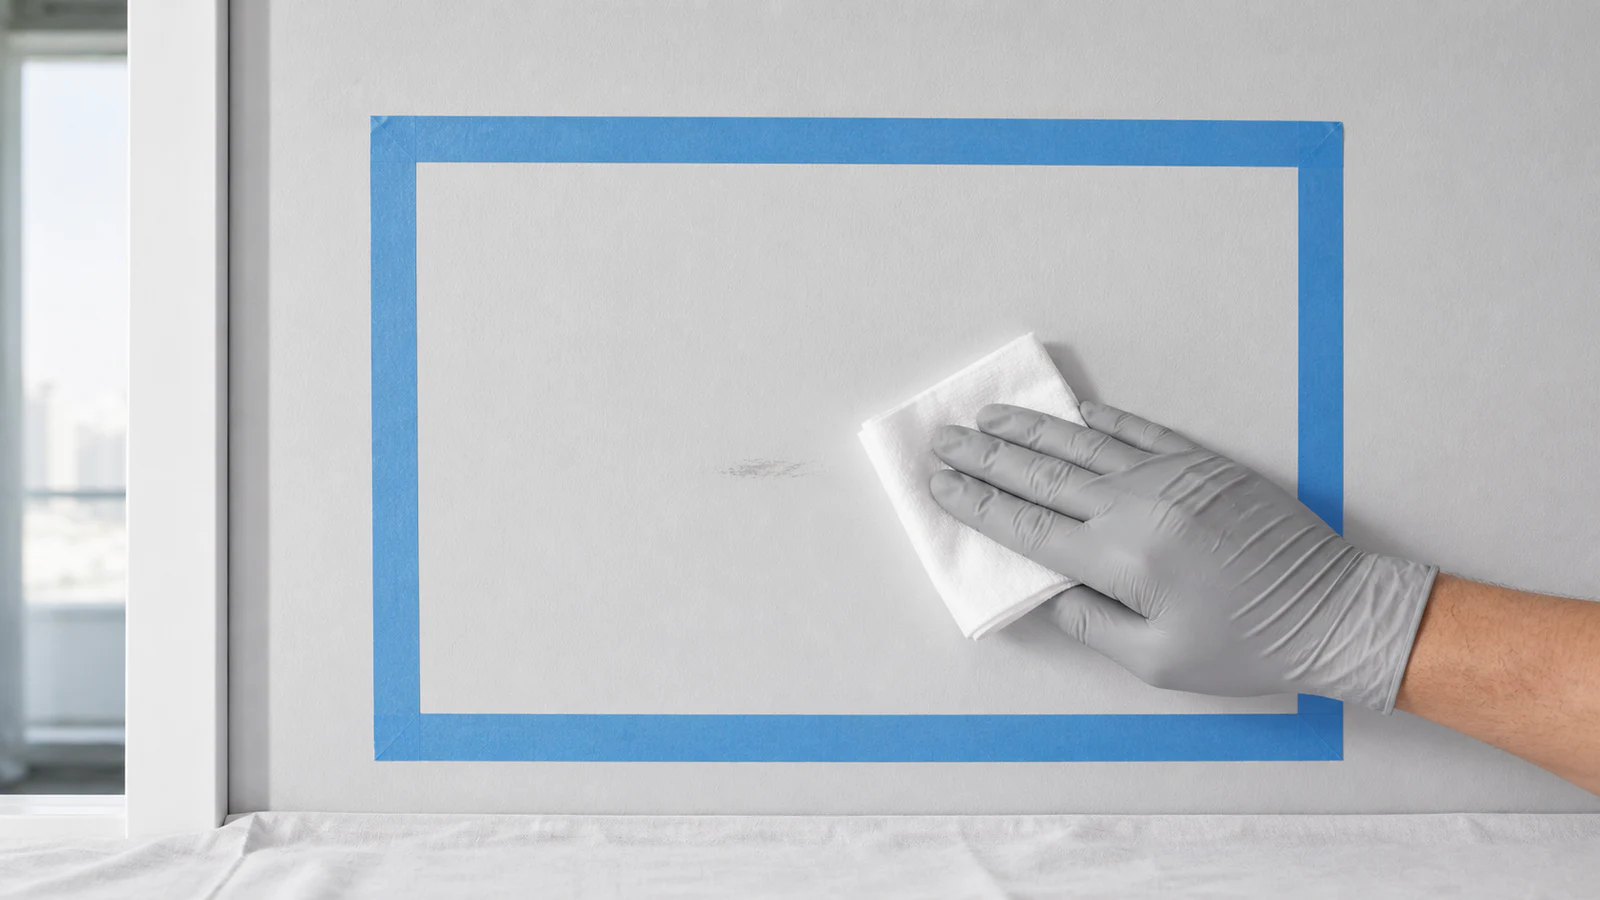
Clean and prepare the damage spot
Use a clean, dry cloth to remove dust, cobwebs and loose paint chips from the area. If the spot has scuffs, gently wipe with a barely damp cloth and allow to dry completely. Do not sand or prime unless the wall is bare plaster or paint is peeling.
Surface is clean, dry and free of dust or loose material
Tape is applied with a clean straight edge at least 5 cm from the damage
No damp patches or visible mould present on the surface
-
Step 03
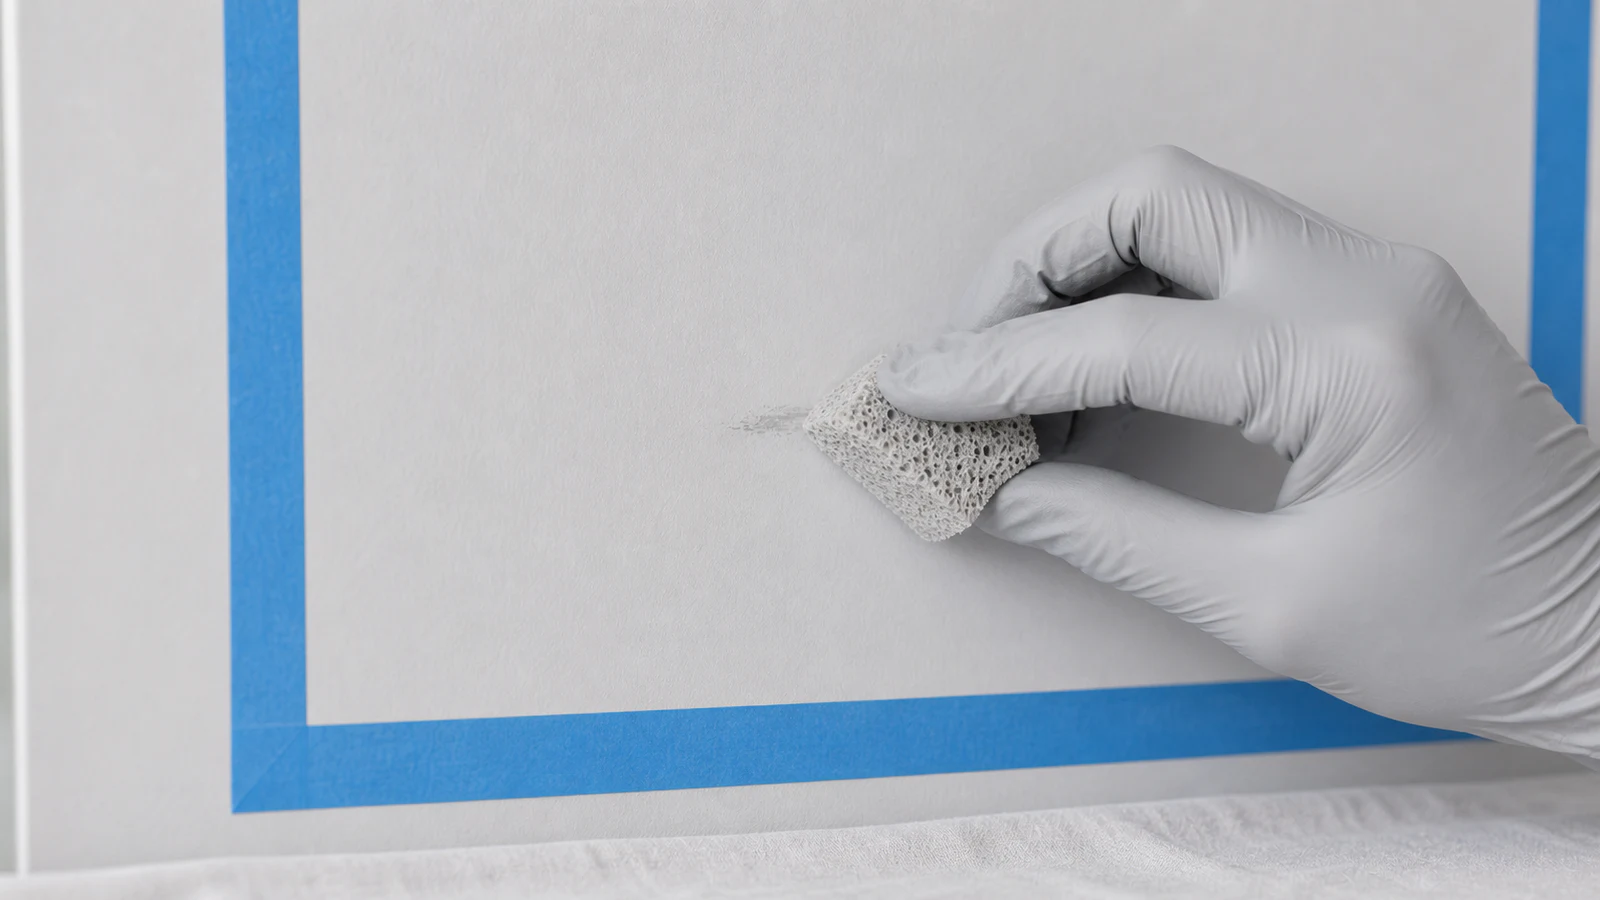
Choose your blending method based on damage size
Match the original application tool whenever possible: use a mini roller for a rolled wall or the same brush type for a brushed finish. Feather only if the paint maker permits it, and keep the trial small because feathering can enlarge a visible sheen difference.
Method chosen matches the damage size and wall's original texture
Sponge technique mimics the original roller marks if texture is visible
Paint application follows manufacturer's guidance for application method
-
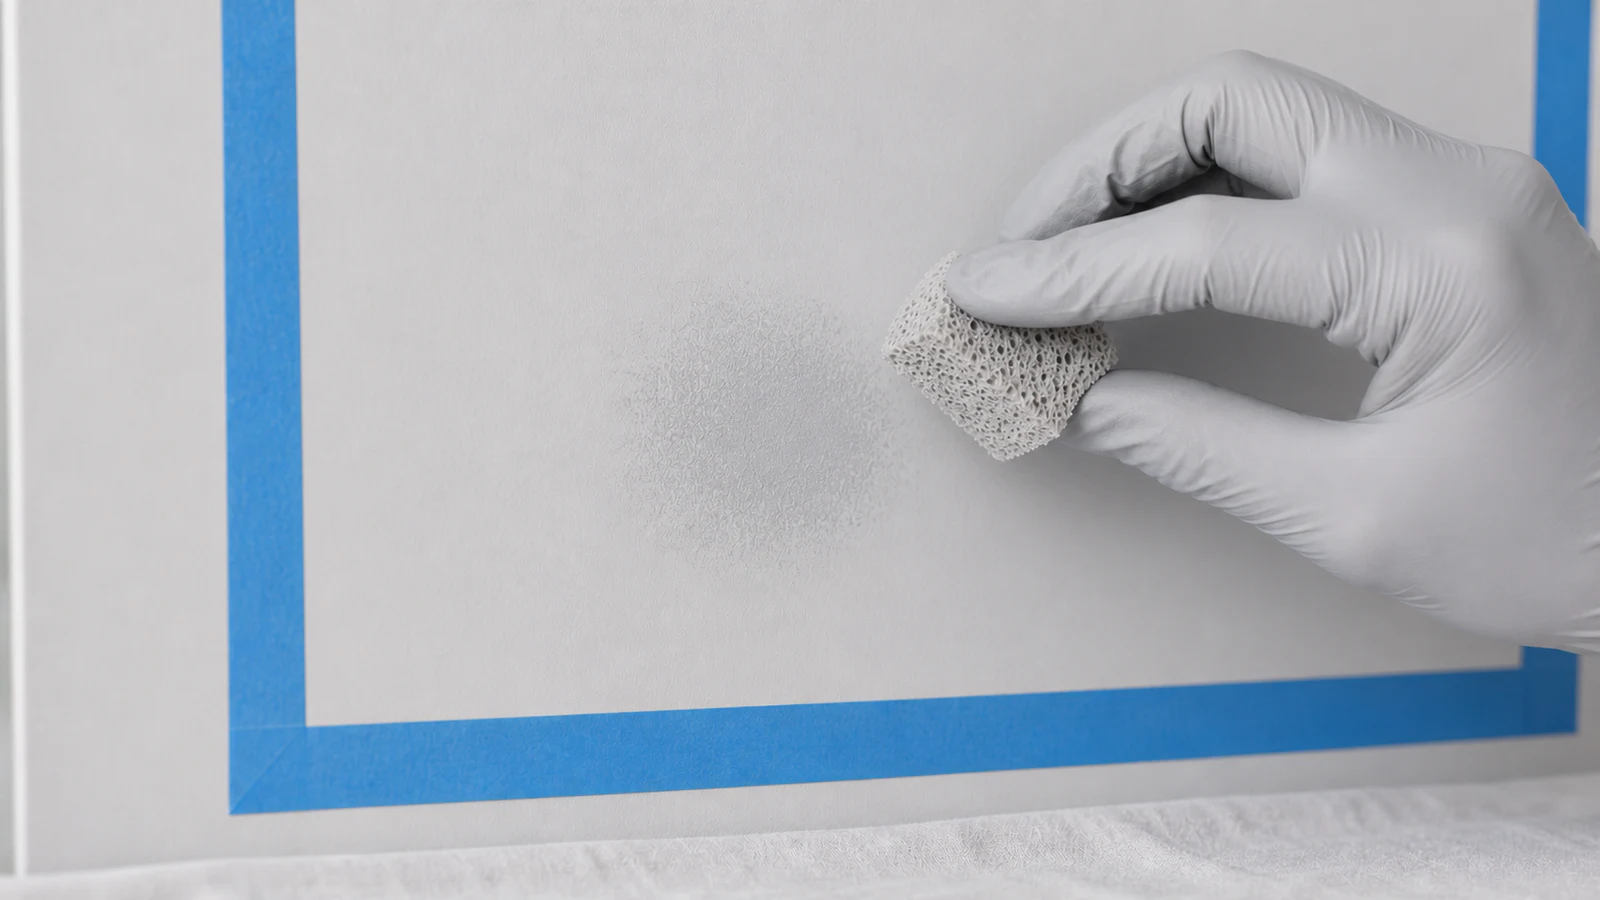
Step 04
Apply the first coat with feathering technique
Load the approved matching tool lightly and apply the thinnest coat that covers the repair. Reproduce the surrounding texture without adding water or reducer unless the technical data sheet expressly allows it. Keep the edge controlled and allow the full labelled dry time.
Paint is applied in outward-radiating dabs from the centre
Pressure reduces visibly at the outer edge, creating a soft transition
Paint layer is thin enough that the wall underneath shows slightly through
-
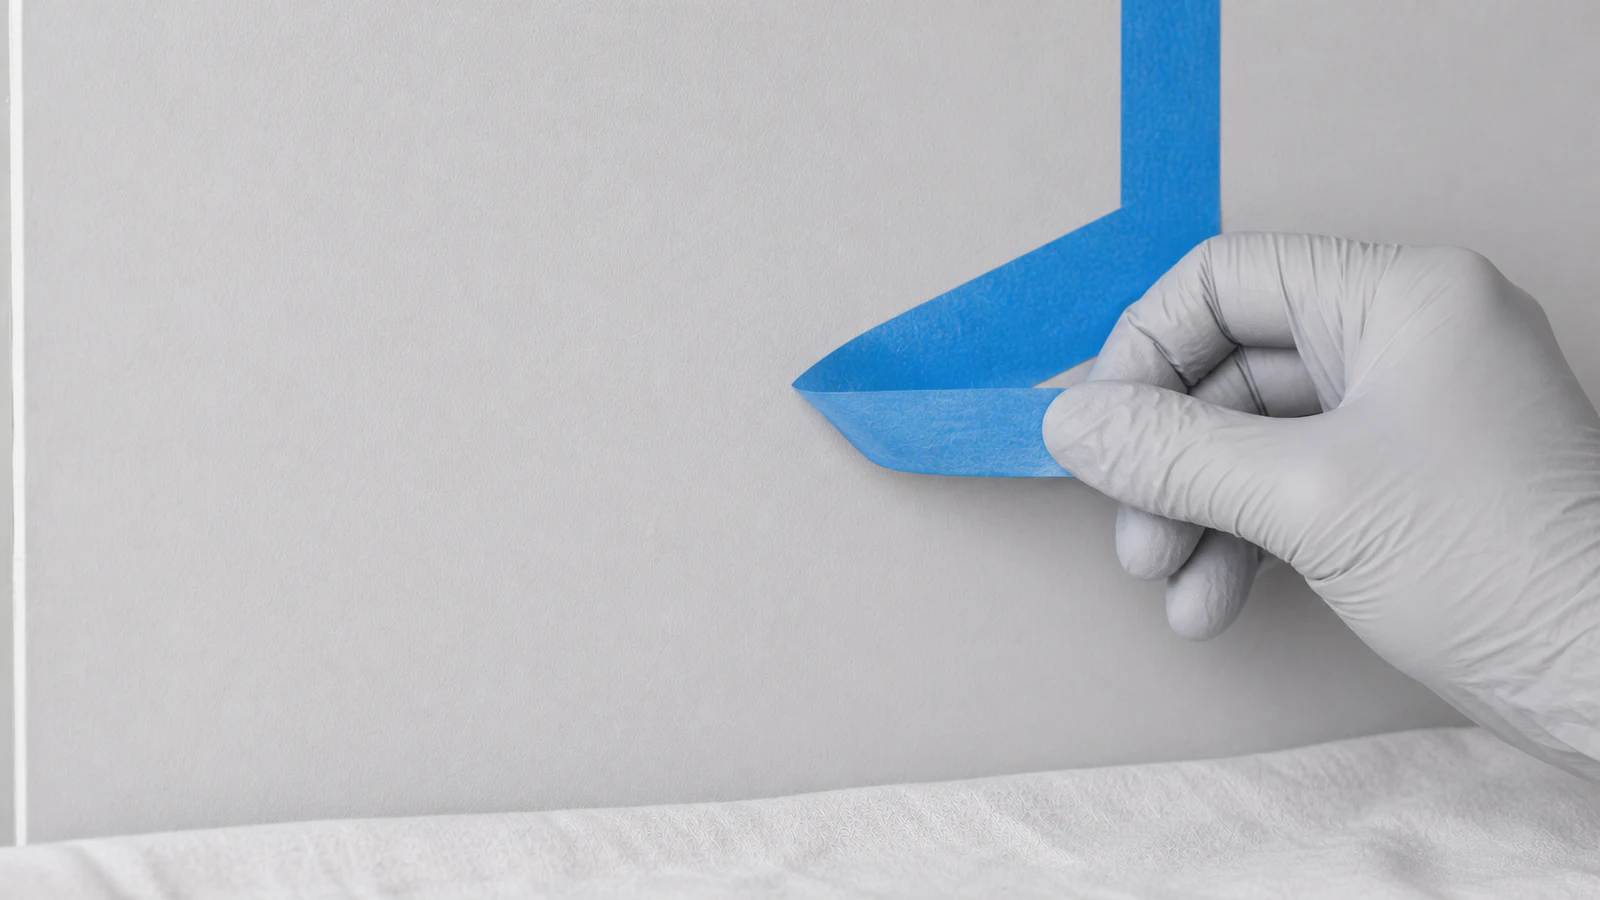
Step 05
Assess the patch after full dry time
Remove the painter's tape carefully by peeling it back at a 45-degree angle. Stand back at least 1 metre and view the patch under the same lighting as normal room use. If colour and sheen blend seamlessly, the repair is complete.
Paint has dried for the full time recommended on the label
Tape is removed without damaging the surrounding wall paint
Patch is viewed from normal standing distance and angle under typical room lighting
-
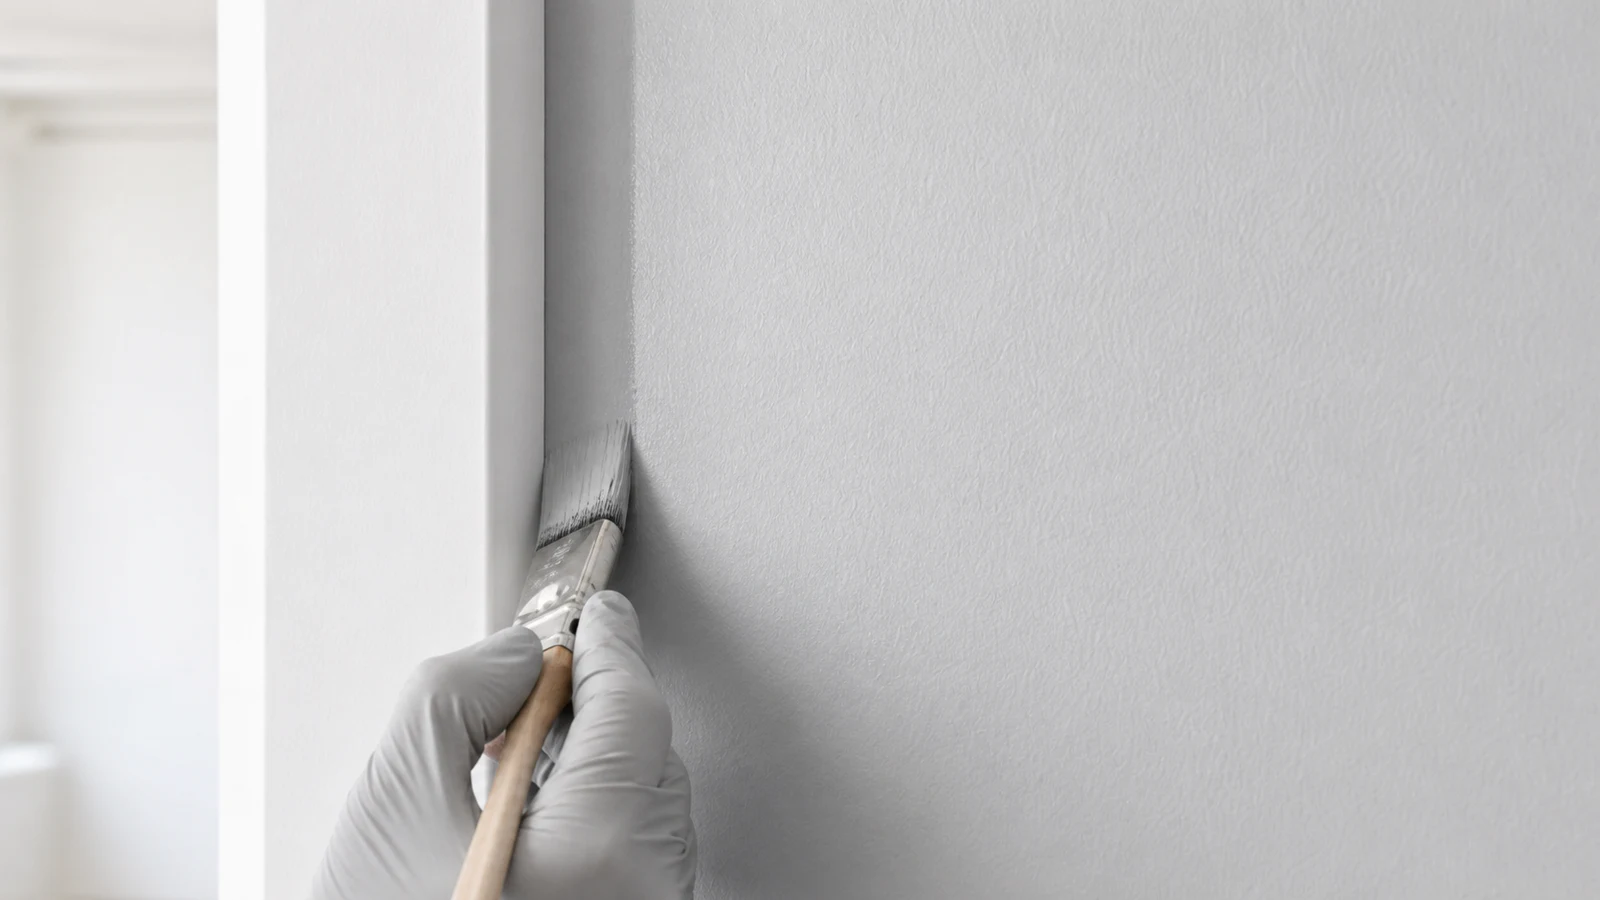
Step 06
Paint to a natural boundary if feathering leaves a visible patch
If the feathered area remains visible after complete dry-down, use an angled brush to paint from the patch edge to the nearest natural stopping point—inside corner, door frame, baseboards or ceiling line. Load the brush and cut in a clean straight edge. Allow to dry fully.
Paint edge is cut in a single clean line to a natural architectural boundary
Brush strokes are light and follow the boundary line precisely
Final result extends from the original damage to a corner or trim, not an arbitrary edge
-
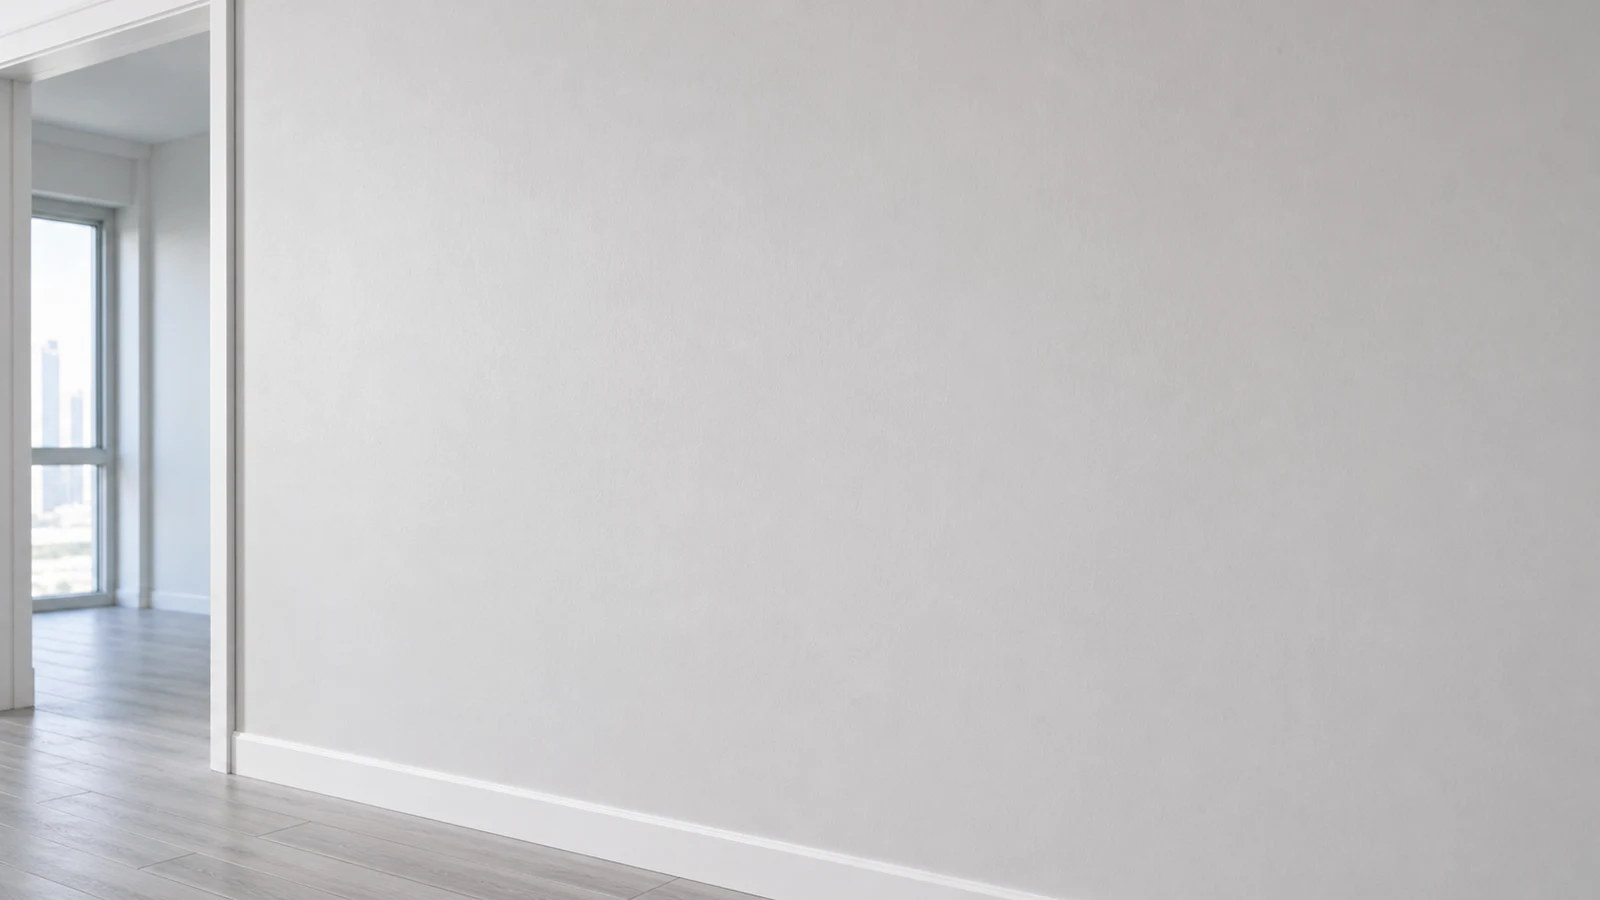
Step 07
Clean up and inspect the repair
Allow all paint to dry completely per the label. Inspect from normal standing distance under typical room lighting. Remove low-tack tape carefully, then clean or dispose of applicators exactly as the paint label and local waste guidance direct.
Paint has dried for the manufacturer-specified time before final assessment
Repair is invisible or visually acceptable under normal room lighting
All tools are cleaned and tape is removed without wall damage
Finished result
What success looks like
A successful touch-up repair is invisible or nearly invisible under normal room lighting and distance. The colour matches the surrounding wall exactly after full dry-down, the texture and sheen are consistent, and there are no visible hard edges or patch boundaries.
Colour is identical to the surrounding wall after full manufacturer-specified dry time
Sheen (gloss level) matches the original wall in daylight and artificial light
No visible hard edges, rings or texture mismatches when viewed from normal standing distance
The repair blends seamlessly or extends to a natural architectural boundary
Quick answers
Frequently asked questions.
Why does touch-up paint look darker?
Paint ages and collects dust, changing its appearance. Stored paint may come from a different batch with different undertones. Sheen variation between matte and satin makes new paint stand out. Testing on a hidden area reveals whether the batch is mismatched or the difference disappears after complete dry-down.
How do you blend touch-up paint?
Match the original application tool and follow the paint maker's touch-up method. Keep the trial small and assess it only after full dry-down. If the sheen or texture still shows, repaint to a natural boundary such as a corner, trim line or baseboard.
Can you touch up paint without repainting the wall?
Small, colour-matched repairs can be invisible if the original paint product is available and the wall is clean and dry. Success depends on exact colour, sheen and texture matching plus full dry-down assessment. If feathering leaves a visible patch, painting to a natural boundary is the reliable alternative.
Do you need to prime before touch-up painting?
No primer is needed for small touch-ups on intact painted walls. Prime only if the wall is bare plaster, has deep stains, or paint is peeling. For normal scuffs and marks, cleaning and direct paint application is sufficient. Ventilate and follow paint label/SDS.
Sources and review notes
- Sherwin-Williams: How to Clean Painted Walls and Make Touch-Ups - Original colour and sheen, matching application tool, feathering and hidden testing.
- US EPA: Addressing Indoor Environmental Concerns During Remodeling - Ventilation, VOC and older-coating precautions for indoor painting work.