
DIY / Walls & Ceiling
How to Fill Nail Holes in a Wall So They Disappear
Small nail and screw holes left by picture frames, shelves and mirrors are common in a new home. The correct technique—using the right filler, applying it evenly, sanding flush and matching the paint—makes these marks disappear entirely.
Quick answer
What is the best way to fill nail holes?
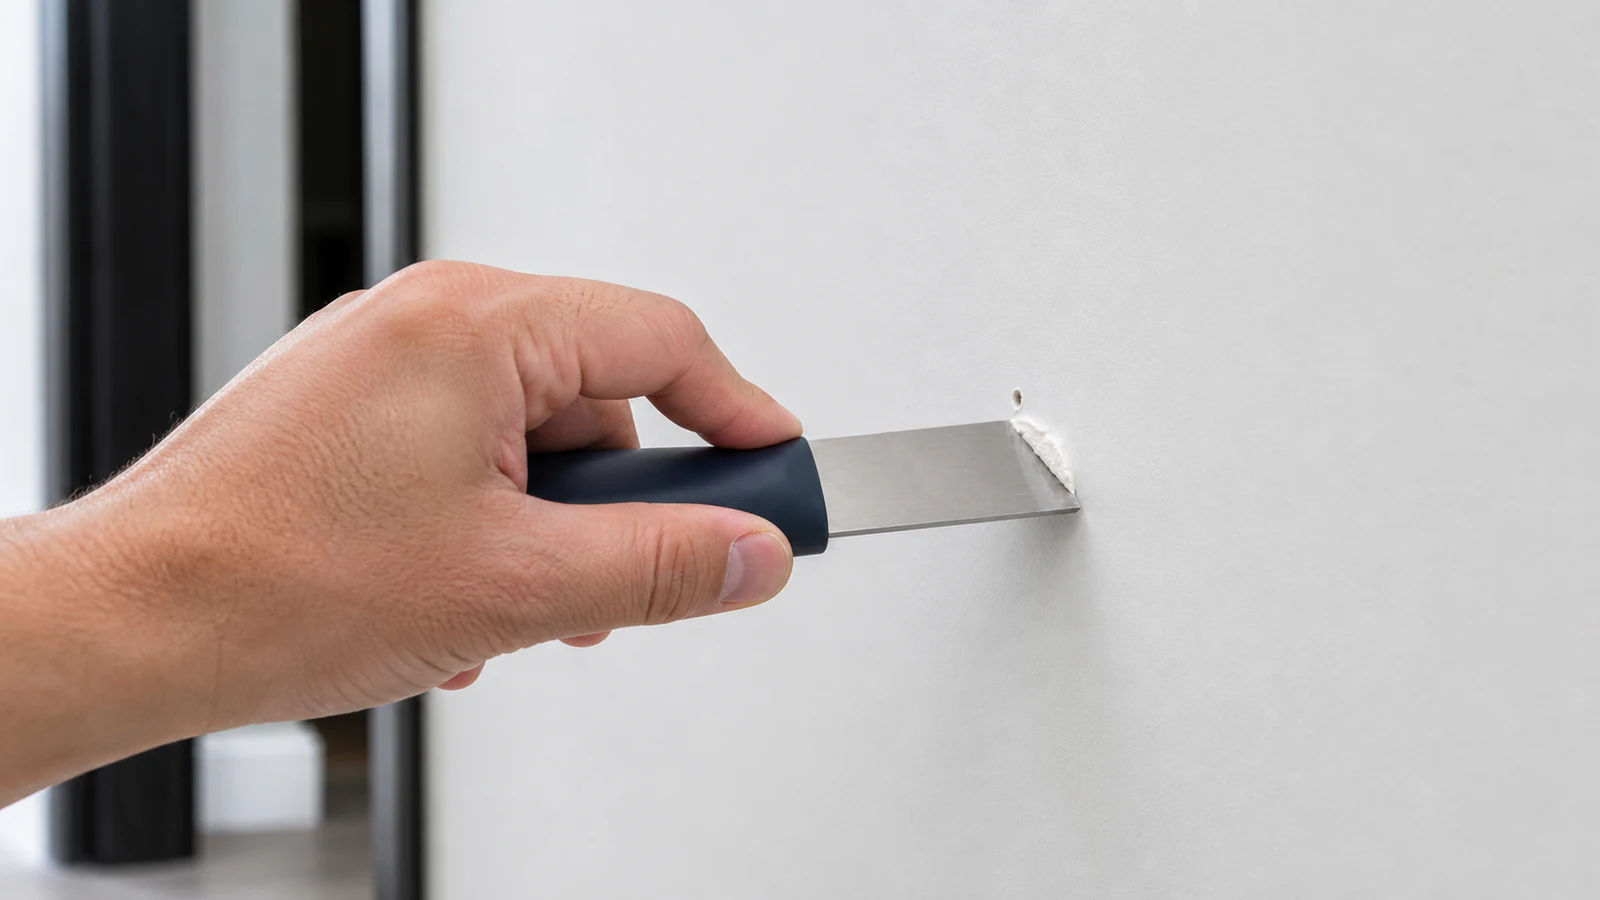
On sound, dry drywall or plaster, use compatible ready-mix filler with a clean filling knife. Follow its stated depth, layer and dry-time limits, then sand only the minimum needed with dust controls before applying matching paint. Stop for dampness, crumbling, cracks or a suspected cable or pipe path.
small nail holes in painted drywall / small screw holes in painted drywall / small dowel holes in painted plaster / holes within the chosen filler's labelled diameter and depth limits
holes outside the chosen filler's labelled size or depth limits / deep or enlarging cracks / damp or crumbling substrates / areas with active moisture staining / holes that may conceal wiring or pipework
What you need
What you need
All materials are available at hardware stores and supermarkets across the UAE. One container of ready-mix spackle fills dozens of small holes.
- Difficulty
- Easy
- Active time
- 10 minutes
- Total time
- 20–30 minutes plus drying time (follow product label)
Ready-mix spackle or wall filler
200 ml pot
Flexible filling knife
1 × 40–50 mm blade
Fine-grit sandpaper
1 sheet 220-grit
Matching paint (small sample pot or dab)
as required
Lint-free cloth or sponge
1
Typical UAE retail ranges. Prices vary by pack and store, and your total is lower when you already own the reusable tools.
Step by step
How to Fill Nail Holes in a Wall So They Disappear
This process takes about 20 minutes of hands-on time plus drying.
-
Step 01
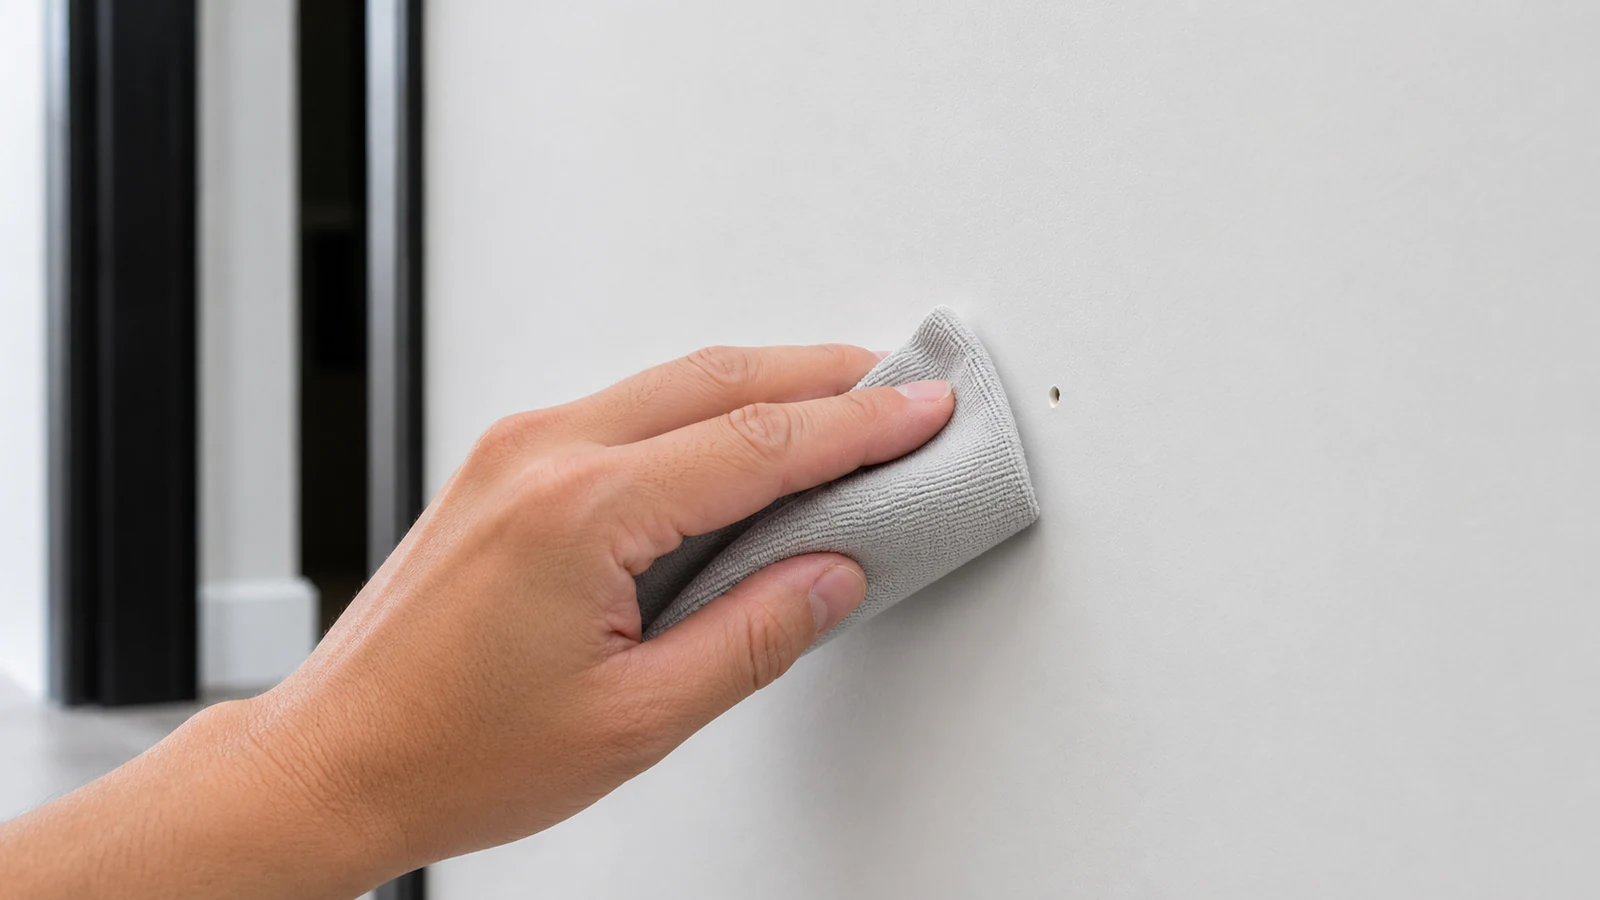
Inspect the hole and prepare the surface
Look at the hole carefully. If the substrate around it is loose, crumbling or damp, stop. Gently wipe away dust or debris from the wall with a dry cloth. Do not probe deeply into the hole.
-
Step 02
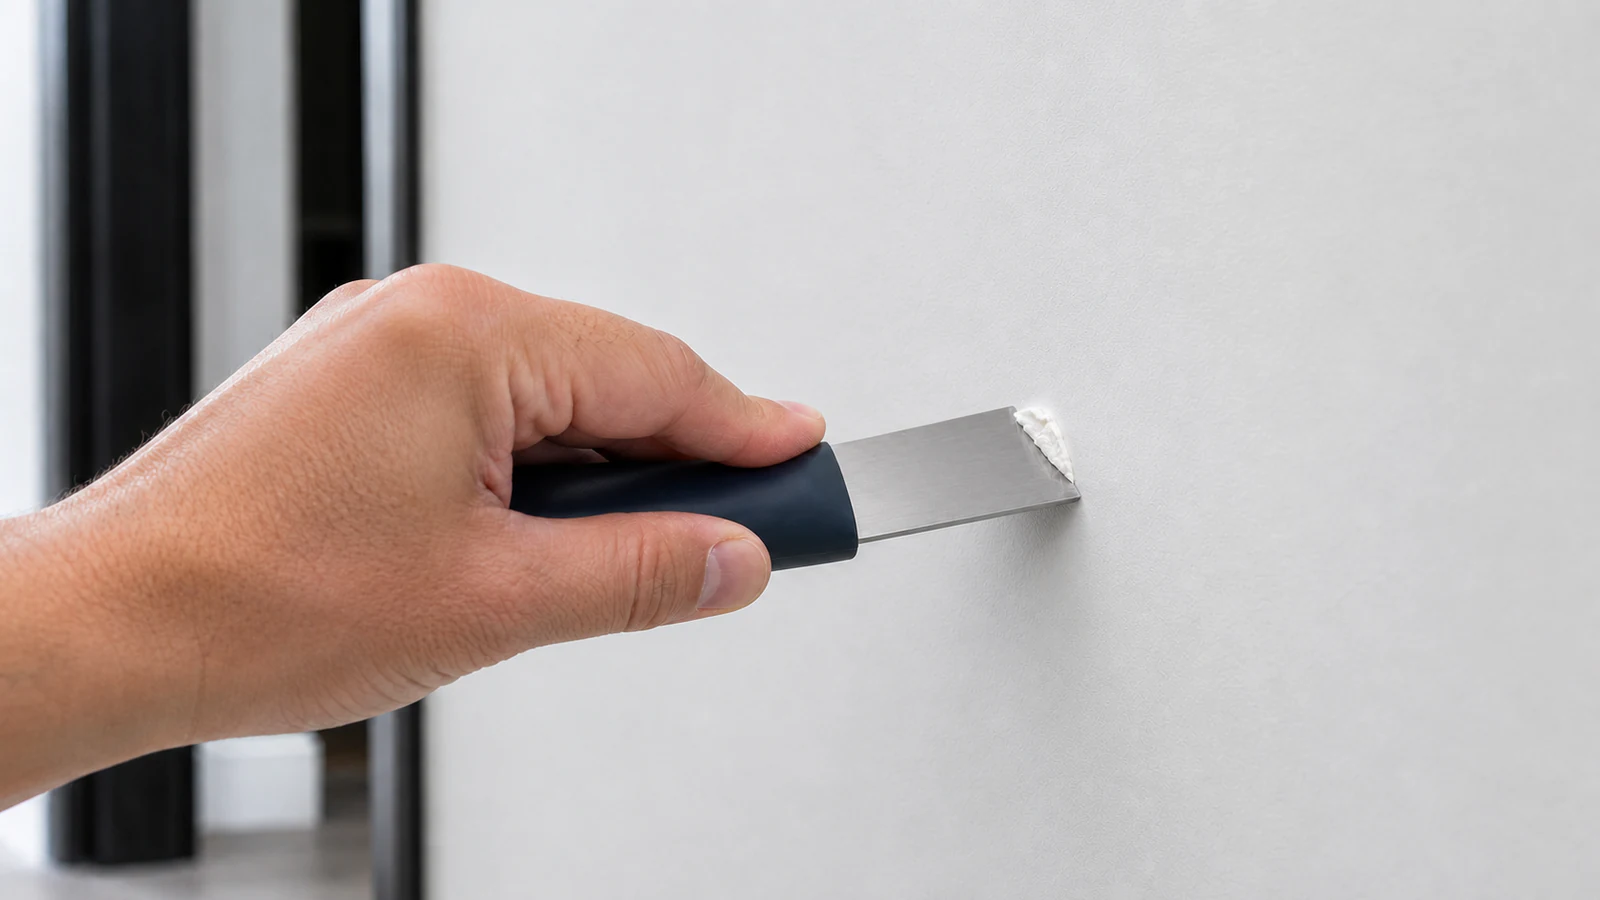
Apply a small amount of filler
Scoop a small amount of ready-mix spackle onto the filling knife tip. Press it into the hole with firm pressure, overfilling slightly so excess sits proud of the wall surface. The filler should be soft and consistent.
-
Step 03
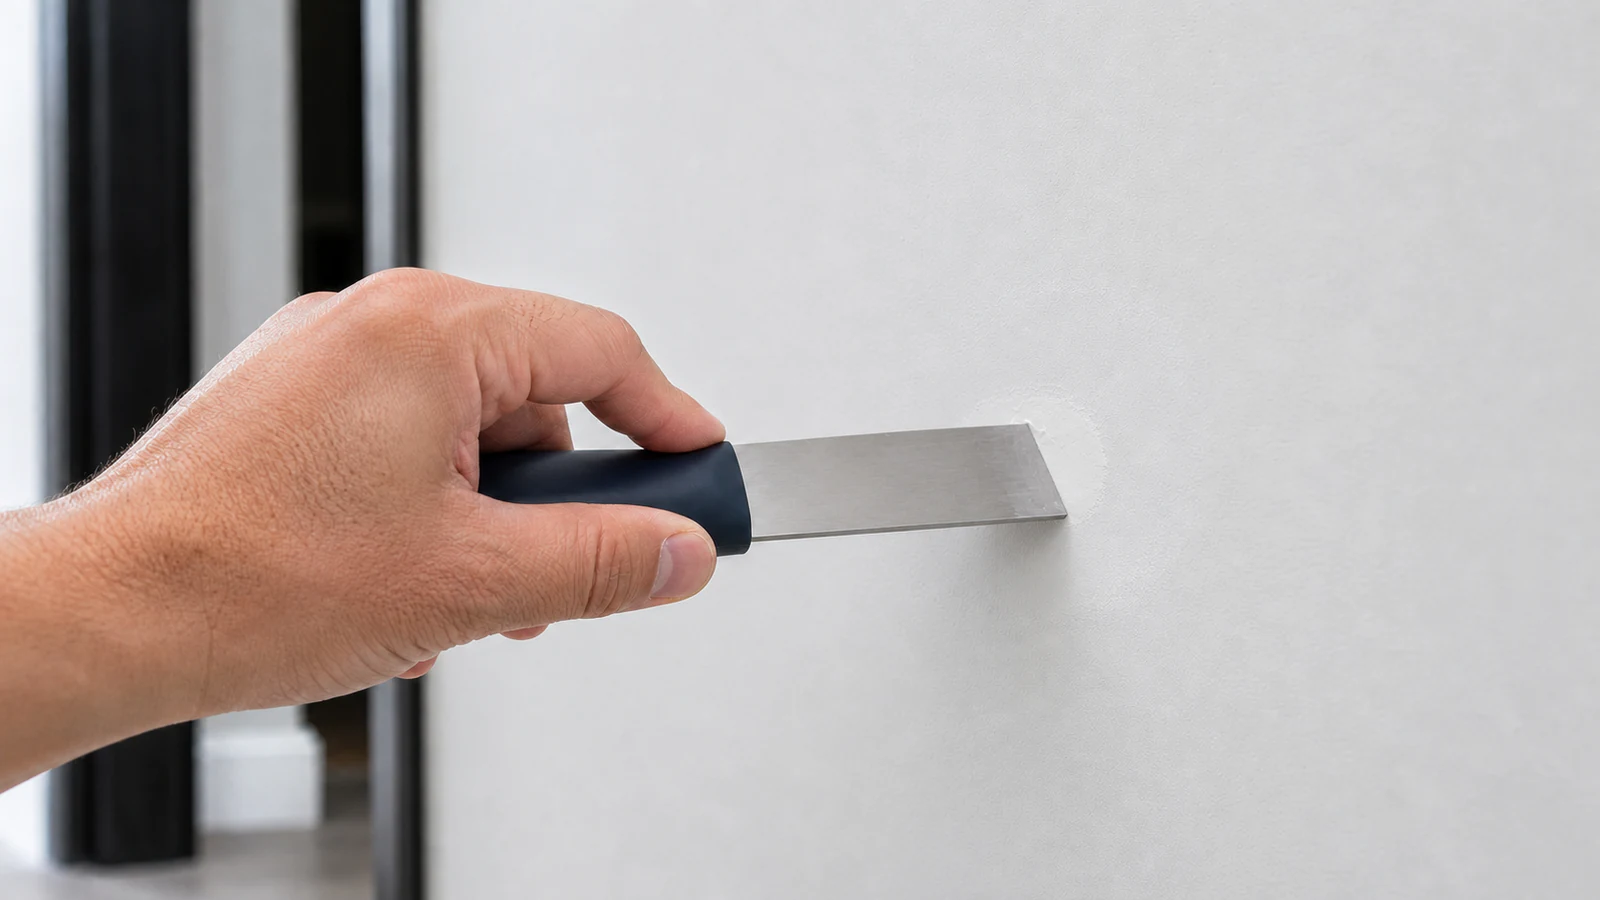
Feather the edges
Drag the blade across the filled hole at a shallow angle. Make two or three light, overlapping strokes radiating outward to spread excess filler and blend it with the wall. Work in a cross pattern to avoid directional marks.
-
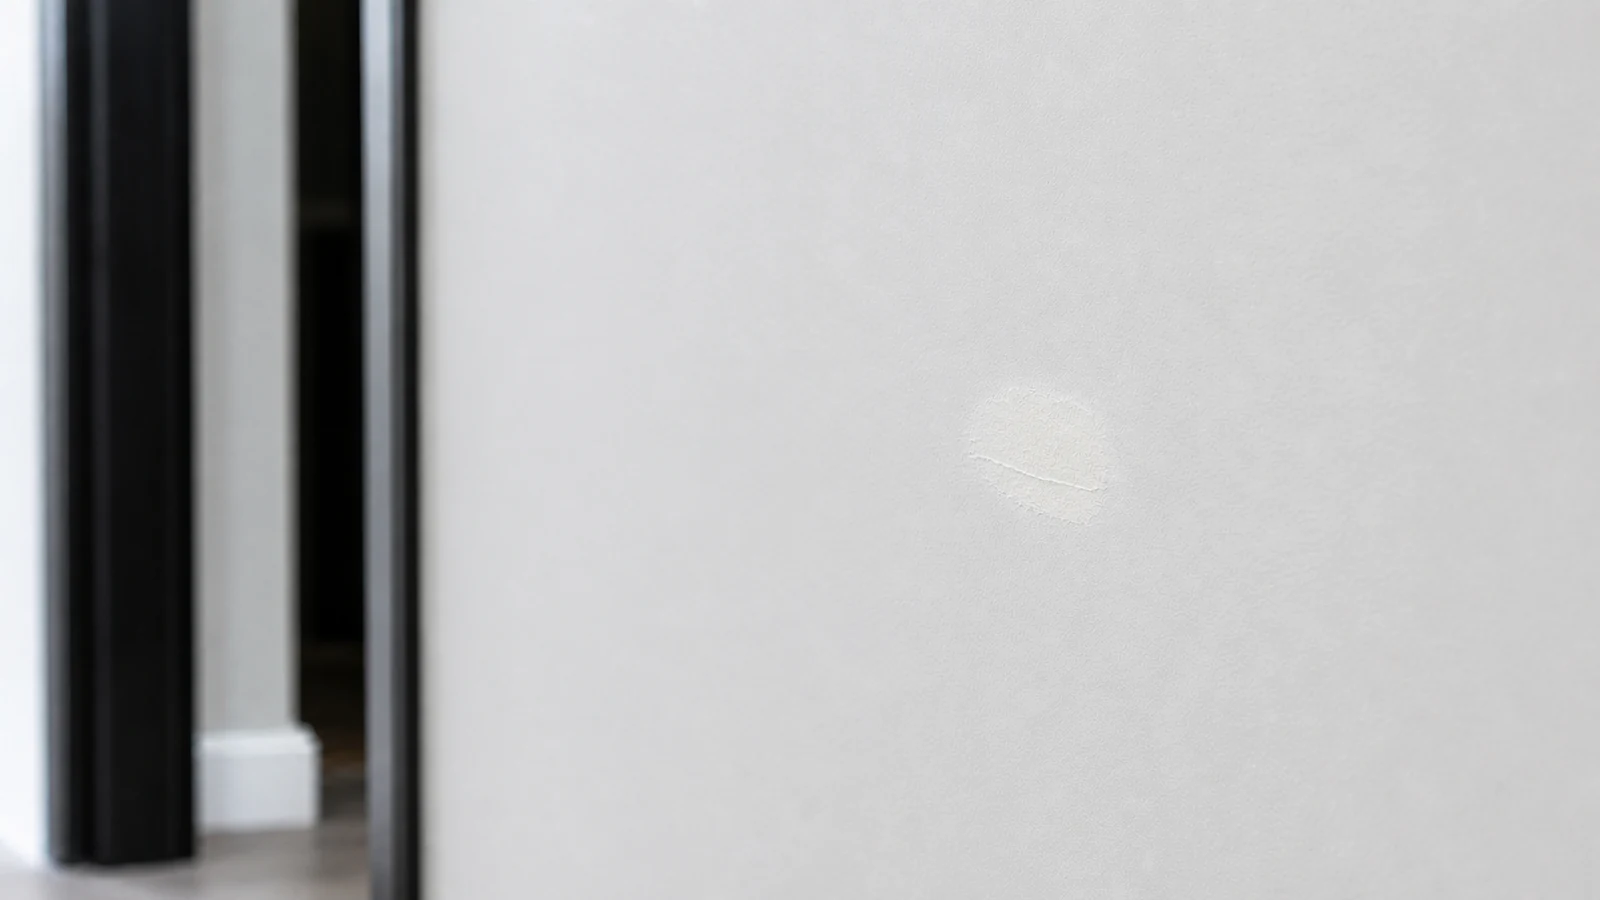
Step 04
Allow the filler to dry completely
Do not touch or sand the repair while it dries. Follow the product label for layer thickness, temperature, humidity and dry-time requirements. Continue only when the label's dry indicator or stated test confirms the filler is ready for sanding and painting.
-
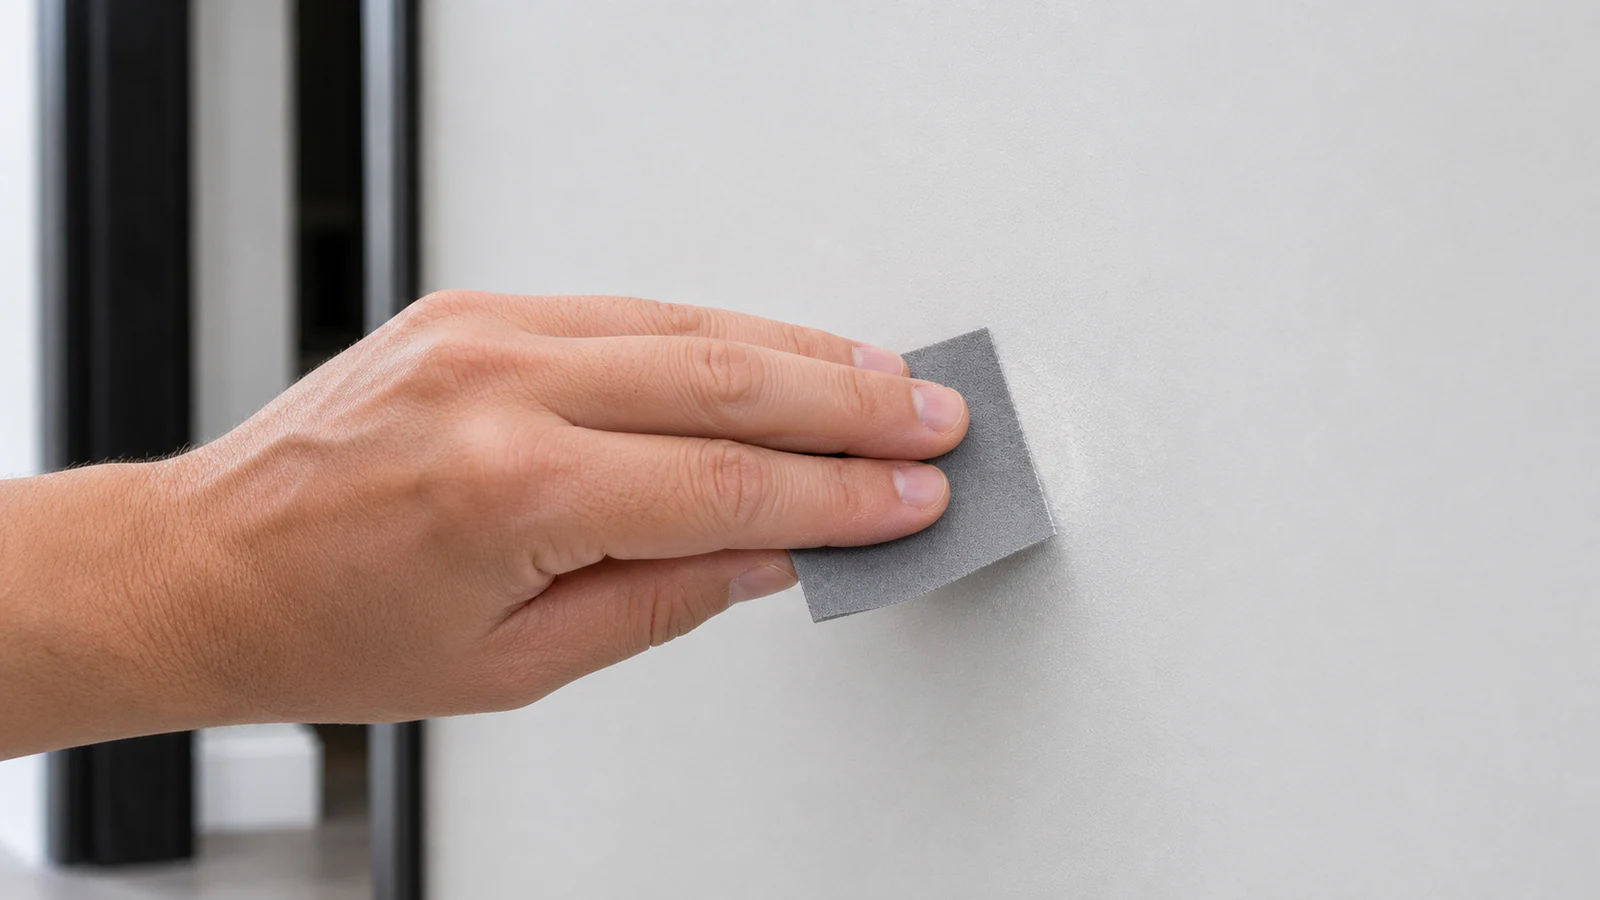
Step 05
Sand the dried filler smooth
Once fully dry, sand the filled area lightly with 220-grit sandpaper using gentle circular motions. Sand only until level with the wall and ridges are gone. Wipe away all dust with a damp cloth and dry.
-
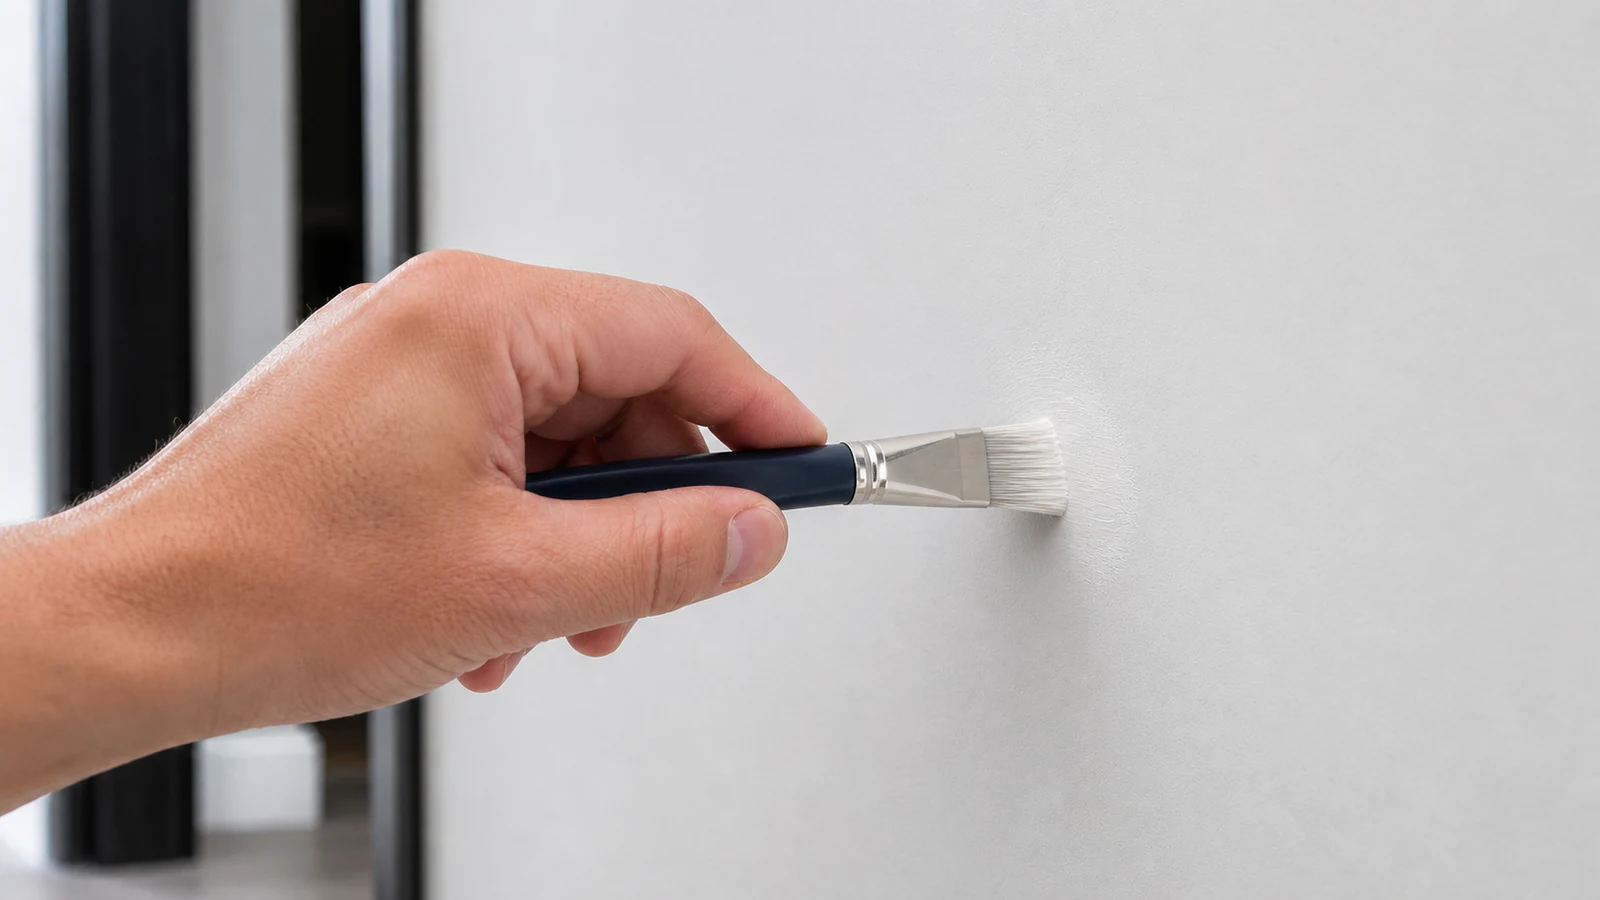
Step 06
Touch up with matching paint
Apply one thin coat of matching paint over the repair and approximately 5 cm around it using a small brush or foam applicator. Feather the paint edge into the surrounding wall to avoid a visible boundary.
Quick answers
Frequently asked questions.
Does toothpaste work for wall holes?
Toothpaste is not durable. It yellows and shrinks within days, leaving a visible crater. It absorbs moisture and is not waterproof. Always use proper wall filler or spackle for permanent, invisible repairs. Use this method only on small nail holes in painted drywall.
Do you sand before or after filling?
Sand only after the filler has dried completely. Sanding wet or partially dry filler will drag it out of the hole. Once fully cured, sand lightly with fine-grit paper to level the surface, then paint. Stop if you find suspected electrical or plumbing penetration.
How long does spackle take to dry?
There is no universal spackle dry time. Product, layer depth, temperature and humidity all matter. Follow the exact label or technical data sheet, including any colour-change indicator, before sanding or painting. Never press or sand a repair merely because its surface looks pale.
Sources and review notes
- DAP DryDex Spackling Technical Data Sheet - Manufacturer application, drying, sanding and substrate requirements.
- US EPA: Renovation, Repair and Painting Program for Consumers - Lead-dust risk and lead-safe practices when sanding older painted surfaces.