
DIY / Kitchen
Slow Kitchen Drain? What Actually Works (Hint: Not Baking Soda + Vinegar)
Baking soda and vinegar fizz because they react, but Poison Control notes that drains are not airtight and the gas generally cannot build enough pressure to eject a clog. Start at the strainer. Clean the P-trap only when it is an exposed, undamaged tubular plastic assembly with removable slip nuts and no chemical drain opener has been used.
Quick answer
Does baking soda and vinegar really unclog drains?
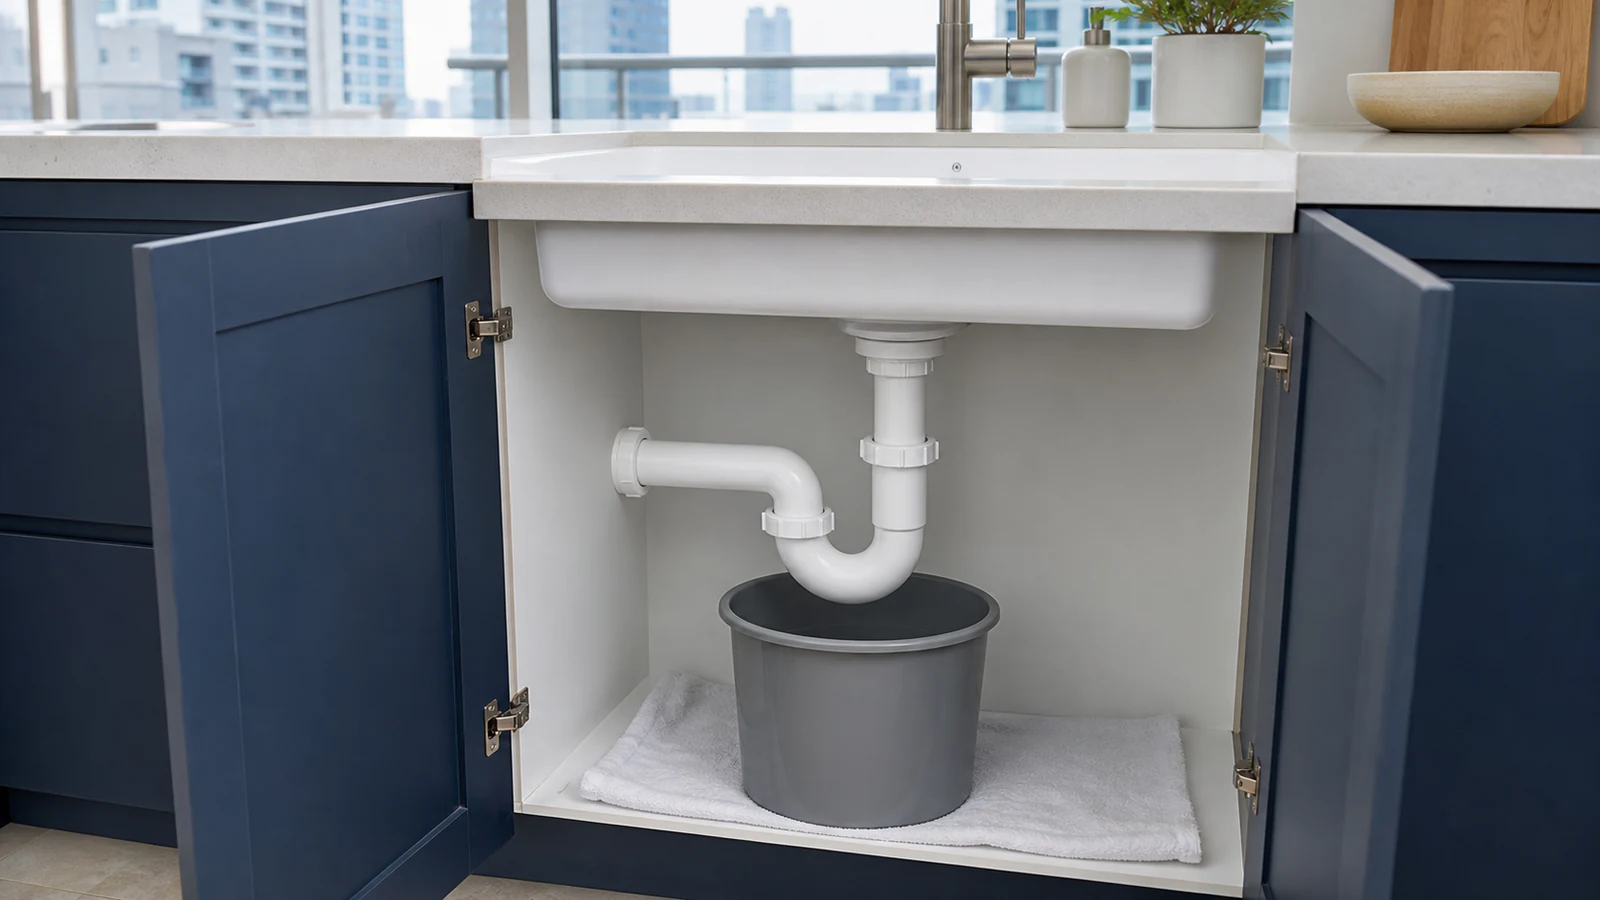
Baking soda and vinegar do not create useful pressure in an open drain. Remove strainer debris first. For a slow sink with an undamaged plastic slip-joint P-trap, place a bucket below, photograph washer positions, clean the trap, reassemble without overtightening and test for leaks. Stop if chemicals, backflow, corrosion or multiple slow fixtures are involved.
Standard kitchen sink drains with accessible hand-serviceable traps / A single slow kitchen sink with visible strainer debris / An exposed tubular plastic P-trap with removable slip-joint nuts
Any drain where a chemical opener, bleach, acid or unknown product has been used / Standing sewage, backflow, multiple slow fixtures or sewage odours / Metal, glued, fixed, concealed, cracked, leaking or corroded traps / Sinks connected to a disposer or unfamiliar dishwasher branch where access is unclear / A rental where plumbing disassembly is not permitted / A blockage beyond the removable trap
What you need
What you need
Use a bucket large enough for the trap water, gloves and eye protection. Do not pour boiling water or add a drain chemical. A wrench is optional and should be used only with gentle pressure on a fitting whose manufacturer allows it.
- Difficulty
- Easy to Medium
- Active time
- 15–20 minutes
- Total time
- 20–40 minutes (including inspection and reassembly)
Bucket (10–12 litre capacity)
1
Mild dish soap
A few drops for washing the removed trap
Warm tap water
1–2 litres for washing the removed trap
Waterproof nitrile or rubber gloves
1 pair
Old towel or cloth
1
Slip-joint pliers (optional; only if manufacturer permits)
1 pair
Hand-held torch
1
Typical UAE retail ranges. Prices vary by pack and store, and your total is lower when you already own the reusable tools.
Step by step
How to Fix a Slow Kitchen Drain
Follow the stops before touching a fitting. This guide covers only an exposed tubular plastic trap with removable slip nuts; it does not cover a disposer, fixed pipework or a blockage farther inside the wall.
-
Step 01
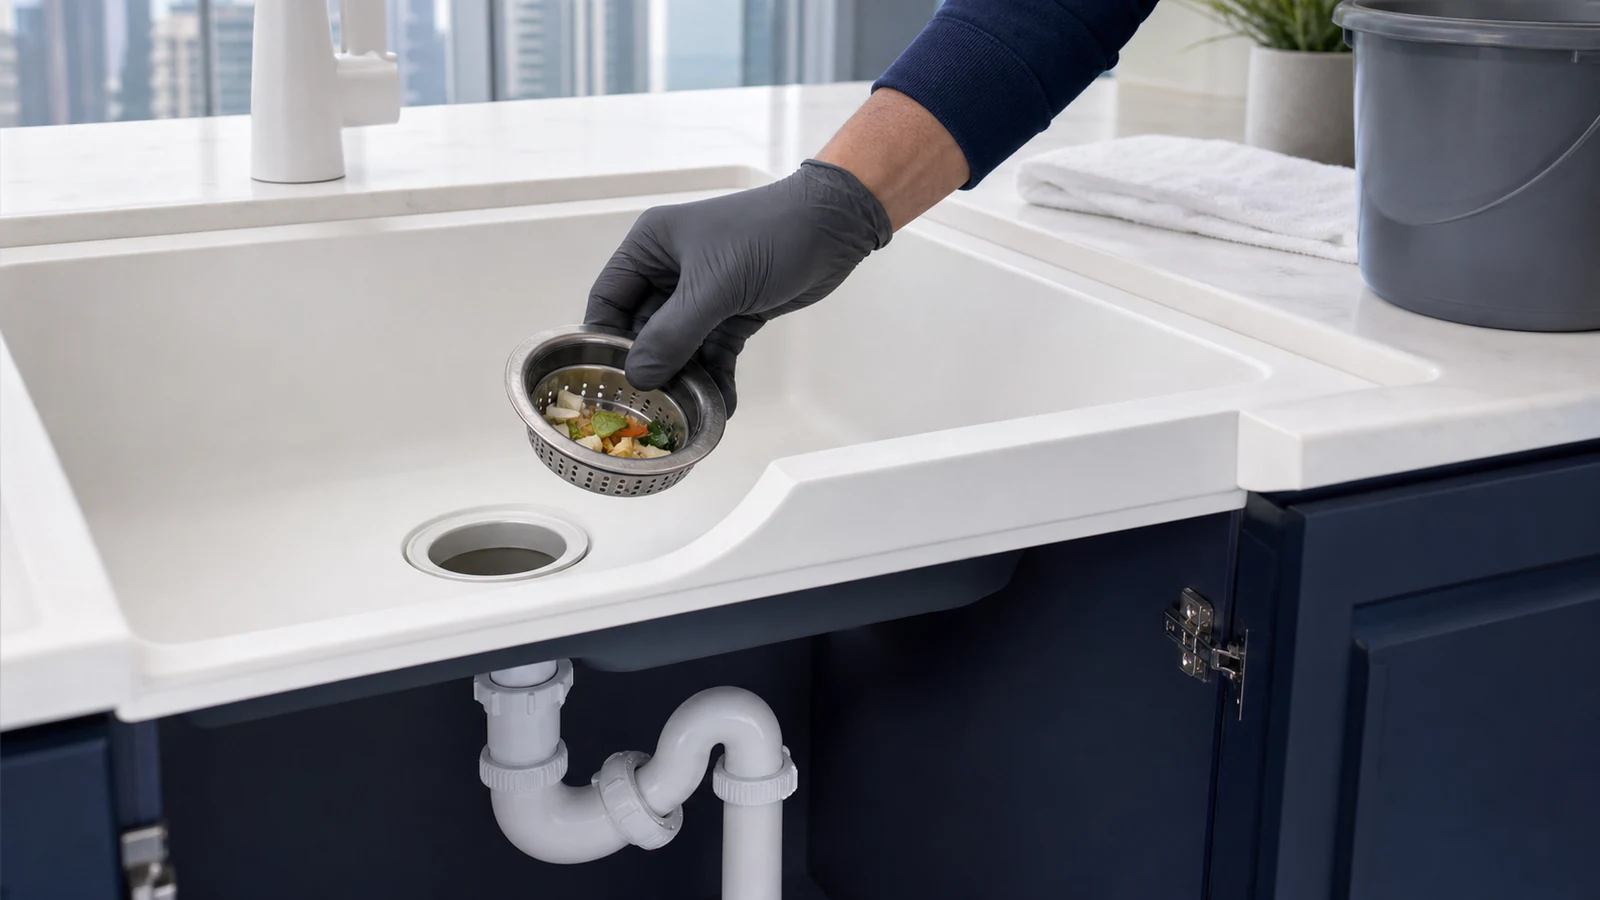
Rule out a plumbing emergency or chemical hazard
Stop and call a licensed plumber if more than one fixture is slow, water backs up elsewhere, sewage is present, a sewage odour persists, the cabinet is wet, or a chemical drain product has entered the sink. Do not plunge, open the trap or add another product after chemical use; tell the plumber exactly what was used.
Only one sink is affected
No drain chemical or unknown cleaner has been used
There is no backflow, sewage, active leak or electrical equipment in the wet area
-
Step 02
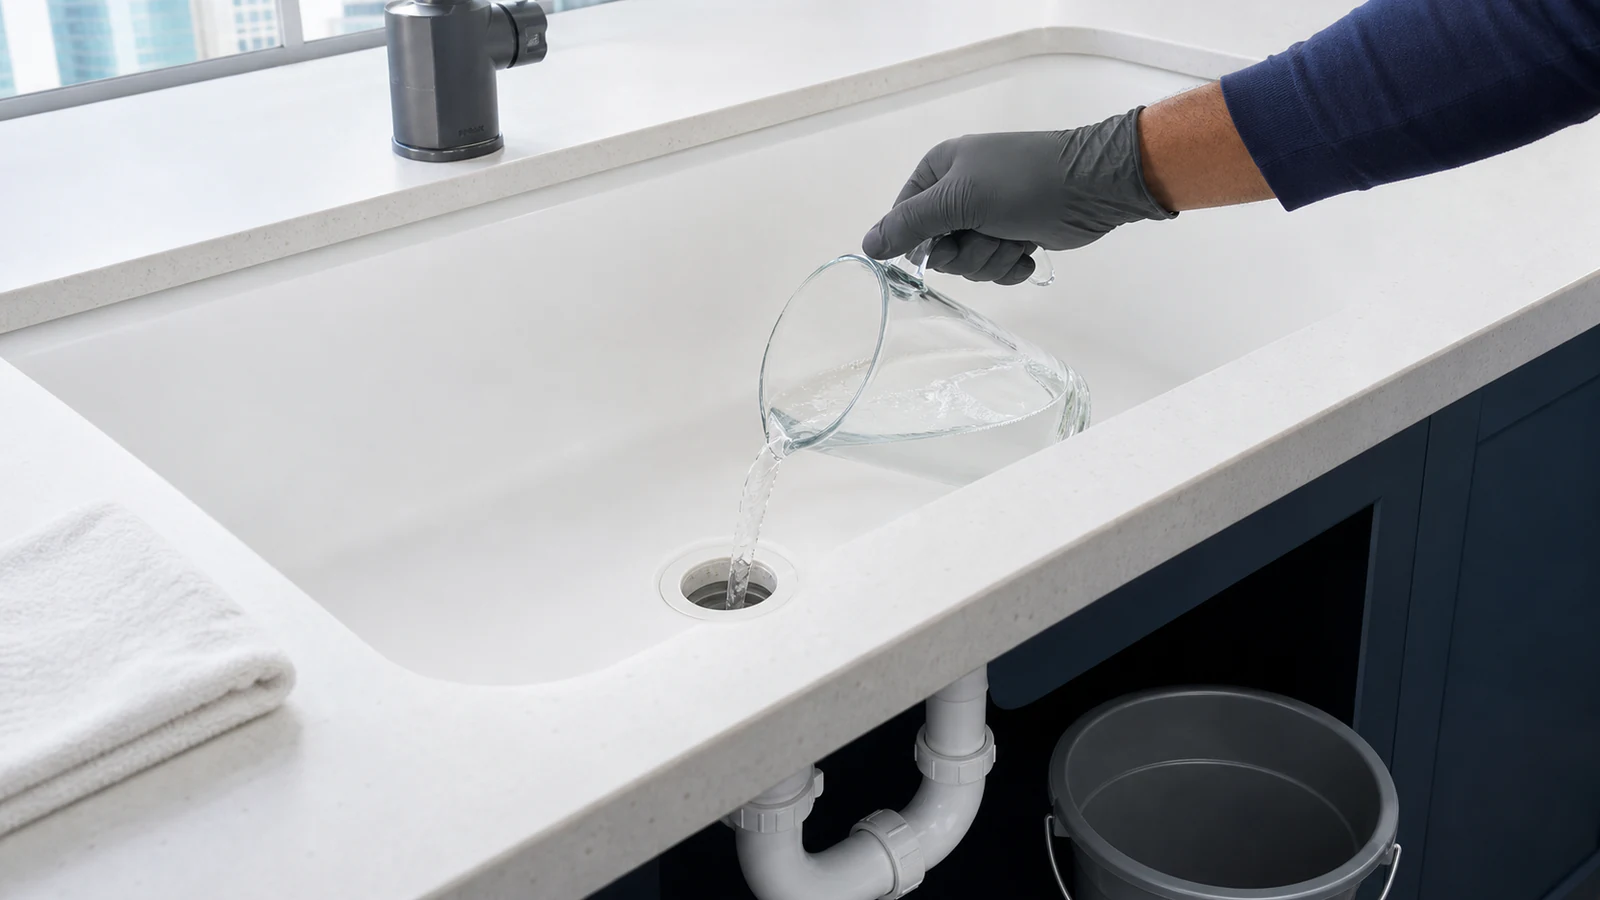
Clear the strainer from above
Remove only the strainer basket or stopper by its documented method. Wearing gloves, lift reachable food residue with your fingers or a blunt plastic tool and put it in the bin. Do not push debris deeper or insert wire into the pipe. Rinse the strainer separately, replace it and run a small amount of cool water to check the flow.
Visible debris is removed to the bin
The strainer is clean and correctly replaced
A small water test does not back up or leak
-
Step 03
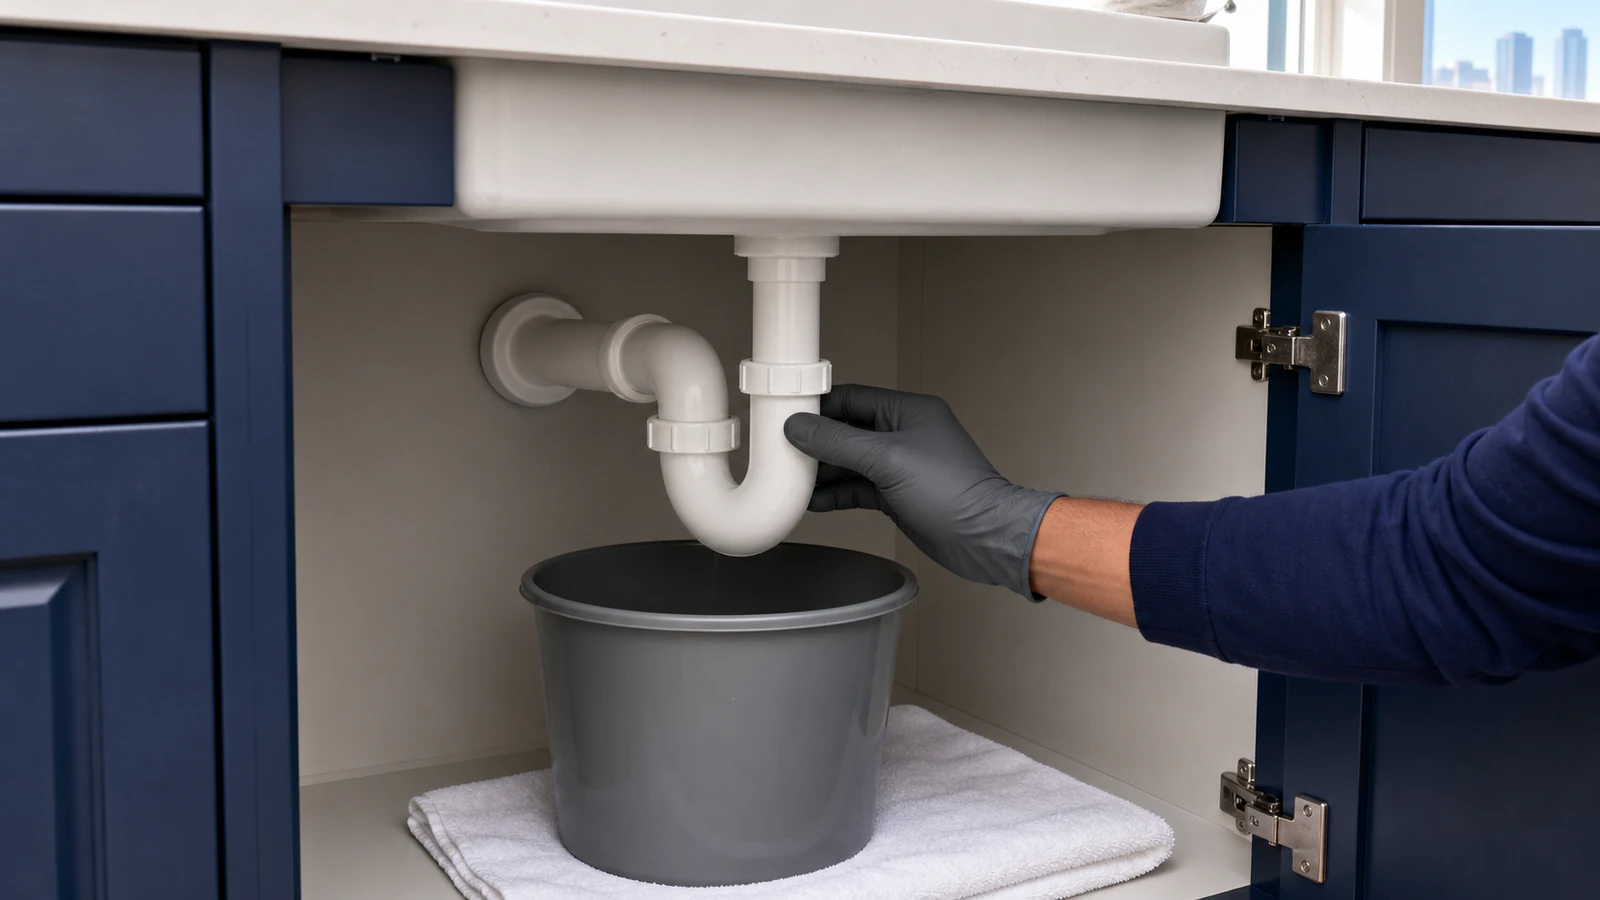
Confirm the P-trap is homeowner-serviceable
Empty the cabinet and identify the curved trap. Continue only if it is exposed tubular plastic with two undamaged slip nuts and no disposer or unfamiliar appliance branch. Stop for glued joints, metal, corrosion, cracks, an existing leak or fittings that cannot be identified. Photograph the assembly and washer orientation before moving anything.
The trap is undamaged tubular plastic with removable slip nuts
The original orientation is photographed
A bucket and towel protect the dry cabinet floor
-
Step 04
Remove the plastic trap without force
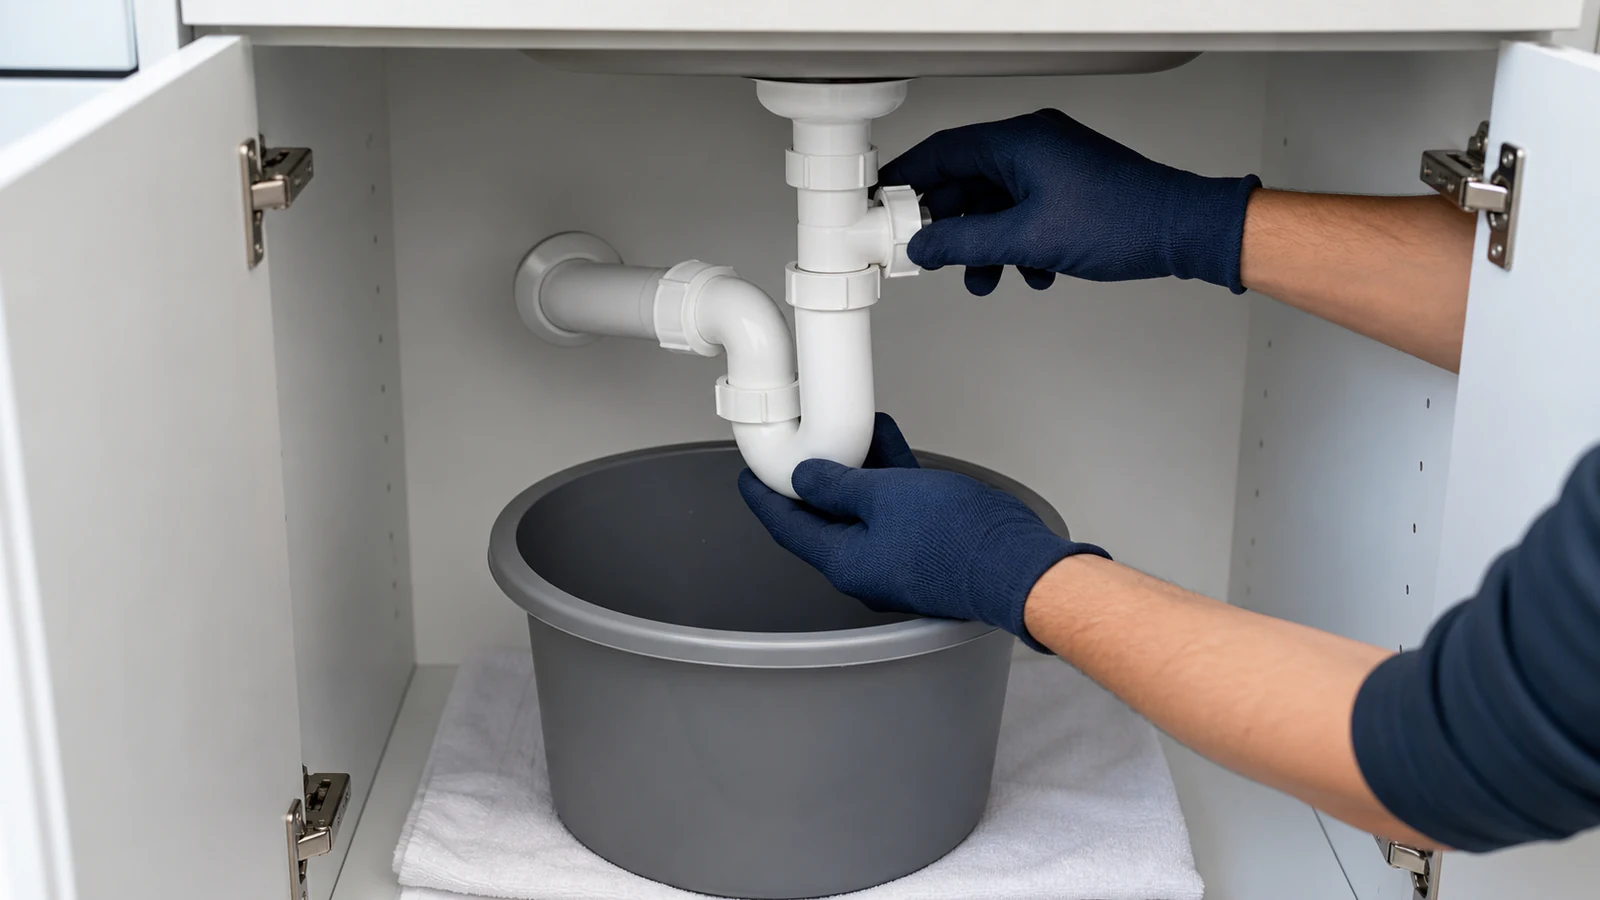
Put on gloves and eye protection, place the bucket directly below and support the trap with one hand. Loosen each slip nut by hand. Use pliers only if the fitting maker permits gentle assistance; stop if a nut binds, cracks or needs force. Lower the trap into the bucket and keep every nut and washer in its photographed order.
Trap water is contained in the bucket
Nuts and washers remain in their original order
No fixed pipe or supply line has moved
-
Step 05
Clean and inspect the removed trap
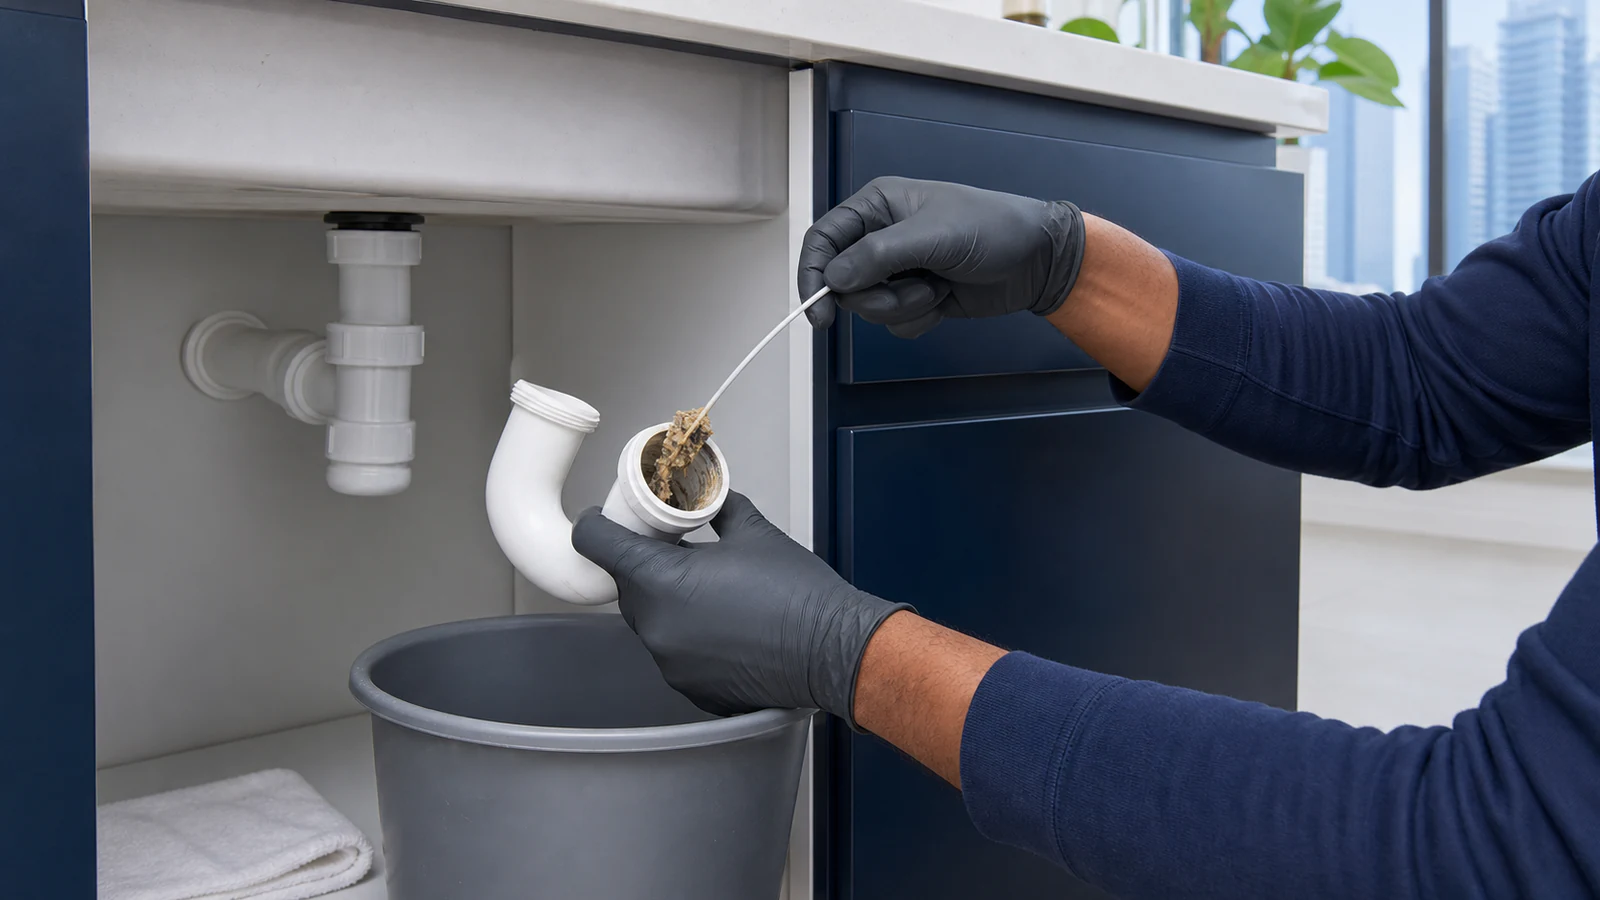
Keep gloves on. Remove debris with a blunt plastic brush and put solids in the bin, not another drain. Wash the trap in a utility basin or bucket with warm water and a few drops of mild dish soap, then rinse it. Replace rather than reuse a cracked trap or a split, distorted or missing washer.
Trap interior is visibly clear
Water flows through it without hesitation
No crack, split washer or damaged thread is present
-
Step 06
Reassemble in the photographed order
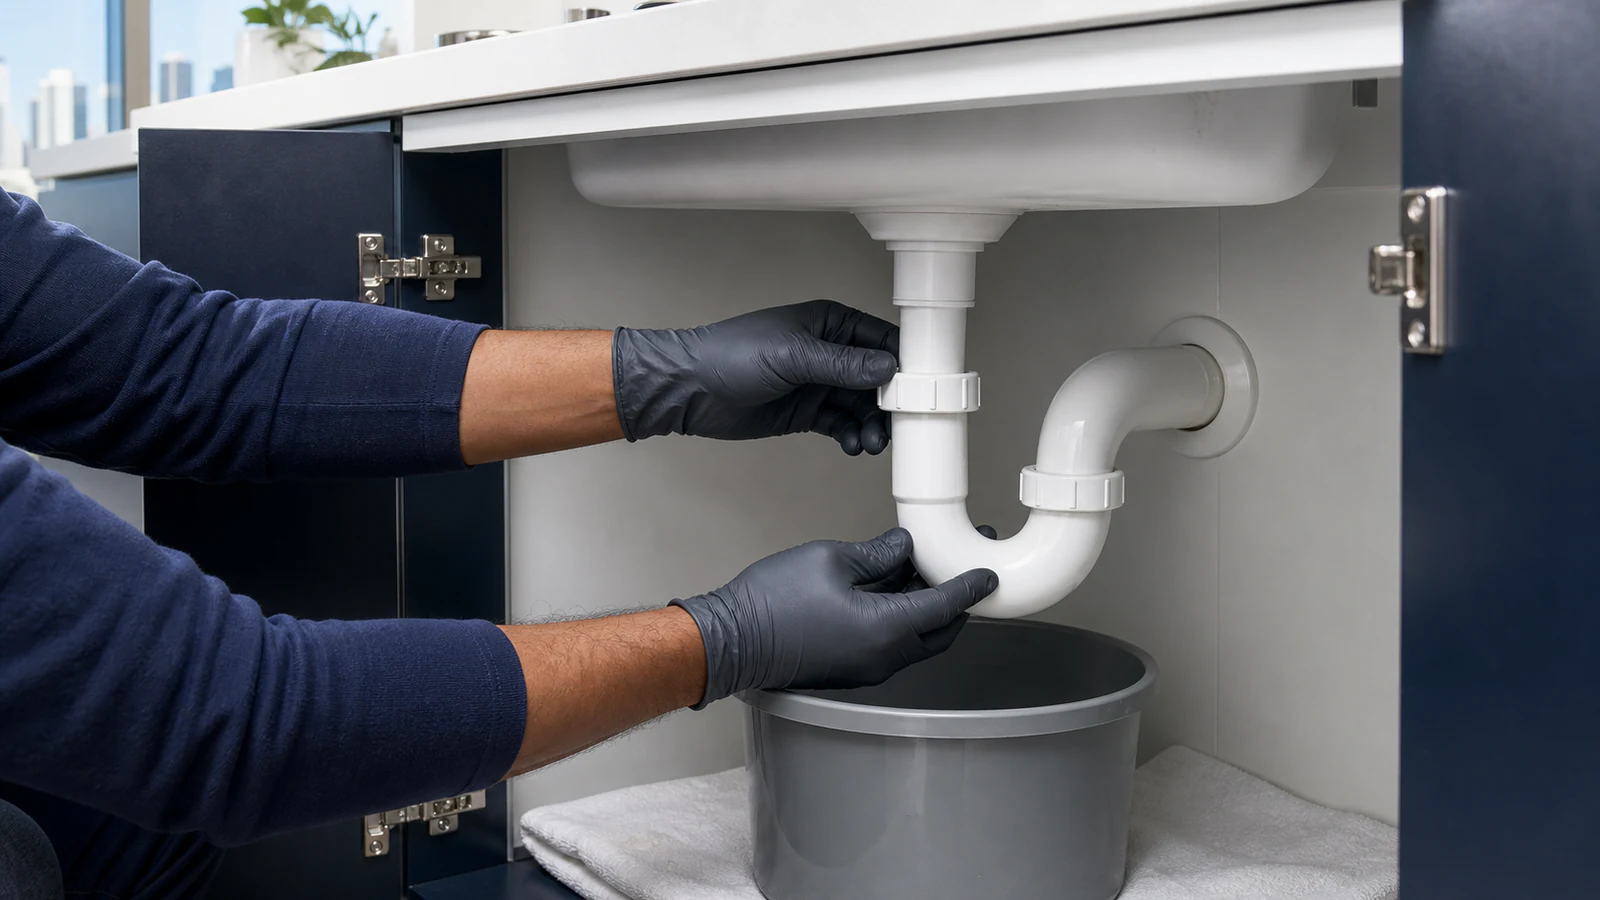
Seat each washer in its original orientation and align the trap without bending connected pipework. Start both slip nuts by hand and tighten them snugly by hand. Do not add thread tape unless the trap maker instructs it, and do not overtighten; Oatey warns excessive force can crack plastic fittings or strip threads.
Washers and nuts match the reference photo
Trap aligns without strain
Both nuts are snug without force
-
Step 07
Test every joint for leaks
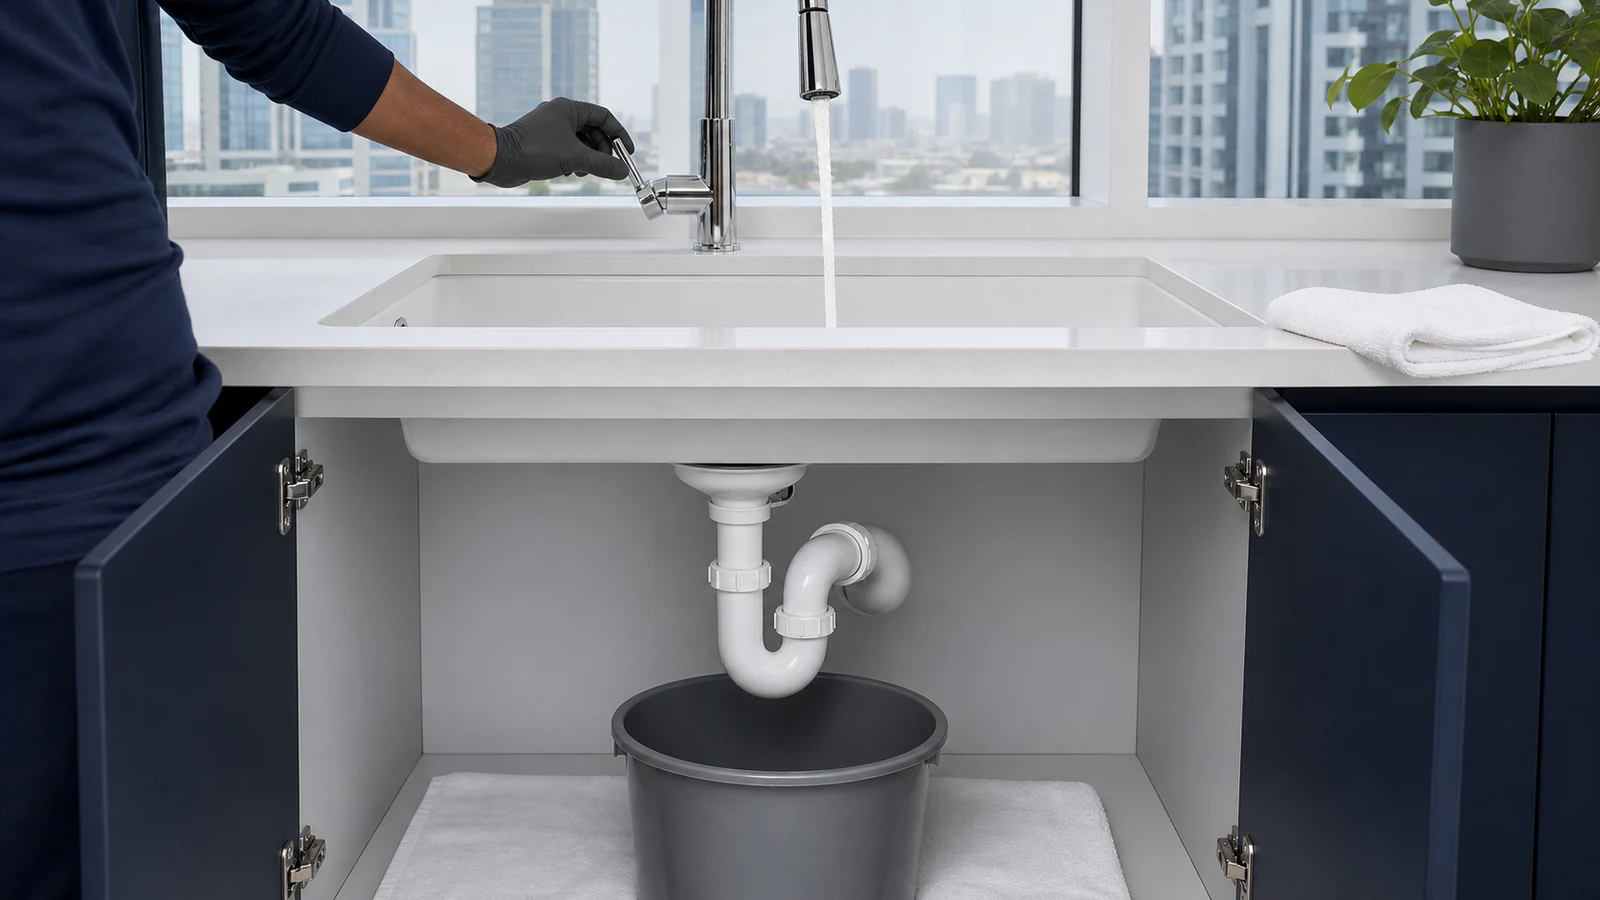
Keep the cabinet open and dry. Run cool water for 30–60 seconds while watching each connection, then stop the water and wipe a dry tissue around every nut to reveal moisture. If any drip appears, stop using the sink. Reseat the washer once only if you can do so without force; otherwise call a plumber.
Drain empties completely without backup
No moisture appears on the dry-tissue check
Water drains without backup
The cabinet remains open for a later leak recheck
Quick answers
Frequently asked questions.
Does baking soda and vinegar really unclog drains?
The reaction creates carbon dioxide, but Poison Control explains that drains are not airtight, so gas escapes instead of creating pressure to eject a clog. Do not add this mixture after any drain product. Clear strainer debris and use mechanical trap cleaning only when safety conditions are met.
How do you clean a sink P-trap?
Only clean an undamaged tubular plastic slip-joint trap. Photograph the washer order, put a bucket below, loosen nuts by hand, lower the trap and clean it with a plastic brush. Reassemble in the same order, hand-tighten without force and run water for 30–60 seconds while checking every joint for leaks.
Why does my kitchen sink smell?
Food in the strainer or trap can smell, but sewage odour may indicate a trap, leak, venting or drainage problem. Do not mask it with chemicals. Stop using the sink and arrange a plumbing inspection when odour persists after cleaning or appears with backflow or slow fixtures.
When should I call a plumber instead of DIY?
Call a plumber if drain chemical was used, sewage or backflow is present, multiple fixtures are slow, the trap leaks, is metal, glued, fixed, concealed, cracked or corroded, a disposer is involved, or a slip nut needs force. Also escalate when cleaning the removable trap does not restore normal flow.
Sources and review notes
- Oatey: How to Install a P-Trap - Manufacturer guidance for slip-joint order, hand tightening, avoiding excessive force and leak testing.
- Oatey: What Is a P-Trap and How Does It Work? - Manufacturer explanation of trap function, debris collection and removable cleaning access.
- National Capital Poison Center: What's in Drain Cleaner? - Medical toxicology guidance on corrosive drain cleaners and the limits of baking soda and vinegar pressure.