
DIY / Kitchen
How to Restore Shine to a Dull Countertop (Quartz vs. Marble)
A dull countertop may have removable residue, but it may also be etched, abraded, heat-damaged or affected by failing resin. Those faults do not share one DIY fix. Confirm the exact material, finish and maker before cleaning, patch-test the approved method and stop if neutral cleaning does not improve the haze.
Quick answer
How do you restore shine to a dull countertop?
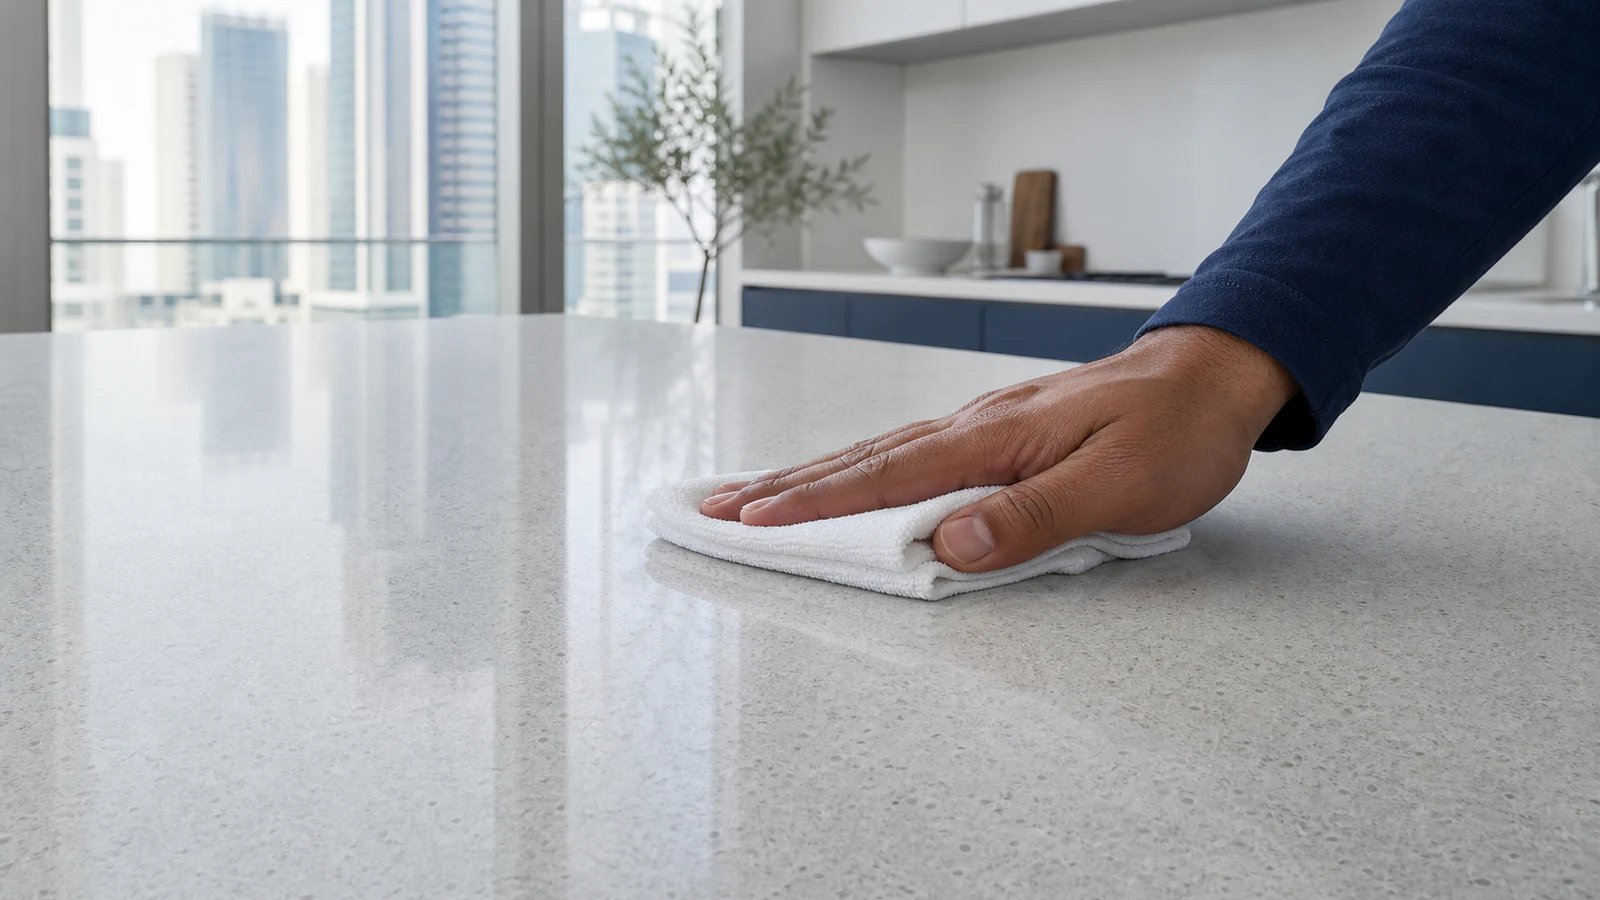
Confirm the exact material, finish and manufacturer, then use its approved neutral cleaner and a soft cloth. Patch-test first, rinse and dry as directed. Use a polish only when the maker explicitly approves one for that product. Acid can etch calcite-based stone; physical etching, abrasion, heat damage and resin damage need specialist assessment.
Intact engineered quartz whose maker and finish are known / Intact natural stone whose supplier and finish are known
Granite or other natural stone without consulting the manufacturer / Countertops with visible cracks, chips or heat damage / Materials you cannot positively identify
What you need
What you need
Materials vary by countertop type. Always check your countertop manufacturer's care guide first. Many polishing products are material-specific, so buying the wrong one wastes money and risks damage.
- Difficulty
- Easy
- Active time
- 15–20 minutes
- Total time
- 30 minutes including drying
Manufacturer-approved neutral cleaner for your countertop type
as labelled
Manufacturer-approved polish (quartz or marble-specific)
as labelled
Microfibre cloths (pack of 3–5)
2–3 cloths for the task
Soft cotton or linen cloth for drying
1 cloth
Typical UAE retail ranges. Prices vary by pack and store, and your total is lower when you already own the reusable tools.
Step by step
How to Restore Shine to a Dull Countertop (Quartz vs. Marble)
The method depends on your countertop material. Begin by identifying what you have, then follow the appropriate cleaning and polishing sequence.
-
Step 01
Identify your countertop material
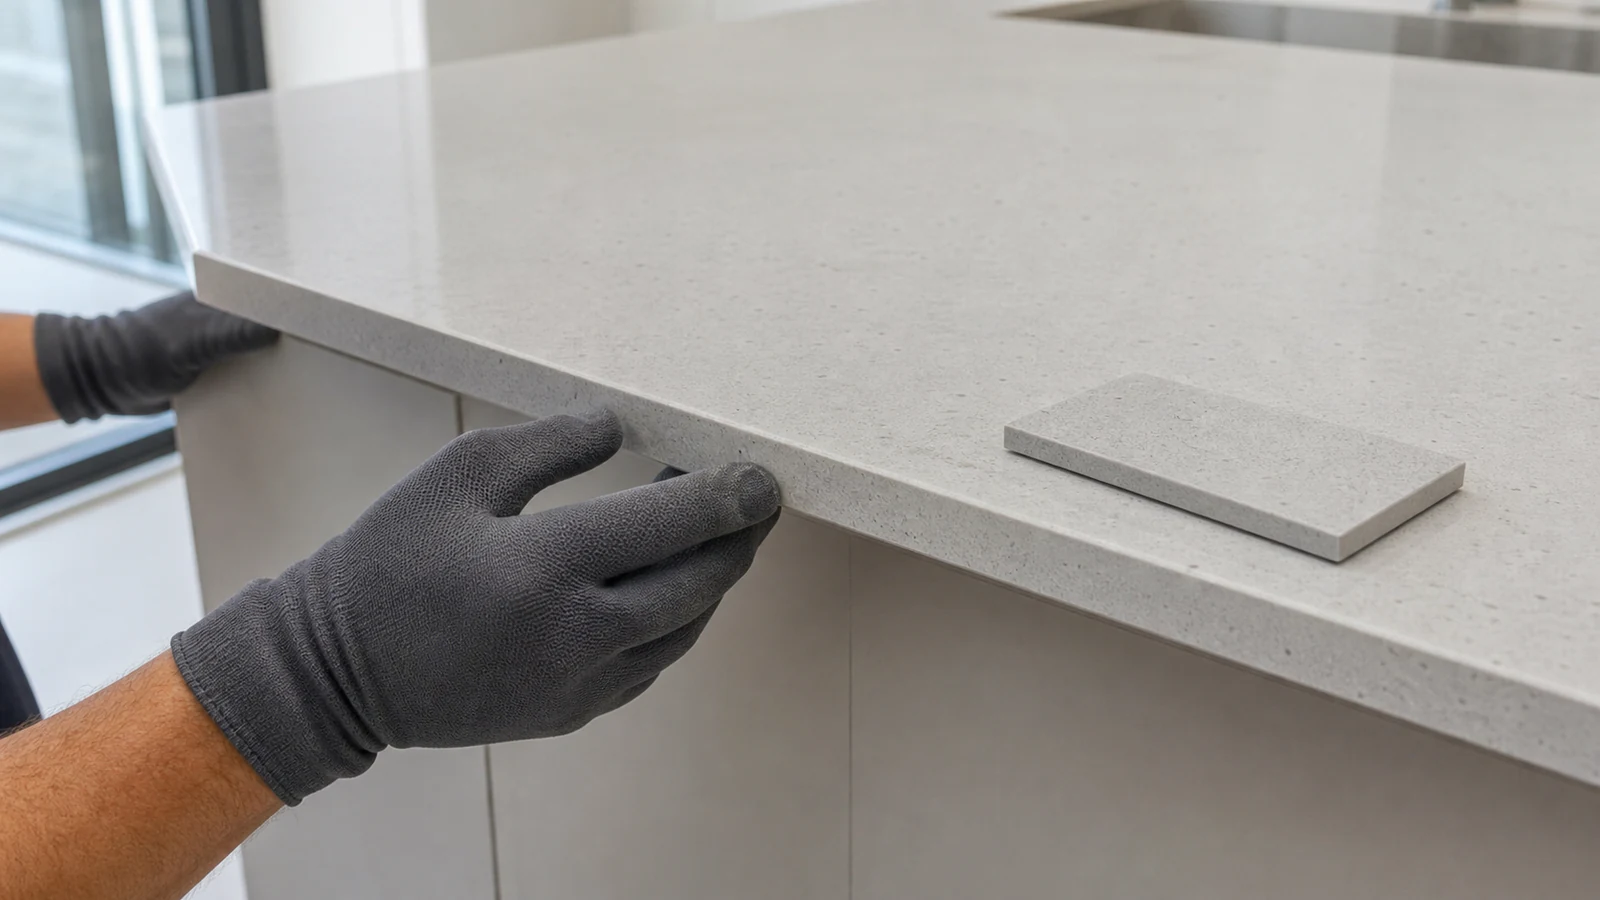
Check purchase documents, the builder's specification, an underside label or the countertop supplier. Appearance and touch are not reliable identifiers because engineered surfaces can imitate stone. Record the exact product and finish, then open its current care guide. Do not continue if the material remains unknown.
You can name the material with confidence (e.g., 'Caesarstone quartz' or 'Marmi bianco marble')
You have access to the care label or manufacturer's guide
-
Step 02
Test the cleaner on a hidden area
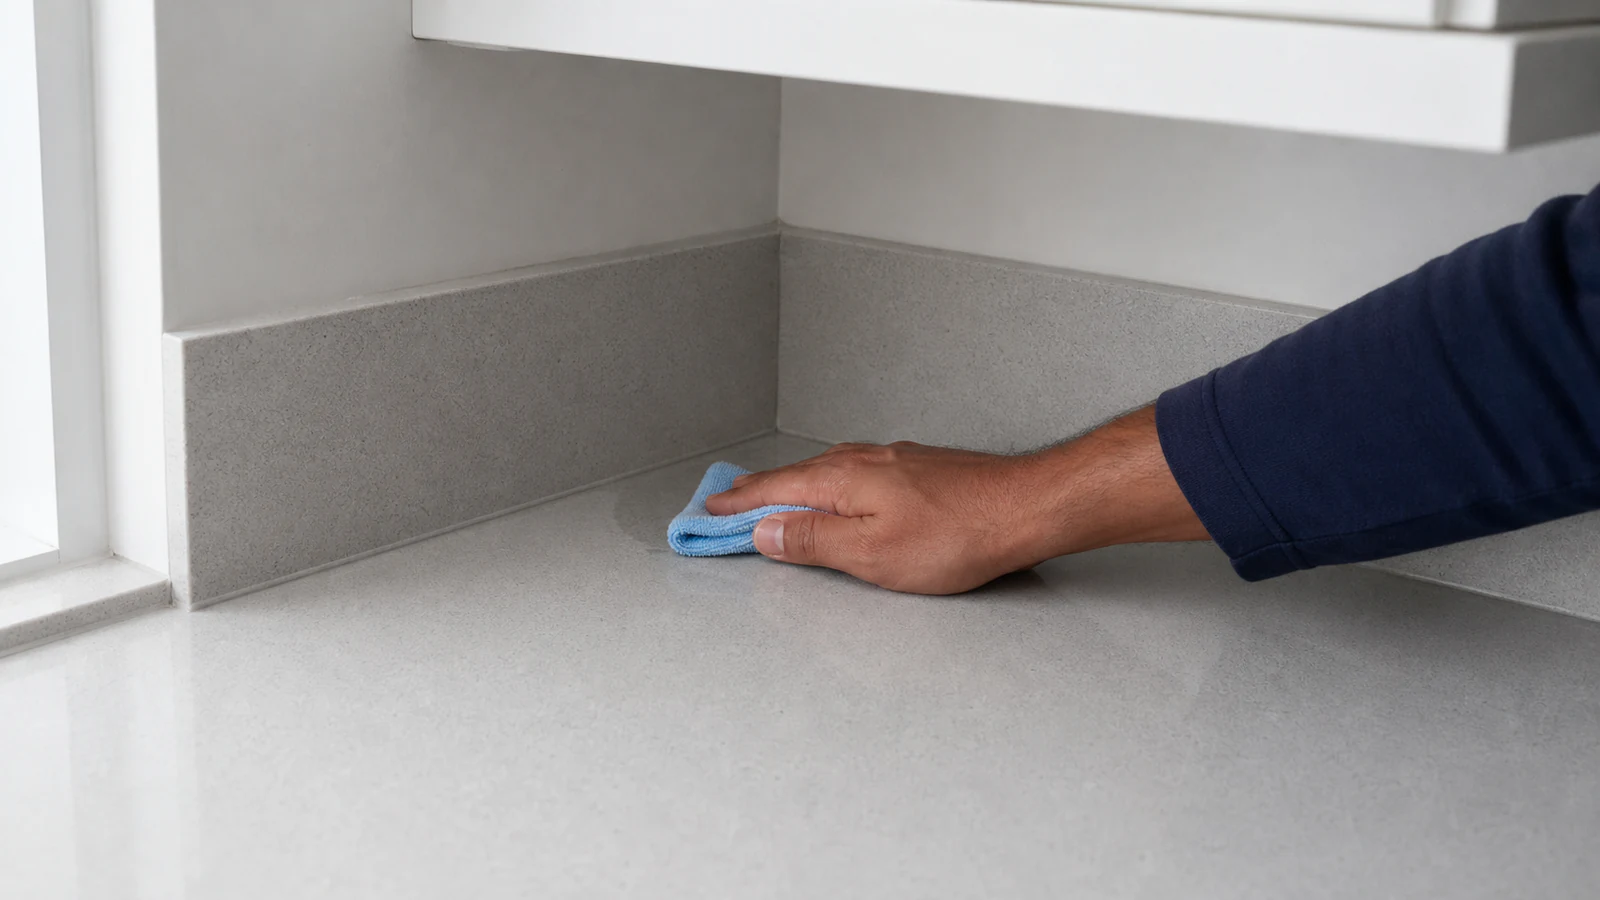
Test the maker-approved cleaner in a corner or under an overhang. Apply, dwell, rinse and dry exactly as its label and the surface guide direct. Inspect after full drying for colour transfer, dullness, streaking, roughness or a sheen change. Stop if any change appears.
The test area shows no discolouration or damage
The cleaner smell is not overwhelming in the ventilated space
-
Step 03
Clean the entire surface with neutral cleaner
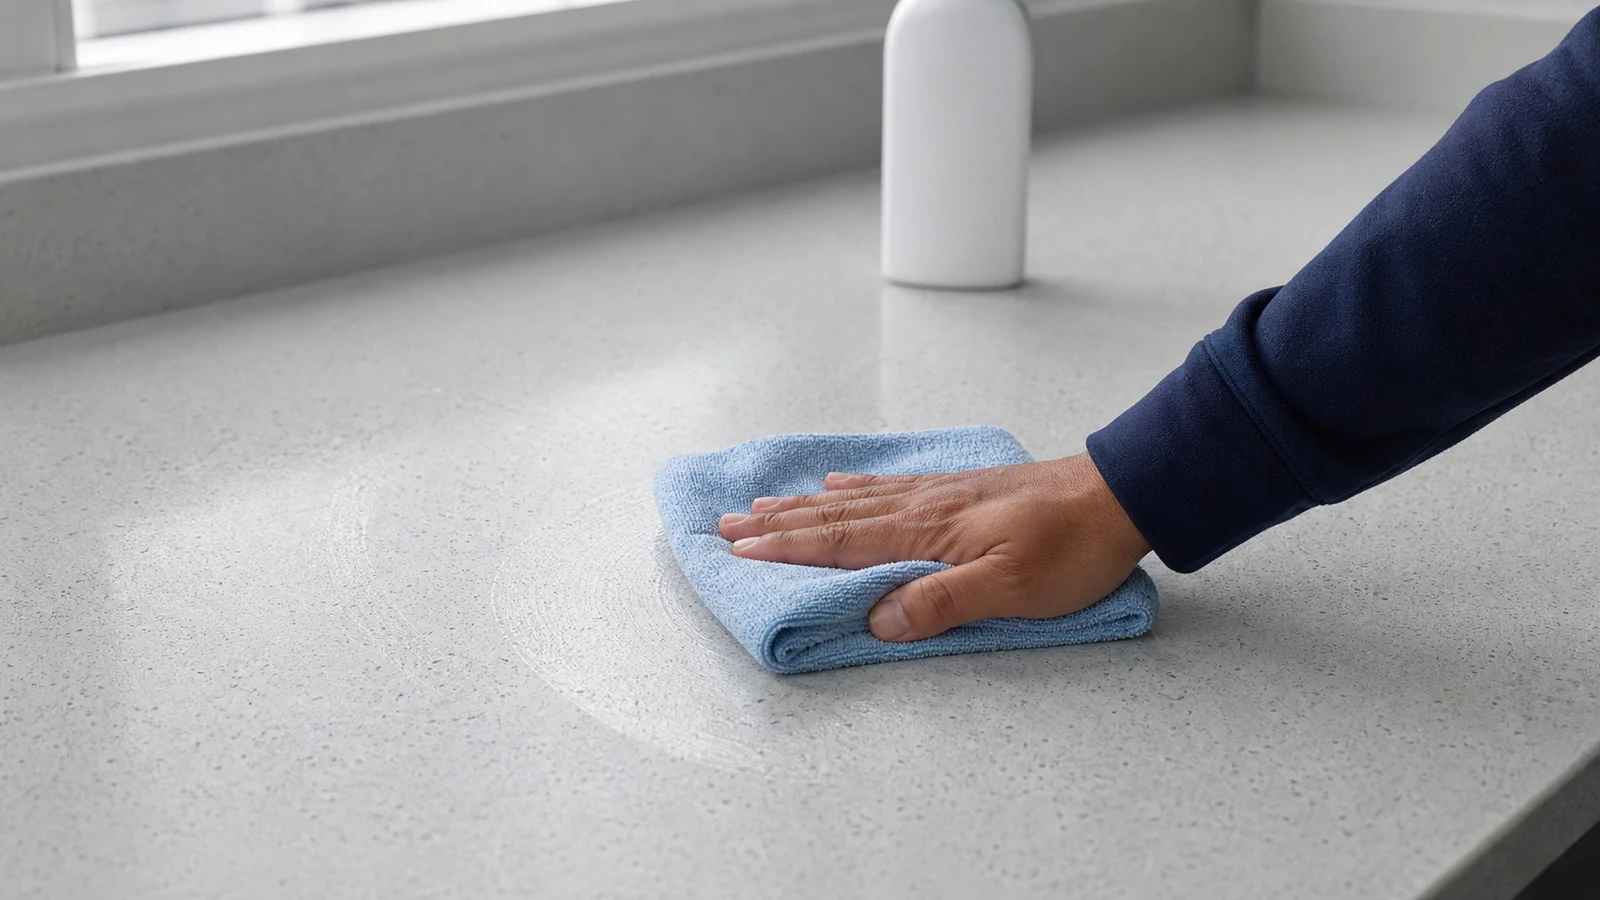
Apply only the cleaner and cloth method approved for the exact surface. Put cleaner on the cloth when the guide requires it, keep liquid out of seams and edges, and use light pressure. Rinse or wipe with clean water as directed, then remove all residue. Never use acid on marble, limestone, travertine or another calcite-based stone.
No cleaner residue or streaks remain on the surface
The countertop feels dry to the touch in places
Any visible dust, fingerprints or light grease is gone
-
Step 04
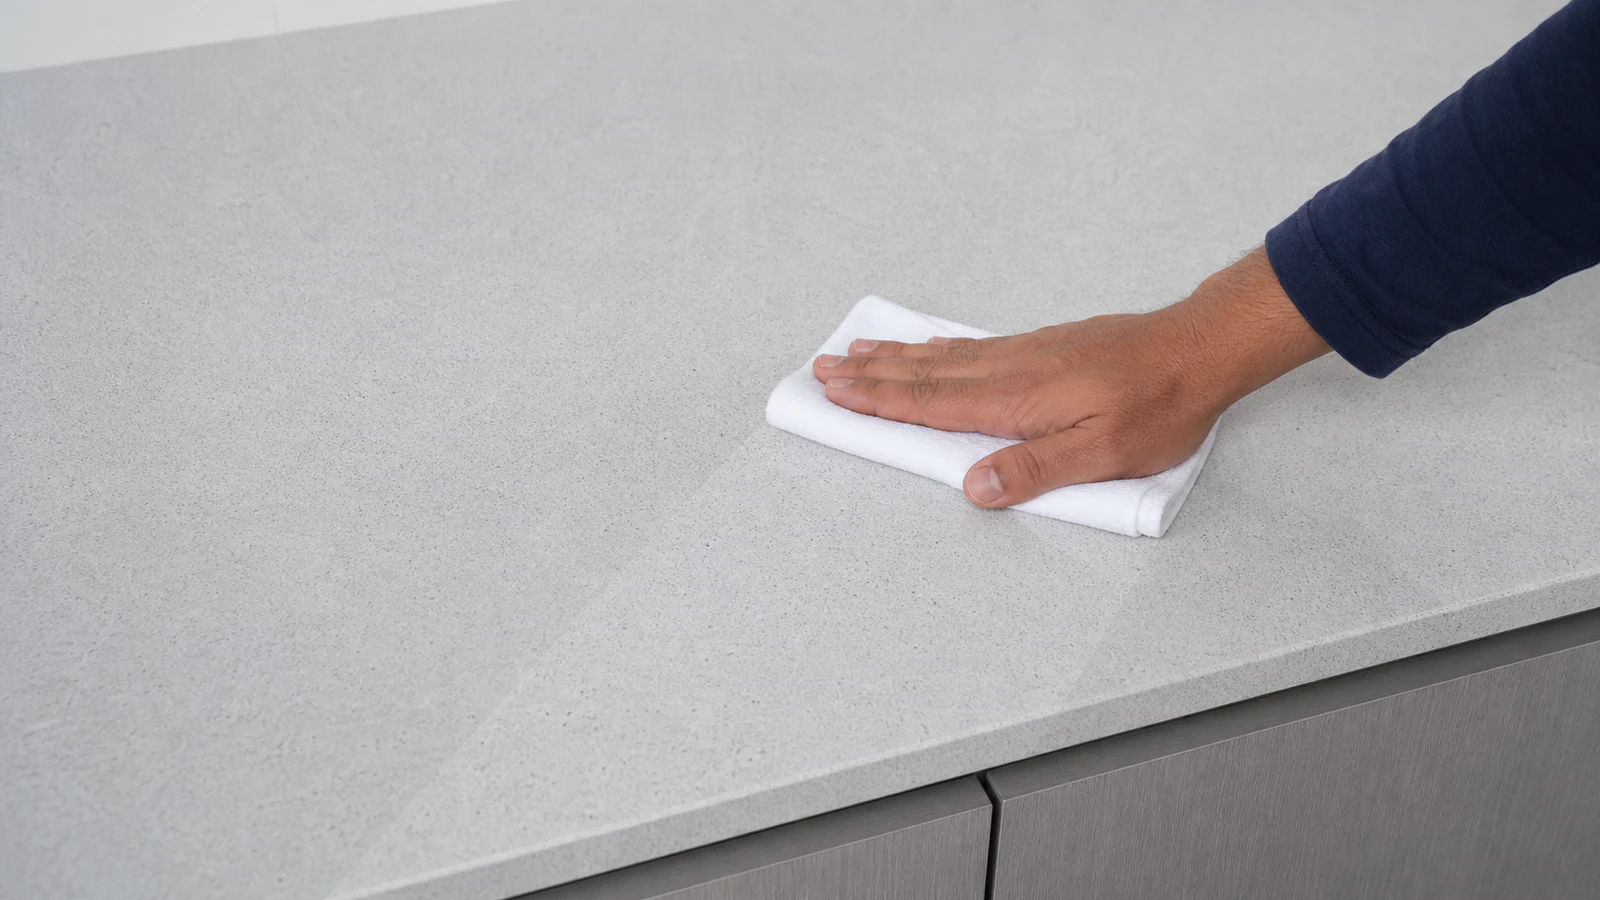
Dry the surface completely
Dry the countertop with a clean, soft cloth, including edges and seams. Inspect it under side light only after it is fully dry. If the haze has cleared, stop here. If it remains, compare its texture and boundary with the surrounding finish before considering any maker-approved next step.
No wet patches or moisture beads are visible
The surface feels completely dry when you run your hand across it
No condensation or dampness in crevices or seams
-
Step 05
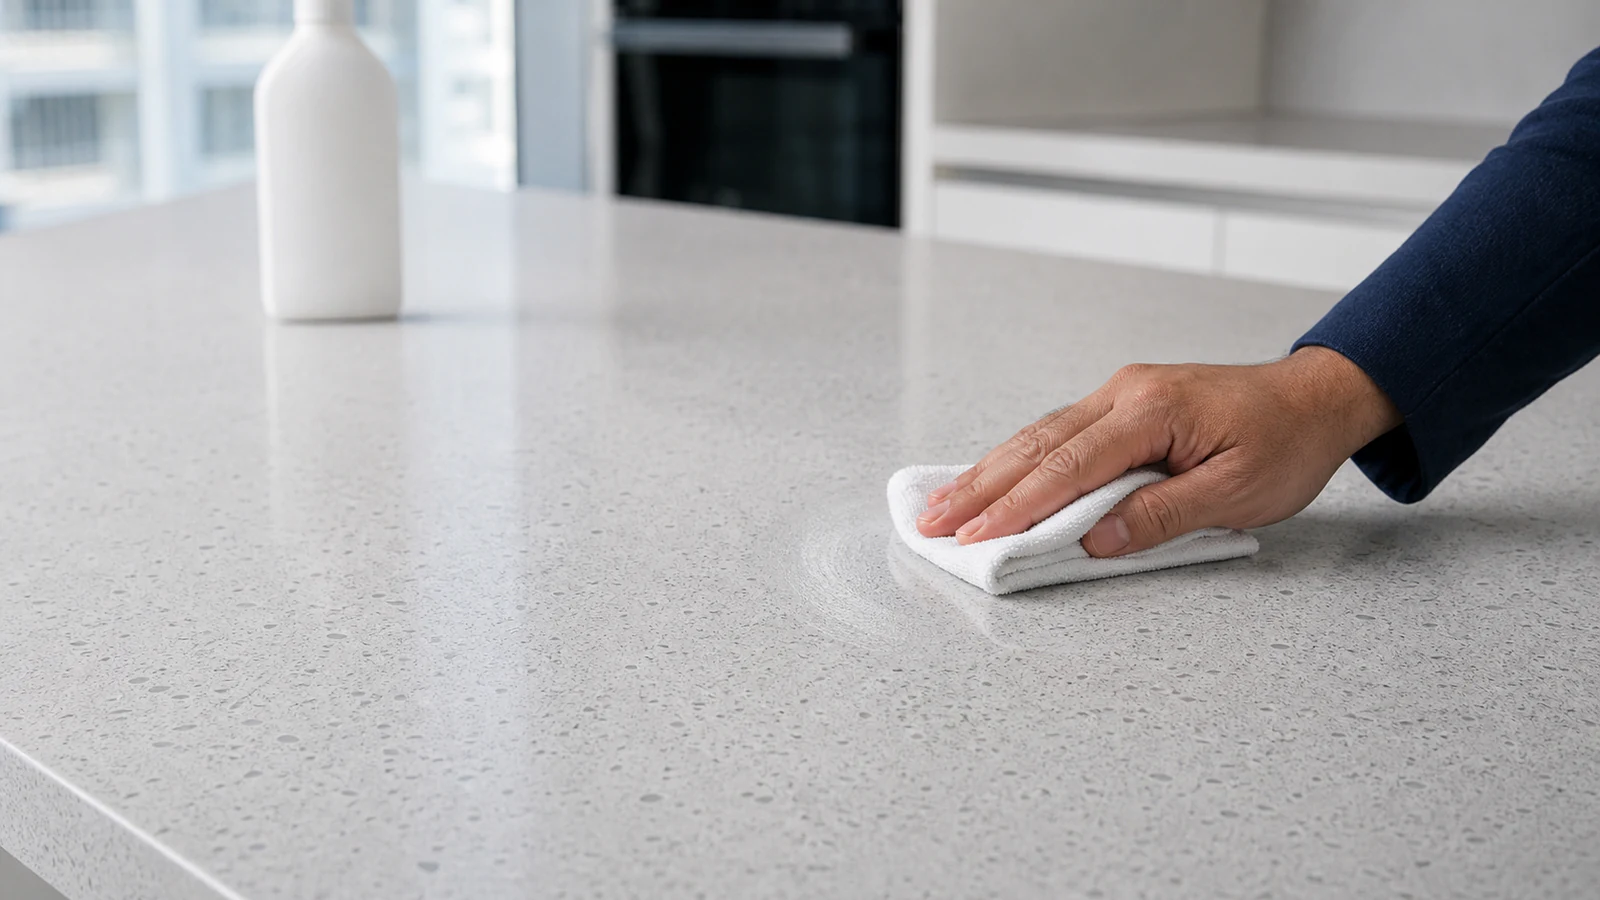
Use polish only when the surface maker permits it
Skip polishing unless the exact countertop care guide names or permits a polish for that finish. If it does, patch-test and follow the product label for quantity, applicator, motion, dwell and ventilation. Keep product out of seams and food-contact items, and stop for any colour, texture or sheen change.
Polish is applied evenly with no thick patches or visible puddles
The smell is present but not overwhelming in a ventilated space
You can see the polish beginning to create a slight wet sheen
-
Step 06
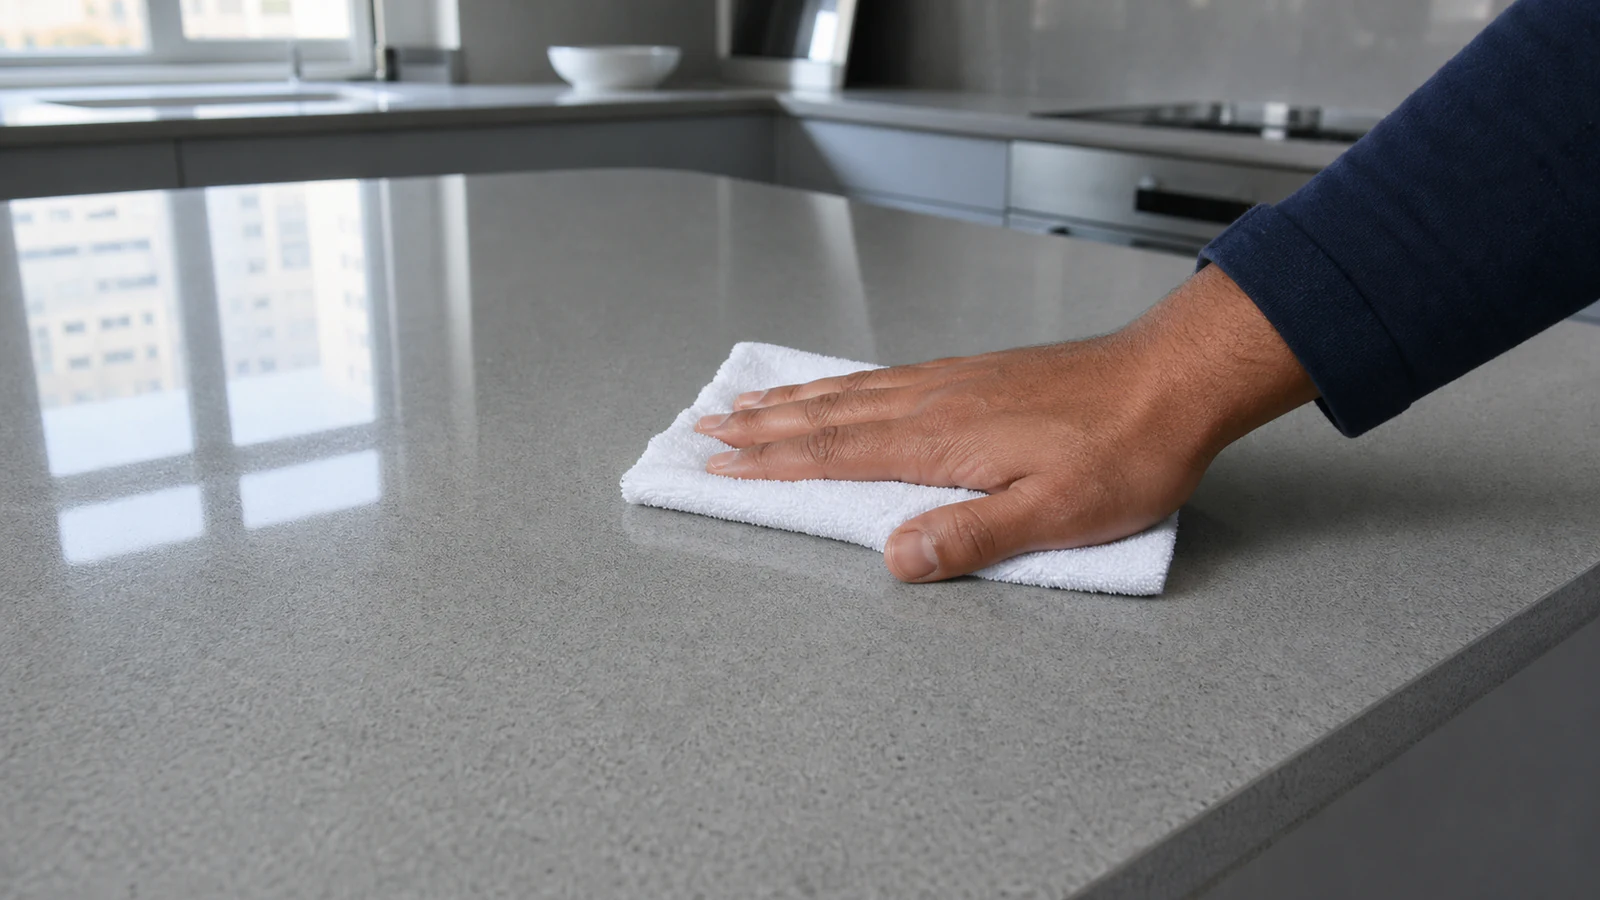
Buff only as the approved product directs
If an approved polish was used, buff only with the applicator, pressure and motion stated on its label. Do not improvise with abrasive powder, a powered pad or firm scrubbing. Remove all residue. Stop after this single tested application if the dull area remains or becomes more visible.
The countertop surface is uniformly shiny with no dull or cloudy patches
No streaks, fingerprints or dust are visible in the finish
The reflection of light across the surface is even and bright
-
Step 07
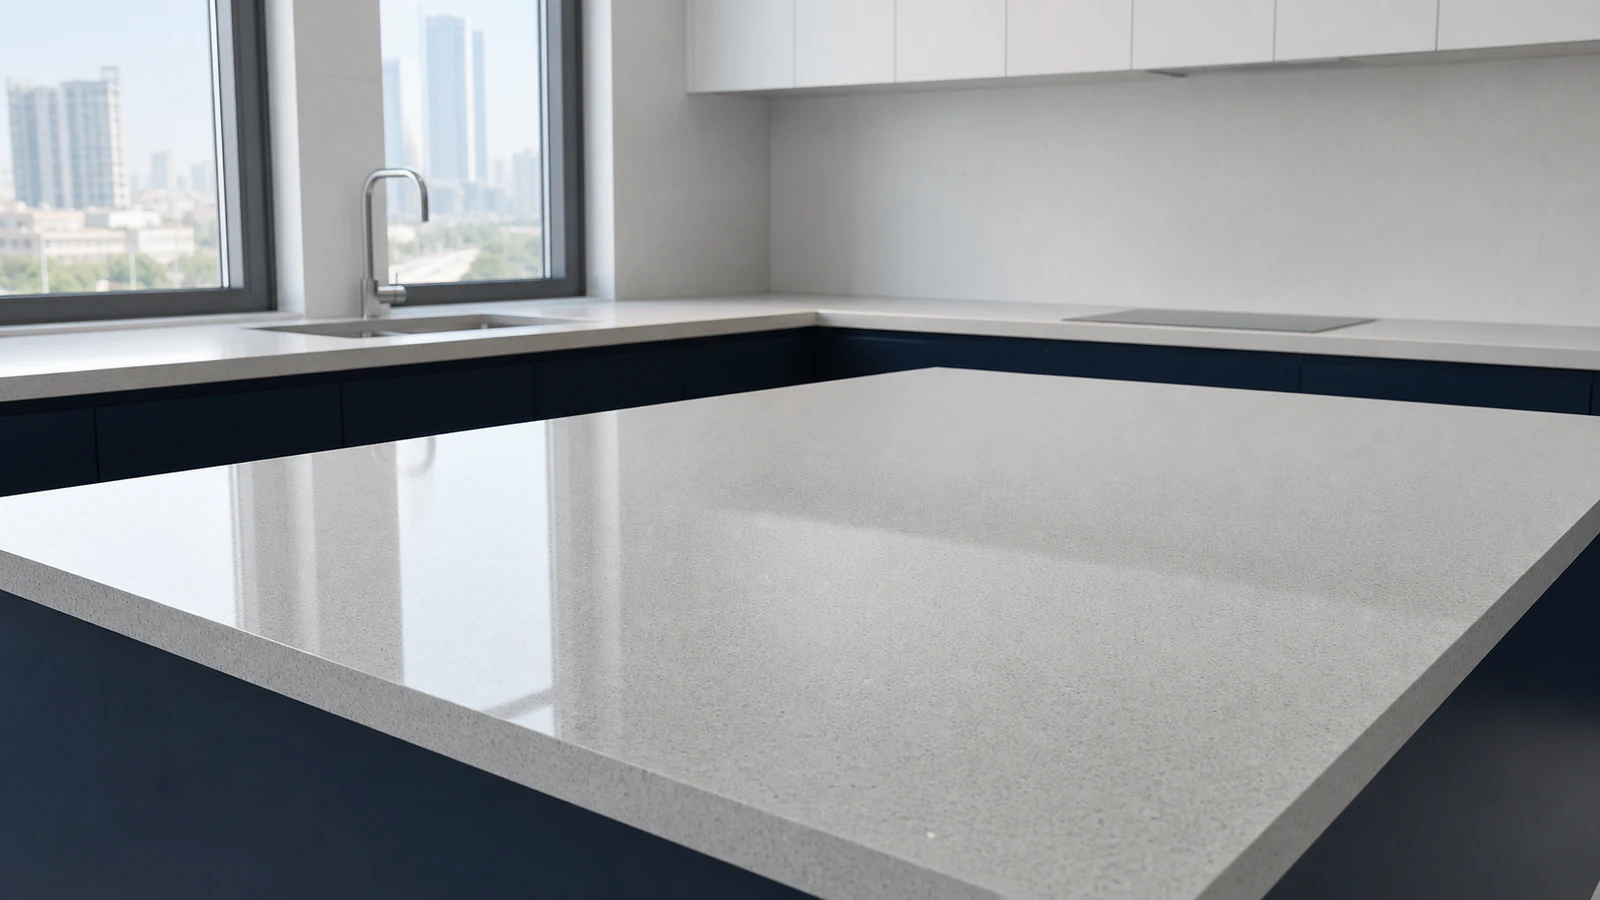
Allow the polish to cure and inspect
Observe any cure or food-contact interval on the approved product label. Once dry, inspect in natural and artificial light. Stop and contact the maker or a stone specialist for cracks, chips, heat marks, swelling, delamination, rough etching or haze that remains after neutral cleaning and one approved test.
The polish has fully hardened and is not tacky
The surface shows uniform shine across all areas
No haze, streaks or dull patches remain visible
Finished result
What success looks like
Successful cleaning removes surface residue without changing colour, texture or sheen. It does not promise to reverse etching, scratches, heat damage, resin degradation or wear.
The surface is uniformly glossy with no dull, cloudy or rough patches
Light reflects evenly across the entire countertop
No streaks, haze or residue are visible in natural or artificial light
The surface is smooth and dry to the touch
Any remaining dull area is documented for the manufacturer or a stone specialist
Quick answers
Frequently asked questions.
Can you use vinegar on quartz countertops?
Do not assume vinegar is compatible with engineered quartz. Check the exact maker's care guide because resin systems and finishes differ, and acid can also reach stone, grout, metal or seams nearby. Use the approved neutral cleaner instead. Never use vinegar on calcite-based marble, limestone or travertine.
Why did my countertop lose its shine?
Dullness results from surface residue or soap scum, microfibre scratches, etching from acidic spills on marble, heat damage from hot pans, or resin degradation from UV exposure or harsh cleaners. If you are unsure of your stone type, do not use any acid.
How do you polish marble at home?
First confirm the exact stone and finish. Use only the supplier-approved neutral cleaner. A dull rough patch may be etching and cannot be cleaned away. Use a polish only if the stone supplier explicitly approves that product and method; otherwise ask a qualified stone restorer to assess it.
What if my countertop material is unknown?
Do not attempt polishing. Contact the developer or previous owner for care guides. You can also invite a local stone supplier to identify the surface in person. Using the wrong cleaner or polish causes permanent damage. Stop if you find unknown material.
Sources and review notes
- Caesarstone quartz surface care and maintenance - Manufacturer guidance for cleaning engineered quartz and avoiding unsupported polishing methods.
- Natural Stone Institute: natural stone care - Industry guidance on identifying stone, avoiding acids on calcite-based materials and escalating etching.