
DIY / Floors
Scratches on Wood or Laminate Floors: 3 Fixes by Depth
Wood, engineered wood and laminate may look similar but their finishes and repair systems are not interchangeable. The three safe responses are: clean a superficial mark, use the exact flooring maker's approved repair system for light damage, or stop and request plank-level repair for a gouge. This guide excludes walnut, generic wax, epoxy and sanding.
Quick answer
Does the walnut trick really work on scratches?
Skip the walnut trick. Identify the floor brand and finish, clean the mark with its approved method, and use only the exact maker-approved repair system after a hidden test. Do not improvise with oil, generic marker, wax, epoxy or sandpaper. A deep, white, splintered, swollen or moving board needs the installer.
Known-brand laminate with an intact finish / Known-brand engineered wood with an intact factory finish / Known-brand wood flooring where the care guide permits a cosmetic repair
Vinyl, linoleum, bamboo, cork or unidentified flooring / Floors with unknown material or finish / Swollen, lifted or structurally damaged boards
What you need
What you need
Locate the flooring invoice, spare plank or product code first. Buy only the exact repair product that the flooring maker approves for that model and finish.
- Difficulty
- Easy
- Active time
- 15–20 minutes
- Total time
- 20–50 minutes (including drying)
Floor-maker-approved repair system for the exact product
One compatible kit, only if specified
Clean cloth or paper towel
as needed
Typical UAE retail ranges. Prices vary by pack and store, and your total is lower when you already own the reusable tools.
Step by step
How to Repair Scratches on Wood or Laminate Floors by Depth
Identify the flooring and scratch depth first. Continue only with the exact maker's written care and repair instructions; otherwise stop after gentle cleaning.
-
Step 01
Identify the scratch depth
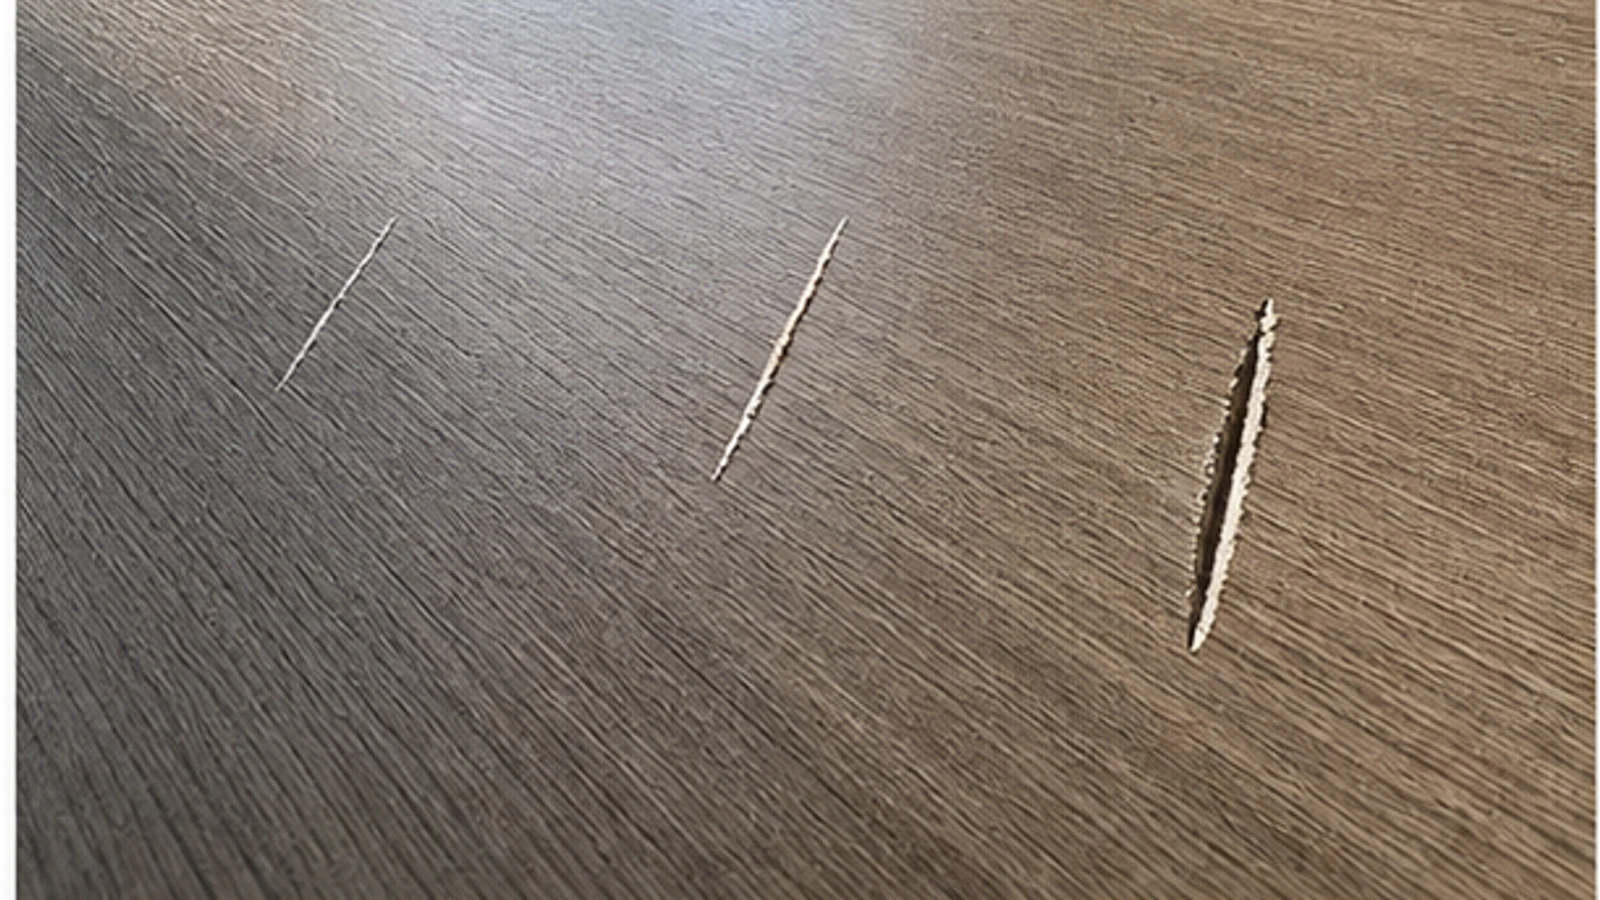
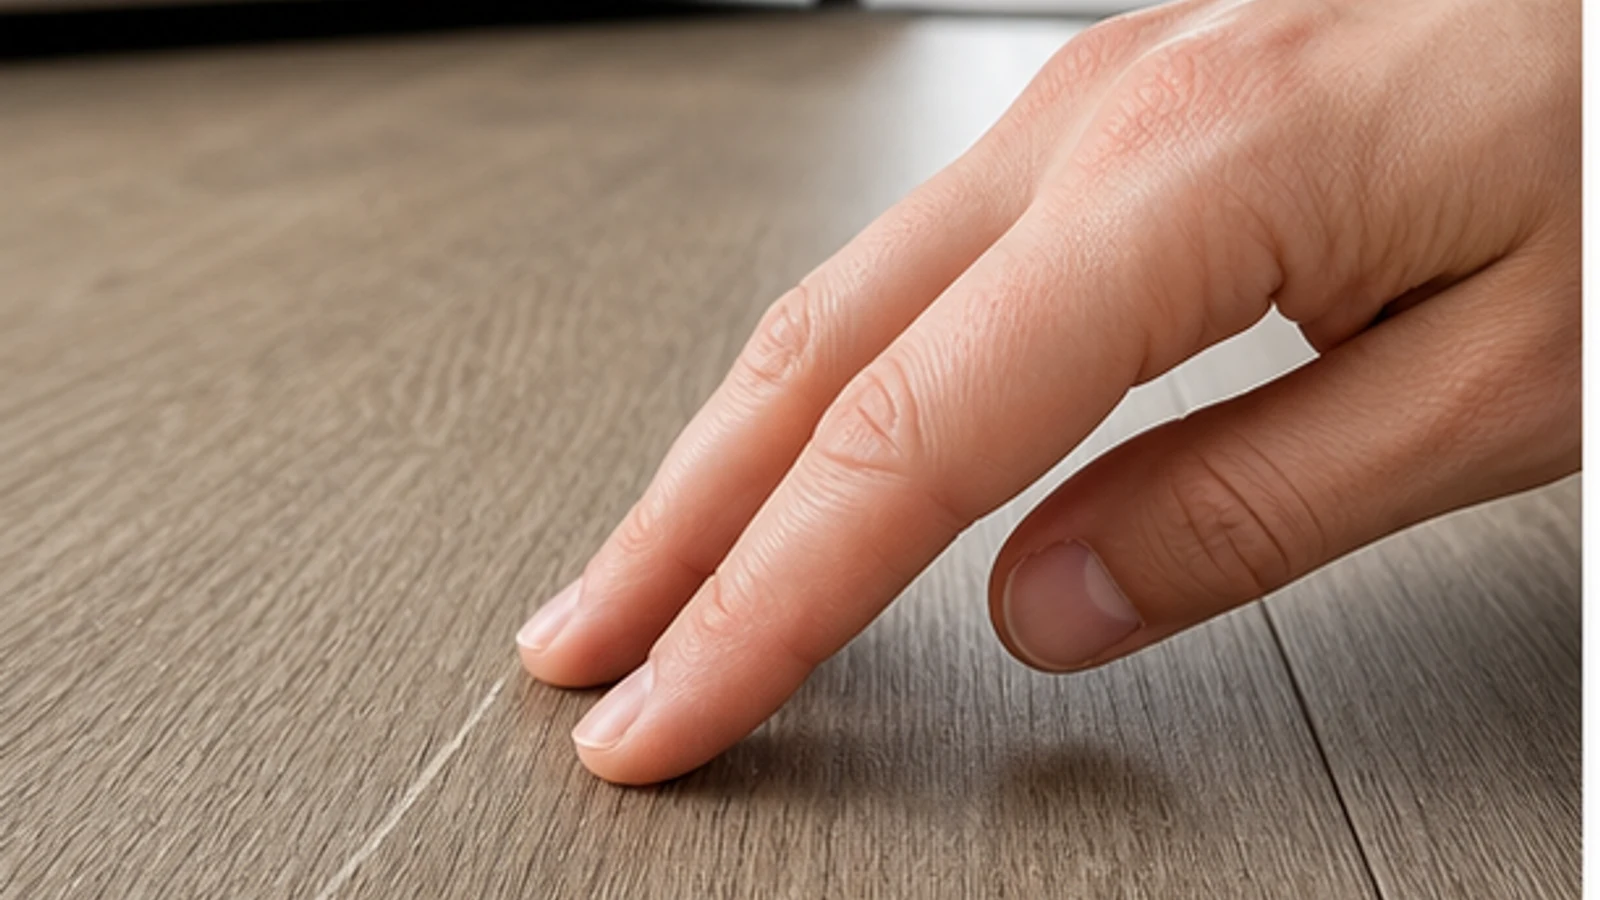
Look at the scratch from multiple angles and under natural light. Hairline scratches visible only at low angles are shallow. Scratches visible from any direction are moderate. White or splintered scratches with visible gouge or depth are deep. Run your fingernail gently across—if you feel no dip, the scratch is cosmetic only.
Shallow scratch: visible only at an angle, no tactile depth
Moderate scratch: visible from multiple angles, no depth when fingertip runs across
Deep scratch: visible white/light interior, tactile gouge or raised splintering
-
Step 02
Clean the scratched area
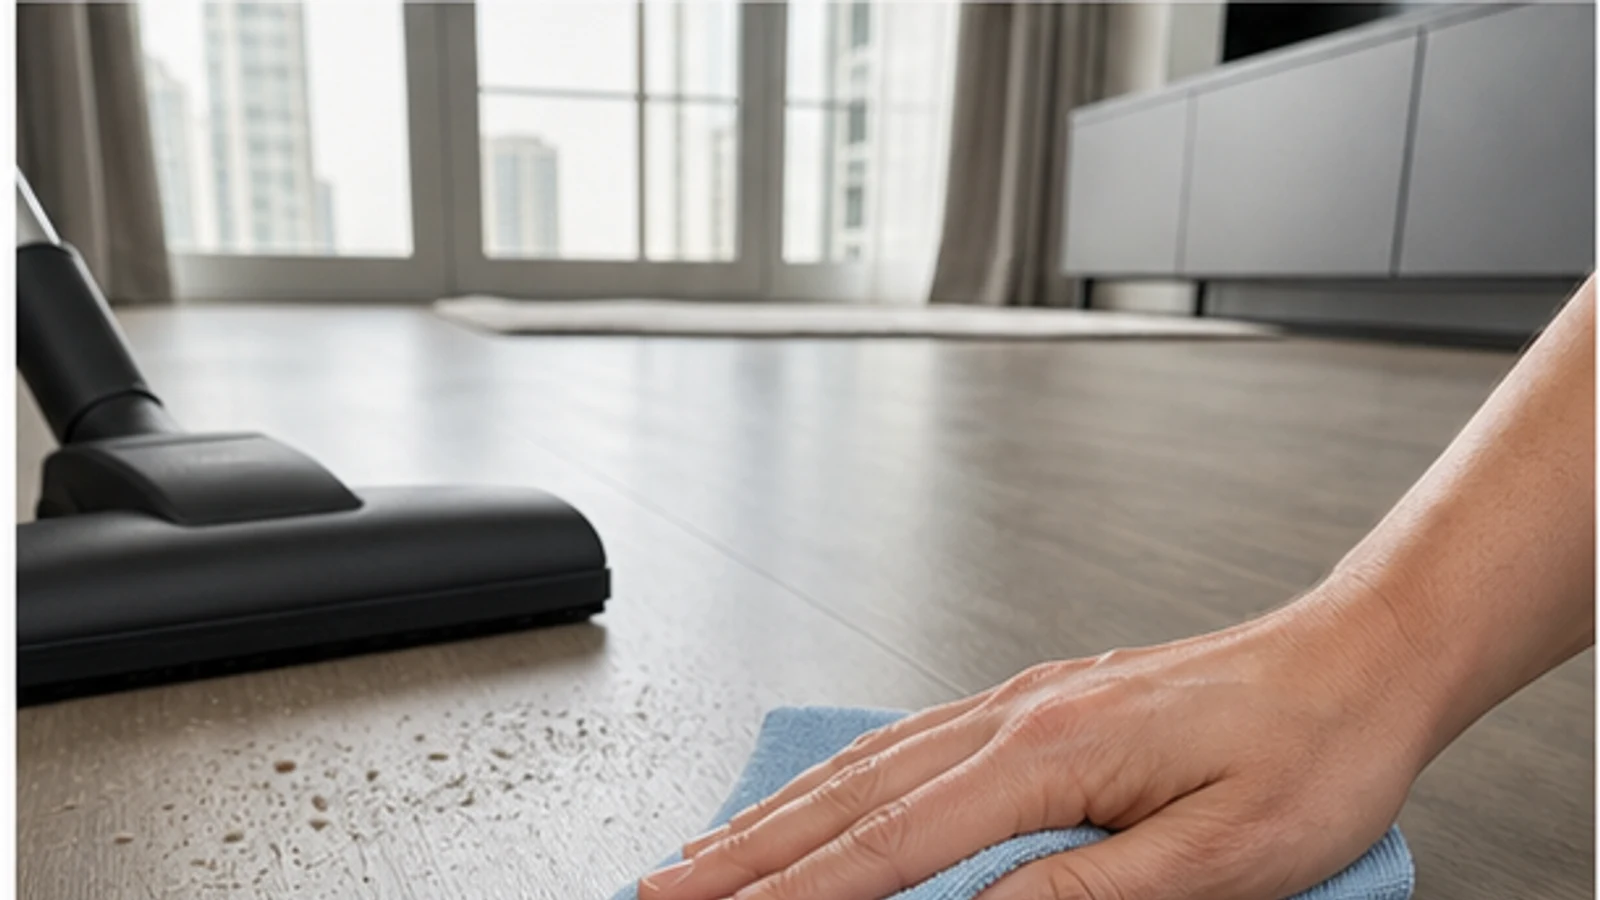
Follow the flooring maker's care guide to remove dust and grit. Usually this means vacuuming first and using a barely damp microfibre cloth with its approved cleaner. Dry immediately. Do not use soap, oil, solvent or a generic floor cleaner.
Debris and dust prevent product adhesion
Moisture may interfere with marker or filler cure
-
Step 03
Test repair product in a hidden area
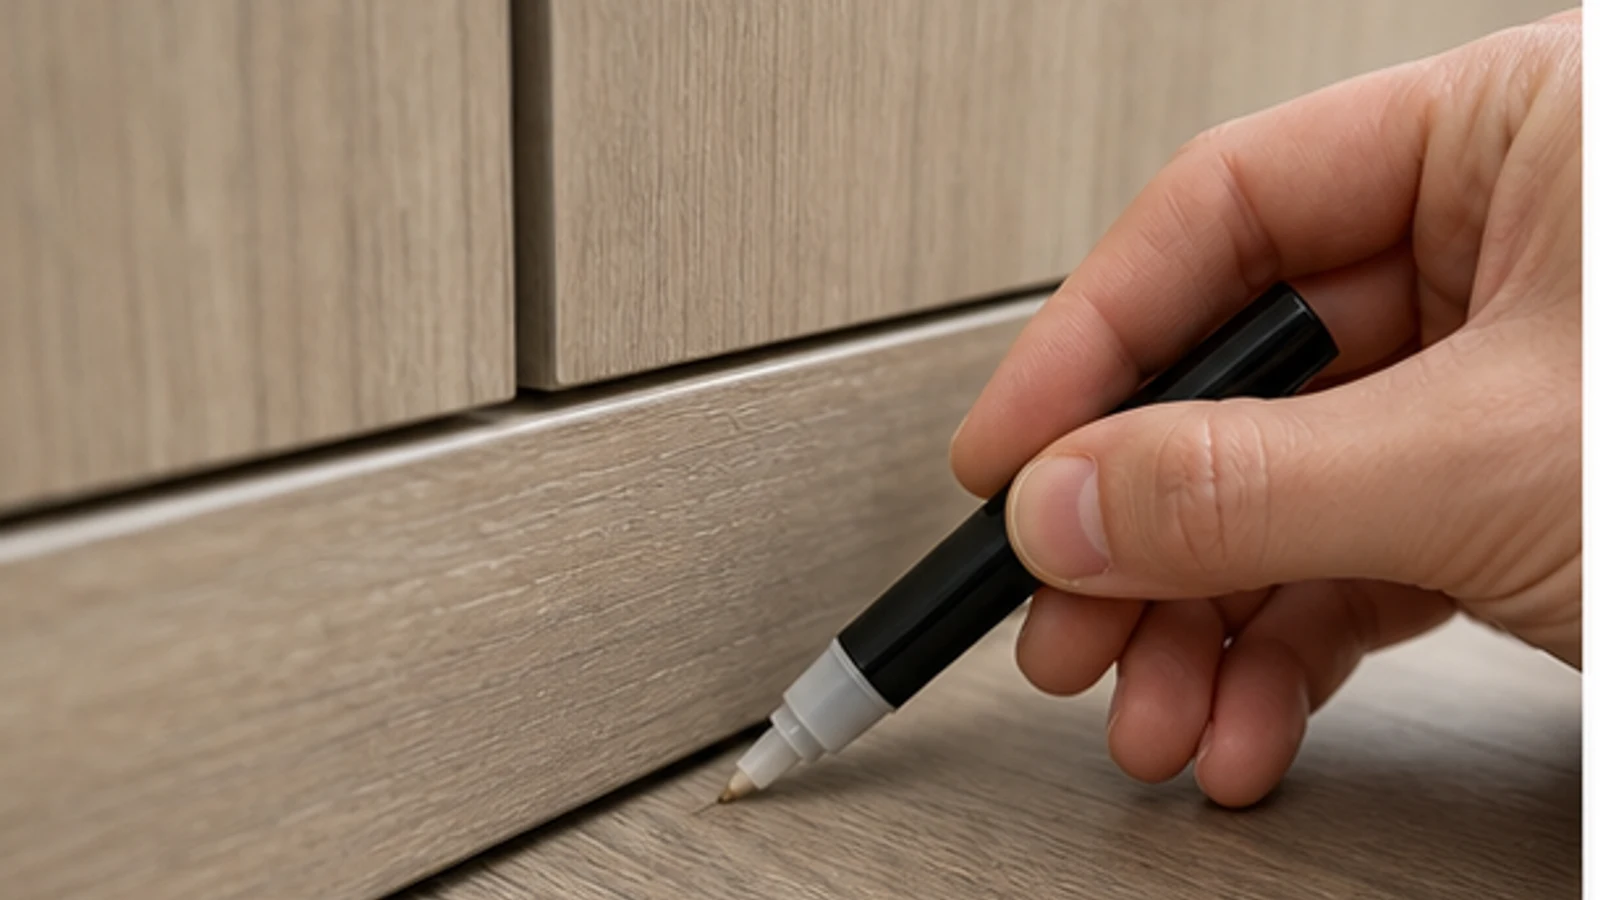
Confirm the product is approved for the exact floor model and finish. Test it in a genuinely hidden area exactly as directed, then inspect after the full stated dry time for colour, gloss, texture and traction changes. Do not proceed if the instructions require heat, sanding or skills you cannot safely provide.
Product dries or cures completely (follow label time)
Colour matches your floor's undertone under your apartment's natural light
No sticky residue or altered slip resistance
-
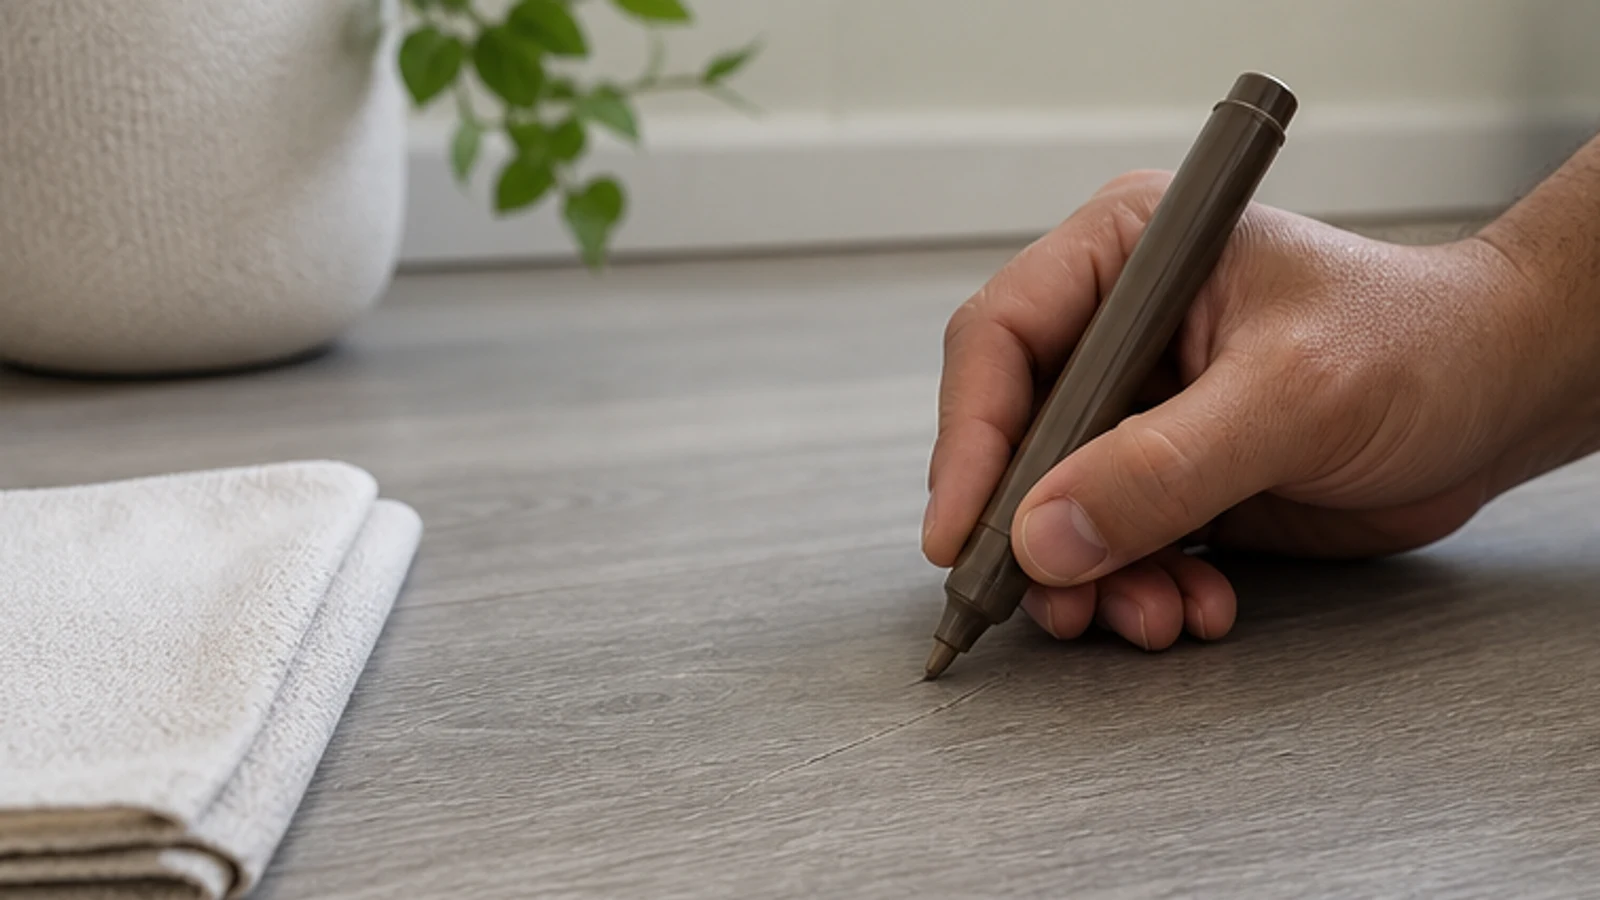
Step 04
Use the exact approved system for a shallow scratch
For a clean cosmetic scratch with no dip, use only the maker's specified cold-applied marker or repair product, if one exists. Follow its quantity, application and cleanup directions exactly. Keep product off the surrounding floor and stop for any gloss, colour, texture or traction change.
Marker colour blends seamlessly into the wood
No residue on the surrounding floor
Dried marker does not feel tacky
-
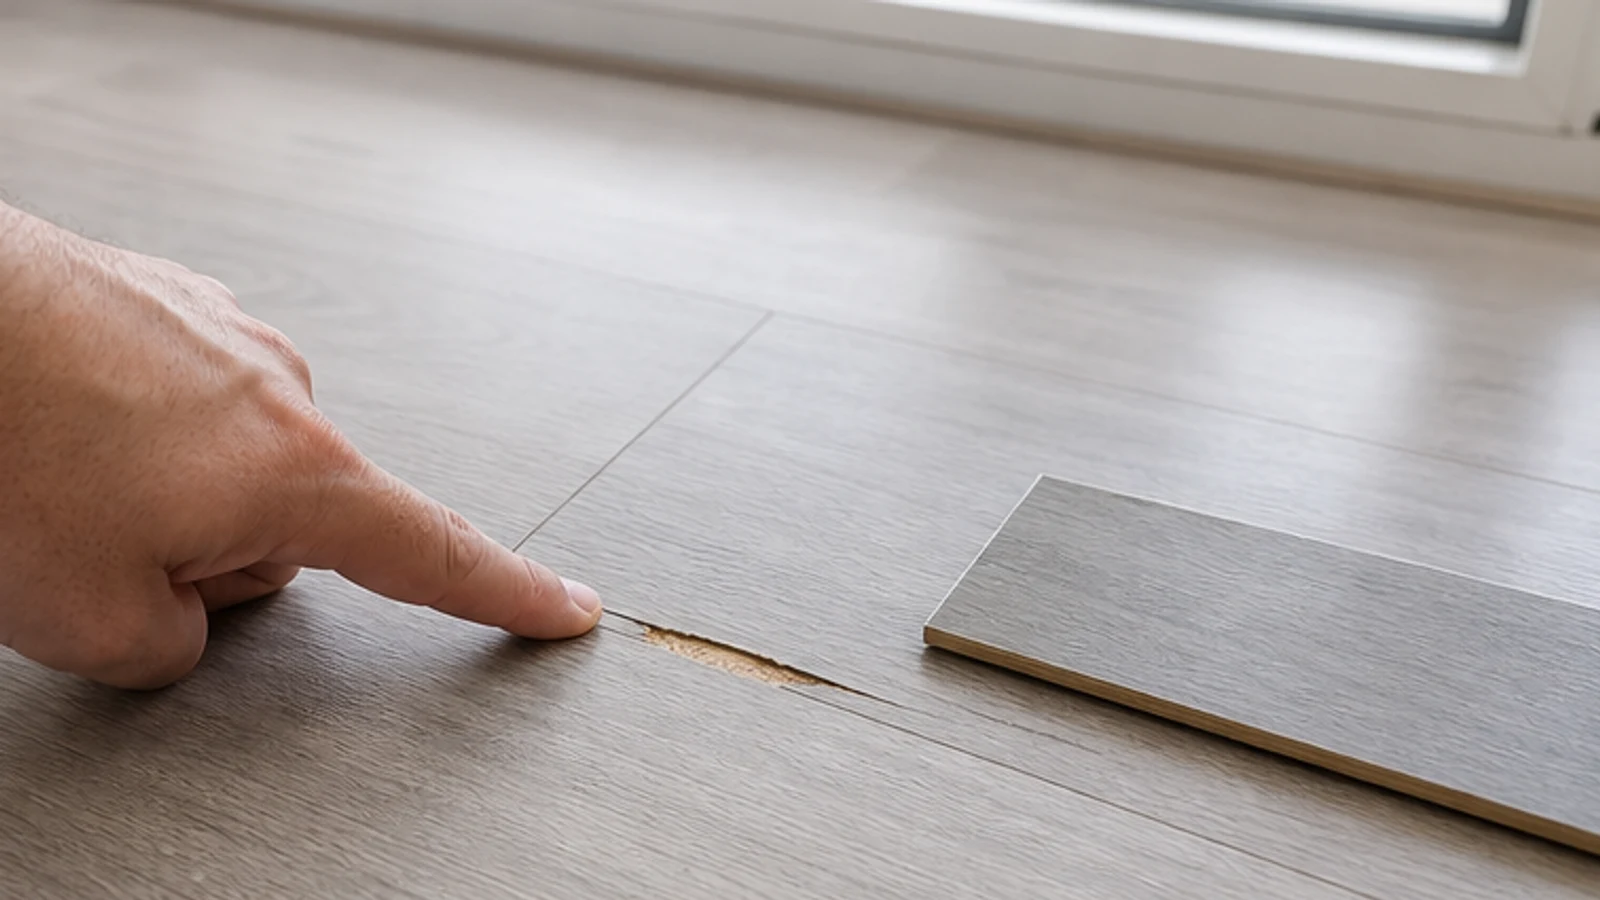
Step 05
Escalate a scratch with visible depth
If a fingernail catches, the wear layer is broken or a white core shows, stop using generic products. Photograph the damage and contact the floor maker, retailer or installer. Ask whether its approved repair kit is suitable or whether the plank must be replaced. Do not fill or scrape it in this general guide.
The wear layer and any exposed core are documented
No generic filler, wax or scraper is applied
The exact floor code is available for the maker or installer
-
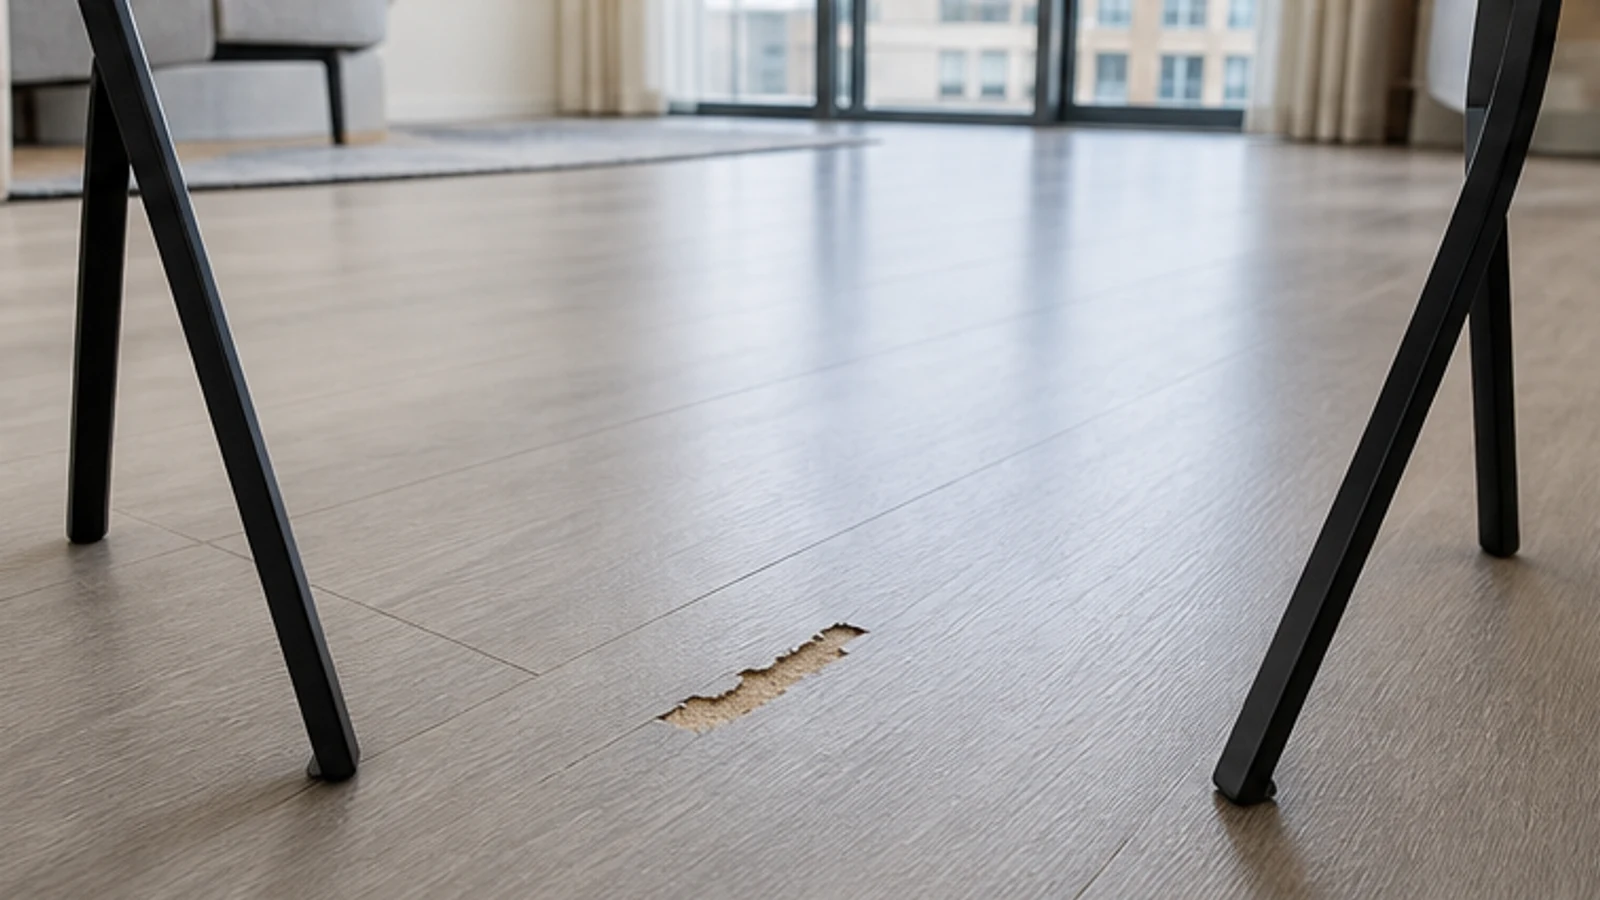
Step 06
Stop for a gouge, splinter or damaged plank
Do not DIY a deep gouge, splintered edge, swollen seam, loose board or damage through the decorative layer. Isolate the area from foot traffic and ask the installer for a plank repair or replacement. Generic epoxy can cure proud, stain the finish and create a trip or slip point.
The damaged area is kept out of foot traffic
No filler, epoxy, sanding or heat is used
Plank repair or replacement is assessed by the maker or installer
-
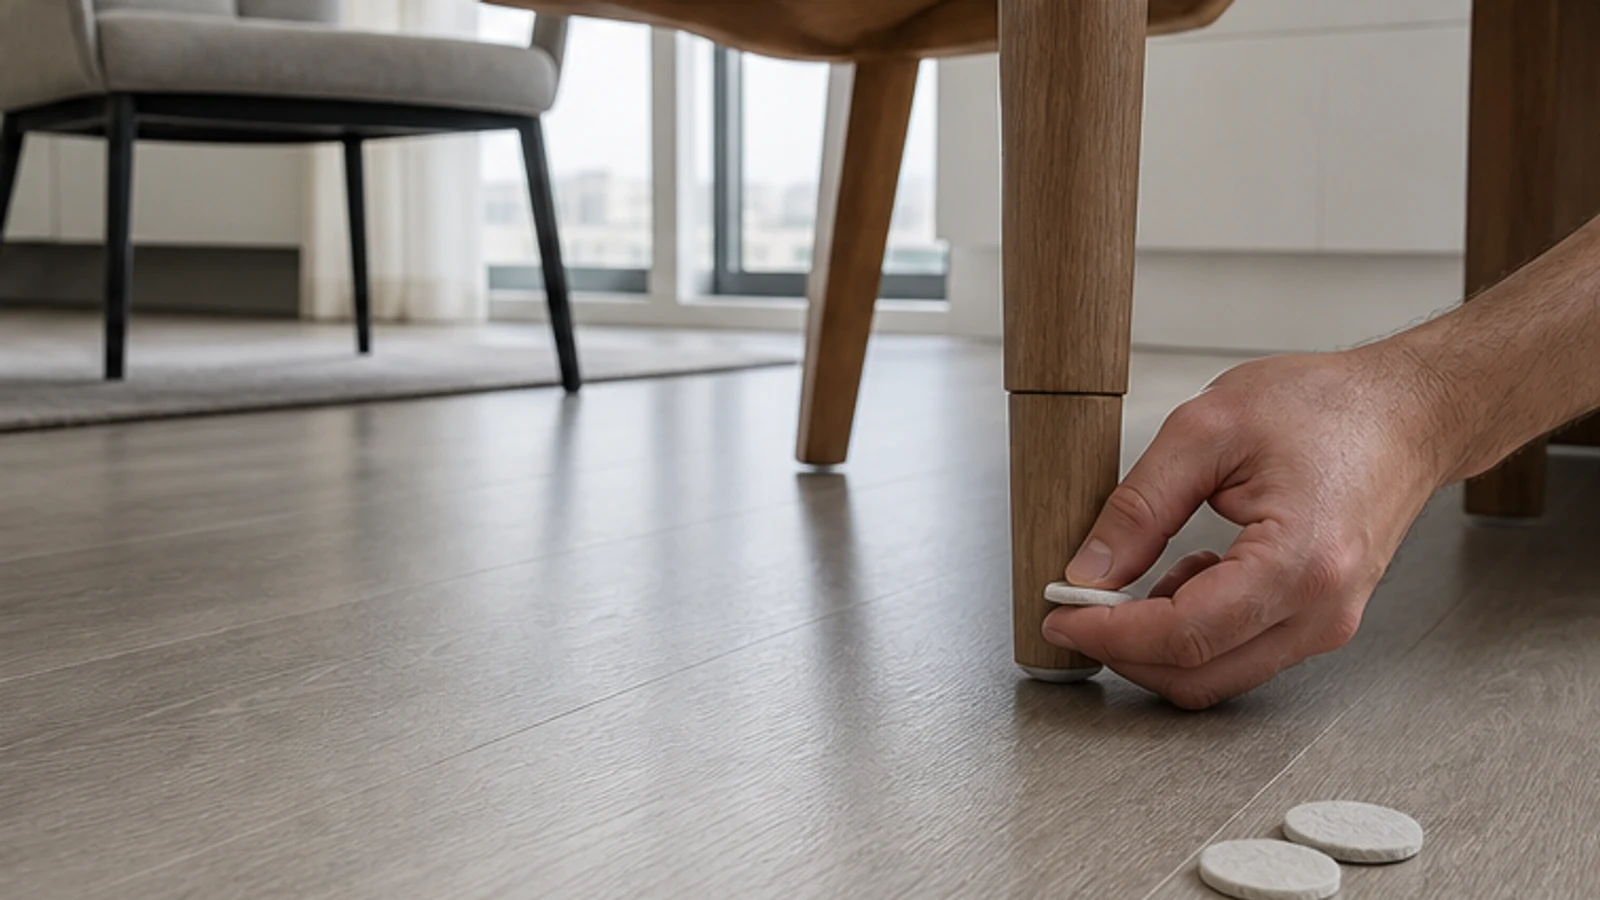
Step 07
Protect the repair and prevent a repeat
After an approved cosmetic repair has reached its full label-directed dry time, remove all residue and check that the surface is level and non-slip before normal use. Add clean felt pads under furniture and lift, rather than drag, heavy items. Stop if the repair loosens or attracts dirt.
Repair surface is smooth and level with the floor
No dust residue remains
Colour matches the surrounding wood under your apartment's natural light
Repair does not feel rough or catch fingernails
Finished result
What success looks like
A successful repair is one where the damage is camouflaged or filled so well that the eye does not catch it at normal viewing distance, and the repair does not compromise the floor's finish, slip resistance or cleanliness.
Scratch is not visible from a standing or normal walking distance
Repair surface is flush with the surrounding floor
No residue, stickiness or altered finish on the walking surface
Colour blend matches the wood's natural undertone under natural light
Repair is dry and hard; fingernail does not catch or dent it
Quick answers
Frequently asked questions.
How do you fix deep scratches in laminate?
Do not sand or fill a deep laminate gouge with a generic product. Photograph the floor code and damage, restrict traffic, and ask the maker whether its exact repair system is suitable. Damage through the decorative layer, a swollen seam or loose plank commonly needs professional repair or replacement.
What colour repair marker should I buy?
Use the flooring maker's match for the exact product code and finish. Generic colours may dry with the wrong undertone or gloss and leave residue. Test the approved product in a hidden area for its full dry time. If no exact system exists, avoid improvised blends.
Can I sand a laminate scratch to hide it?
Sanding can remove a laminate floor's factory wear layer and expose its core, so it is excluded from this guide. Check the exact maker's repair instructions and warranty instead. Stop and request installer assessment for swelling, lifting, movement, moisture, splintering or damage through the decorative layer.
Why should I test repair products on a hidden area first?
Testing ensures the product colour matches under your apartment's natural light, the finish shine is correct and no sticky residue remains. This prevents costly mistakes and visible repair failures on your main floor. Stop if you find repair changes gloss or traction.
Sources and review notes
- Pergo: Laminate Maintenance and Repair - Directs owners to Pergo-specific maintenance products and its matched repair kit rather than generic floor treatments.
- Quick-Step: How to Use the Quick-Step Repair Kit - Shows that repair systems and colour matrices are product-specific; this guide excludes heated application from default DIY scope.