
DIY / Floors
How to Whiten Dark Floor Grout Without Machines
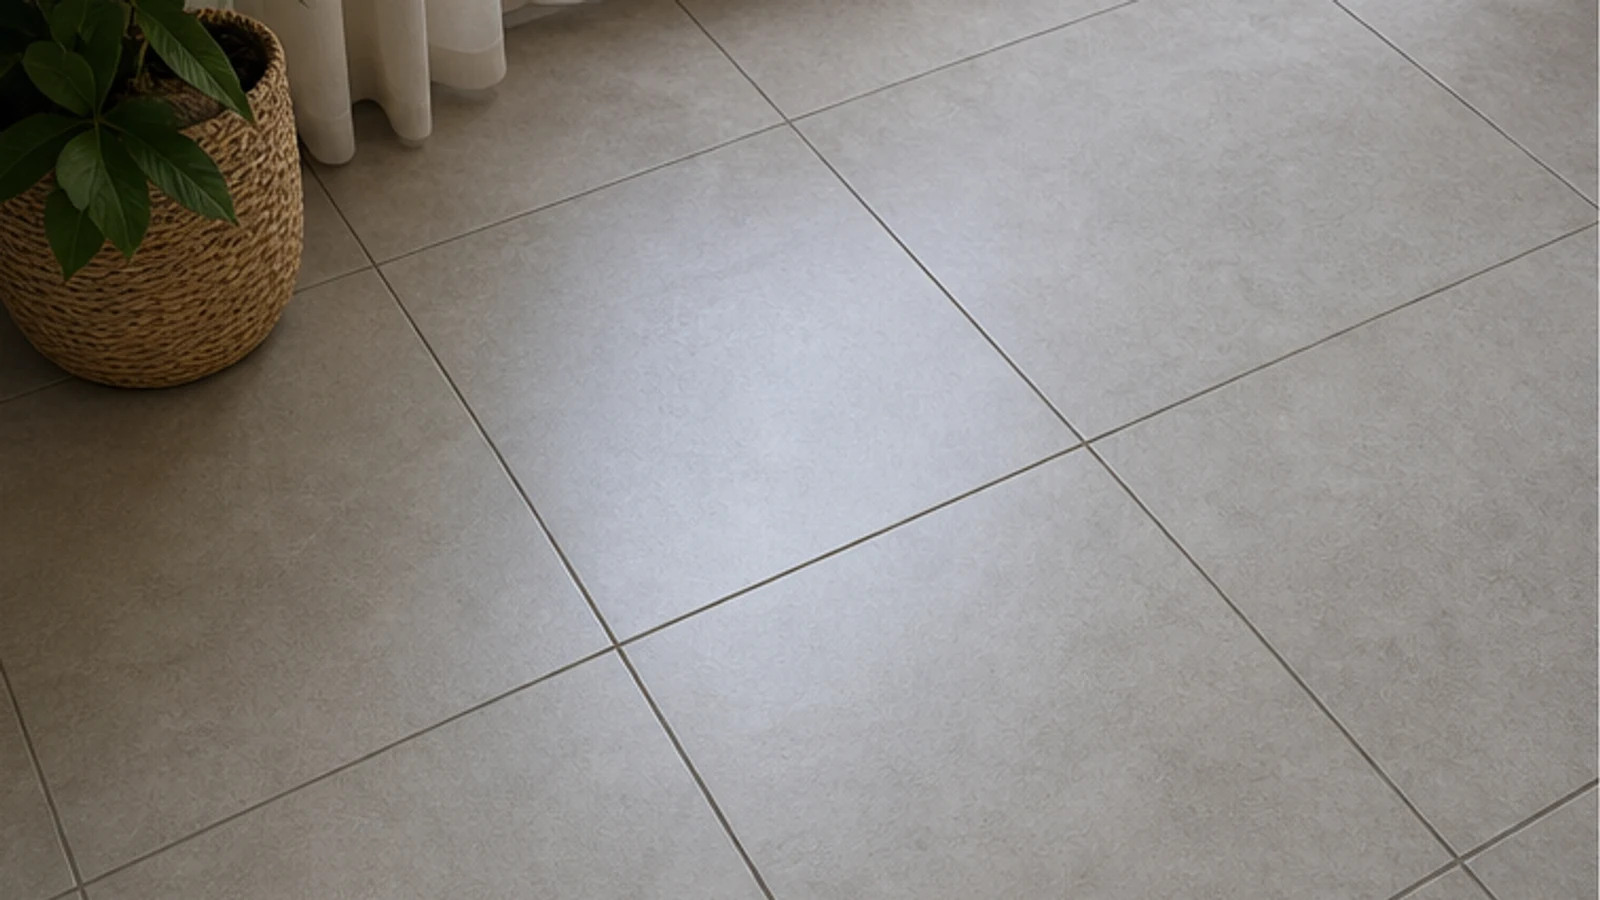
Cleaning can remove soil and soap film, but it cannot safely promise to turn every dark joint white. First confirm light cement grout between ceramic or porcelain tiles, then use the grout maker's approved cleaner at its exact label dilution. This guide excludes peroxide mixtures, bleach, acids, steam and powered brushes.
Quick answer
What is the fastest way to clean floor grout?
Identify the tile, grout and sealer, then hidden-test their approved neutral or alkaline grout cleaner at the exact label dilution. Work in small sections with a soft nylon grout brush, use only the stated dwell time, rinse until no residue remains and dry the floor. Stop for softness, crumbling, colour loss, dampness or mould.
Light or medium cement grout on ceramic tile / Light or medium cement grout on porcelain tile / Light or medium cement grout on glazed floor tile
Epoxy, polyurethane, dark-coloured or unidentified grout / Natural stone tile or grout (marble, limestone, travertine, terrazzo) / Sealed grout where sealer is intact / Crumbling, cracked or loose grout / Grout with active mould or dampness
What you need
What you need
Use only the cleaner and dilution approved by the tile, grout and sealer makers. Do not combine products or substitute a homemade paste.
- Difficulty
- Medium
- Active time
- 1.5 to 2 hours per room
- Total time
- 2 to 2.5 hours per room (including drying)
- Cost
- AED 15–35 for materials
Maker-approved neutral or alkaline tile-and-grout cleaner
Exact label-directed dilution
Soft nylon grout brush
1
Rubber gloves
1 pair
Safety glasses or eye protection
1 pair
Knee pad or cushion
1
Bucket or mixing container
1
Soft cloth or sponge for rinsing
2–3
Typical UAE retail ranges. Prices vary by pack and store, and your total is lower when you already own the reusable tools.
Step by step
How to Whiten Dark Floor Grout Without Machines
Work in small sections and follow the selected cleaner's label. The goal is to remove soil, not bleach or abrade the grout.
-
Step 01
Identify the grout and inspect its condition
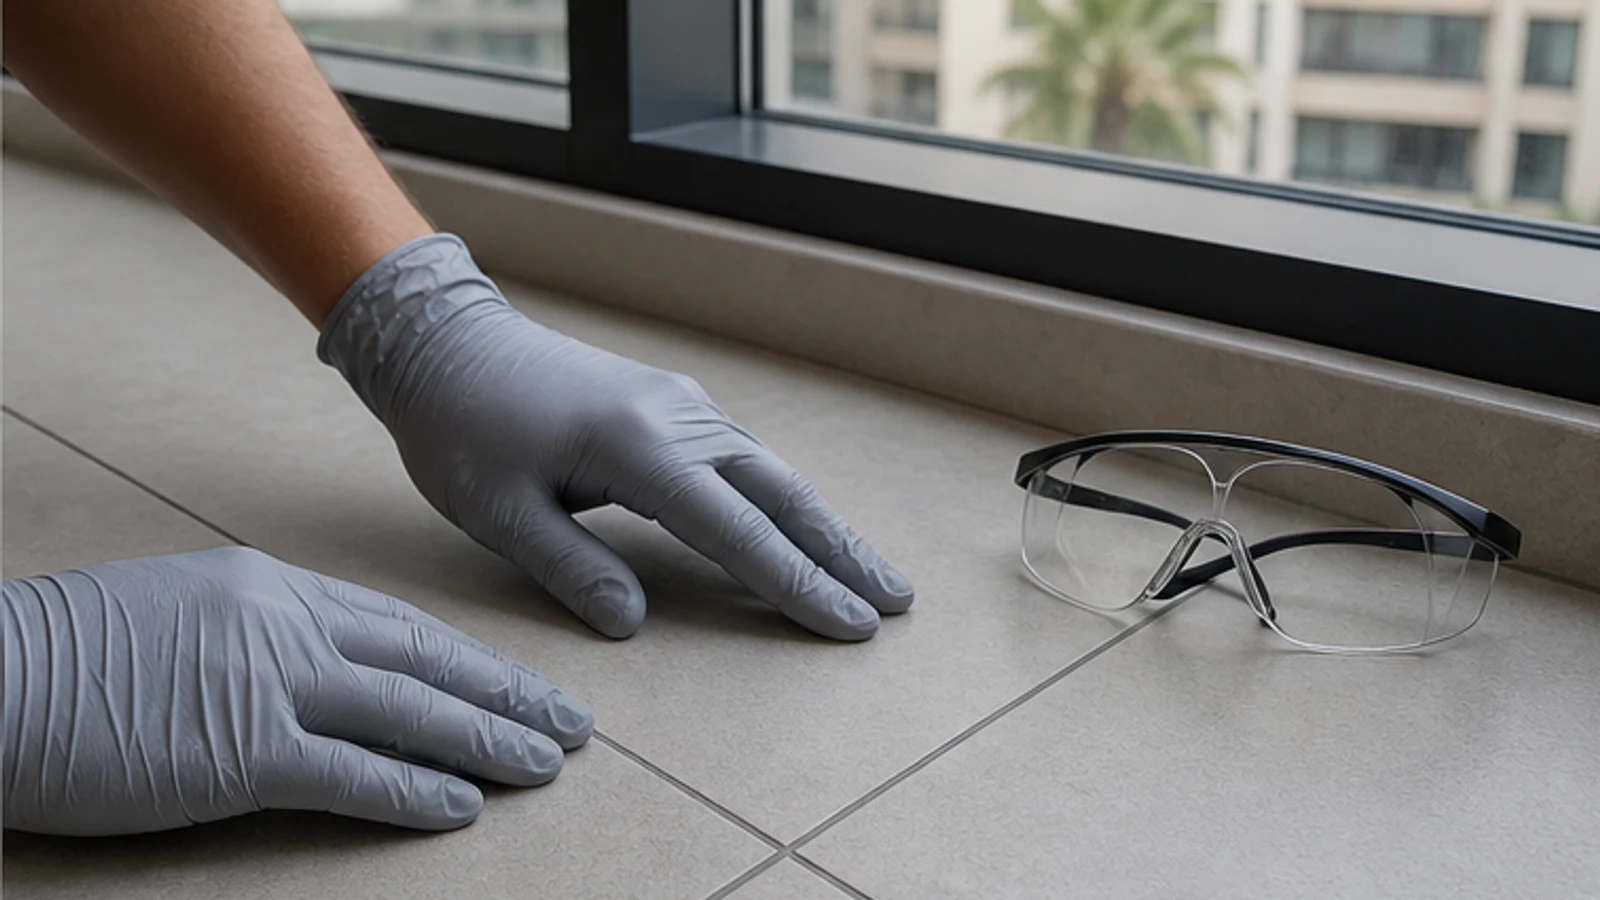
Confirm ceramic or porcelain tile with intact light cement grout and identify any sealer. Stop for natural stone, epoxy or unknown grout, loose tile, cracks, softness, crumbling, dampness, mould or recurring black marks. Use the cleaner label's ventilation and protective equipment requirements.
Windows and doors are open or fans are running
Gloves are on and glasses are fitted
Knee pad is positioned on the floor
-
Step 02
Hidden-test the approved cleaner
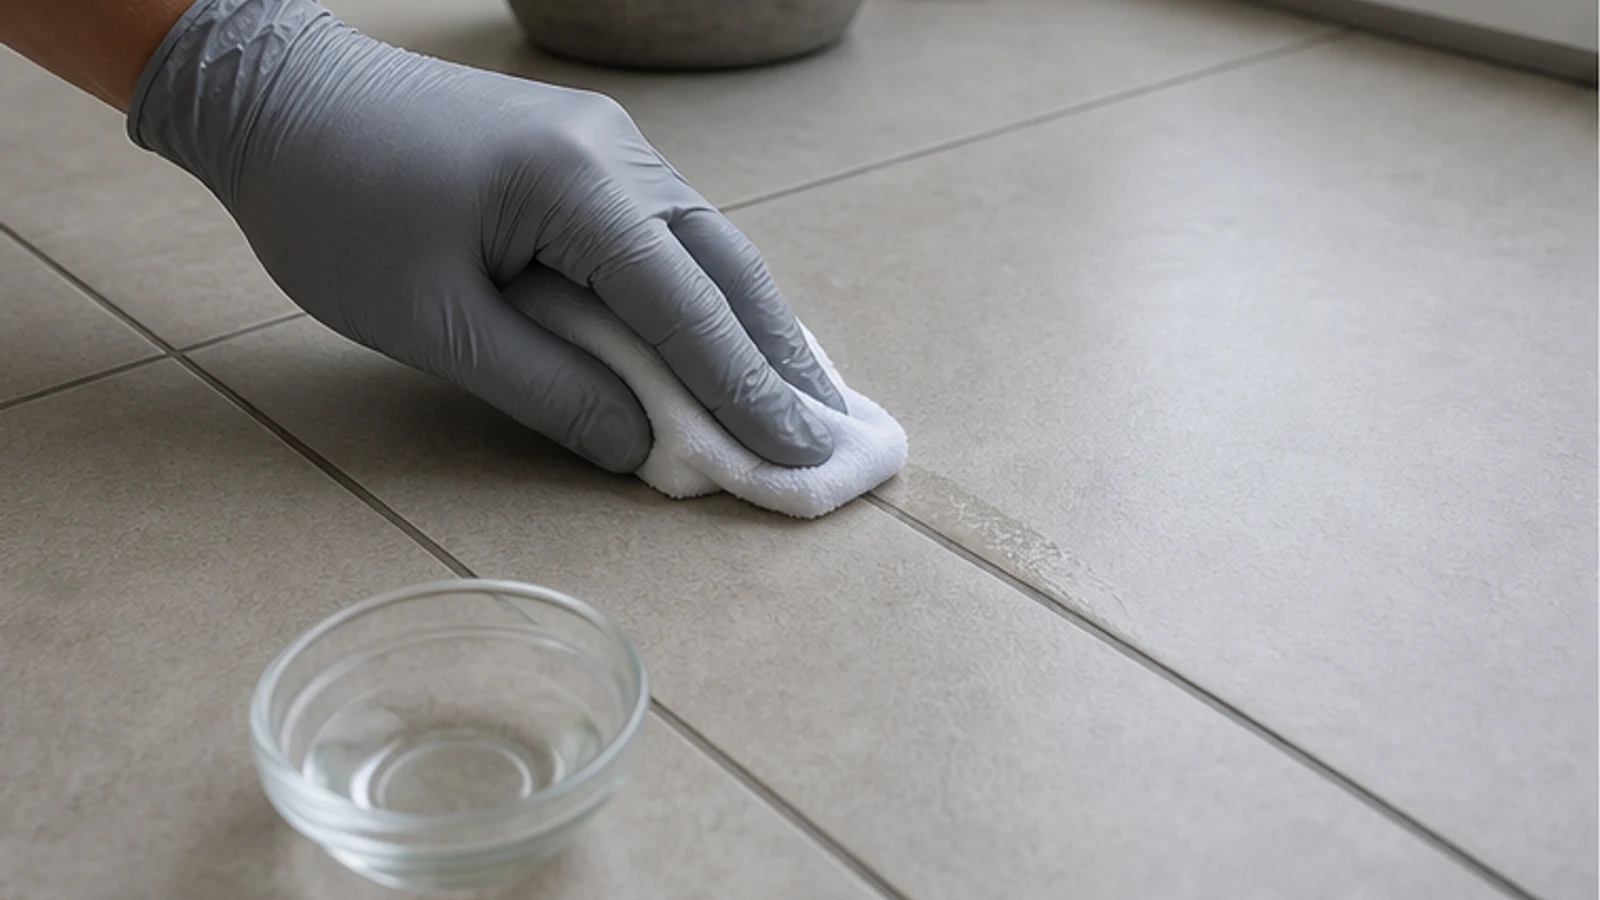
Dilute the selected tile-and-grout cleaner exactly as its label directs. Test a hidden joint for the stated dwell and rinse time. Let it dry, then check the tile, grout and sealer for colour, gloss, texture or traction change. Stop for any change or uncertain compatibility.
Paste is thick and holds its shape
Test area shows no adverse colour change, dulling or softening after rinsing
-
Step 03
Apply the approved cleaner to a small section
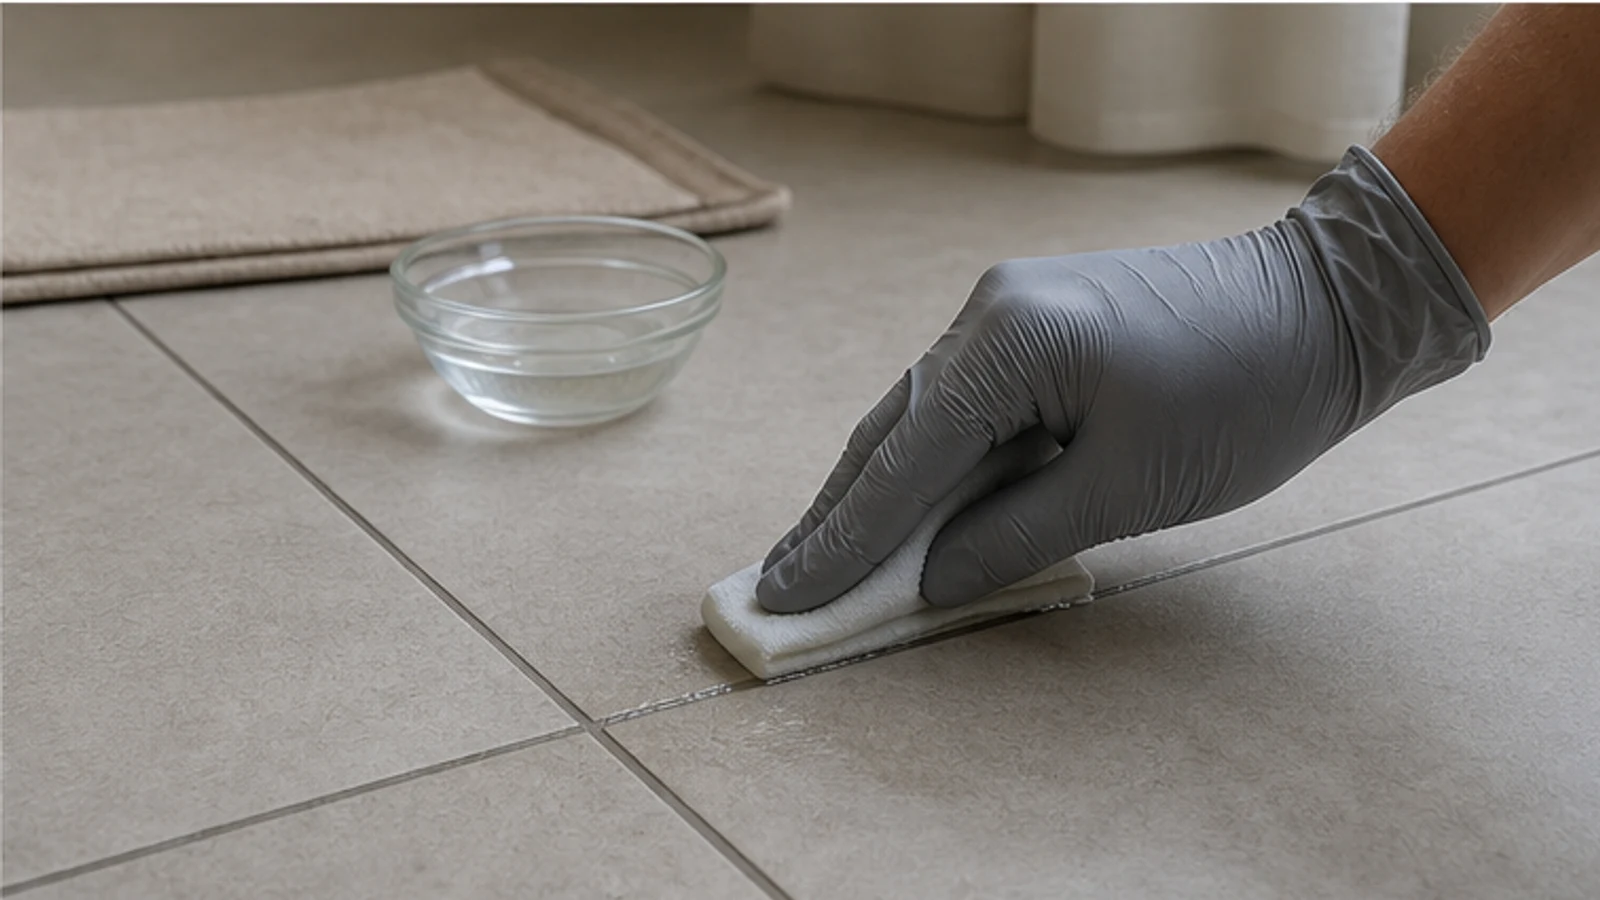
Apply only the label-directed amount to a manageable section while keeping it off unrelated surfaces. Do not flood joints or let liquid pool. Keep a clear dry exit path and close the wet area to other people.
Only the label-directed amount is on the test section
No cleaner is pooling on the tile face
A dry exit path remains available
-
Step 04
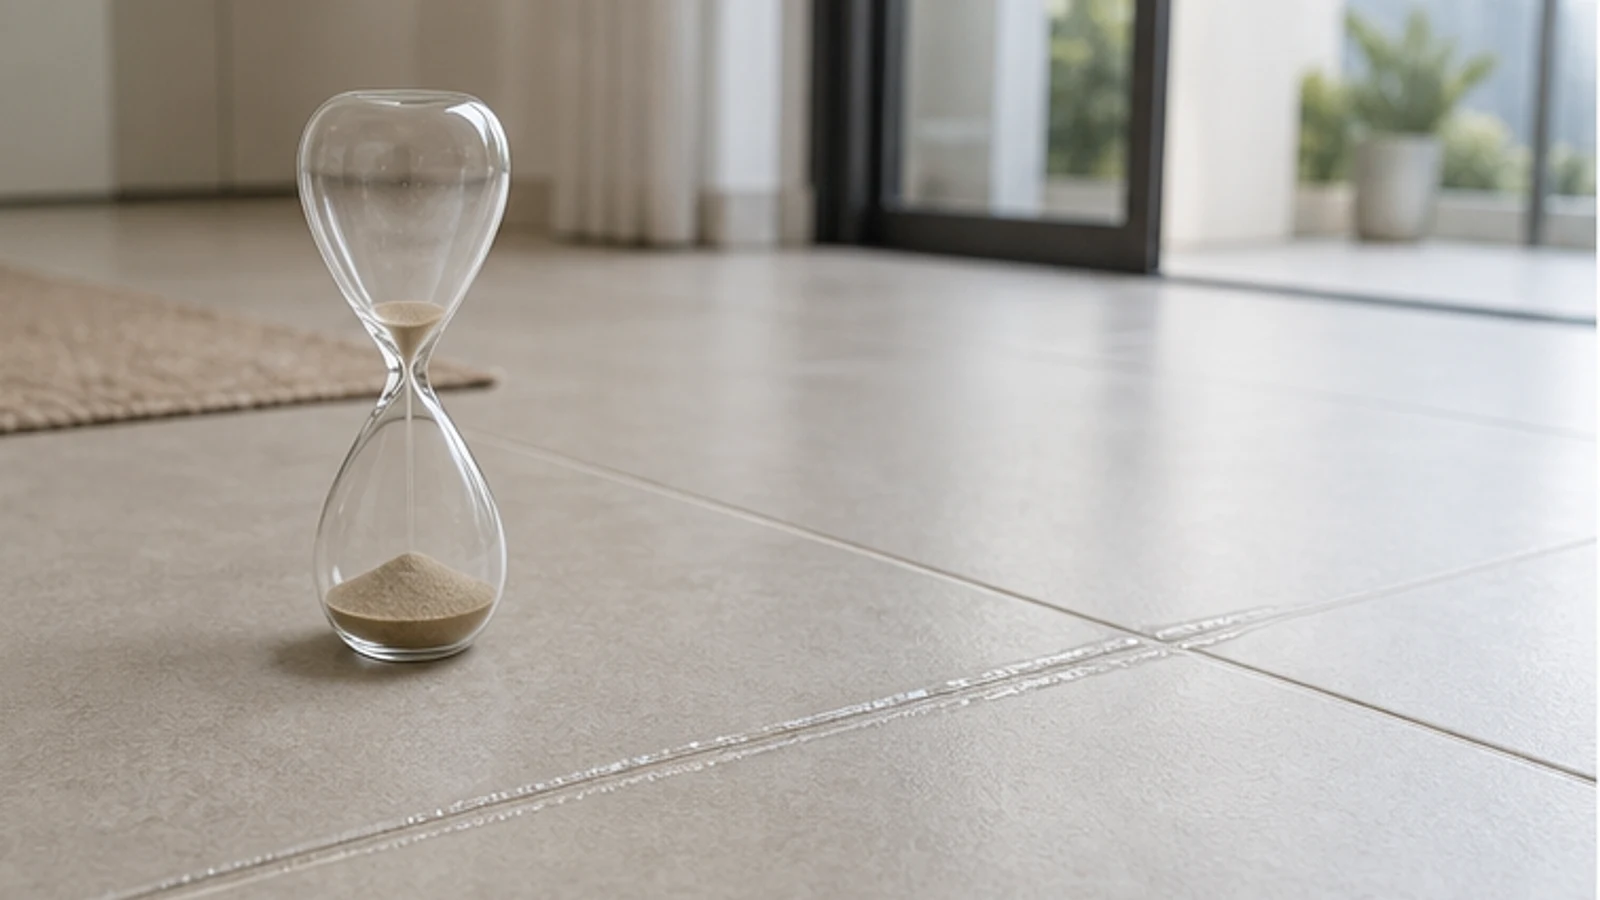
Observe only the label dwell time
Set a timer for the cleaner label's stated contact time. Do not extend it, let the product dry or mist another substance over it. If the label gives no dwell time, begin gentle agitation immediately. Never layer a second cleaner.
The timer matches the exact label dwell time
The cleaner has not dried or been mixed with another product
-
Step 05
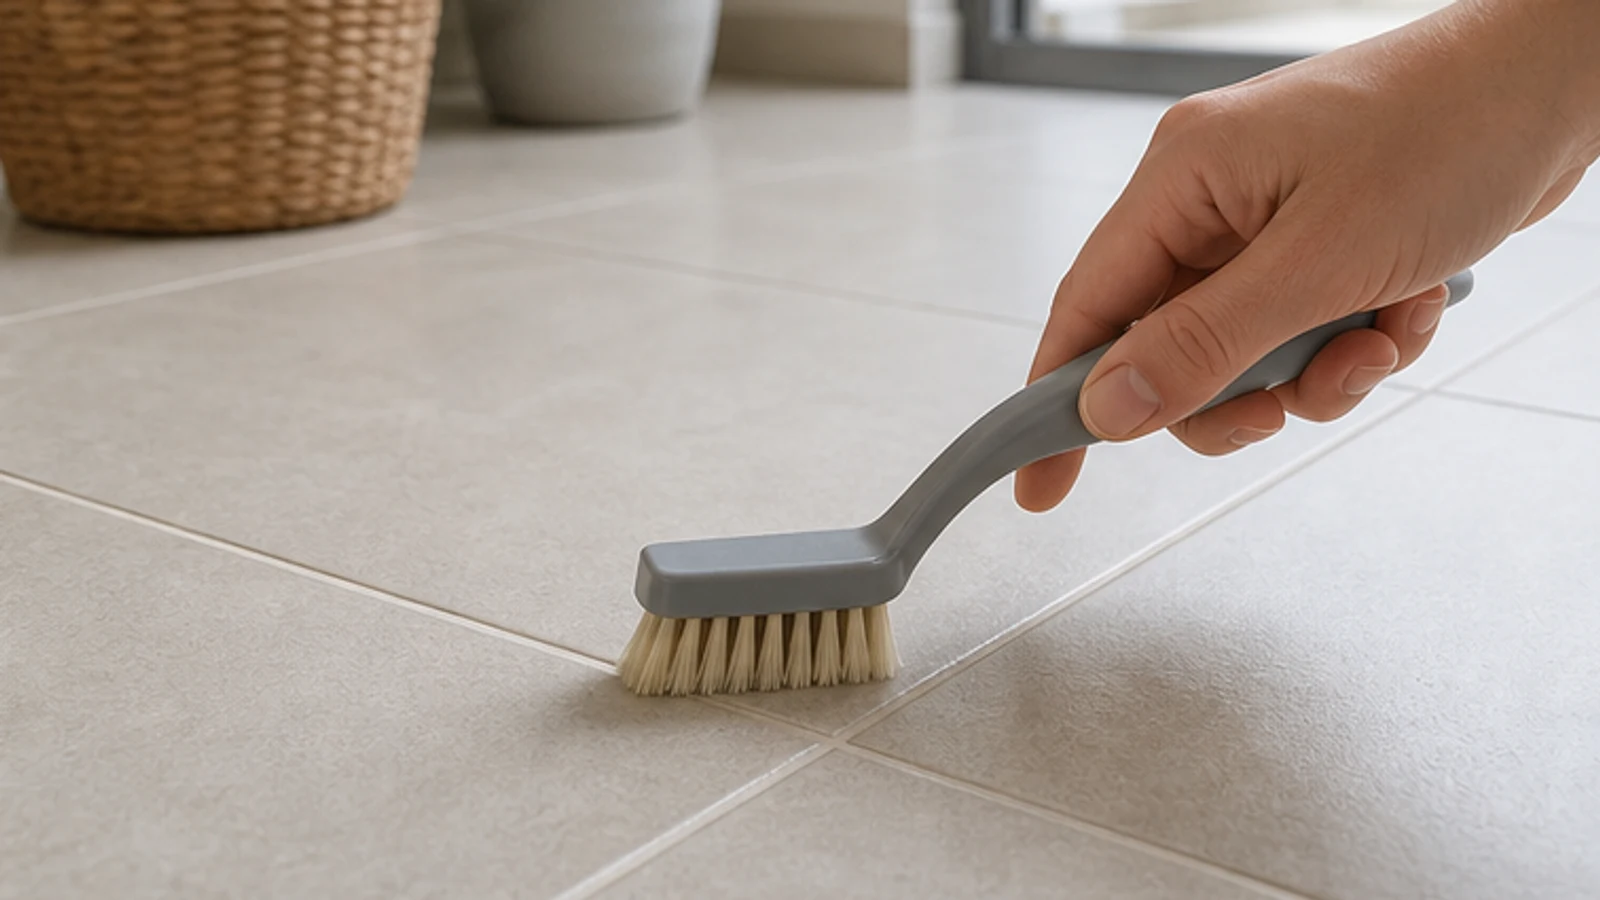
Agitate gently with a nylon grout brush
Use light strokes along the joint with a soft nylon grout brush. Do not chase a white colour or count on a fixed number of strokes. Stop if grains release, the joint softens, the colour changes unevenly or the tile surface dulls. Never use a drill brush or abrasive pad.
The nylon brush moves lightly along the joint
No grains, colour or sealer transfer from the grout
The section remains intact and even
-
Step 06
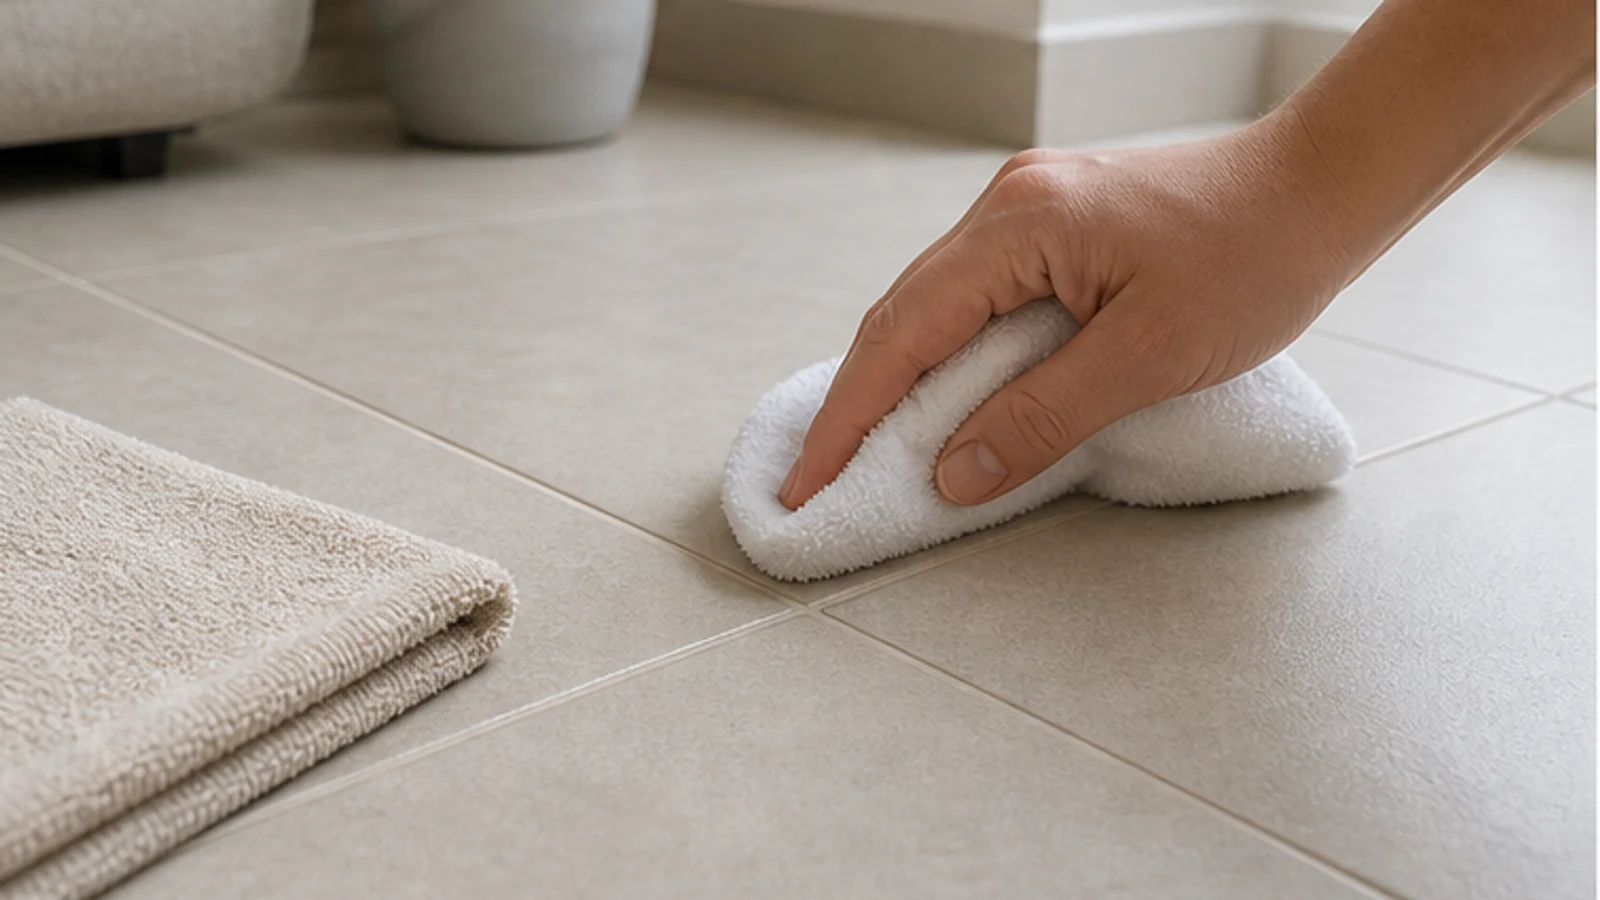
Rinse and dry the cleaned section immediately
Remove the cleaner exactly as its label directs, then rinse with clean water until no foam, tackiness or residue remains. Blot or towel the floor dry and keep it closed to foot traffic. Do not leave standing water in the joints.
All cleaner is removed from grout and tile
No foam, tackiness or residue remains
Grout and tile are dry before foot traffic
-
Step 07
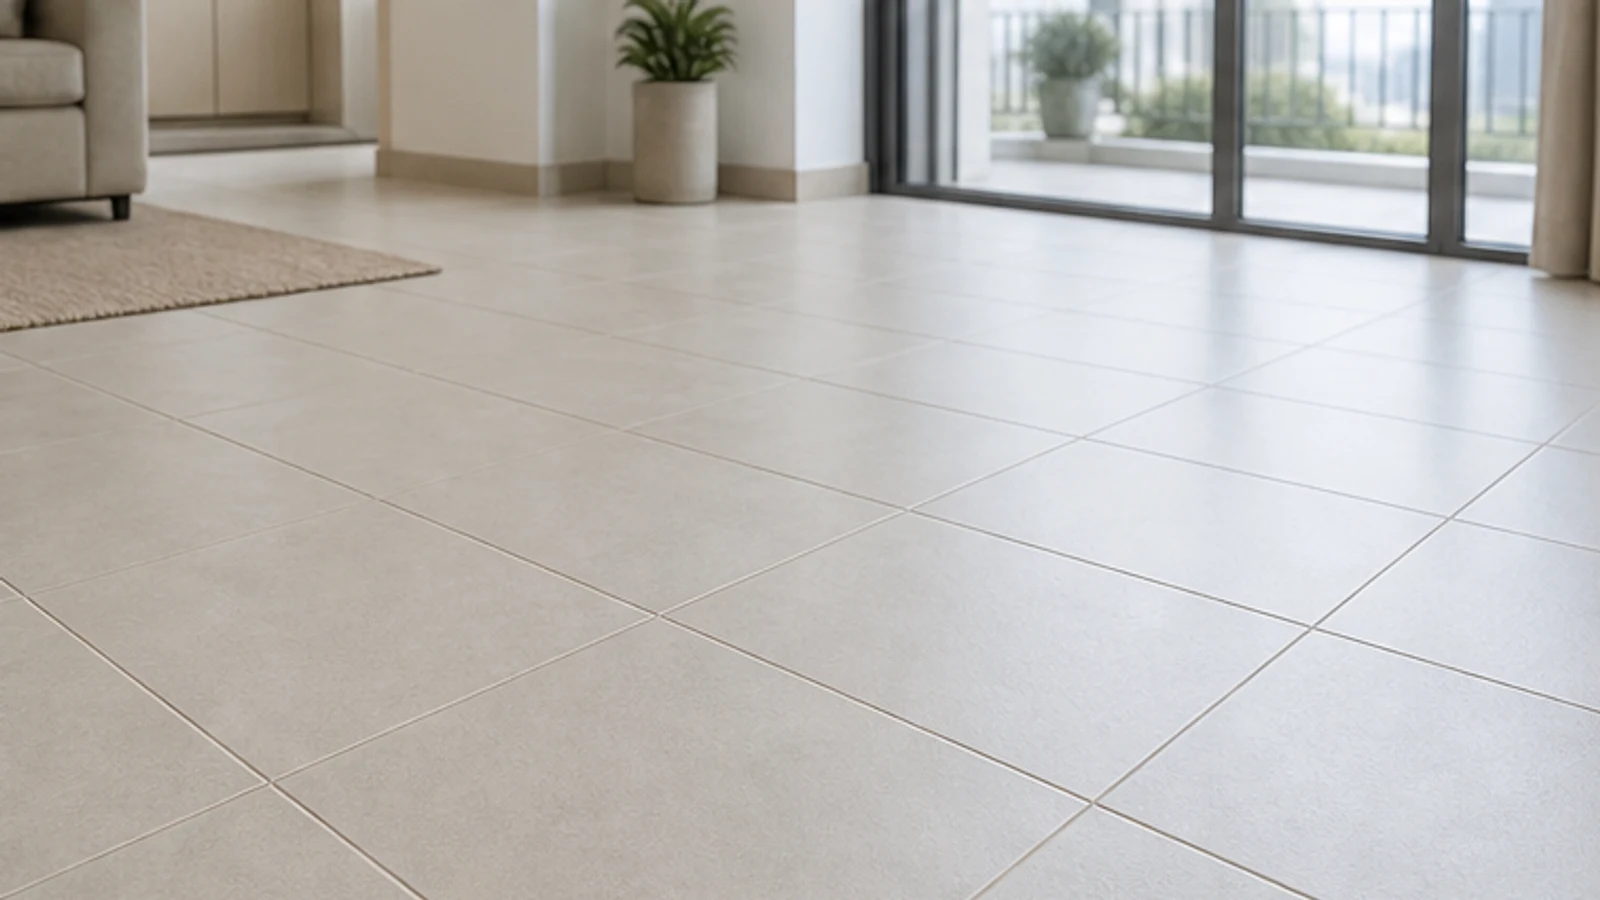
Repeat for remaining grout lines
Continue only if the first fully dry section is sound, even and non-slip. Use fresh rinse water and complete one section before starting another. If staining remains after the label-directed cycle, stop; it may be original colour, sealer change, efflorescence, mould or material damage needing diagnosis.
Each section is completed fully before moving to the next
The entire treated area is rinsed and dry
Remaining discoloration is not chased with stronger chemistry
Quick answers
Frequently asked questions.
Does steam cleaning work on grout?
Do not assume steam is compatible. MAPEI notes that some ready-to-use grouts can be damaged by extended high heat. Check the exact tile, grout and sealer makers first. This guide uses a label-approved cleaner and soft nylon brush only; weak, cracked or unknown joints need assessment rather than steam.
Why does floor grout turn black?
Dark grout may be its original colour, absorbed soil, soap film, sealer change, mould, efflorescence or moisture migration. Appearance alone cannot identify the cause. Stop for dampness, odour, recurrence or softness. Clean only intact, dry, positively identified cement grout with its approved method.
Can I use bleach to whiten grout?
Do not use bleach as a universal grout whitener. It may affect colour, sealers and nearby materials, and mixing residues is hazardous. Use the exact grout-maker-approved cleaner instead. If one controlled label-directed cycle does not improve the joint, stop and diagnose the stain rather than escalating chemistry.
What happens if the grout is already sealed?
A sealer changes which cleaners and contact times are permitted. Identify the sealer and follow its care guide before cleaning. Hidden-test the approved cleaner, rinse and let it dry fully. Stop if gloss, colour, texture or water behaviour changes; do not extend dwell time to force a result.
Sources and review notes
- Tile Council of North America: Cleaning Grout - Recommends conventional compatible cleaning, thorough rinsing and warns that acids attack cement grout.
- MAPEI: UltraCare Concentrated Tile & Grout Cleaner - Provides a manufacturer-defined neutral-pH maintenance route and cautions that grout type affects steam compatibility.