
DIY / Walls & Ceiling
Remove Stickers and Adhesive Hooks Without Peeling the Paint
Left-behind adhesive hooks and stickers can feel like permanent fixtures, but they don't have to take your fresh paint with them. The right combination of gentle heat, careful mechanical separation and the correct solvent will lift most residue cleanly.
Quick answer
How do you remove wall hooks without damaging paint?
Start with the hook maker's release tab and pull exactly in the instructed direction, usually slowly down and parallel to the wall. If the strip breaks, use floss or brief low heat only when the maker permits it. Roll residue away dry, or use a paint-approved cleaner after a hidden patch test.
painted drywall / painted plaster / interior doors / glass / plastic laminates
wallpaper / marble or limestone / unsealed or wet plaster / near electrical outlets or cables / surfaces with bubbling or soft paint
What you need
What you need
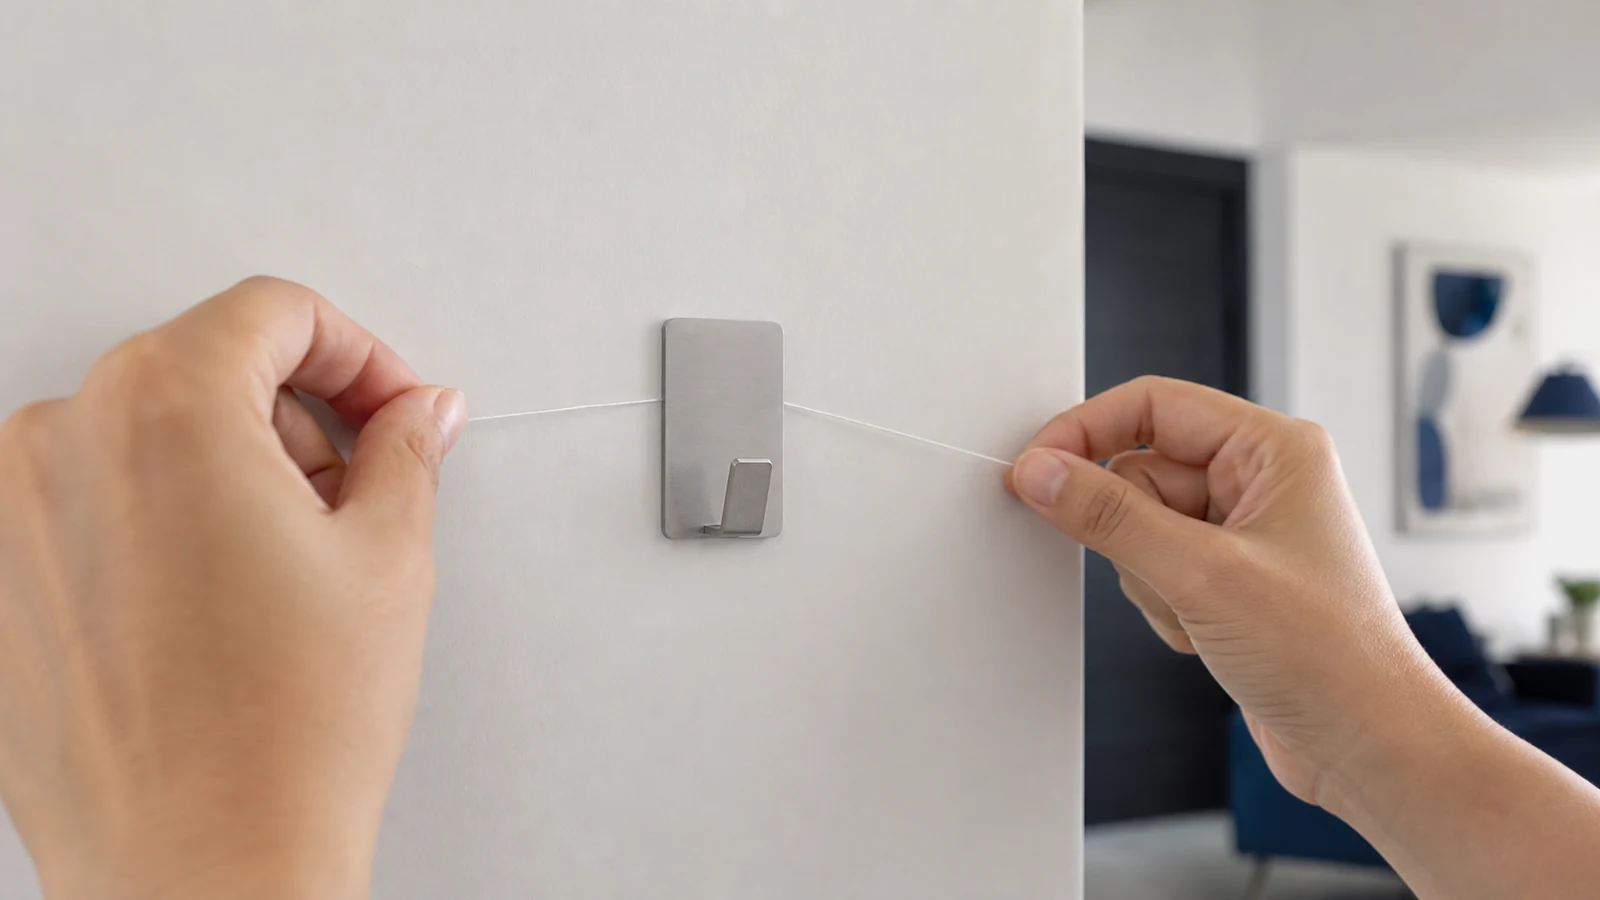
Begin with the hook maker's instructions, a clean soft cloth and dental floss. A hair dryer or residue cleaner is optional and may be used only when the hook and paint manufacturers permit that exact method. Do not improvise with household oils or solvents on painted plaster.
- Difficulty
- Easy
- Active time per hook
- 5–10 minutes
- Total time per hook (including drying)
- 15–20 minutes
Hair dryer
1 unit (your own)
Dental floss (waxed or unwaxed)
1 pack
Residue cleaner approved for the hook and paint
Small amount, only if required
Soft cloth or microfibre towel
1–2 pieces
Gloves (latex or nitrile)
1 pair
Typical UAE retail ranges. Prices vary by pack and store, and your total is lower when you already own the reusable tools.
Step by step
How to Remove Stickers and Adhesive Hooks Without Peeling the Paint
Follow this sequence: identify the hook type, apply gentle heat, mechanically separate, clean residue, and inspect the wall.
-
Step 01
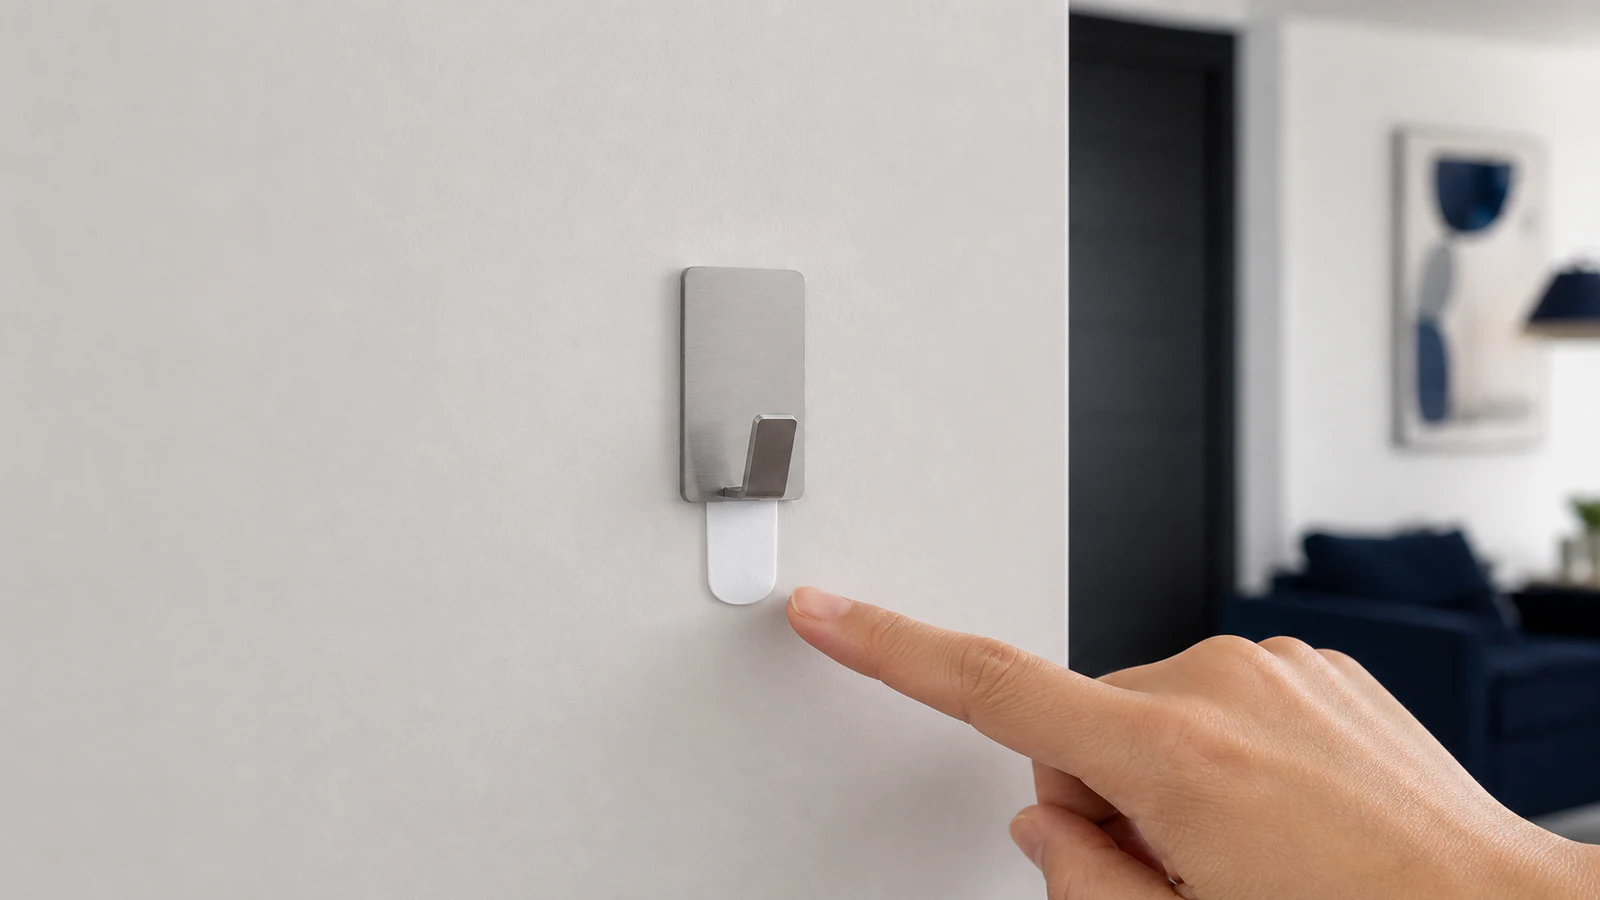
Check the hook removal tab and instructions
Look for a small pull tab on your adhesive hook—especially if it is a 3M Command or similar branded hook. Read the back of the hook packet or check the manufacturer's website for the correct removal angle and direction. Most hooks require pulling the tab slowly downward, parallel to the wall, not outward toward you.
You can see the tab clearly and the hook is not sealed by paint
Manufacturer instructions are visible or accessible
The removal angle is confirmed as downward or parallel to the wall
-
Step 02
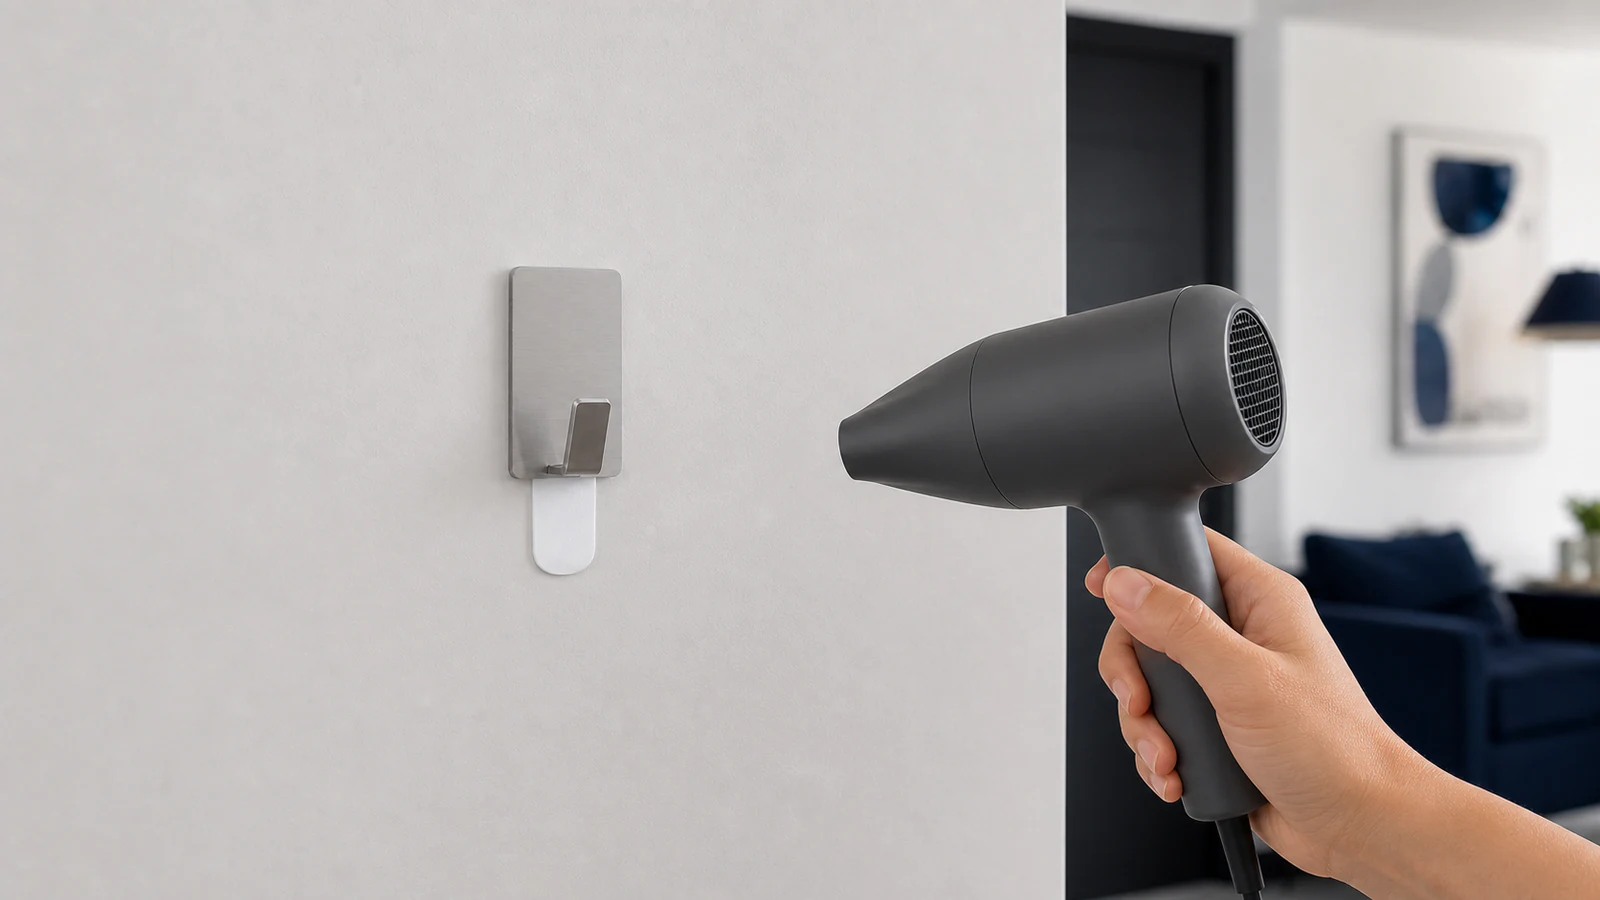
Use low heat only when the maker permits it
Check the hook maker's broken-strip instructions. If they specifically allow heat, run the dryer on its lowest setting in short moving passes, checking the surface every few seconds. Keep the cable clear of water. Stop for softness, bubbling, discolouration, odour or unexpected warmth; unplug the dryer before setting it down.
The product instructions explicitly allow low heat for a broken strip
The dryer stays moving and the wall remains only slightly warm
Paint remains firm, unchanged and odour-free
The dryer is unplugged before it is set down
-
Step 03
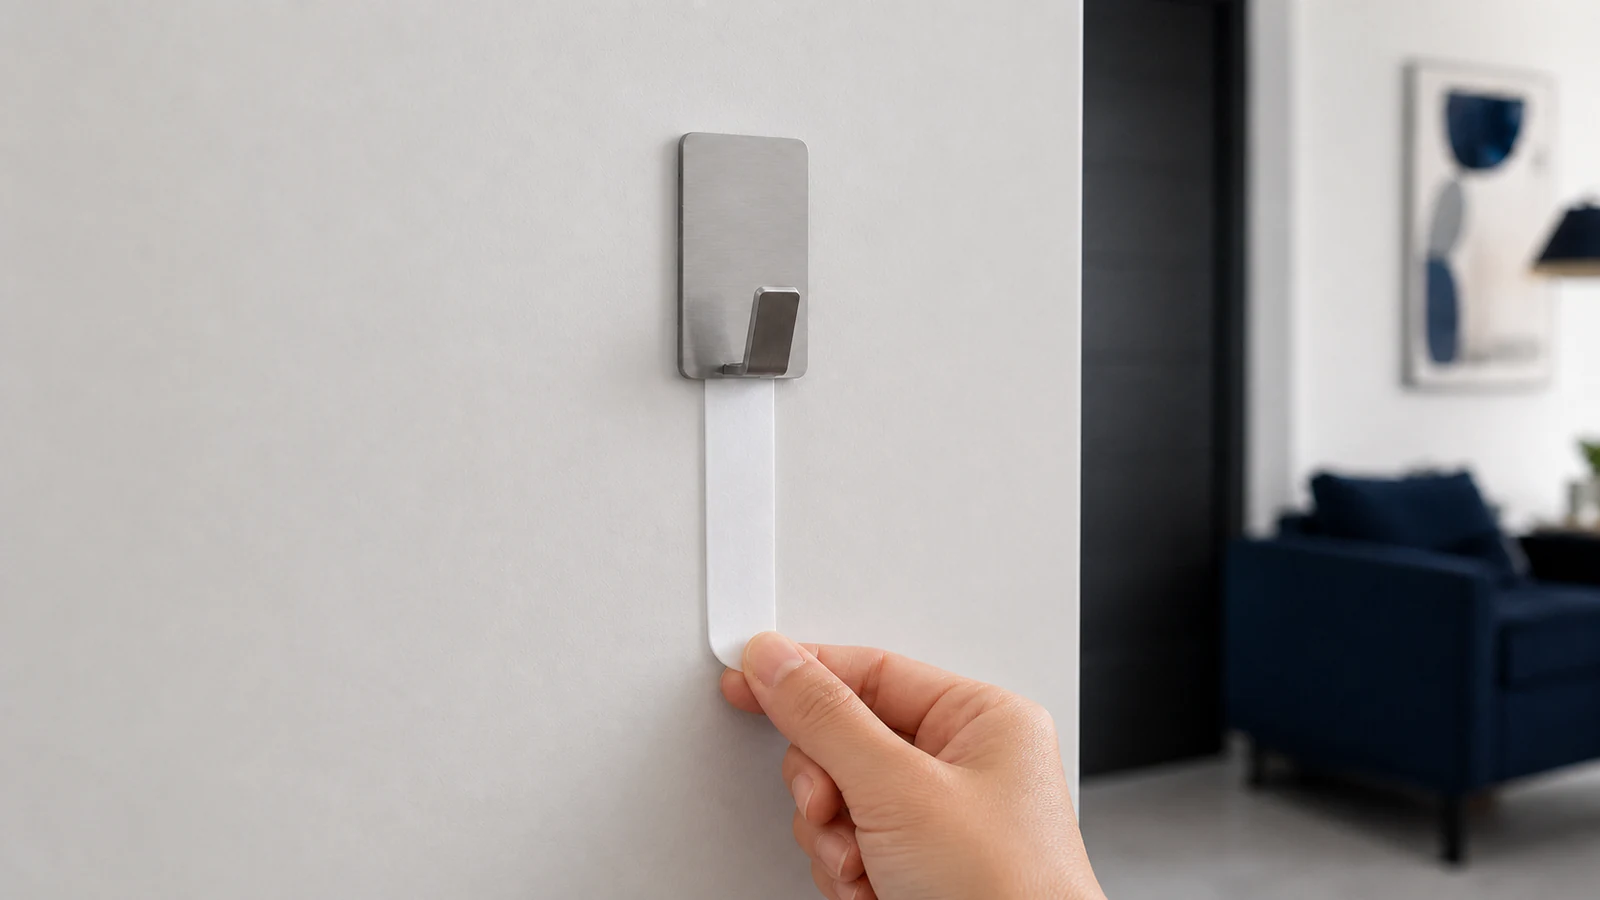
Use the manufacturer's release tab or dental floss
If the hook has a release tab, grasp it firmly with your thumb and forefinger, and pull it slowly and smoothly parallel to the wall at a shallow downward angle—never straight out toward you. Pull for 2–3 seconds without jerking. If there is no tab or it has failed, loop dental floss behind the hook and hold both ends.
The tab or floss is being pulled parallel to the wall, not outward
The pull is slow and steady over 2–5 seconds
The hook begins to lift or tilt without snapping
No paint peels or cracks appear around the base
-
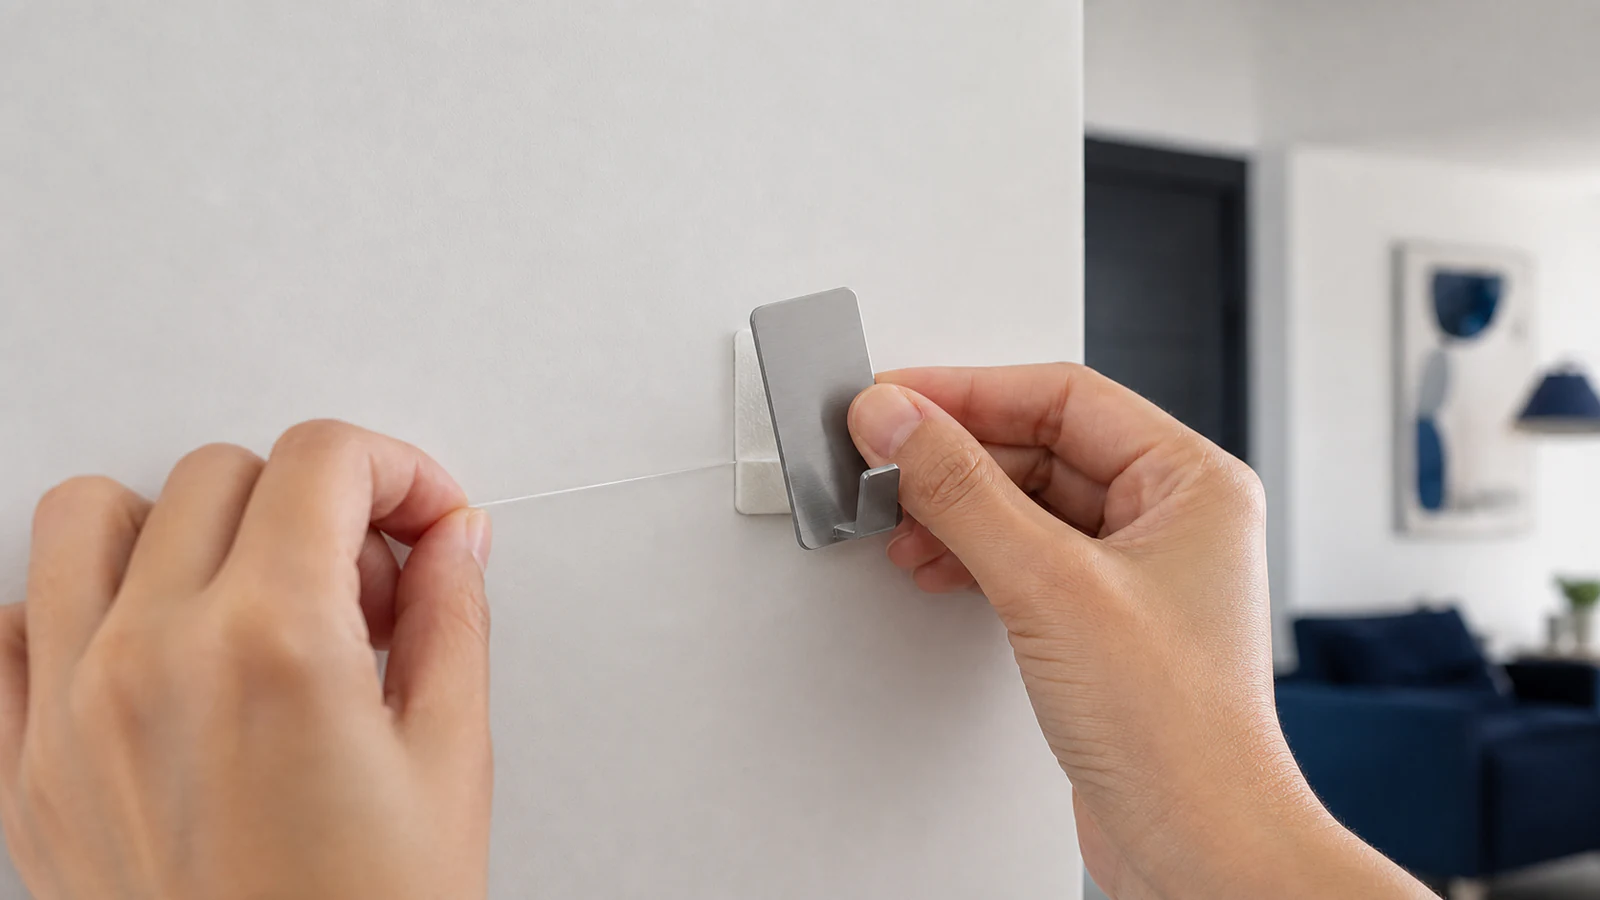
Step 04
Continue gentle separation and lift free
Keep the pull parallel to the wall and continue slowly. If the hook resists, stop and recheck the maker's broken-strip method instead of adding force. Do not pry with metal or a blade. Lift the hook away only after the adhesive has separated without moving the paint film.
The hook is tilting and beginning to separate cleanly
No large strips of paint have lifted
The adhesive is coming away in one piece or small chunks
The hook comes free completely
-
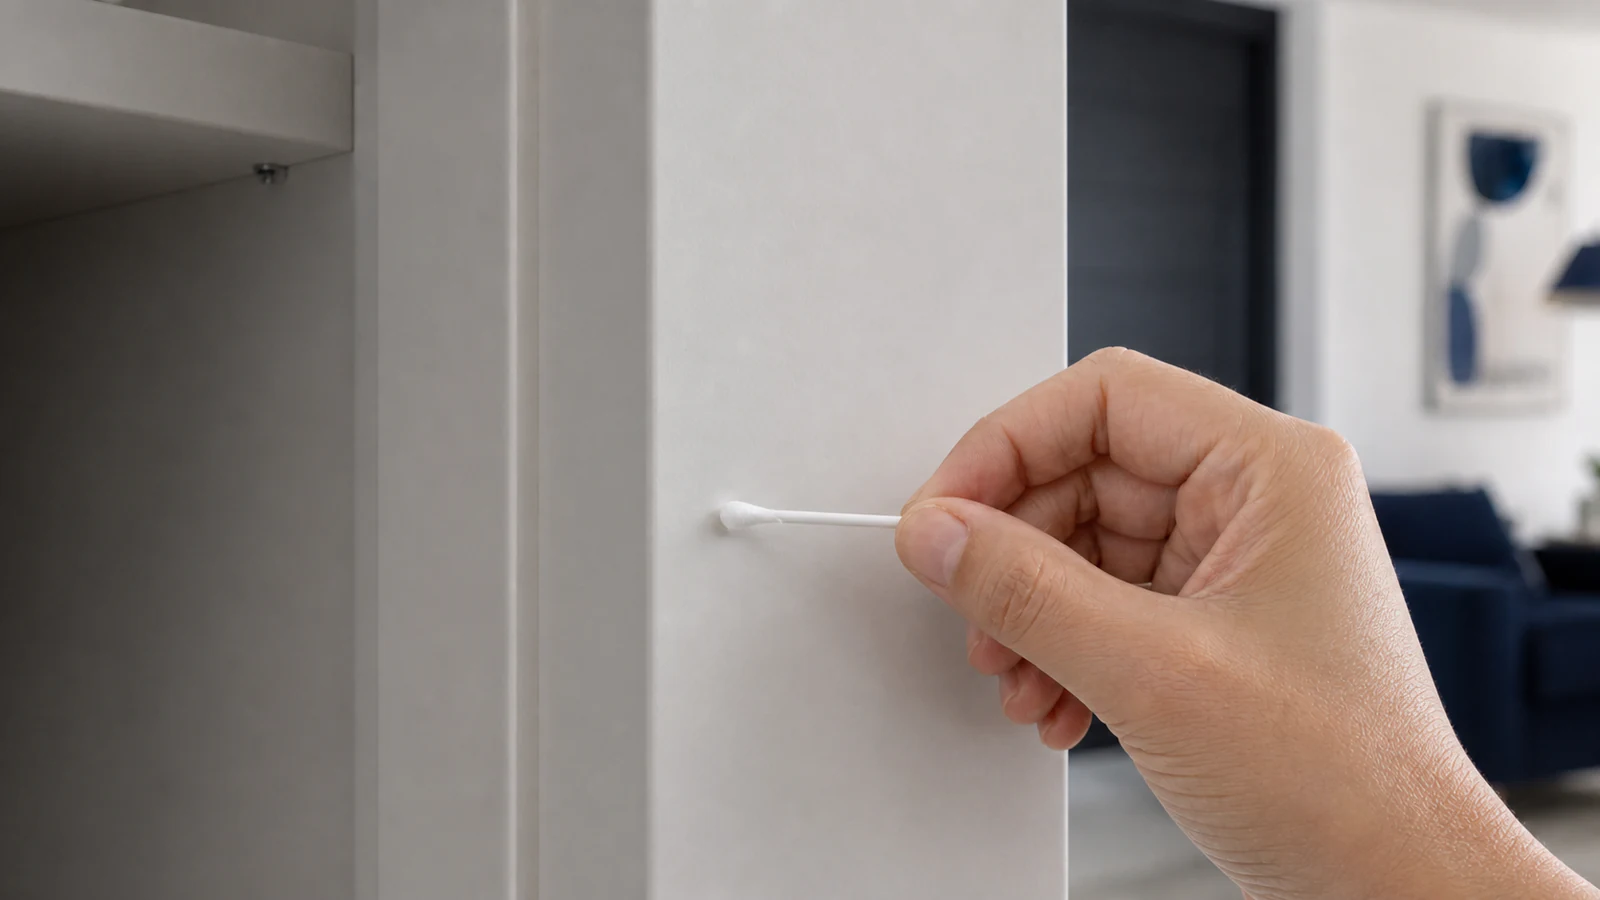
Step 05
Patch-test an approved residue cleaner
First try rolling dry residue away with a clean finger or soft cloth. If residue remains, identify a cleaner approved by both the hook and paint manufacturers. Test one drop on a hidden, fully cured painted area, wait for the labelled time, then check colour, gloss, softness and texture before continuing.
Dry rolling removes residue without spreading it
The cleaner is approved for both the adhesive and painted surface
The hidden test shows no colour, gloss, softness or texture change
The test area remains sound after the labelled wait time
-
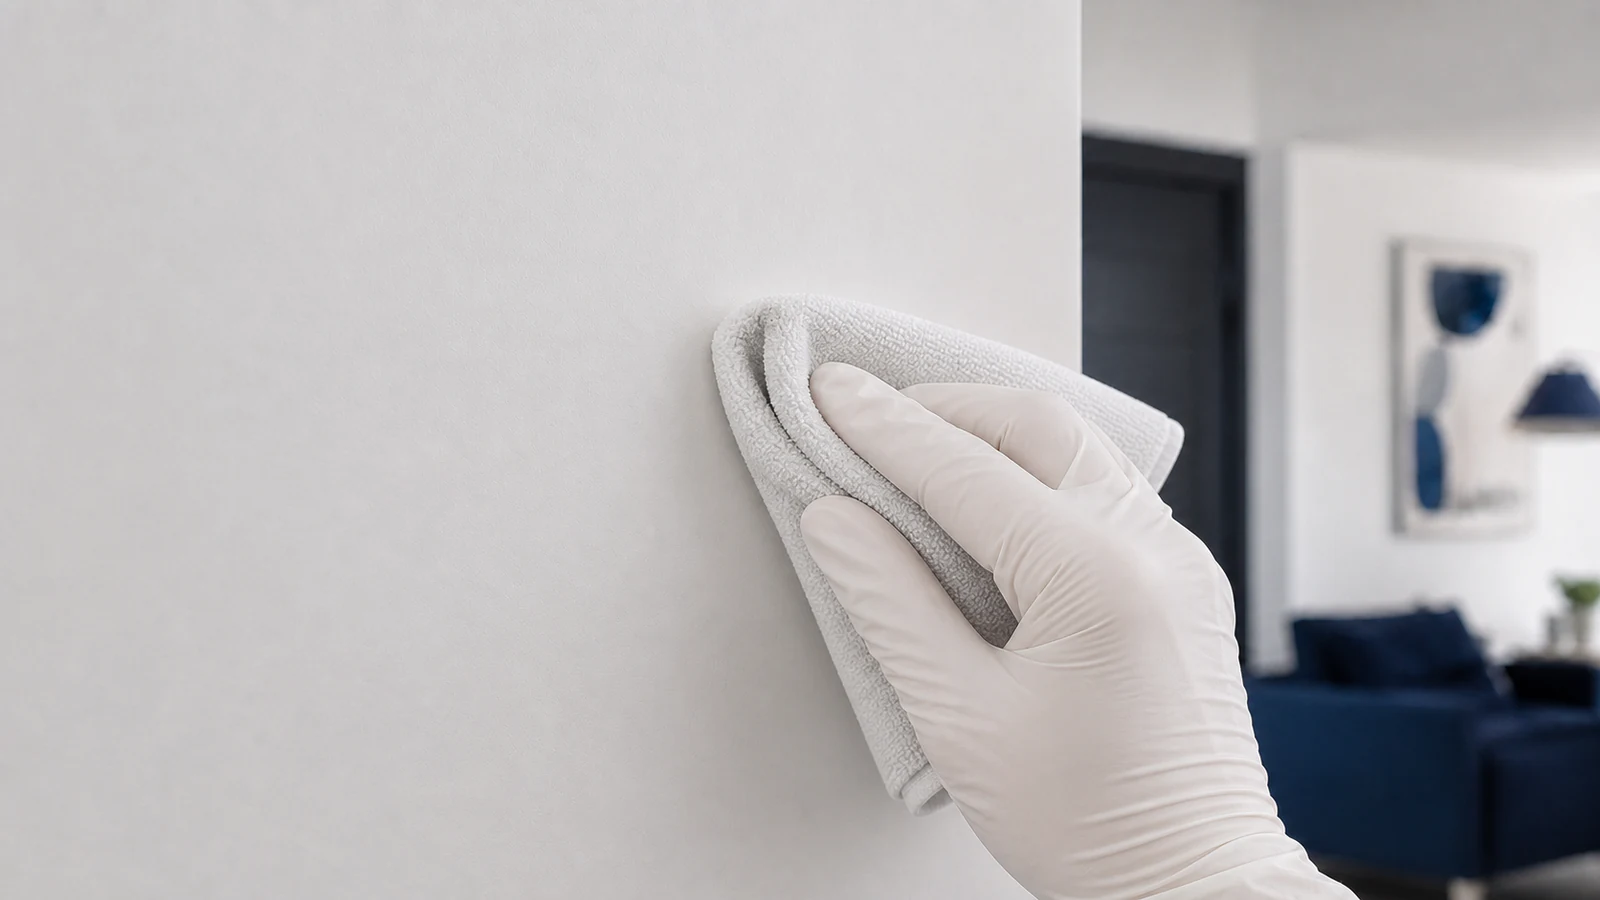
Step 06
Remove residue with the approved method
Use the successful dry method or the patch-tested, paint-approved cleaner exactly as labelled. Work from the outside of the mark inward with a soft cloth and minimal moisture. Stop if colour transfers, gloss changes, paint softens or the residue spreads; leave difficult residue for a surface specialist.
Only the tested method touches the visible wall area
The cloth stays nearly dry and the mark shrinks from its edge
No paint colour transfers to the cloth
Gloss, texture and hardness remain unchanged
-
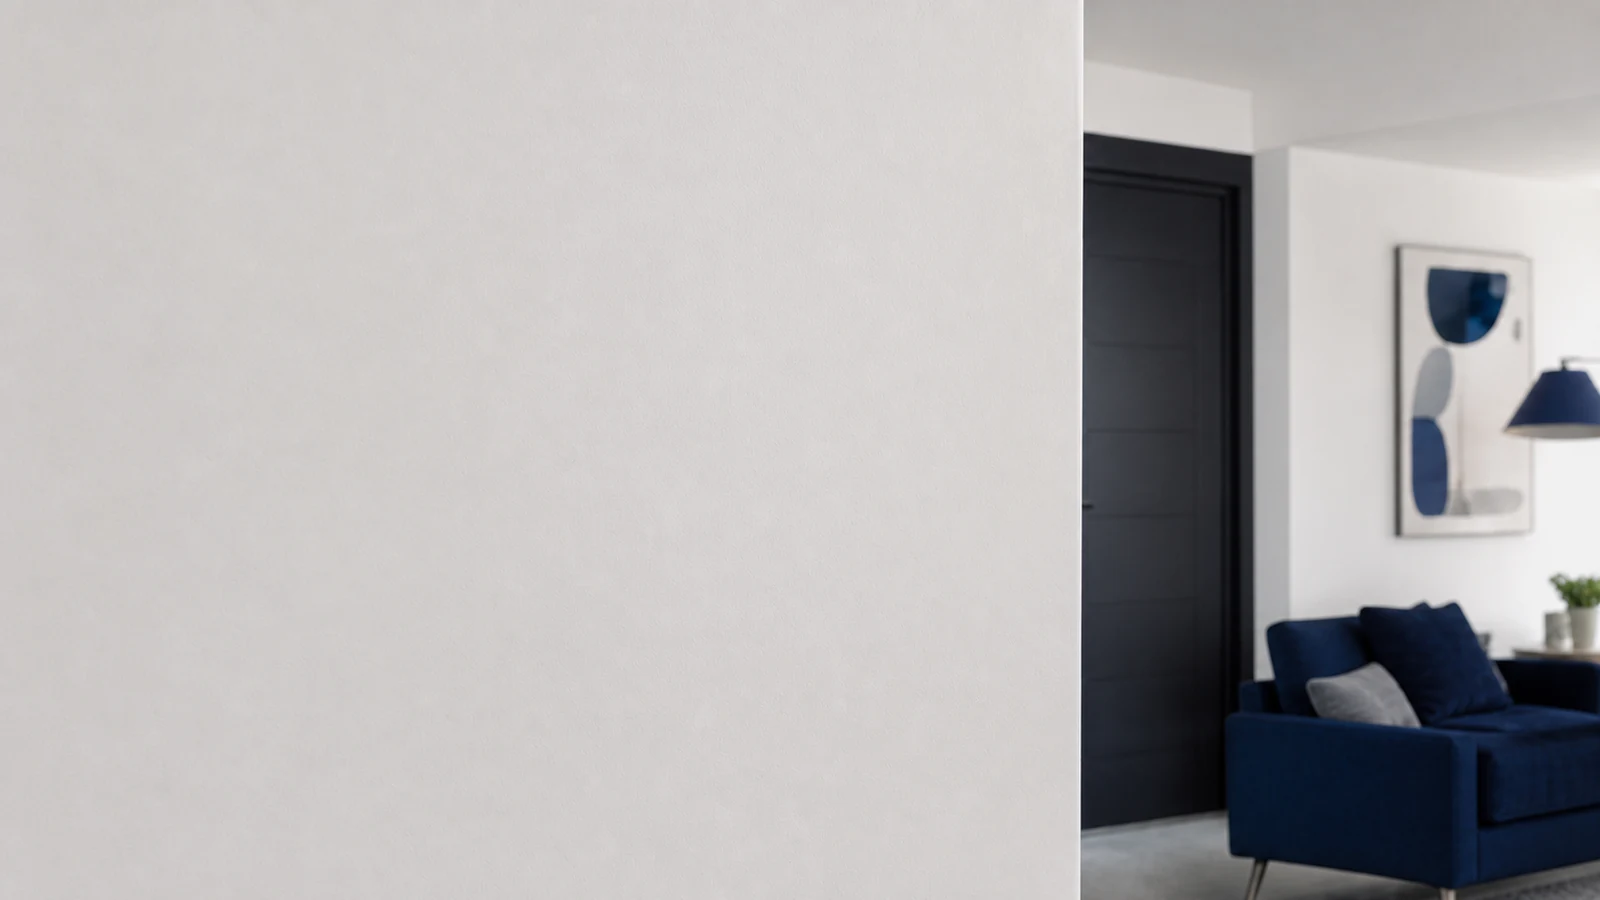
Step 07
Inspect the wall and assess the result
Once the wall is dry, step back and inspect it from a normal viewing distance in daylight and under ceiling lights. Look for any small divots, scuffs or faint discolouration where the hook was mounted. The area should now be clean and ready for redecorating or new hooks.
The wall surface is clean and dry
Adhesive residue is completely gone
The area is inspected from multiple distances and angles
The wall is ready for new hooks or paint touch-up if needed
Finished result
What success looks like
A successfully removed adhesive hook leaves a clean wall with no visible residue, peeling or paint damage.
The hook and adhesive are fully removed
No sticky residue remains on the wall
The paint colour and sheen match the surrounding area
No peeling, bubbling or softened paint is visible
Quick answers
Frequently asked questions.
What dissolves sticker residue?
Use only the removal method and residue cleaner approved by the hook and paint manufacturers. Start by rolling dry residue with a clean finger or cloth. If a liquid is permitted, patch-test it on a hidden cured area. Stop if colour, gloss, softness or texture changes.
How do Command strips come off?
3M Command hooks come with a pull tab designed to be stretched downward, parallel to the wall at a shallow angle. Locate the tab, grasp it firmly, and pull slowly and smoothly downward without jerking or pulling outward toward you.
Is it safe to use heat on painted walls?
Heat is only an option when both the hook and paint guidance allow it. Use the hair dryer's lowest setting, keep it moving, and check the surface every few seconds. Stop immediately for softness, bubbling, discolouration, odour or unexpected warmth, and unplug the dryer before setting it down.
What should I do if paint peels despite following the method?
Do not re-adhere the loose paint. Allow it to dry completely, gently sand any rough edges with fine-grit sandpaper, and plan to fill and touch-up paint the area. Weak or poorly cured paint underneath is usually the cause. Avoid marble or limestone.