
DIY / Doors, Windows & Cabinets
Peeling Natural-Wood Veneer: A Small Edge Repair
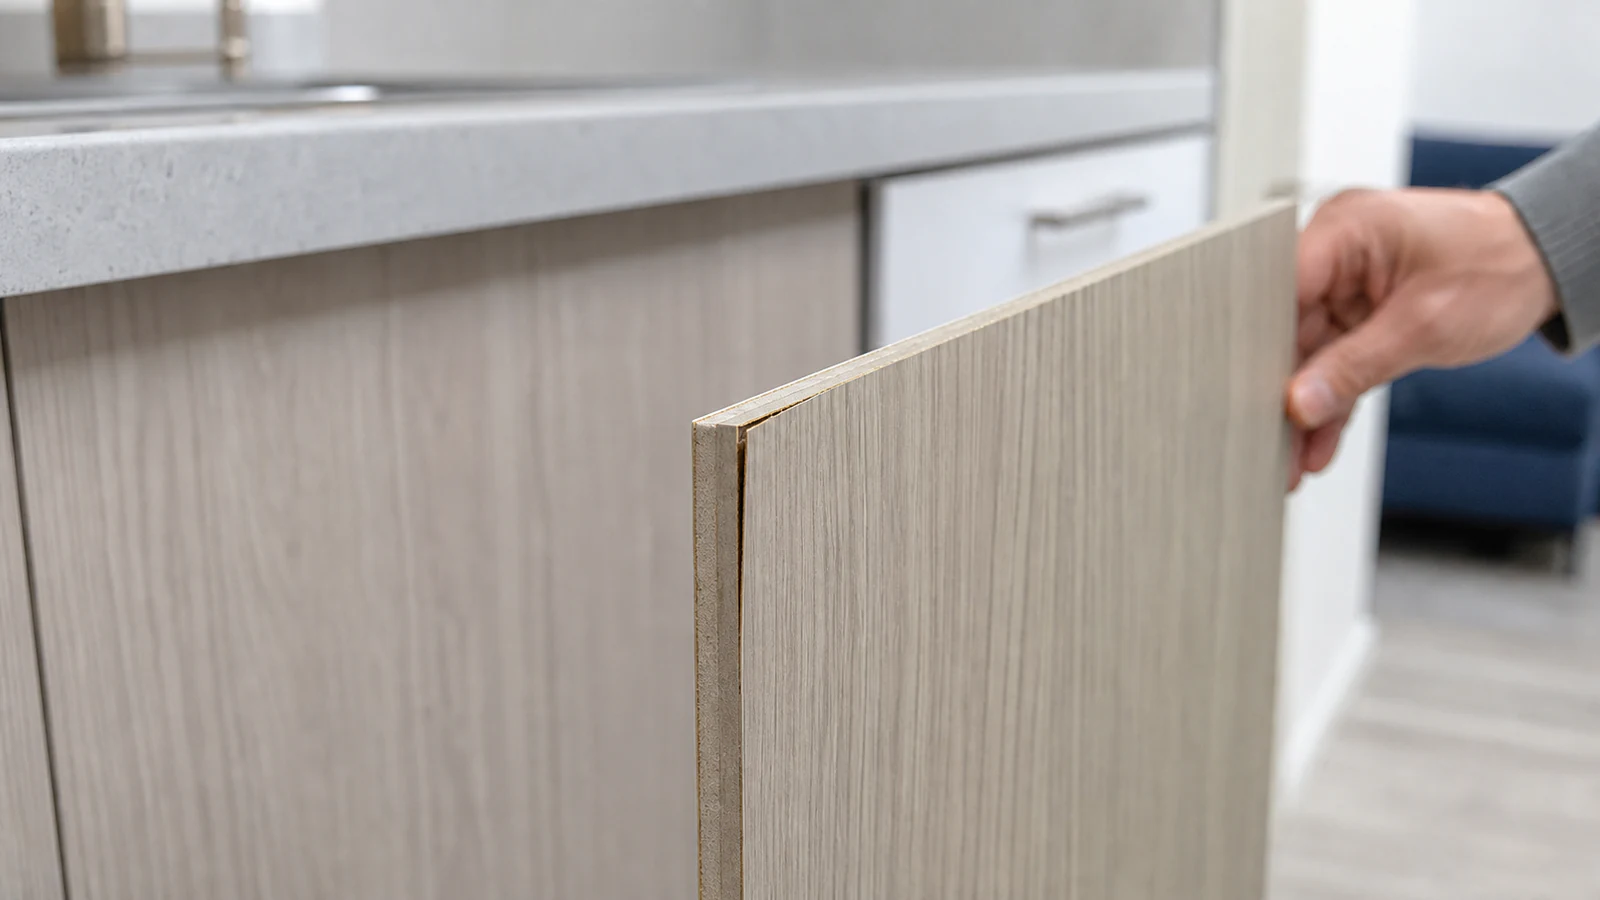
Lifted cabinet surfaces may be veneer, laminate or thermofoil; each needs a different adhesive. This guide covers one flexible edge of confirmed wood veneer on dry wood. Dampness, swelling, cracks, blisters, missing material or an unknown finish need professional assessment.
Quick answer
What glue is best for peeling veneer?
Use only a PVA wood glue whose maker confirms the two clean bare-wood surfaces are compatible. Hidden-test the finish, apply the label-directed amount to one small dry lift, hold it with the approved pressure method and observe the full clamp and cure times. Do not use super glue or repair wet, coated or damaged material.
Kitchen cabinet doors with natural wood veneer / One small intact edge of confirmed natural-wood veneer over sound wood
Thermofoil or plastic-coated cabinet surfaces / Swollen, wet or mouldy substrate / Veneer with large missing sections or deep cracks / Cabinets with unknown finish or coating
What you need
What you need
Gather the listed materials before you start.
- Difficulty
- Easy
- Active time
- 15–20 minutes
- Total time
- 15–20 minutes active plus the adhesive's full clamp and cure times
Wood glue (PVA, interior-grade)
1 small bottle (≈250 ml)
Small disposable brush or applicator
1
Masking tape or gummed kraft tape
1 roll
Clean dry cloth
1
Typical UAE retail ranges. Prices vary by pack and store, and your total is lower when you already own the reusable tools.
Step by step
How to Re-Glue Peeling Veneer on a Cabinet Door
Work in order and check the result after each step.
-
Step 01
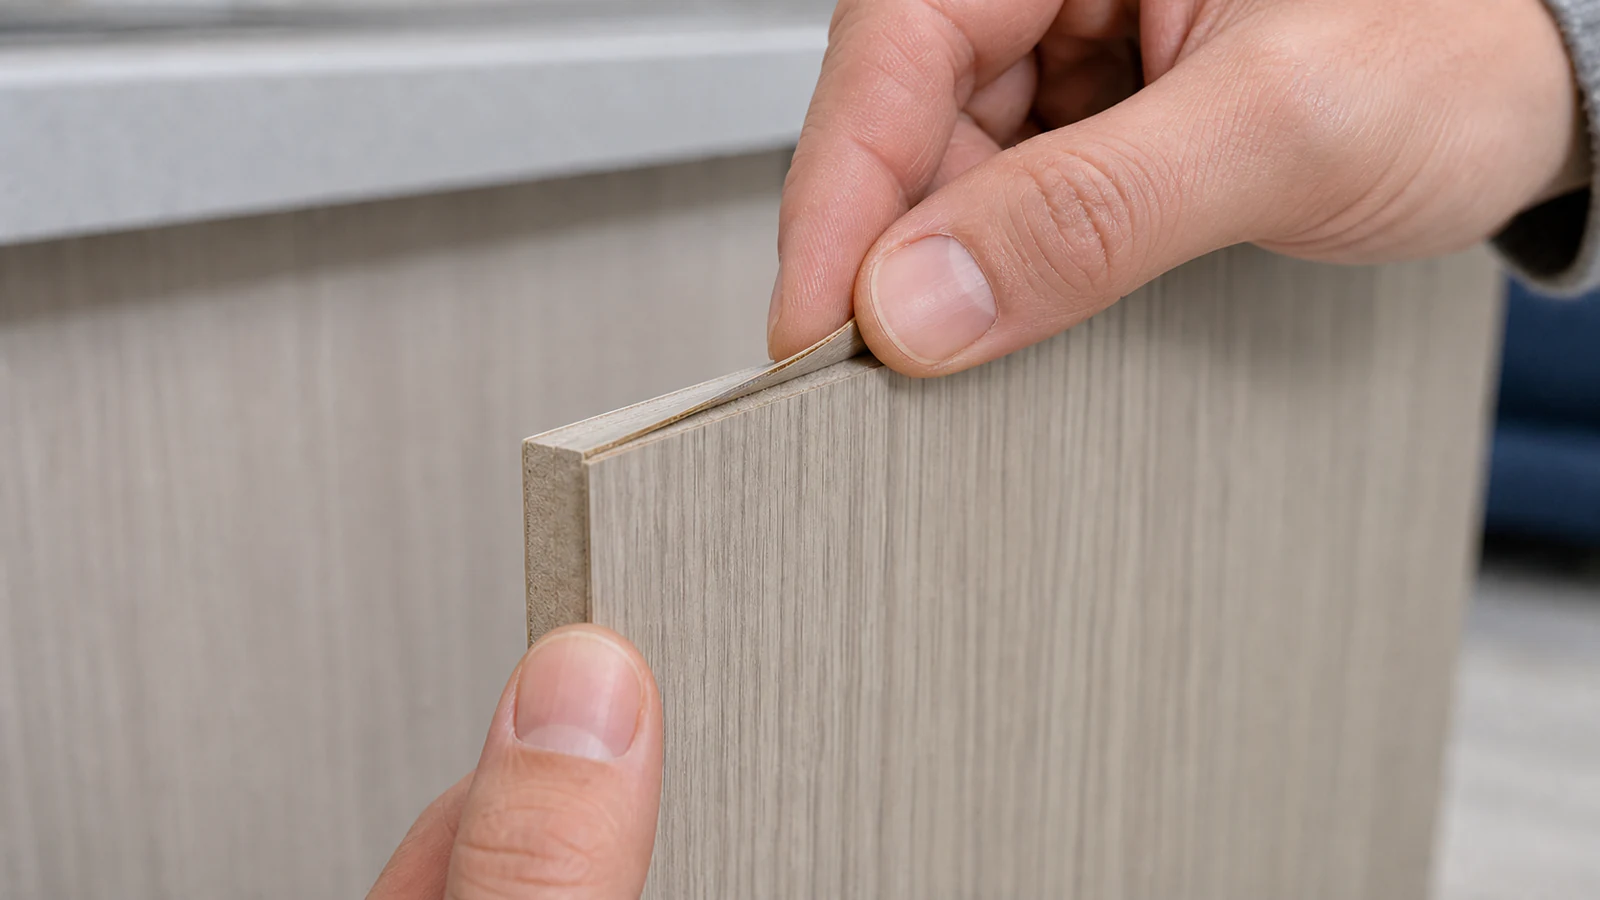
Check the substrate for moisture and damage
Lift only enough to inspect without cracking it. Stop for dampness, swelling, softness, staining, mould, a rigid or cracked edge, missing material or an unknown coating. Do not simply dry and glue over moisture damage; have its source and substrate assessed.
-
Step 02
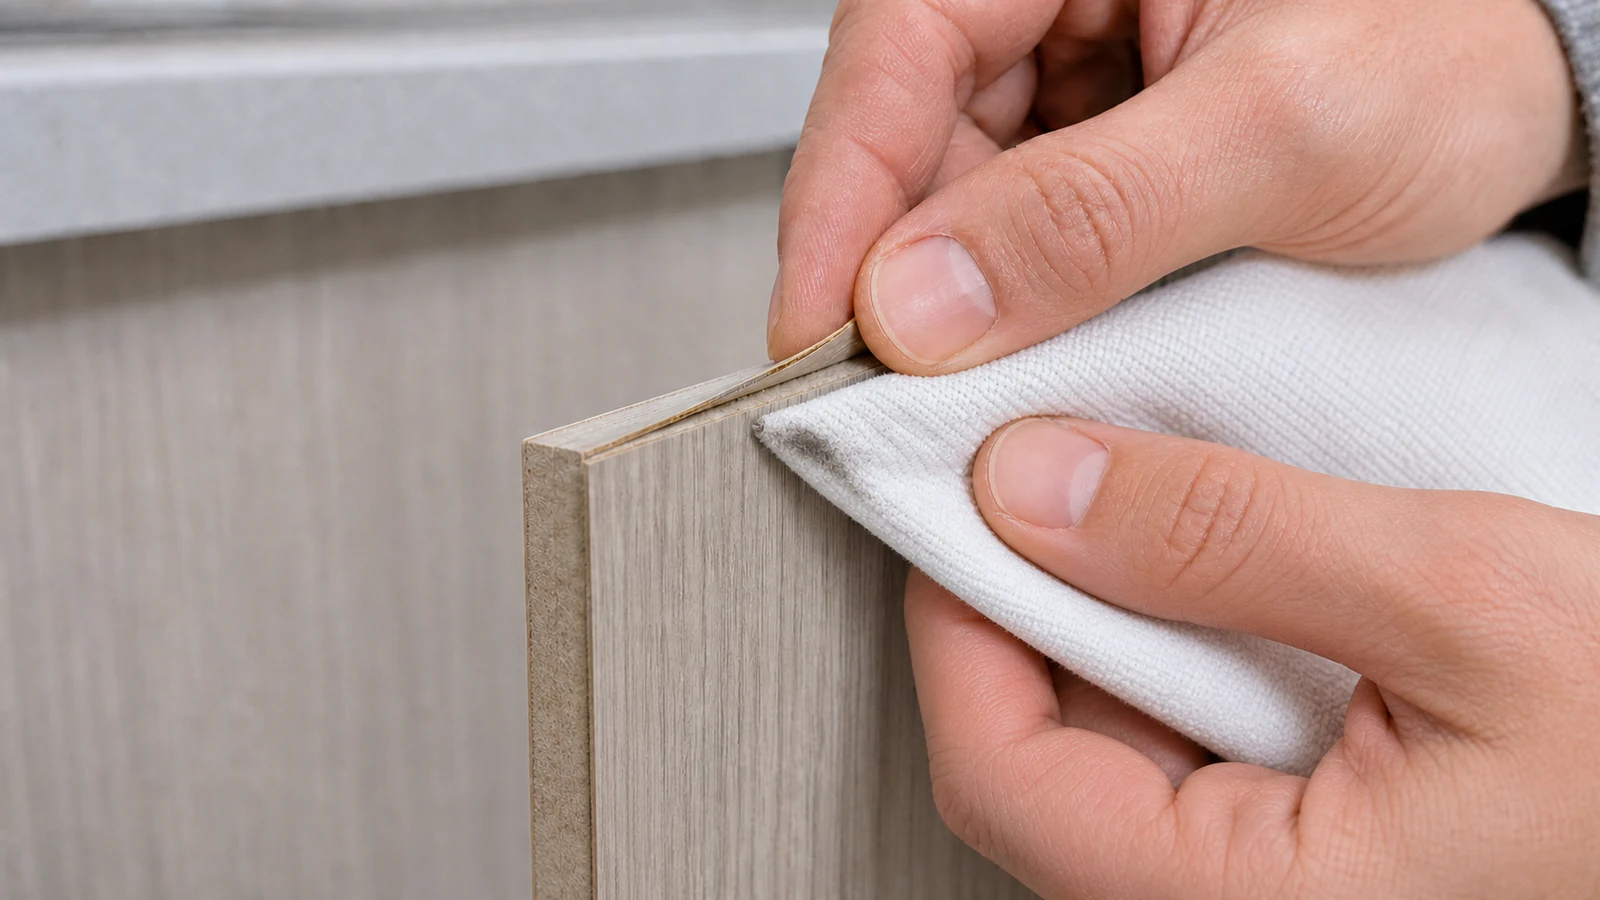
Clean both surfaces with a dry cloth
Using a clean, dry cloth, wipe the underside of the lifted veneer gently to remove dust, old dried glue or debris. Then wipe the substrate surface underneath. Work with light pressure—veneer is brittle and aggressive rubbing may split it.
-
Step 03
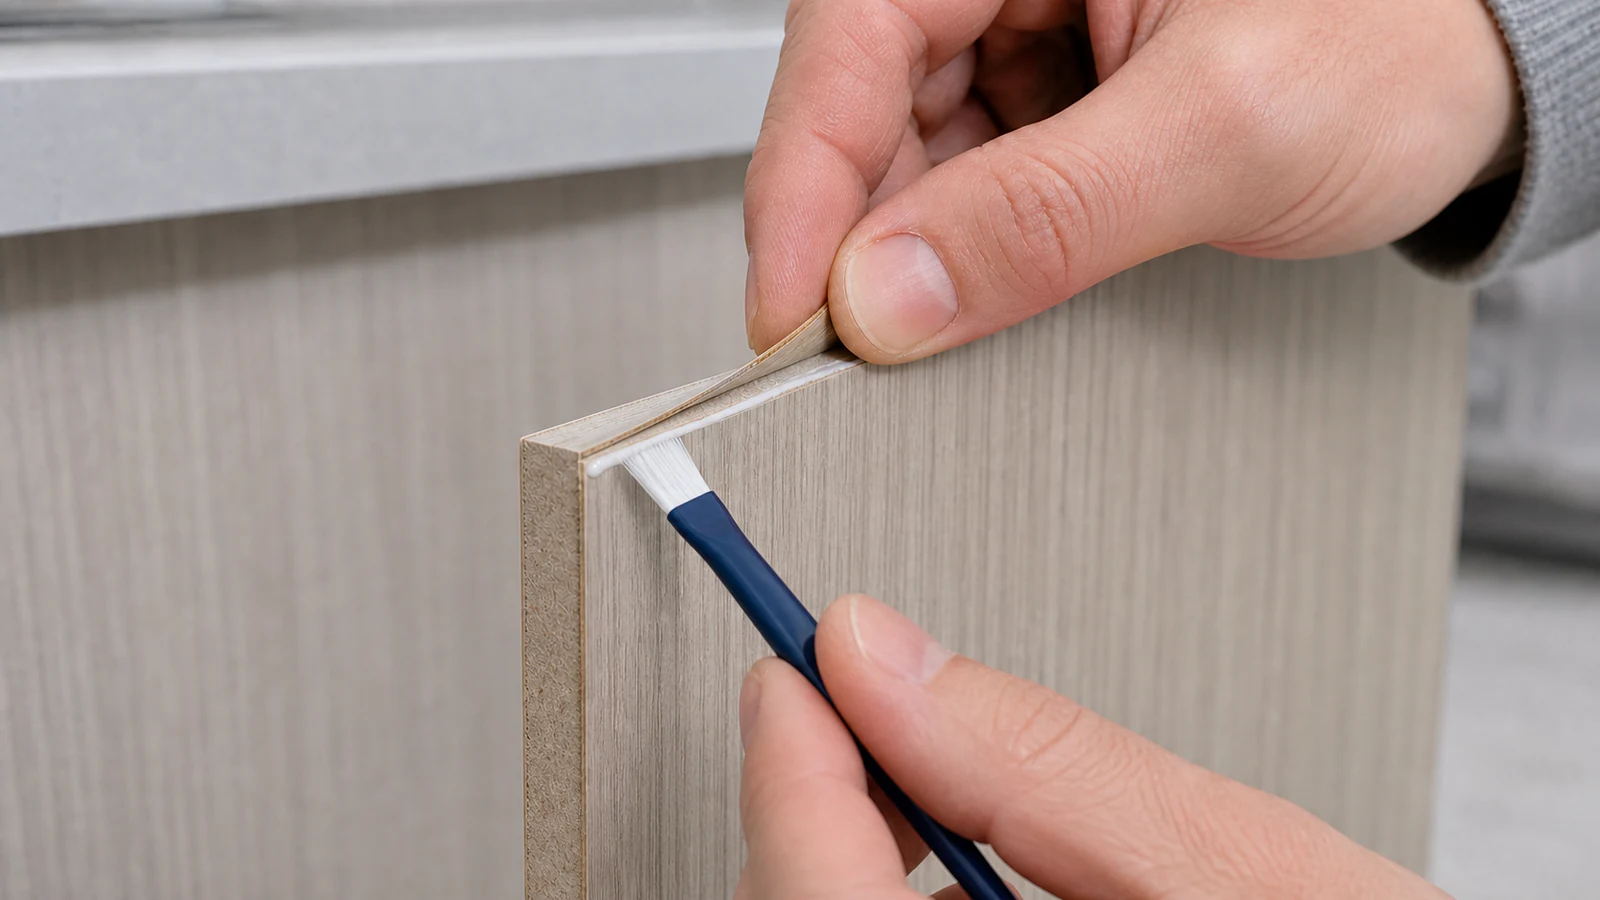
Apply a thin, even layer of wood glue
Apply only the amount of the confirmed compatible PVA stated on its label. Keep glue off the finished face and do not flood the veneer. Stop if the glue maker requires surface preparation that would damage the finish or if the edge will not lie flat without force.
-
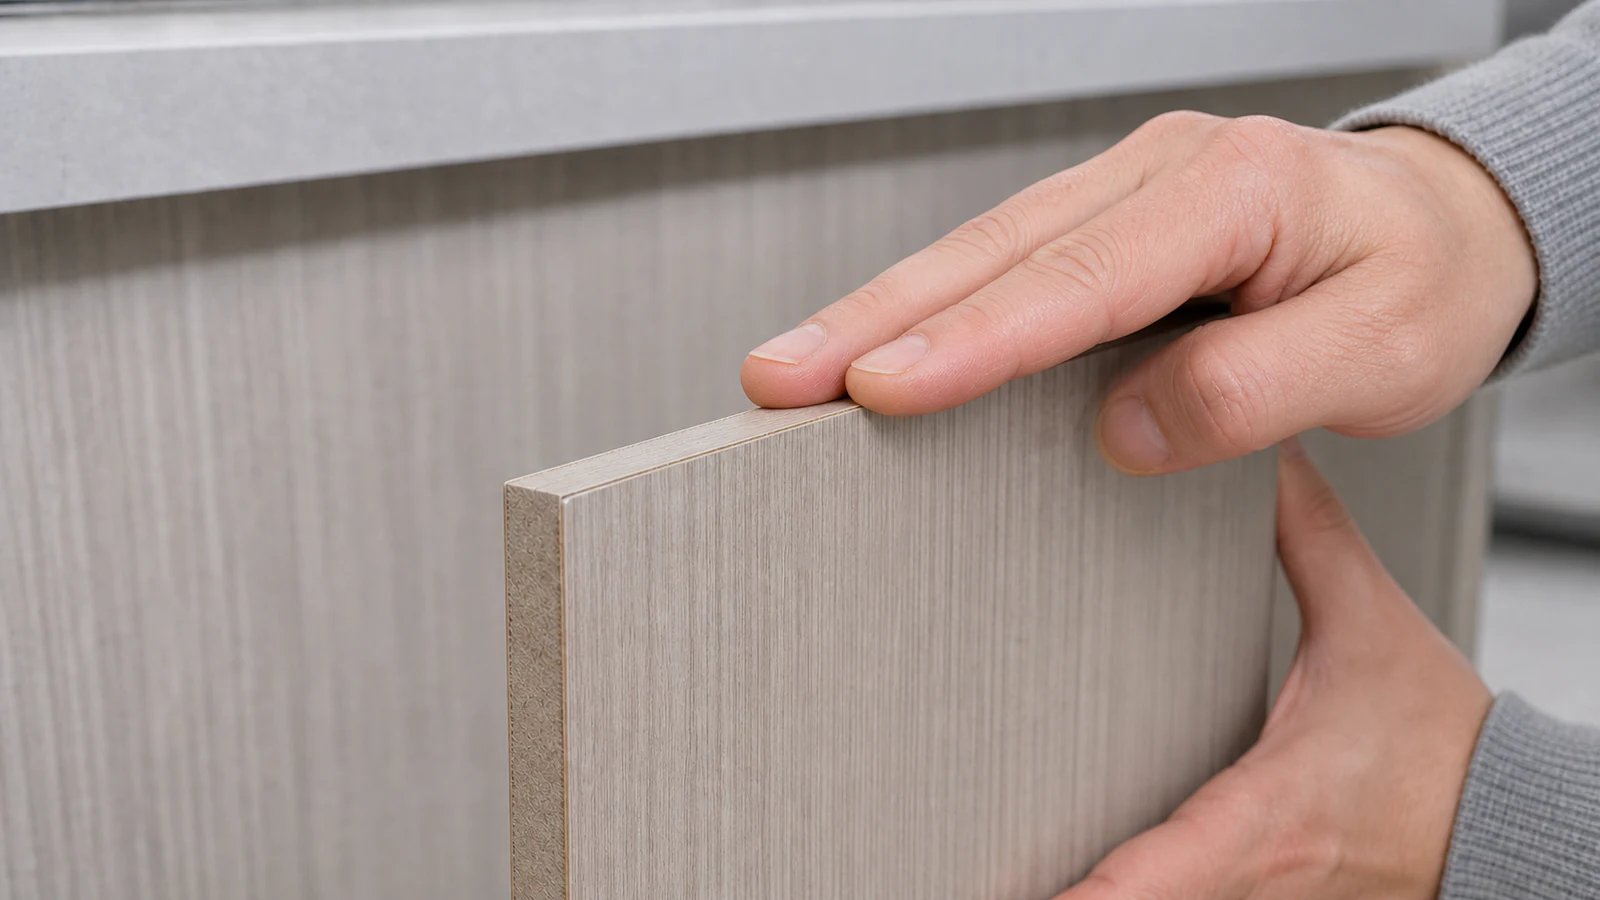
Step 04
Press the veneer down firmly and evenly
Seat the veneer gently with even hand pressure. Then use only the adhesive maker's specified pressure method and duration. Stop if the edge will not lie flat without force; never use a vice or heavy object.
-
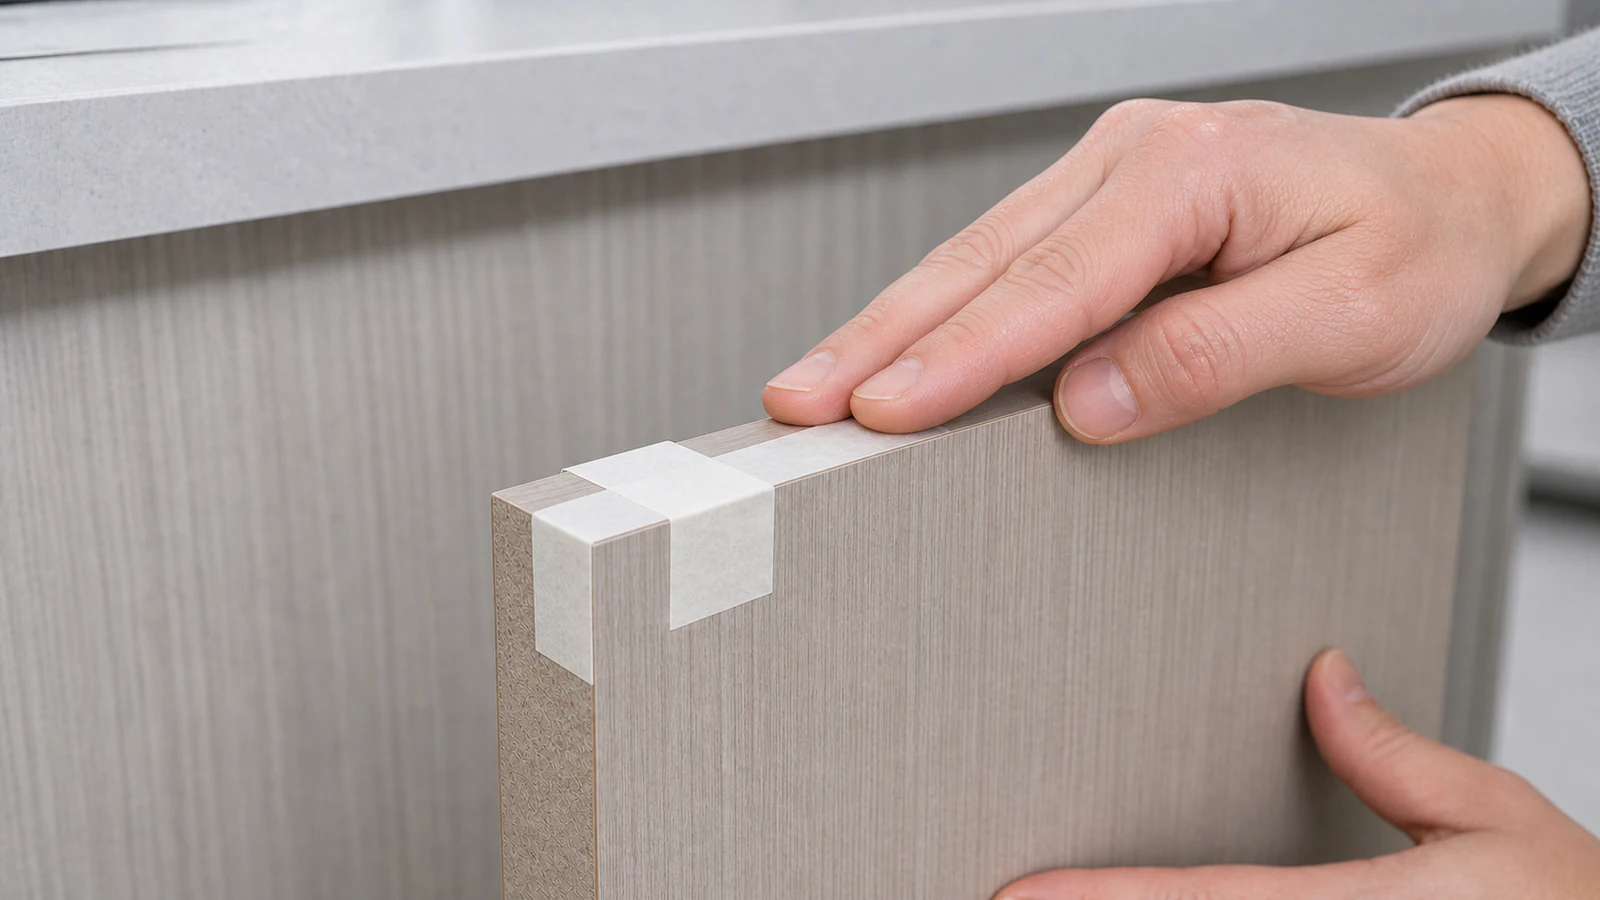
Step 05
Tape the seam in a cross pattern to hold the veneer
Use only the low-risk pressure method confirmed by the adhesive maker for this tiny edge. If low-tack tape provides even contact without lifting finish, apply it across the seam and hidden-test the tape first. Do not improvise with a vice or a heavy object.
-
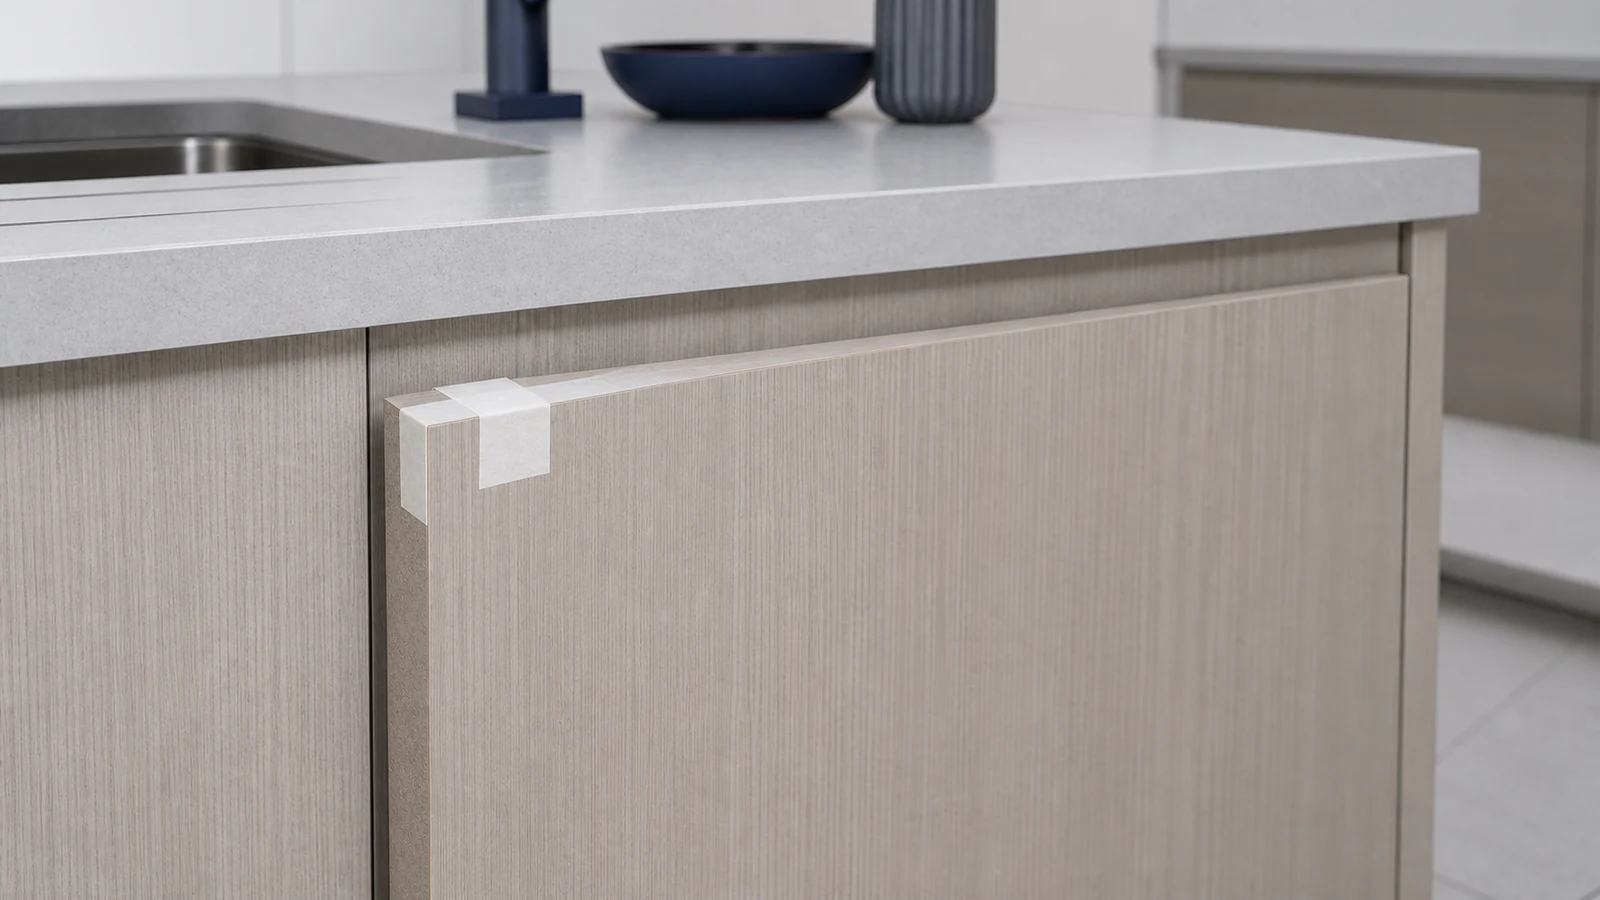
Step 06
Observe the full labelled clamp and cure times
Leave the repair unloaded for the exact clamp and cure periods on the adhesive label; do not assume every PVA uses 24 hours. Keep the cabinet dry and within the label's temperature range. Do not open or stress the repaired edge early.
-
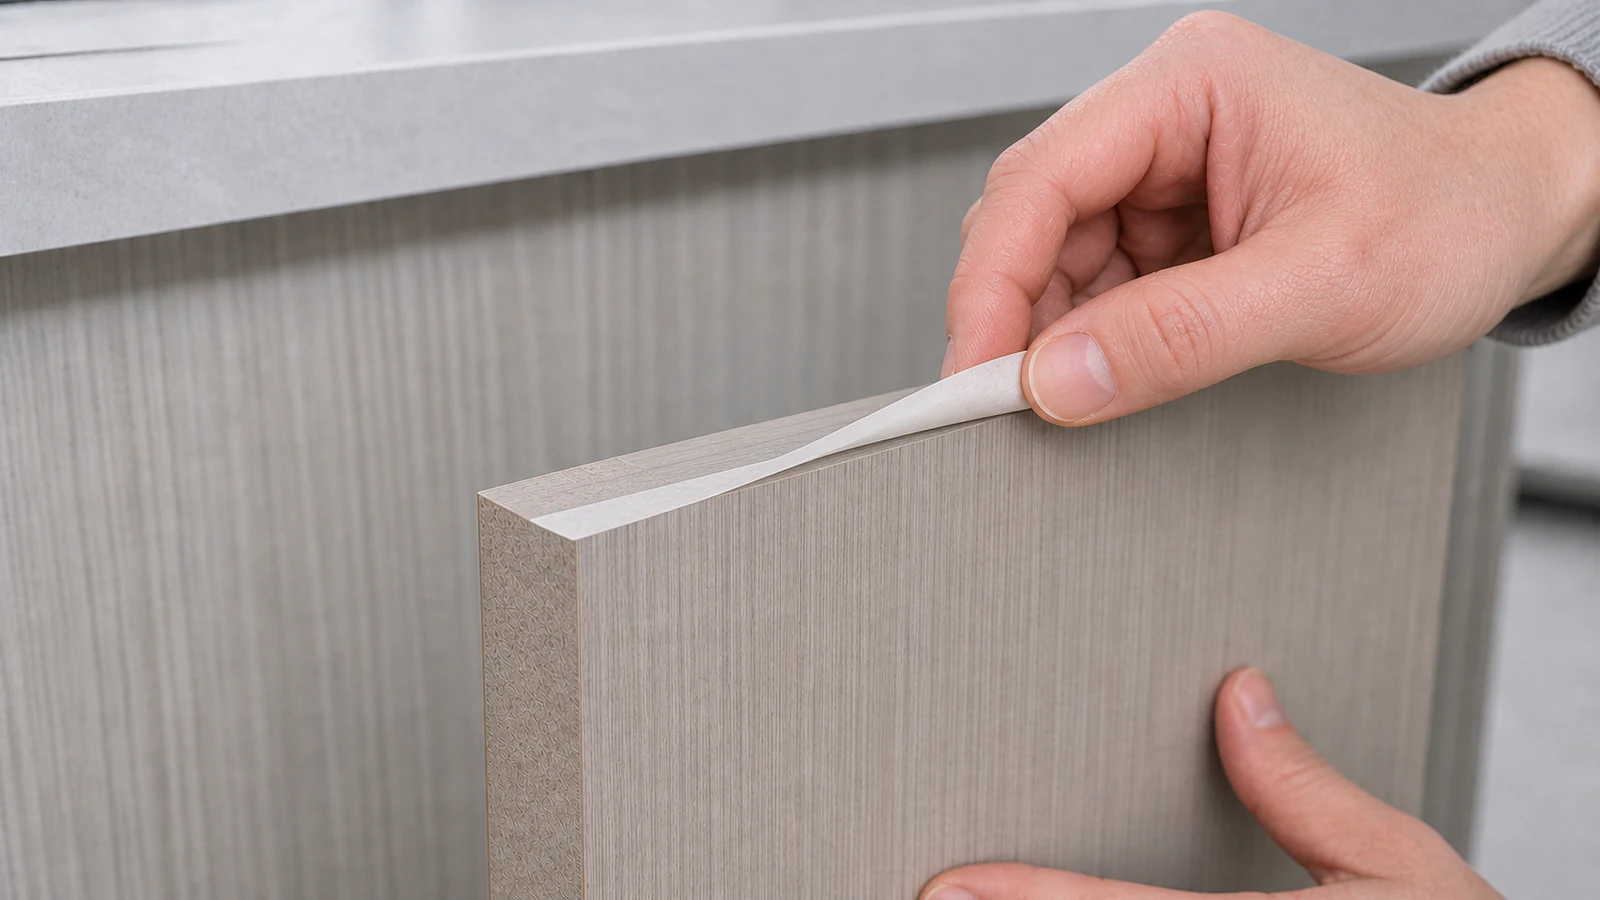
Step 07
Remove the tape and inspect the repair
After the labelled cure time, peel approved tape away at a shallow angle. Remove fresh residue only as the glue maker directs without soaking the seam. Check that the veneer is fully seated.
Quick answers
Frequently asked questions.
Why is my cabinet veneer lifting?
Veneer lifts when adhesive fails, usually from age, heat or humidity changes. Moisture inside the cabinet weakens the bond. If the substrate is damp or swollen, moisture must be addressed before re-gluing. Do not force brittle veneer or glue over wet/mouldy substrate.
How do you clamp veneer without clamps?
Use only the adhesive maker's stated pressure method and duration. For a tiny flexible edge, maker-approved low-tack tape may hold even contact after a hidden finish test. Stop if the edge needs force, a vice or a heavy object. Follow the glue label and safety data sheet.
Can I use super glue to repair veneer?
No. Cyanoacrylate (super glue) stains wood, creates brittle repairs and is difficult to remove if applied incorrectly. Use wood glue (PVA) instead, which allows adjustment, cleans with water and cures flexibly. Stop if you find large blister, missing material or cracked finish.
Sources and review notes
- Titebond: Wood Glue Frequently Asked Questions - Manufacturer guidance on bare-wood bonding, clamp times, full stress time and finish compatibility.
- Gorilla Glue: Gorilla Wood Glue - Primary PVA instructions for surface preparation, pressure, temperature, clamp time and full cure.