
DIY / Kitchen
Peeling Edge Strip on a Countertop: Reattach It With Contact Adhesive
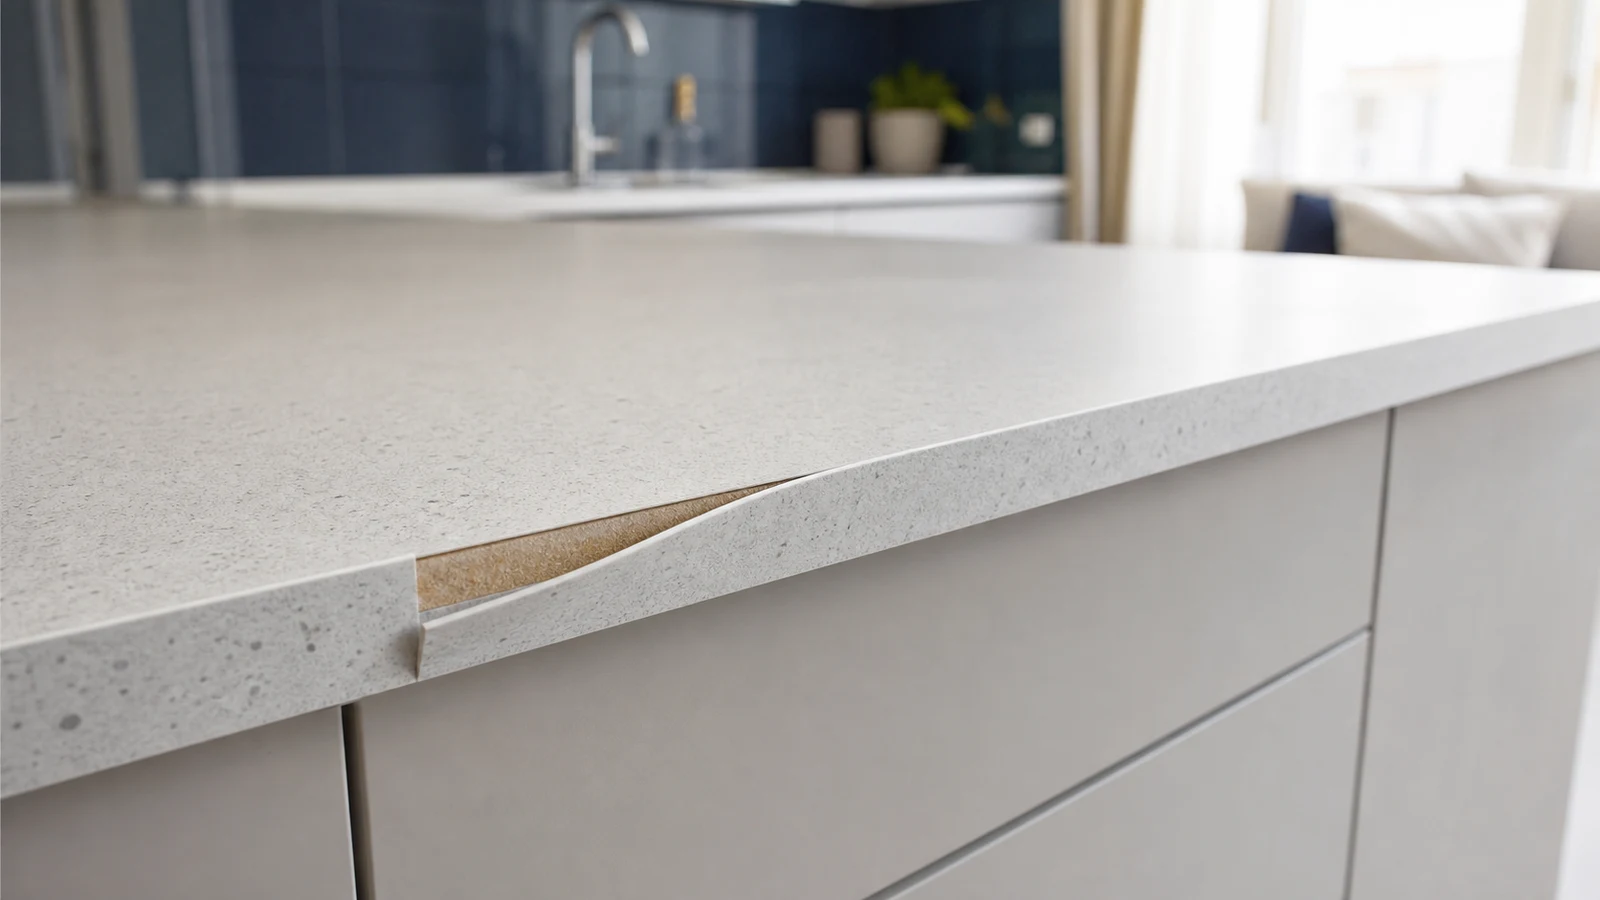
Repair an edge strip only when it and the board are intact, dry and identified. Adhesive compatibility, open time, pressure and cure vary. A swollen, dark, soft, mouldy or crumbling core is water damage, not an adhesive repair.
Quick answer
What glue works on countertop edging?
Use only a contact adhesive approved for both the edge band and board. Ventilate, remove ignition sources, wear label-specified PPE, coat both clean dry surfaces thinly, wait for the exact label-defined tack stage, then align and press once. Do not repair swollen, soft or mould-affected board.
A small intact edge strip and dry board identified in the adhesive compatibility table
Swollen, dark or waterlogged board edges / Crumbling or mouldy core material / Edges where the underlying board is visibly wet or soft / If you cannot identify the adhesive type already used
What you need
What you need
Choose an adhesive labelled for both materials and the installed orientation. Follow its technical sheet and SDS for preparation, ventilation, PPE, ignition control, open time, pressure and cure. Keep it off food-contact surfaces.
- Difficulty
- Easy to Medium
- Active time
- 30 minutes
- Total time (including cure)
- Adhesive-label specific
Contact adhesive (single-component, board-approved)
smallest suitable container; as labelled
Painter's tape or masking tape
1 roll
Cloth or soft brush for cleaning
1
Rubber roller or squeegee
1
Protective gloves (nitrile or latex)
1 pair
Safety glasses
1 pair
Typical UAE retail ranges. Prices vary by pack and store, and your total is lower when you already own the reusable tools.
Step by step
How to Reattach a Peeling Countertop Edge Strip With Contact Adhesive
Open windows or doors for ventilation. Wear gloves and safety glasses throughout. Work on a clean, dry countertop.
-
Step 01
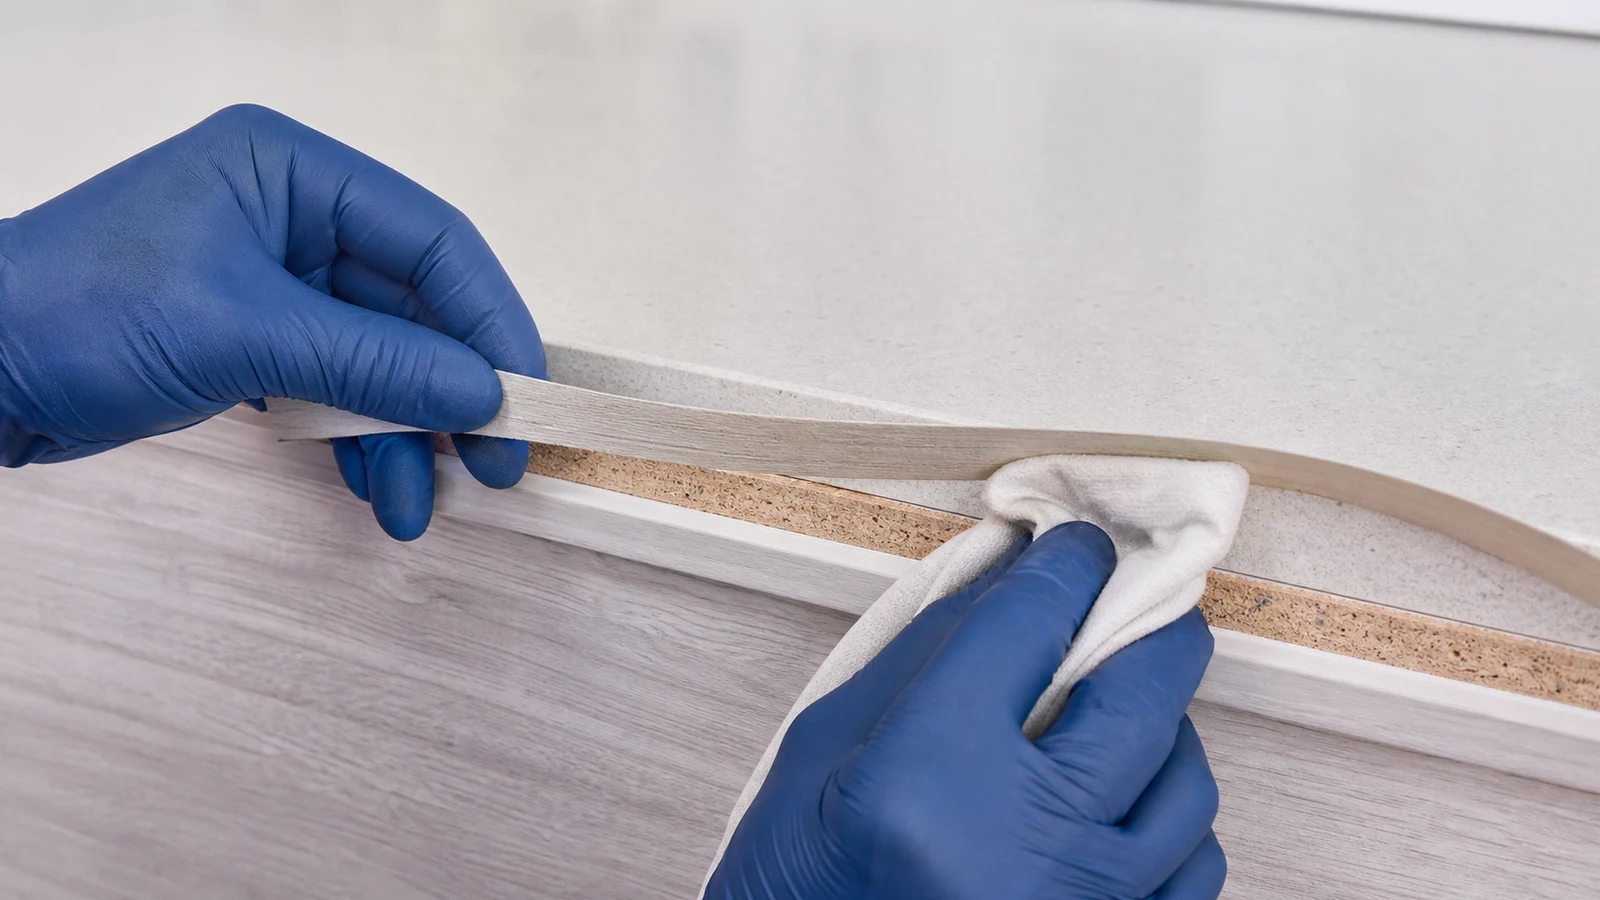
Clean both surfaces thoroughly
Lift only the already-loose section gently. Confirm the strip and core are intact, dry and free of mould, swelling or crumbling. Remove loose dust with a dry soft brush. Do not use solvent, cut or sand unless the approved adhesive instructions explicitly require a safe preparation method.
-
Step 02
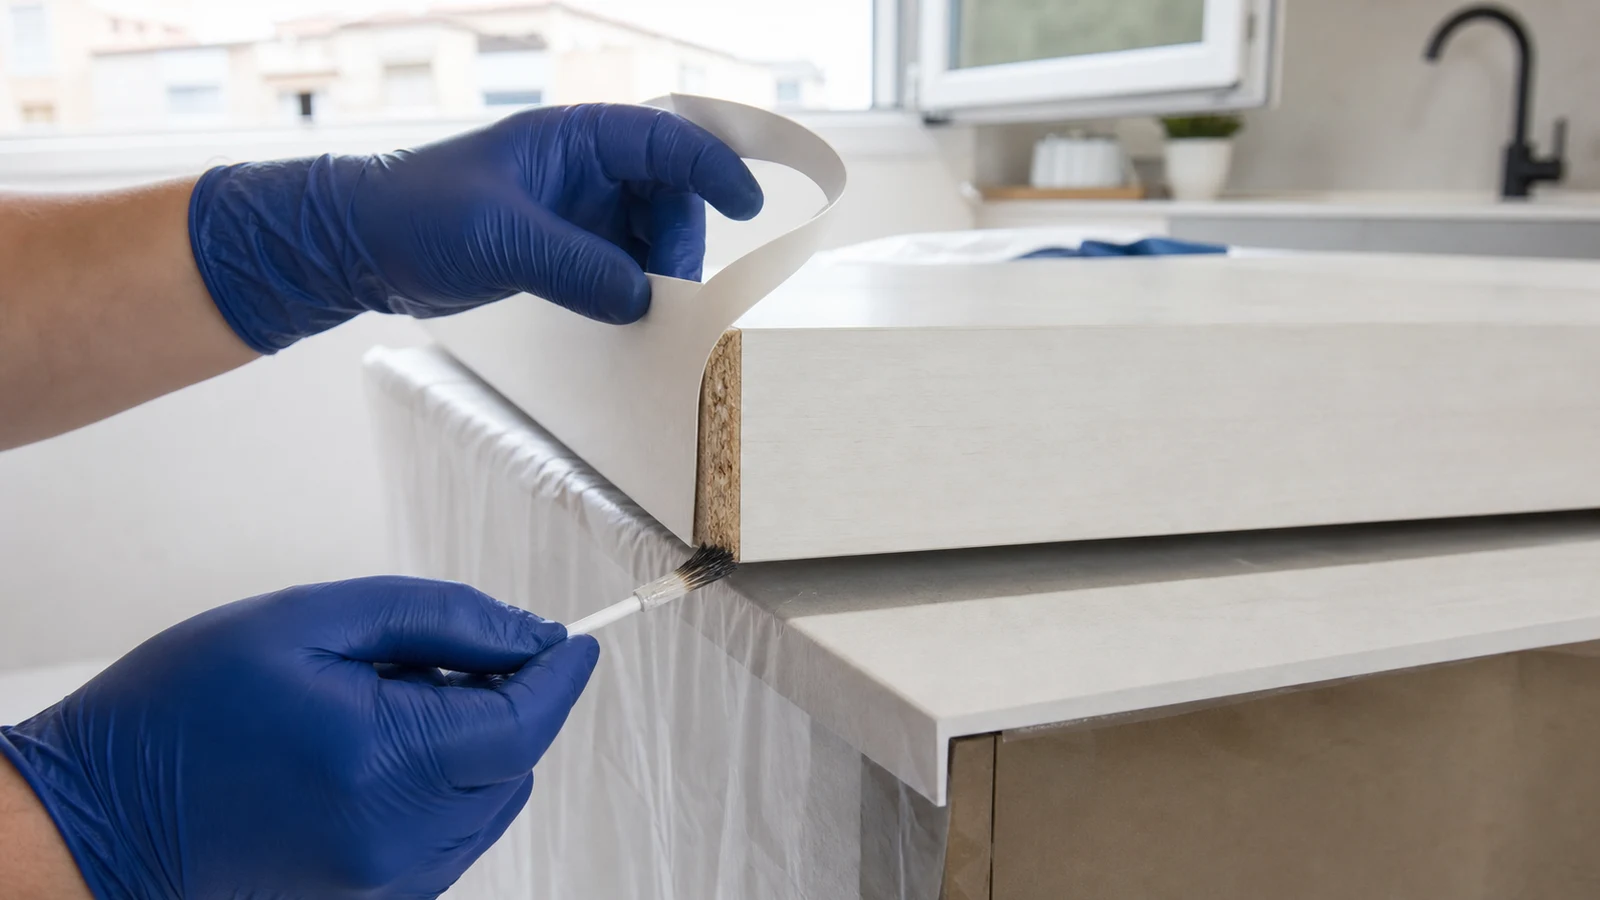
Apply contact adhesive to the board edge first
Open windows, remove flames, smoking, hot appliances and sparks, and wear every item of PPE stated on the label. Apply the approved adhesive to the board edge only in the coat, tool and quantity specified. Stop if ventilation is inadequate or the label excludes the material or orientation.
-
Step 03
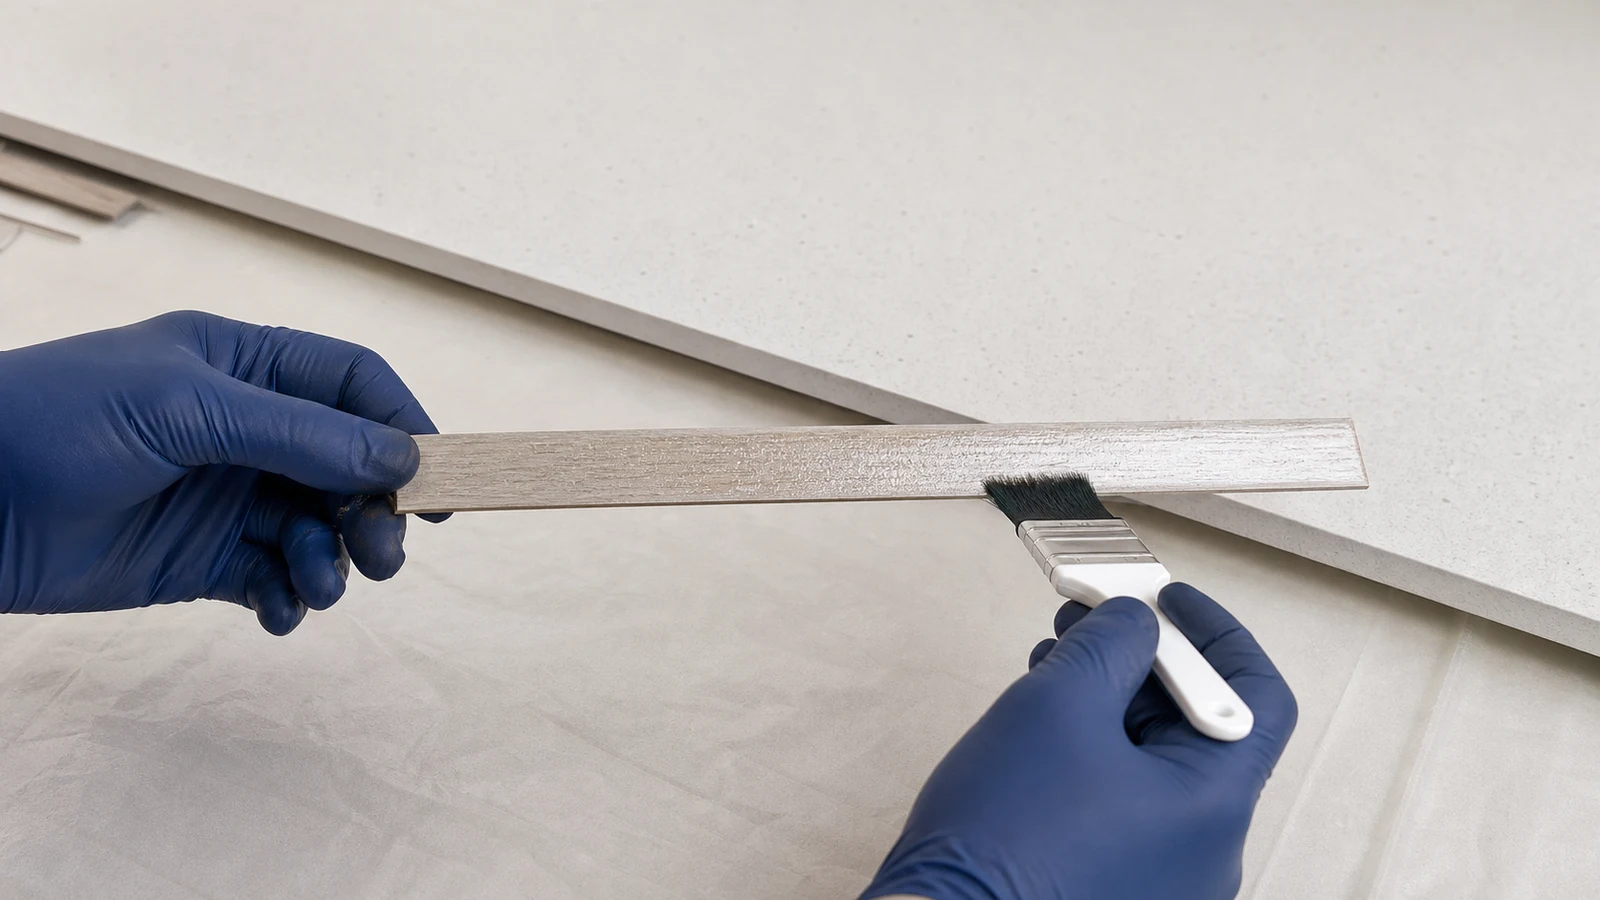
Apply adhesive to the back of the edge strip
Keep ventilating and coat the strip only if the instructions require two-sided application. Use the specified coat and tool, avoid drips and skin contact, then close and store the container as labelled.
-
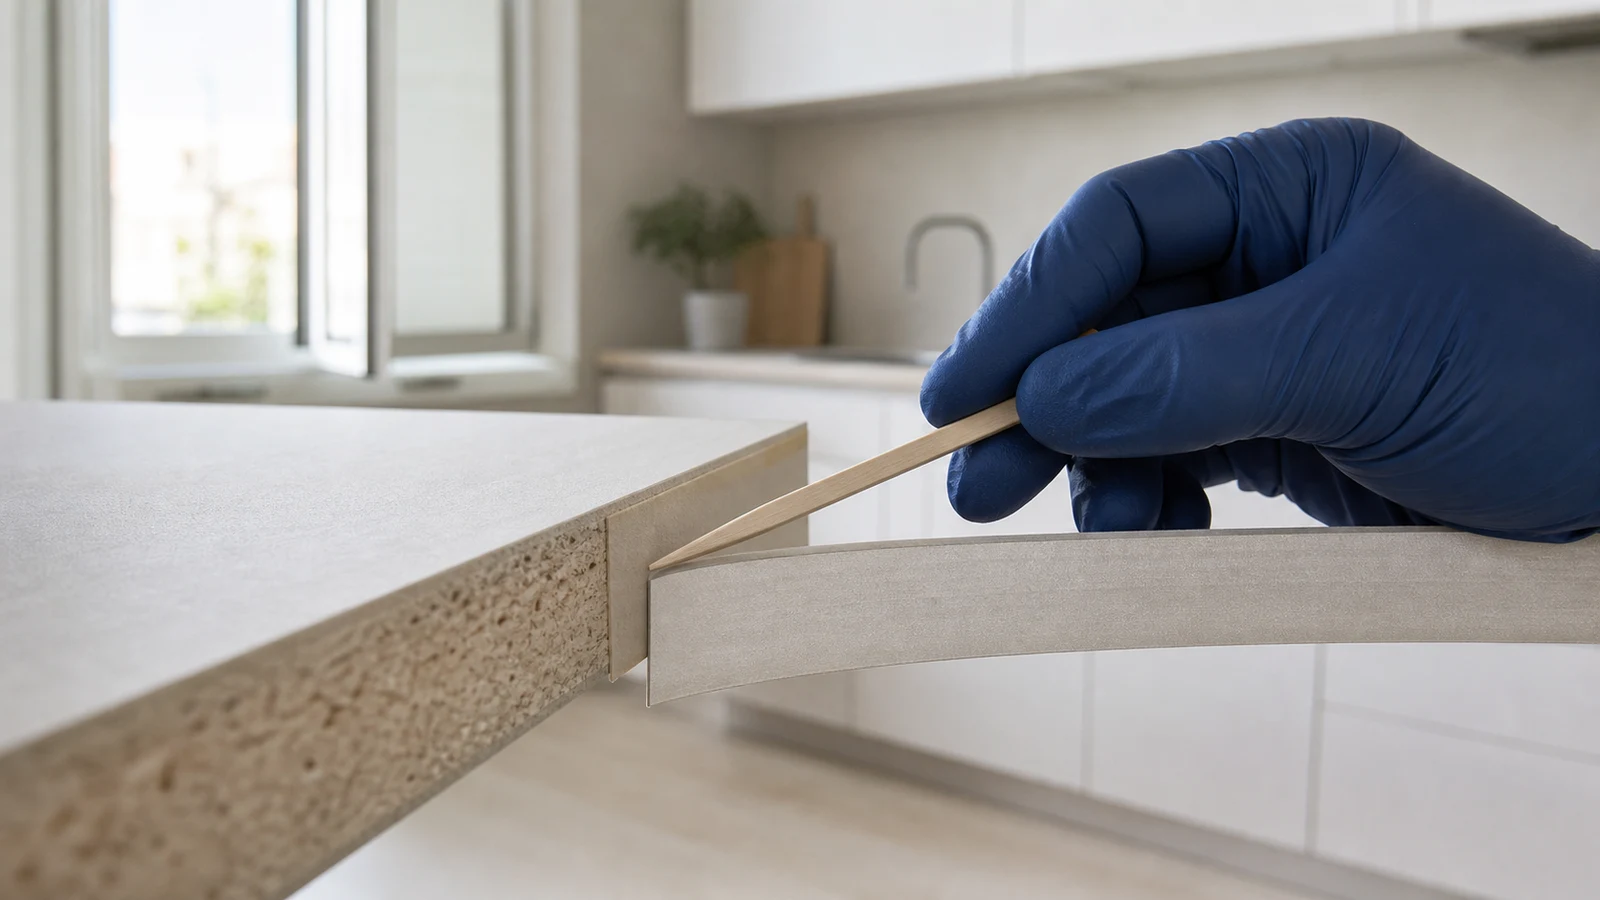
Step 04
Wait for the adhesive to reach tack-dry state
Follow the exact labelled open time. Check a hidden corner with a clean wooden applicator, not bare skin. The film should be matte and tacky, not wet. Do not join early.
-
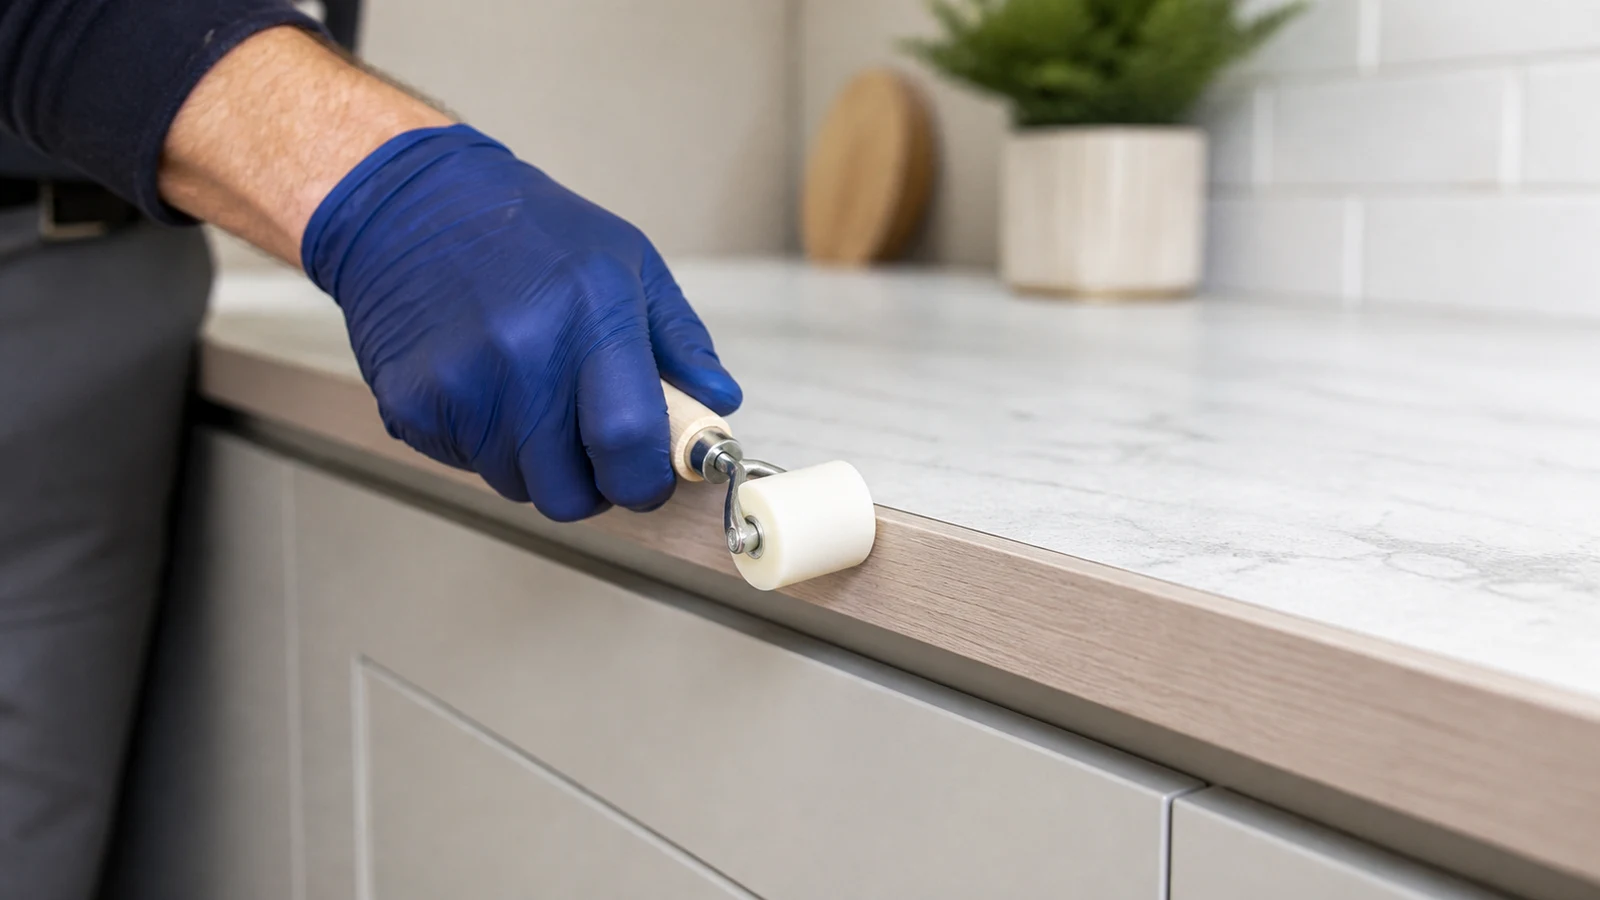
Step 05
Press the edge strip firmly and work out air bubbles
Dry-align first because contact adhesive may bond immediately. At the labelled stage, align once, avoid food-contact areas, join and apply the specified roller pressure. Do not pull apart and re-seat a misaligned bond.
-
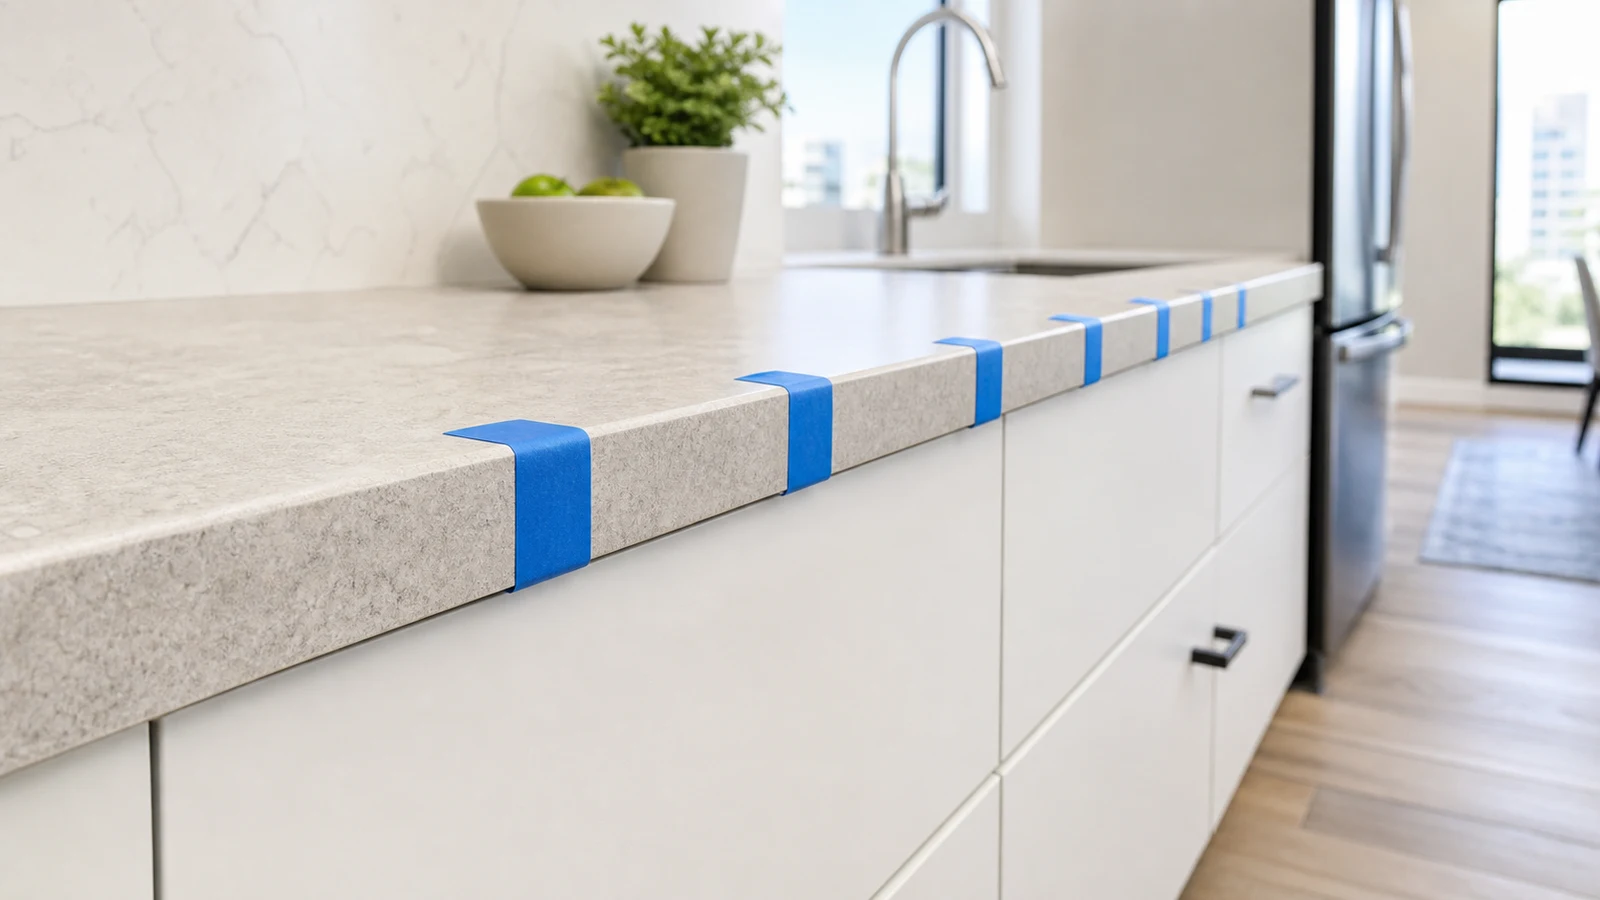
Step 06
Clamp or tape the edge for full cure
Use tape, clamps or no restraint exactly as the adhesive and band instructions specify; an improvised clamp can mark the finish. Keep the area ventilated and out of service for the full labelled cure and food-contact interval. Remove temporary restraint only as directed.
Quick answers
Frequently asked questions.
What glue works on countertop edging?
Use only an adhesive whose label approves the exact edge-band and board materials. Many systems use contact adhesive, but formulations and open times differ. Keep the area ventilated and free of ignition sources. Do not glue swollen, dark, soft, mouldy or waterlogged board edges.
Why is my countertop edge peeling?
Edge strips peel due to adhesive failure from age, moisture, heat or inadequate initial application. Water ingress into the board is a common cause. If the board is visibly swollen or dark, water damage is likely and re-gluing will not fix it.
Can I use a household iron to apply heat-activated edge banding?
Do not use a household iron on an installed worktop as a default repair. Heat can damage laminate, adhesive and the substrate or create a fire hazard. Ask the landlord or a countertop specialist to fit replacement banding with the product-specified equipment and temperature controls.
Sources and review notes
- Formica laminate assembly and edge-banding guidance - Manufacturer guidance to follow the adhesive instructions, coat matching surfaces and apply pressure with a roller.
- Wilsonart 600 consumer contact adhesive - Primary product page linking the consumer adhesive technical data and SDS; exact compatibility and handling remain label-controlled.
- Formica guidance for protecting laminate edges from water - Manufacturer guidance showing why water-damaged edge/core conditions must be addressed rather than simply re-glued.