
DIY / Bathroom
Loose Toilet Seat Fix and a Safe Running-Toilet Check
A loose seat can often be centred and tightened when its standard hardware is exposed and intact. A running cistern needs diagnosis before parts are adjusted. This guide pairs the simple seat fix with a non-invasive leak check, then directs model-specific internal work to the maker's instructions or a plumber.
Quick answer
Why does my toilet keep running after flushing?
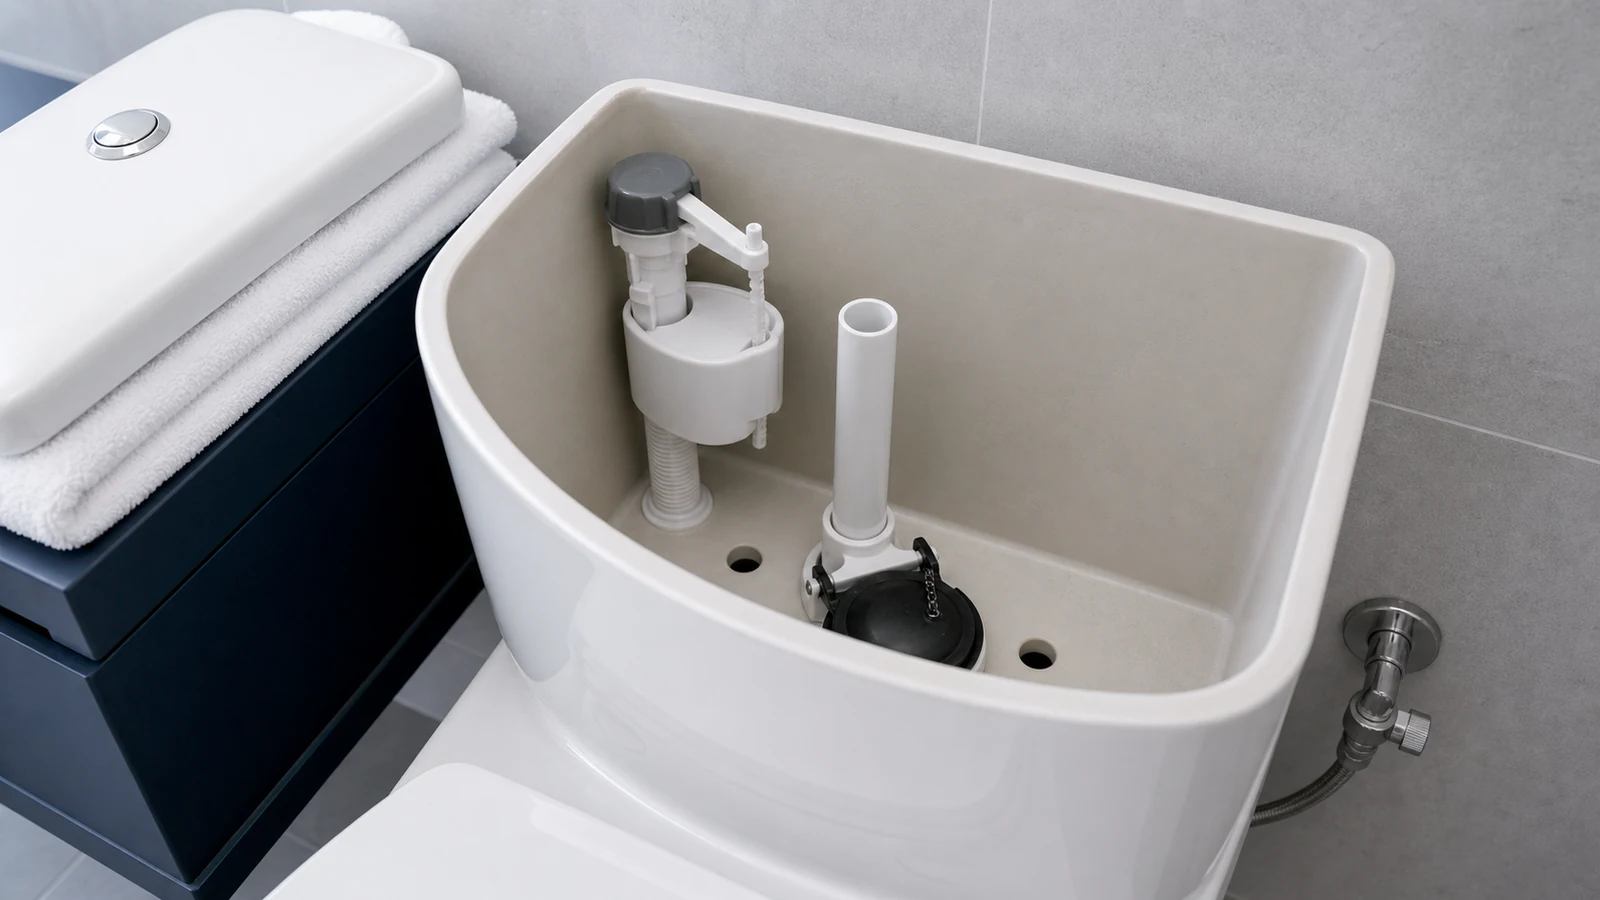
A running toilet may have a worn seal, a binding lever, debris in the fill valve or water entering the overflow. Do not guess the mechanism. Check an accessible tank visually and use a food-colouring leak test, then follow the exact model's service guide. Stop for concealed, smart, cracked or leaking fixtures and stuck isolation valves.
Standard ceramic toilet bowls with exposed seat hinges / Accessible gravity cisterns suitable for visual inspection and a dye test
Ceramic with hairline cracks around the seat mounting points / Integrated or sealed cistern designs without documented user access / Cisterns with concealed plumbing or sealed valve housings / Smart, pressure-assisted or unfamiliar flush systems / Active leaks outside the bowl, a cracked tank or a stuck isolation valve
What you need
What you need
Use only a hand screwdriver that fits the seat hardware, plus a stable towel for the lid. Food colouring is for diagnosis, not repair. This guide does not adjust or replace an unfamiliar fill valve, seal or concealed mechanism.
- Difficulty
- Easy
- Active time
- 10–15 minutes
- Total time
- 10–20 minutes
Adjustable or fixed screwdriver (Phillips or flathead)
1
Towel or bucket
1
Food colouring for the leak test
A few drops
Typical UAE retail ranges. Prices vary by pack and store, and your total is lower when you already own the reusable tools.
Step by step
How to Tighten a Loose Seat and Check a Running Cistern
Fix only compatible exposed seat hardware. The cistern steps diagnose a leak and its visible symptom; use the exact toilet service guide or a plumber for internal adjustment or replacement.
-
Step 01
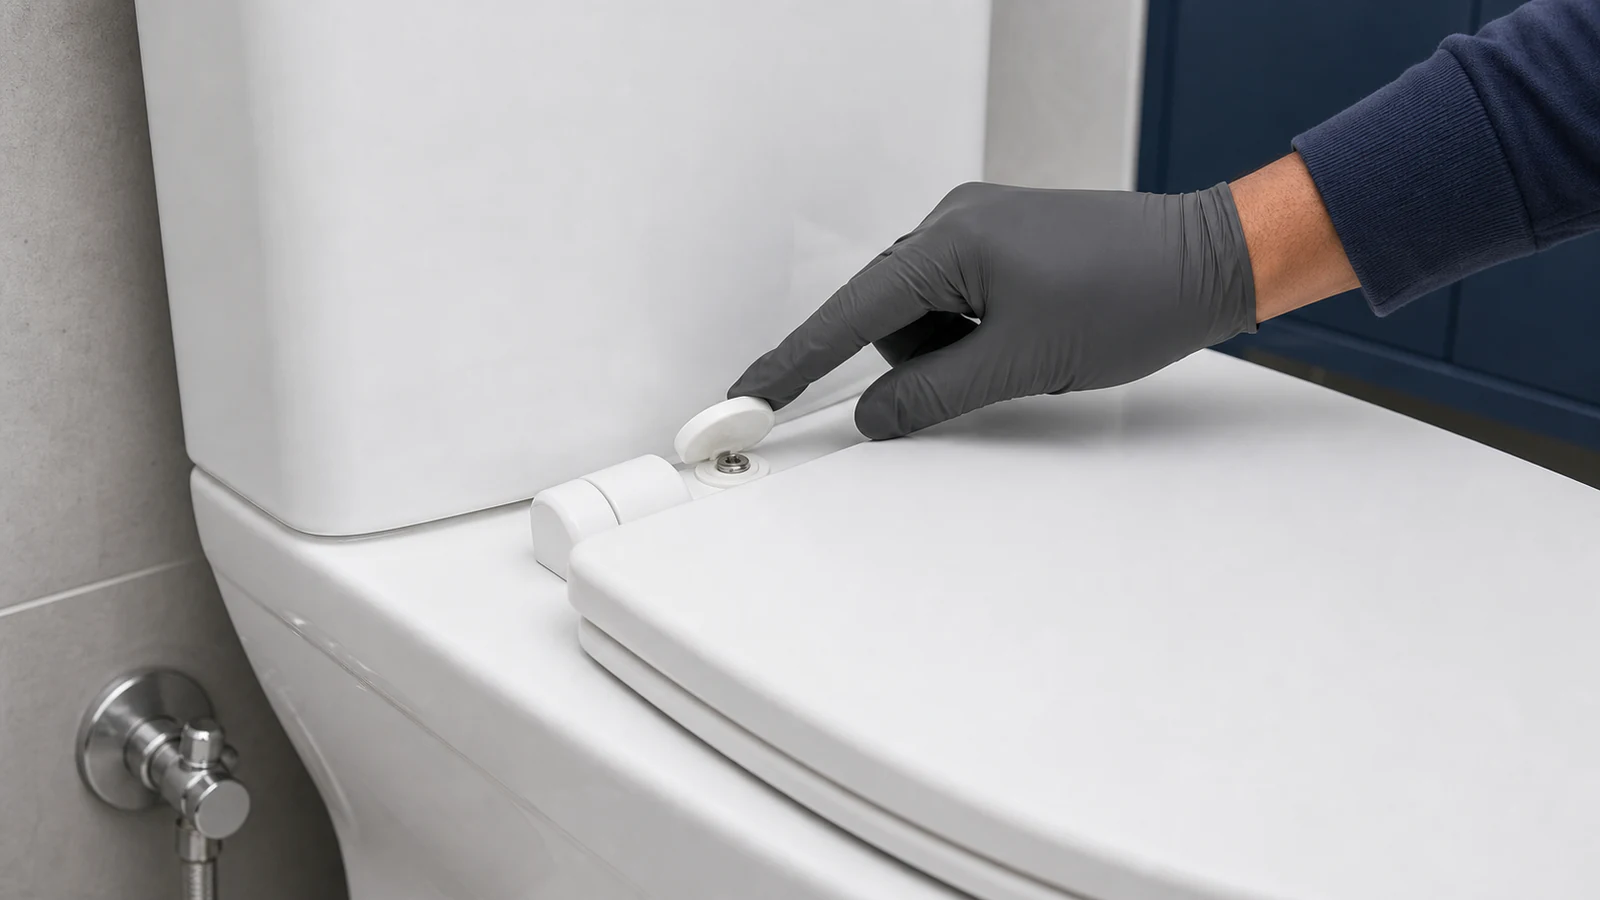
Locate the seat hinge fasteners
Inspect both hinge areas and the ceramic mounting points. Continue only if the seat uses exposed standard hardware or its manual shows removable covers. Stop for hairline cracks, rusted or spinning fasteners, concealed top-fix hardware, an unfamiliar quick-release design or a seat with powered features. Open covers only as the maker shows; never pry against ceramic.
Both plastic caps are now visible and loose
Screw heads are fully exposed
No cracks in the ceramic rim around the hinges
-
Step 02
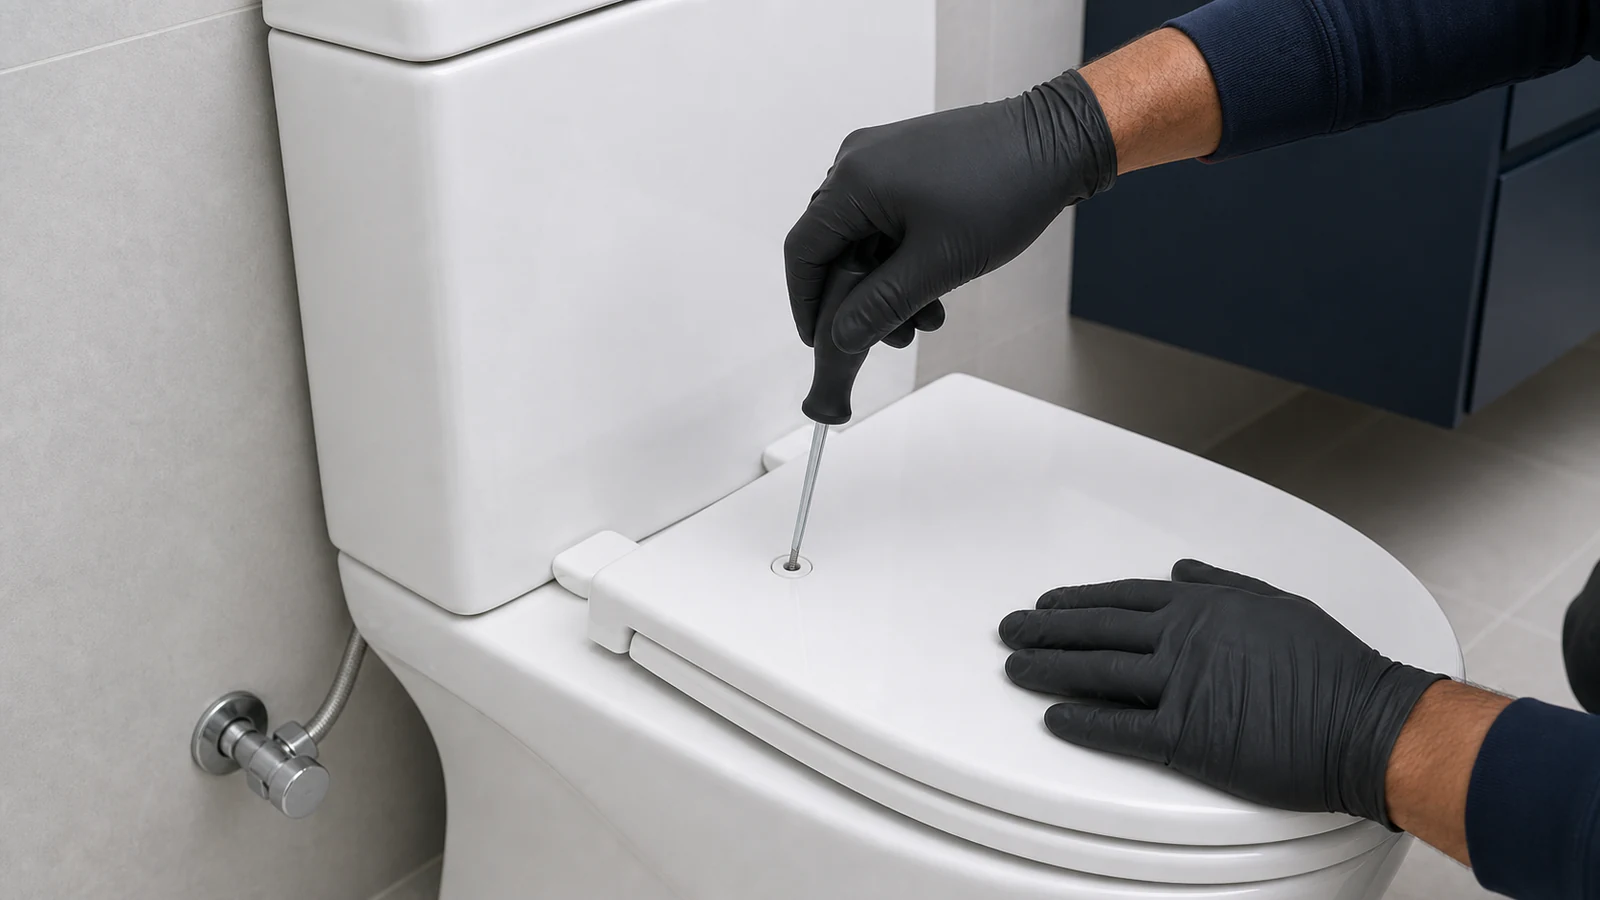
Tighten both fastening screws
Centre the seat over the bowl. Hold the matching nut only if the seat instructions require it, then tighten each bolt gradually with a correctly fitting hand screwdriver. Alternate sides to keep alignment and stop as soon as the seat no longer shifts. Do not use a drill, impact driver, extension bar or excessive force on ceramic.
Seat no longer rocks when you press down on it
Both screws are hand-tight and offer equal resistance
No new cracks appear in the ceramic
-
Step 03
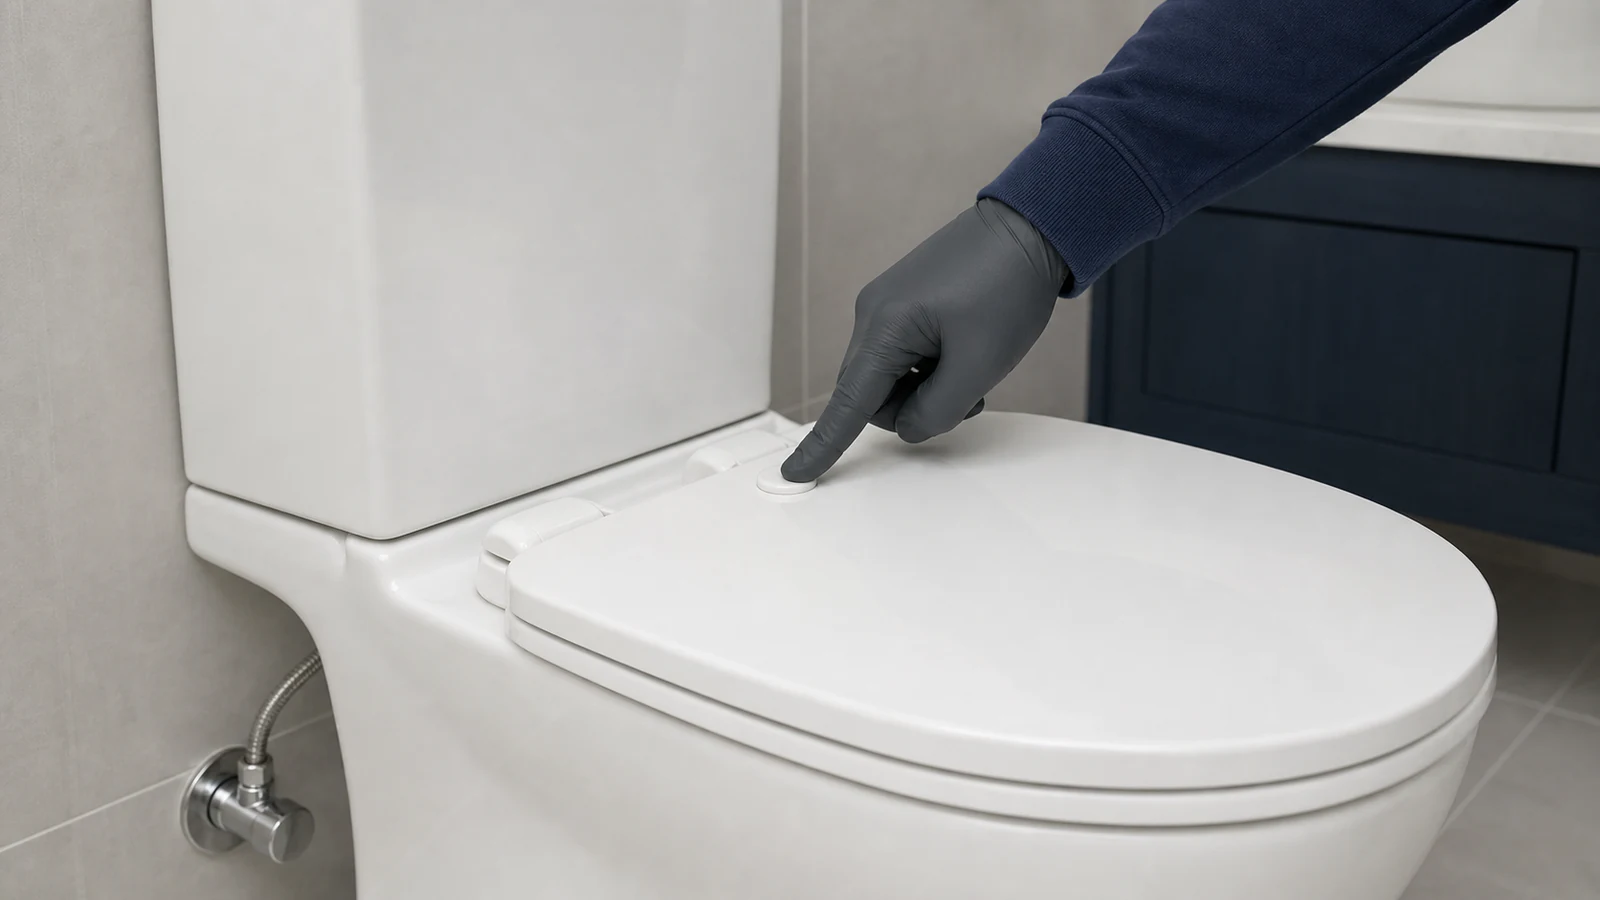
Replace the plastic caps
Close hinge covers exactly as designed and confirm the seat is centred. Test stability with both hands before sitting; do not rock your body to test it. If movement remains, a fastener spins, plastic is cracked or the mounting point shifts, stop. Replace the model-specific hardware or seat rather than tightening harder.
Caps are flush and do not protrude
Caps are secure and do not fall off when you tap them
Seat is stable when tested by hand
-
Step 04
Confirm the cistern is safe to inspect
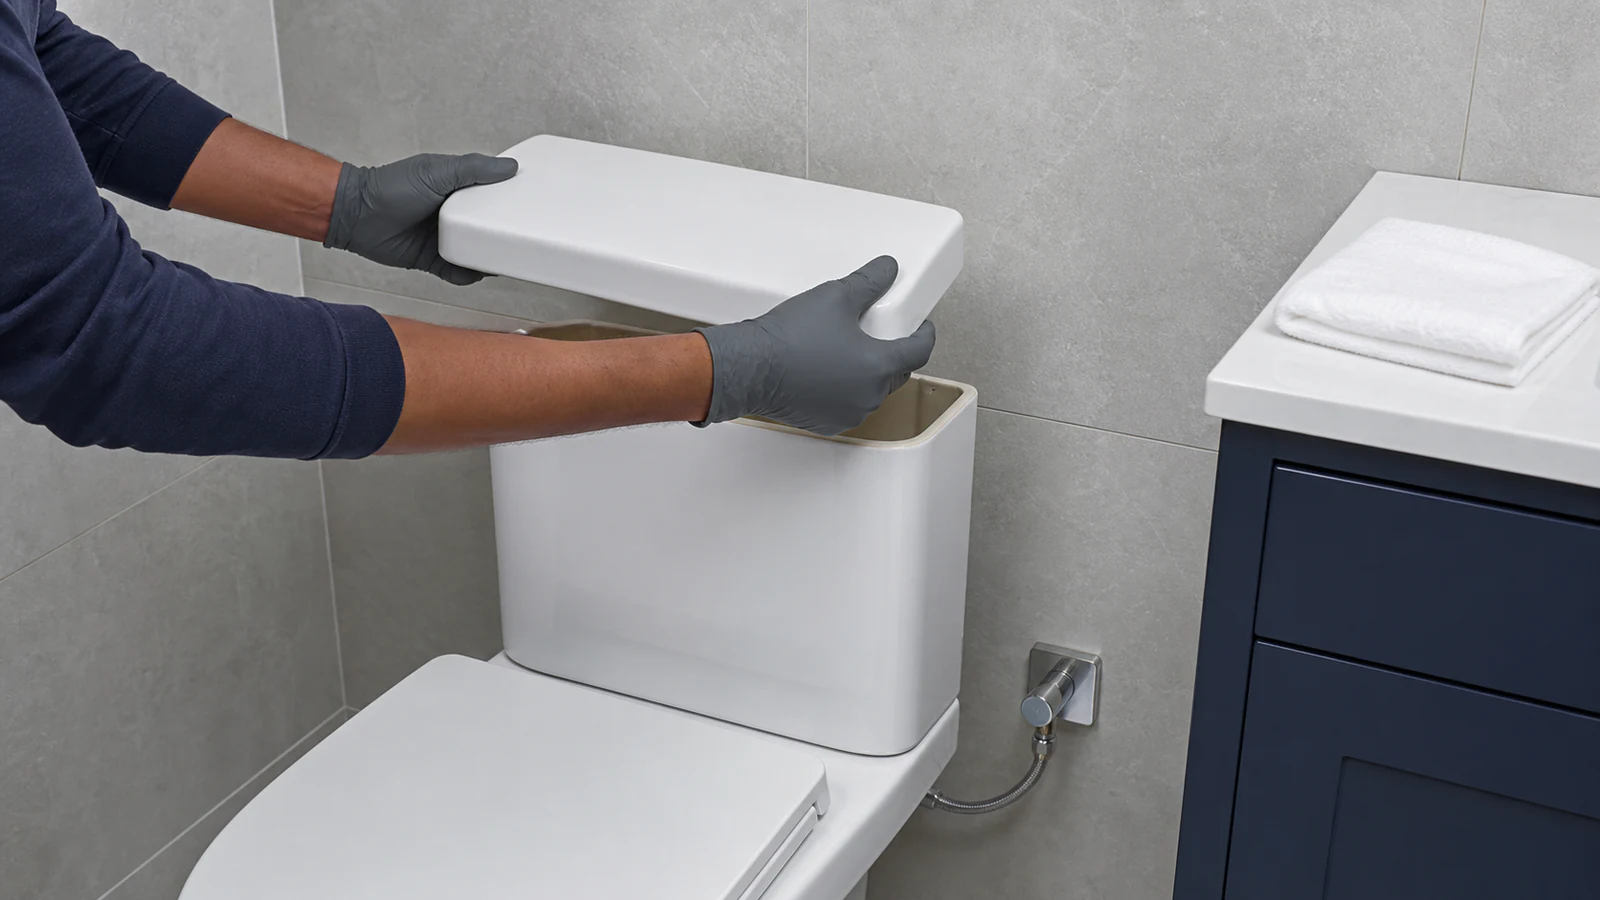
Skip internal inspection for concealed, smart, pressure-assisted, cracked or unfamiliar toilets. For a standard accessible gravity tank, keep the water on and lift the loose ceramic lid with two hands. Place it flat on a folded towel where it cannot fall. Do not turn the isolation valve or touch a mechanism at this stage.
The system is a standard accessible gravity tank
The ceramic lid is stable on a folded towel
No crack, external leak or unfamiliar pressure vessel is visible
-
Step 05
Perform a non-invasive dye test
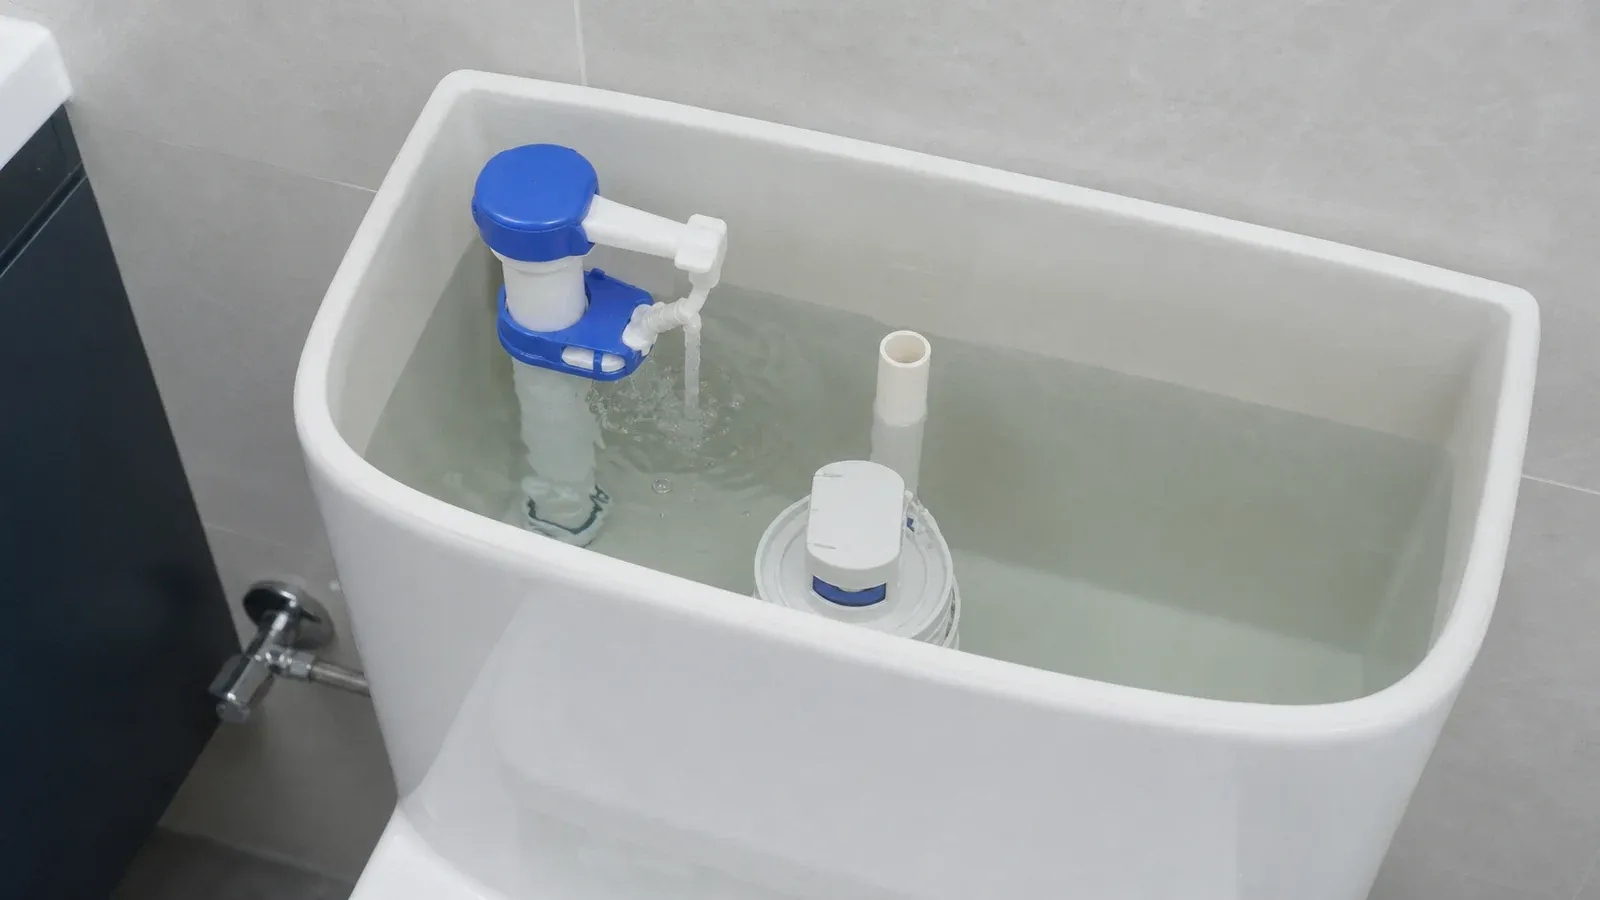
Wait until the tank finishes filling. Add a few drops of food colouring to the tank water without touching the parts, then do not flush for 10 minutes. If colour appears in the bowl, the tank is leaking into it. Flush immediately after the test to avoid staining, as EPA WaterSense instructs.
The tank was left unflushed for 10 minutes
Colour in the bowl indicates a tank-to-bowl leak
The toilet was flushed immediately after the test
-
Step 06
Observe the visible symptom without adjusting parts
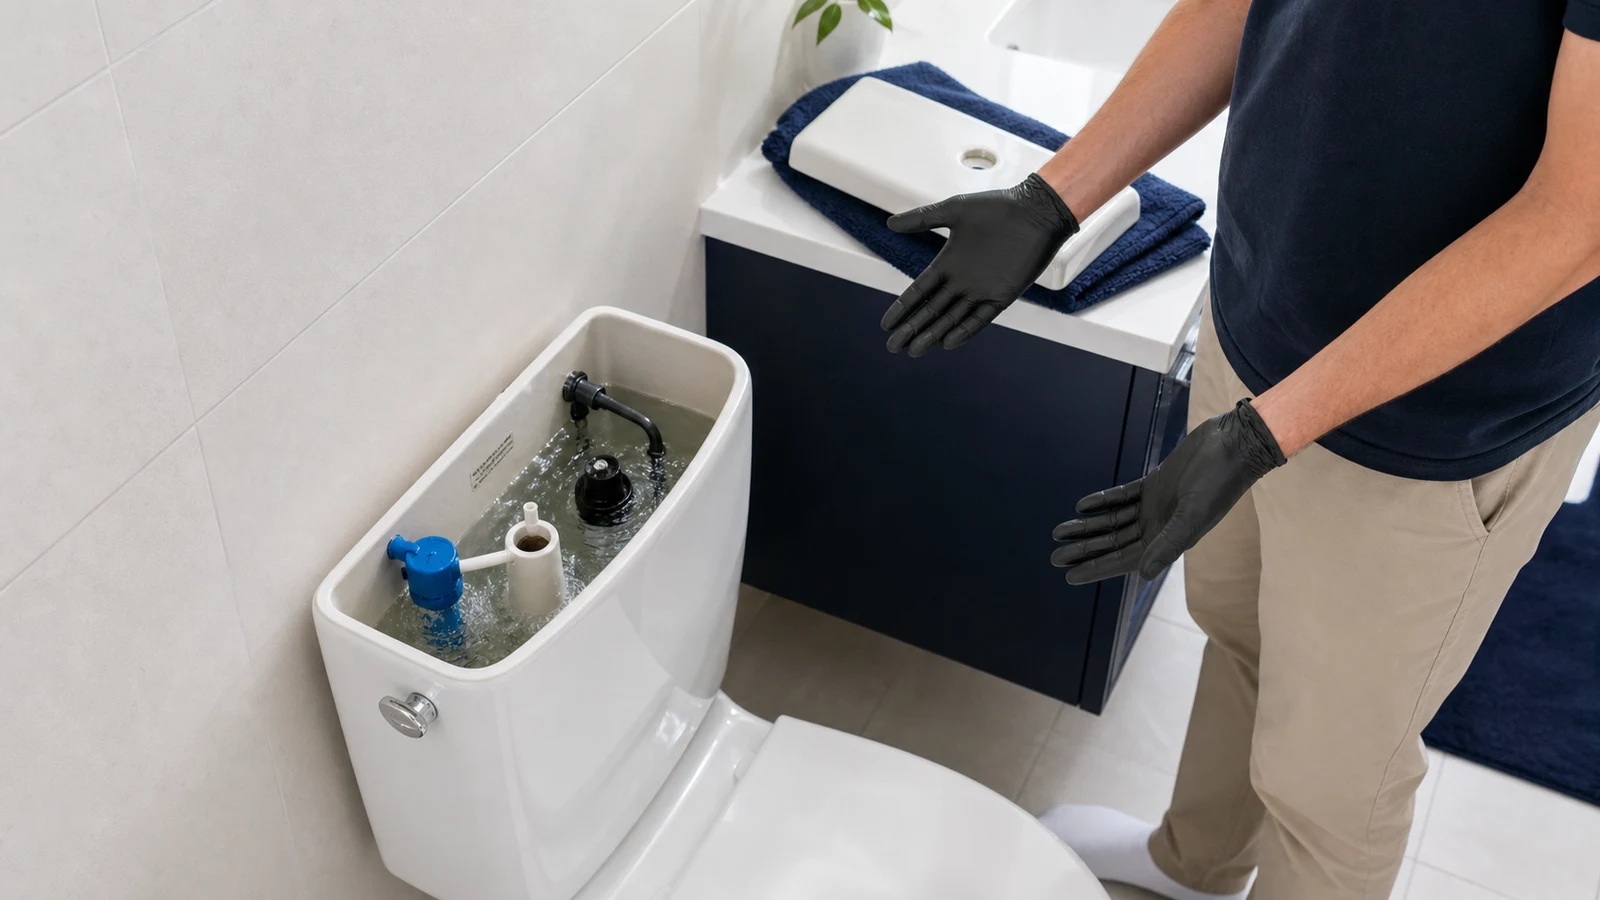
Flush once and watch from above without placing hands in the tank. Note whether the lever binds, water continues into the overflow, or the seal or canister fails to settle. These symptoms narrow the cause but do not identify a universal fix. Do not bend a float, shorten a chain or turn an adjustment screw without the exact model guide.
No hand or tool enters the tank during the flush
The visible symptom is noted without changing a part
The exact model guide will determine any repair
-
Step 07
Replace the lid and arrange the correct repair
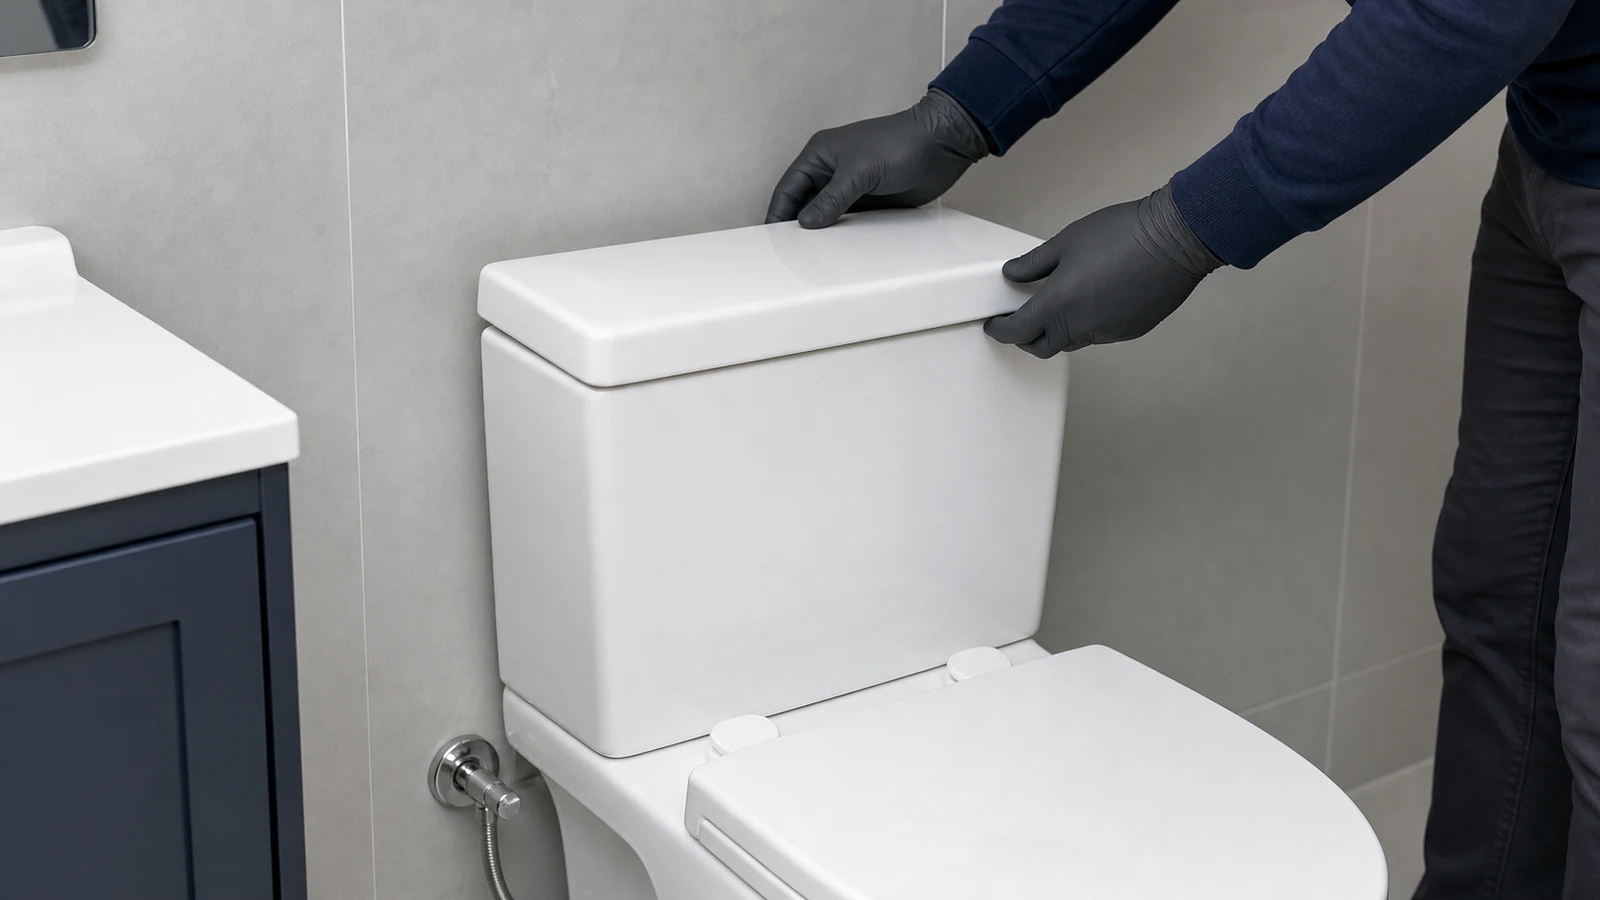
Lower the lid with two hands and seat it evenly. Use the toilet model number and observed symptom to find the official service procedure and compatible part. Use building maintenance where required. Stop the water only if the valve turns smoothly in its labelled direction; otherwise leave it untouched and call a licensed plumber promptly.
The lid is seated evenly and stable
The model and visible symptom are known
No universal part or adjustment has been guessed
Quick answers
Frequently asked questions.
Why does my toilet keep running after flushing?
A running toilet can result from a worn seal, binding lever, fill-valve debris or water entering the overflow. A dye test confirms a tank-to-bowl leak but not the exact failed part. Observe without adjusting anything, identify the model, then follow its official troubleshooting procedure or use a plumber.
How do you tighten a wobbly toilet seat?
First confirm the seat uses standard exposed hardware and the ceramic is uncracked. Centre the seat, then tighten each bolt gradually with a correctly fitting hand screwdriver, alternating sides. Stop as soon as movement ends. Do not use a drill or extra leverage; replace spinning or damaged model-specific hardware.
How much water does a running toilet waste?
There is no single amount because leakage rates vary widely. EPA WaterSense examples range from a small worn-seal leak to a much larger stuck-valve flow. Treat any confirmed leak promptly rather than assuming a daily figure. A building meter may include other users, so it cannot always isolate one toilet.
Can I adjust the float to stop my cistern running?
Only when the exact toilet service guide identifies the adjustment and its direction. Fill valves, floats, canisters and flappers differ, so a generic screw turn or bent arm can cause overflow or damage. Use the dye and visual checks first; leave unclear, concealed or persistent faults to a plumber.
Sources and review notes
- KOHLER Assist: Install a Standard Toilet Seat - Manufacturer procedure for standard hinge covers, washers, bolt alignment, centring and gradual tightening.
- US EPA WaterSense: Fix a Leak Week - Primary guidance for the 10-minute food-colouring toilet leak test, immediate flushing and escalation when simple repairs are insufficient.
- KOHLER Assist: Toilet Constantly Leaking or Running - Manufacturer troubleshooting showing multiple possible running-toilet causes and the need for system-specific corrective action.