
DIY / Bathroom
Black Mould on Shower Silicone: Safe Removal Without Damaging the Seal
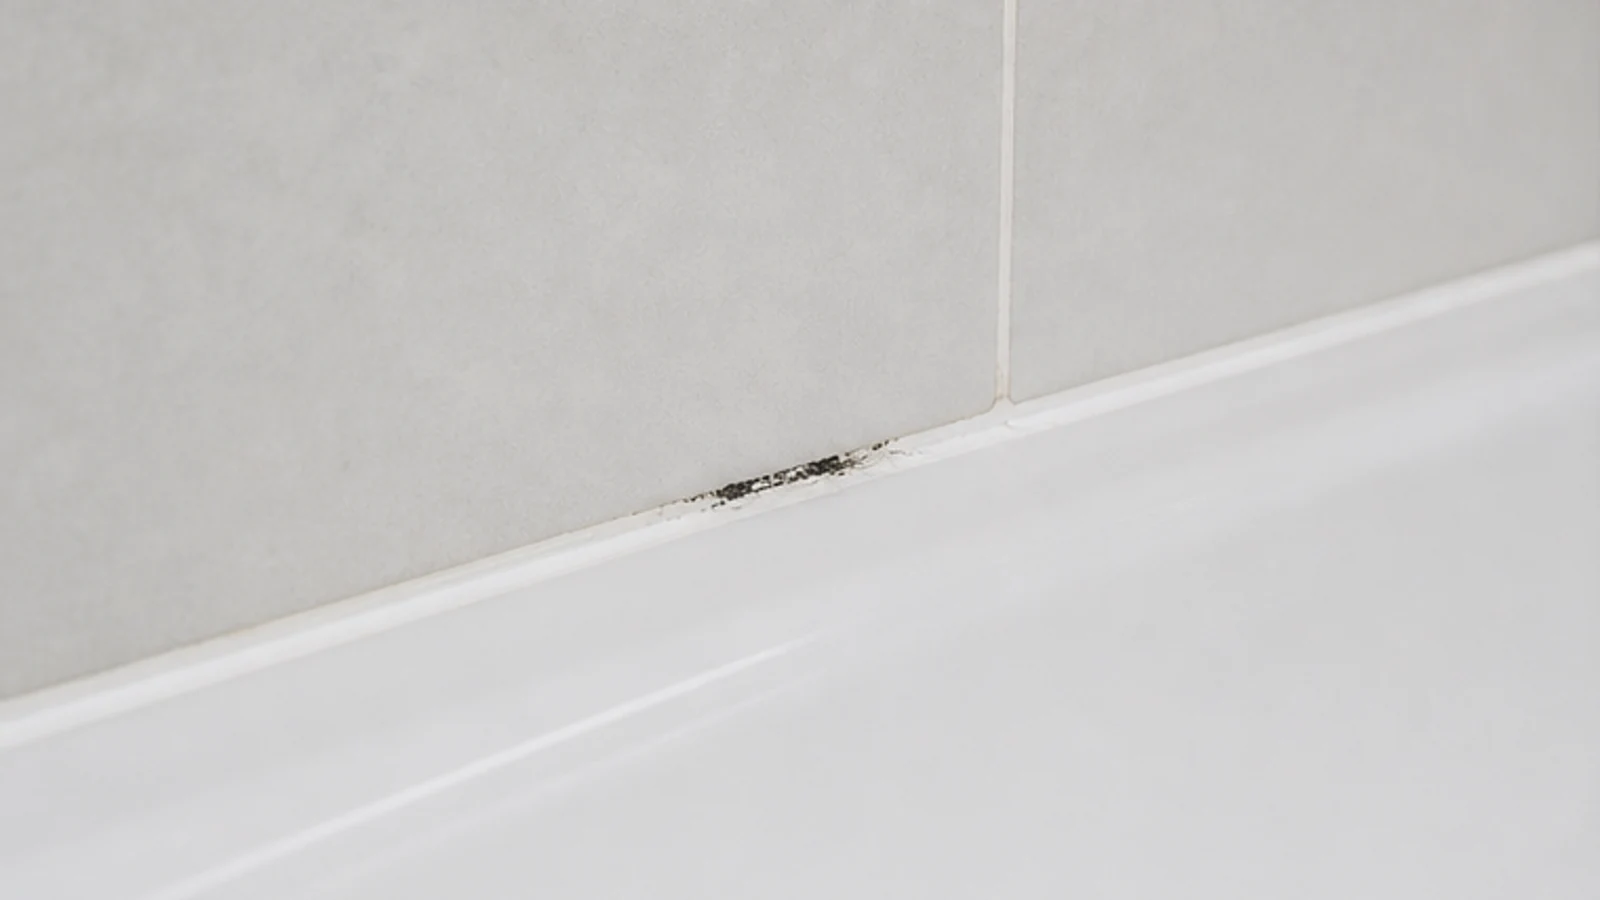
A small surface patch on intact shower silicone may respond to detergent and water. This method rejects an overnight chemical poultice, checks the moisture source and explains when cleaning should stop.
Quick answer
How do you remove black mould from silicone sealant?
For a small patch on intact silicone, ventilate the bathroom, wear gloves and damp-wipe with warm water and a little mild detergent. Rinse, dry completely and correct the moisture source. Stop if the seal is loose, cracked, soft, repeatedly wet or the mould covers more than about one square metre.
Silicone sealant on shower trays / Silicone sealant around bath edges / Silicone sealant on wet-room walls
Marble, limestone, terrazzo or natural stone surfaces / Silicone whose manufacturer prohibits detergent cleaning / Cracked or loose silicone / Silicone with visible water ingress or soft backing
What you need
What you need
Use mild liquid detergent without disinfectant, plus separate cleaning, rinsing and drying cloths. Do not combine cleaners.
- Difficulty
- Easy
- Active time
- 15 minutes
- Total time
- 20 minutes plus complete drying
Mild liquid dish detergent
A few drops in 250 ml warm water
Soft washable cloths
2
Household rubber gloves
1 pair
Close-fitting eye protection
1 pair
Typical UAE retail ranges. Prices vary by pack and store, and your total is lower when you already own the reusable tools.
Step by step
How to safely remove black mould from shower silicone
Use this only for a small surface patch on firm silicone. Extensive growth, water damage or relevant health concerns require professional advice.
-
Step 01
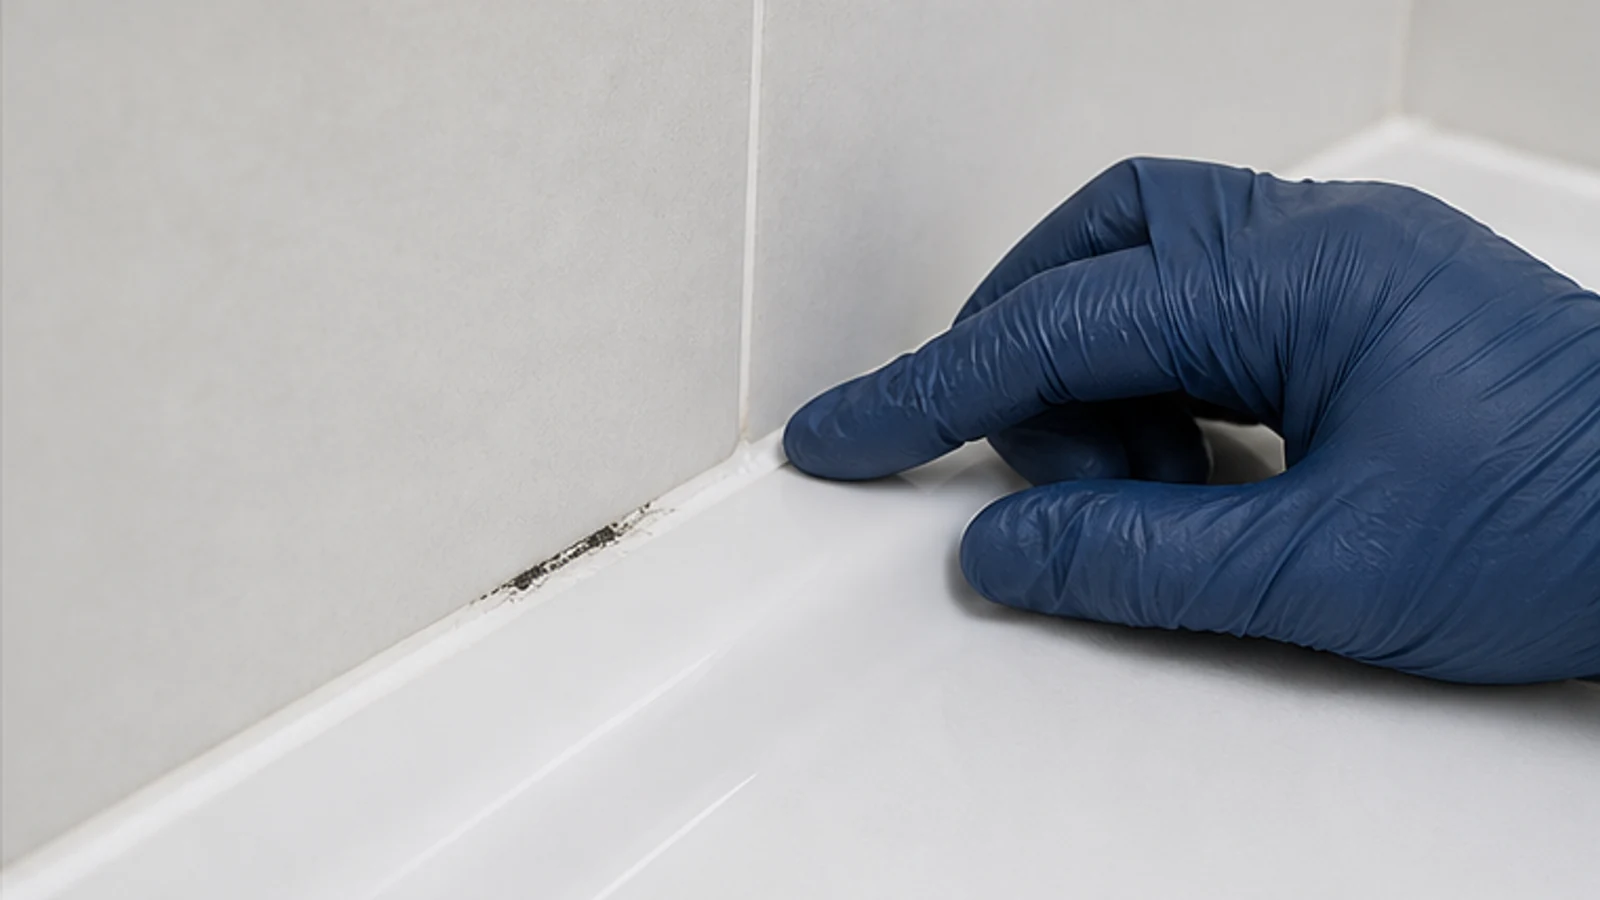
Check the seal and limit the DIY area
Inspect the full joint. Continue only when the patch is under about one square metre and the silicone is firm and attached. Stop for loose, split or soft sealant, hidden dampness, sewage, major water damage or recurring growth.
-
Step 02
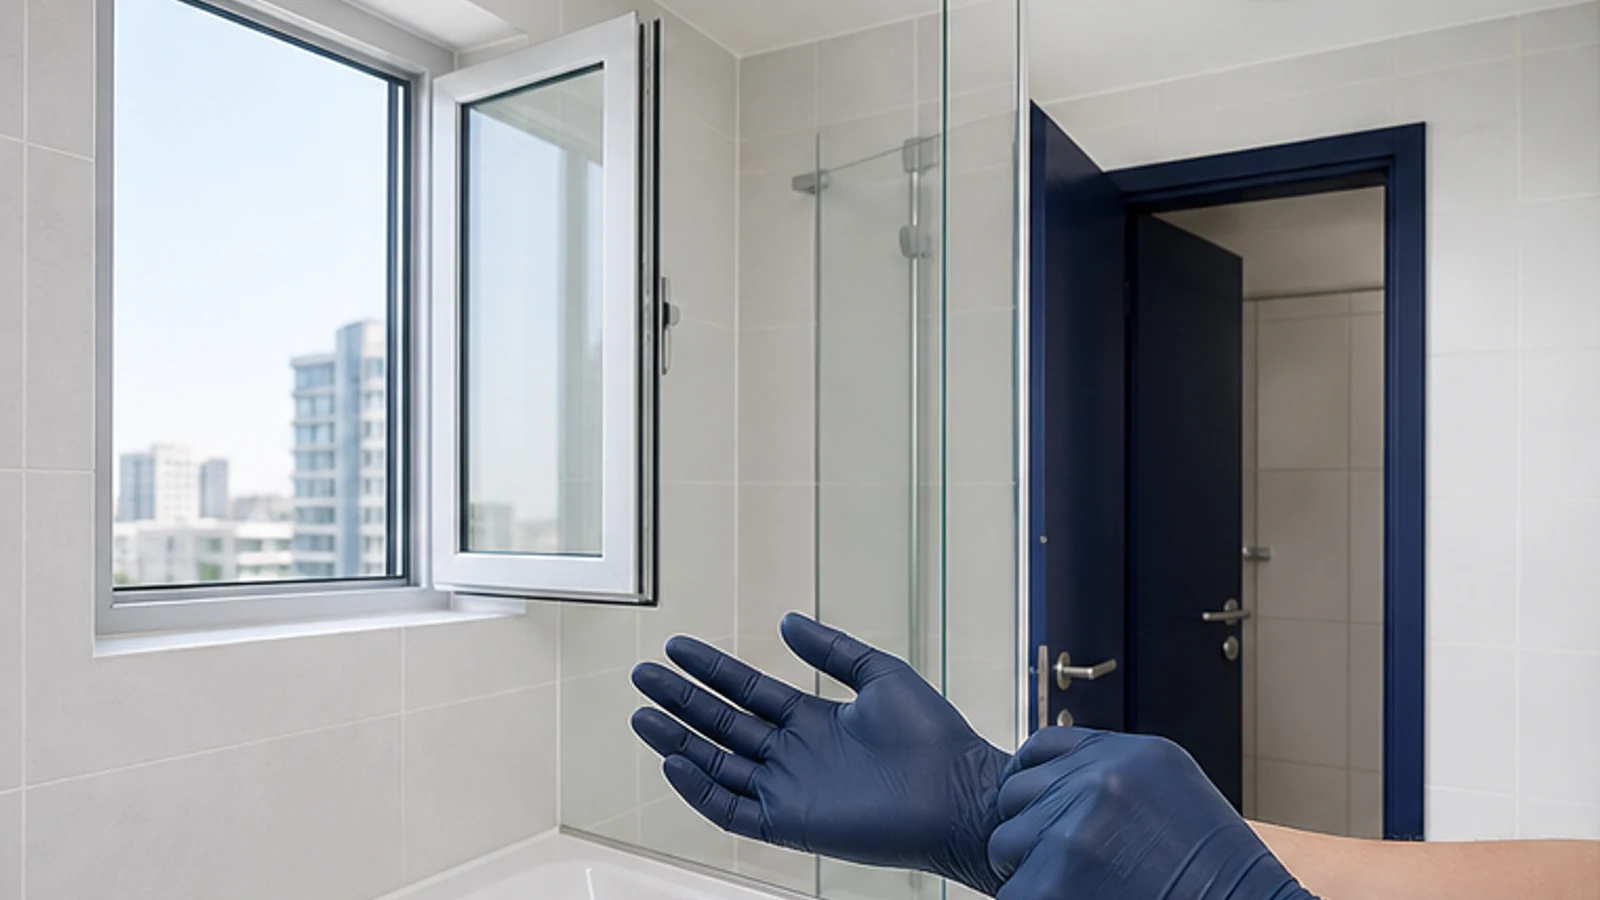
Ventilate and put on protective equipment
Open the window or door and run the extractor. Keep others away. Wear gloves and close-fitting eye protection. Anyone with asthma, significant allergies, weakened immunity or mould-related symptoms should seek medical and professional advice instead of cleaning.
-
Step 03
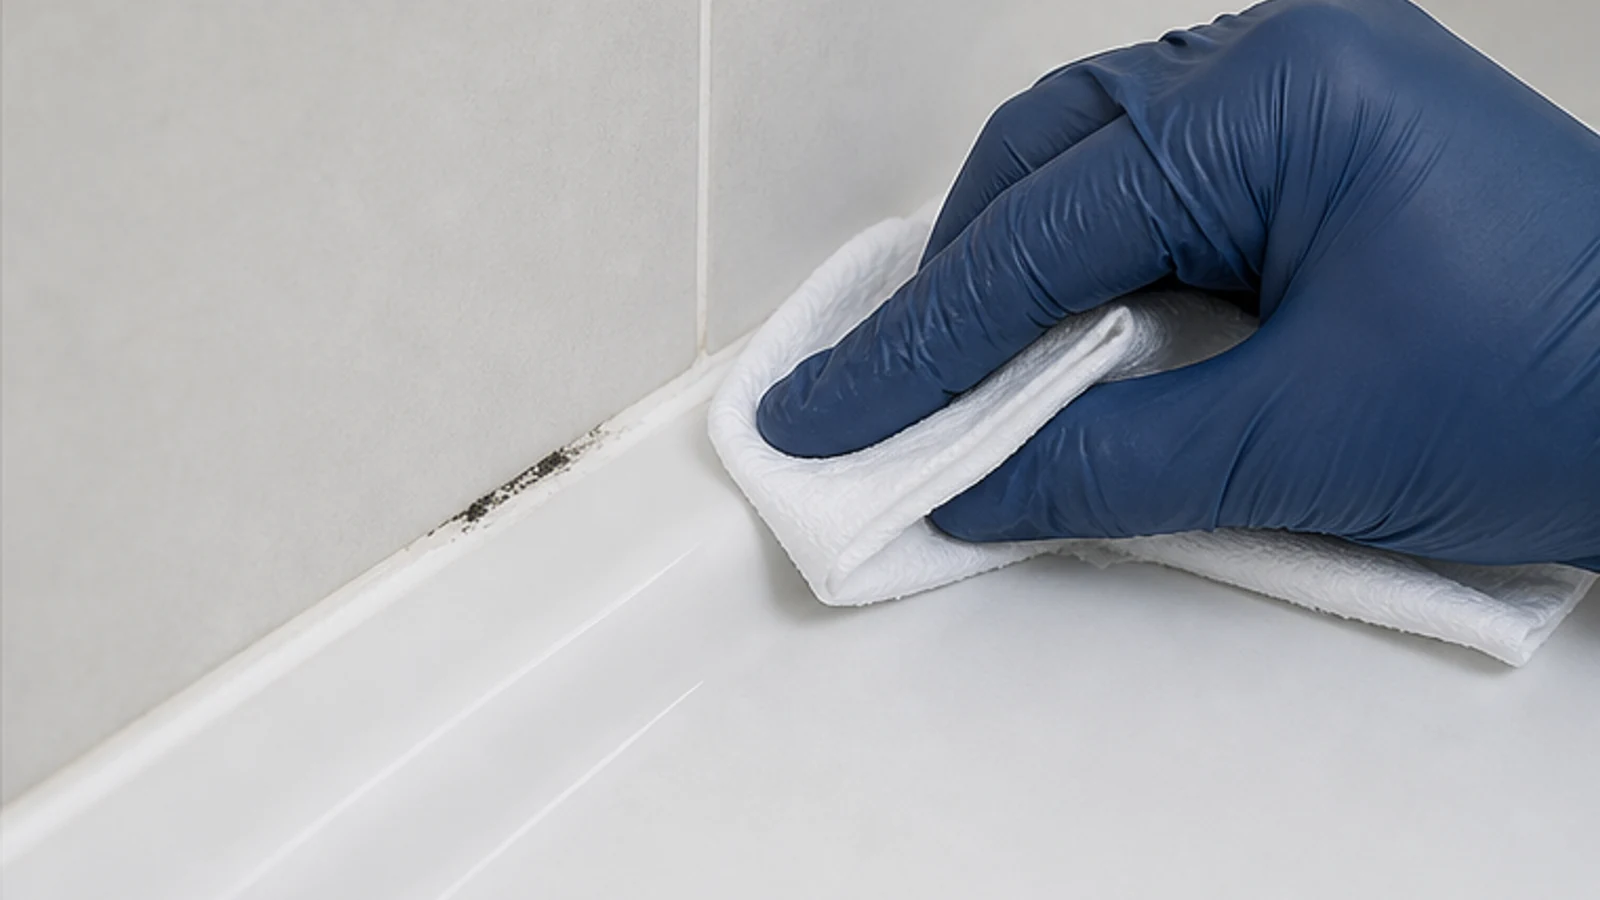
Damp-wipe with mild detergent
Add a few drops of mild detergent to 250 ml warm water. Dampen a soft cloth without dripping. Wipe with controlled strokes and fold the dirty face inward. Do not soak the joint or push liquid behind it.
-
Step 04
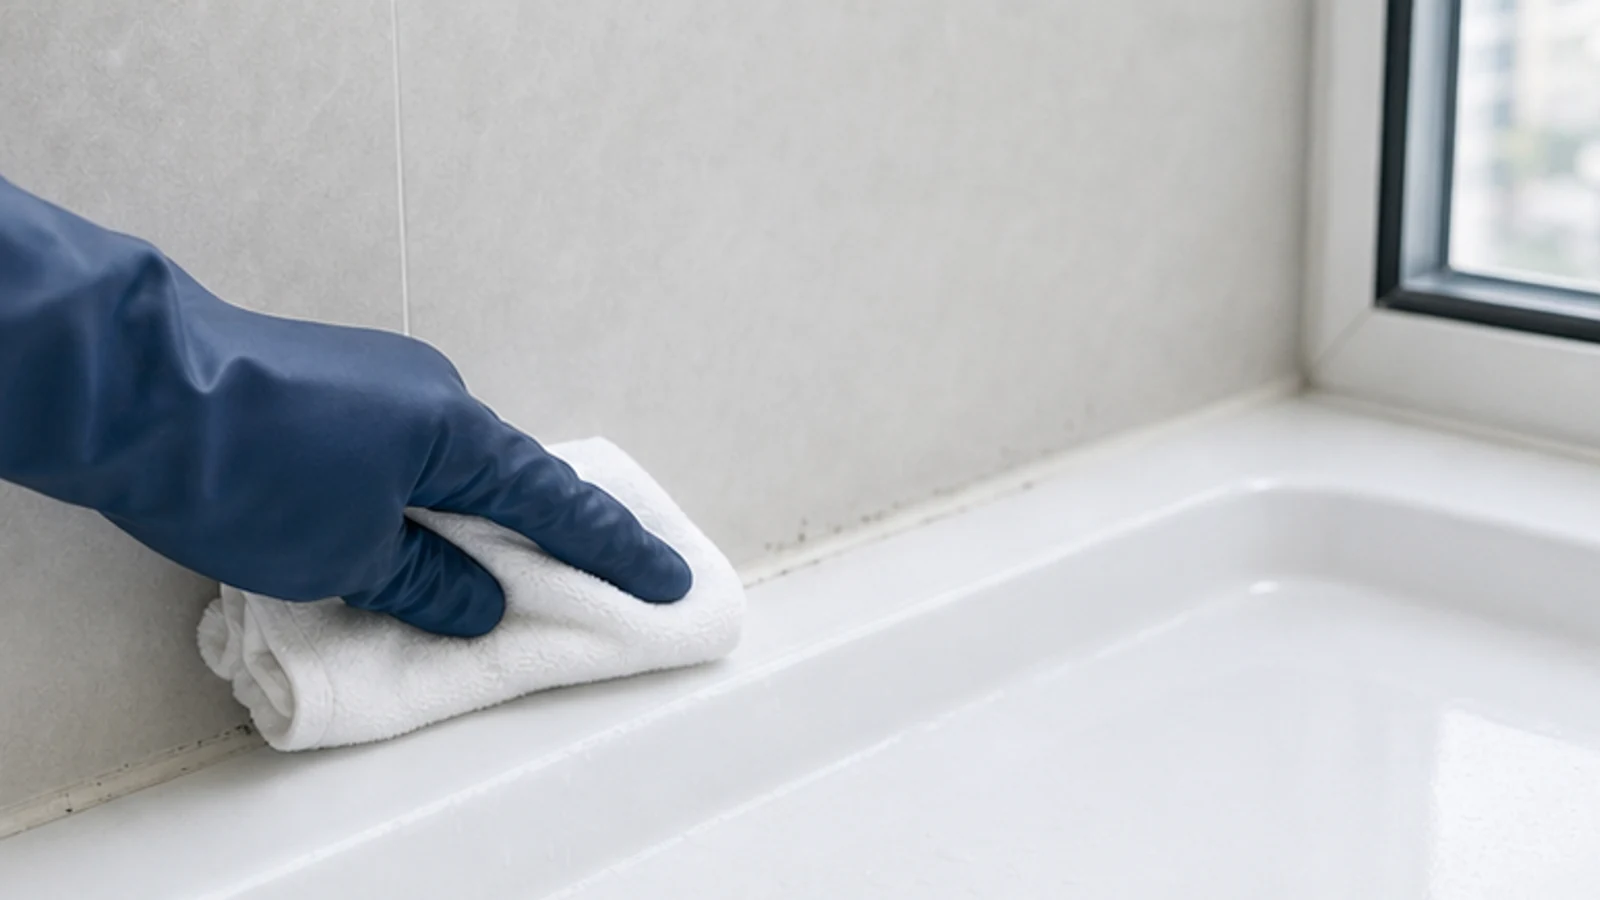
Rinse away detergent residue
Wipe repeatedly with a second cloth dampened in clean water, rinsing it between passes. Do not spray the joint. Stop and arrange replacement if silicone changes colour, becomes tacky, lifts or exposes a gap.
-
Step 05
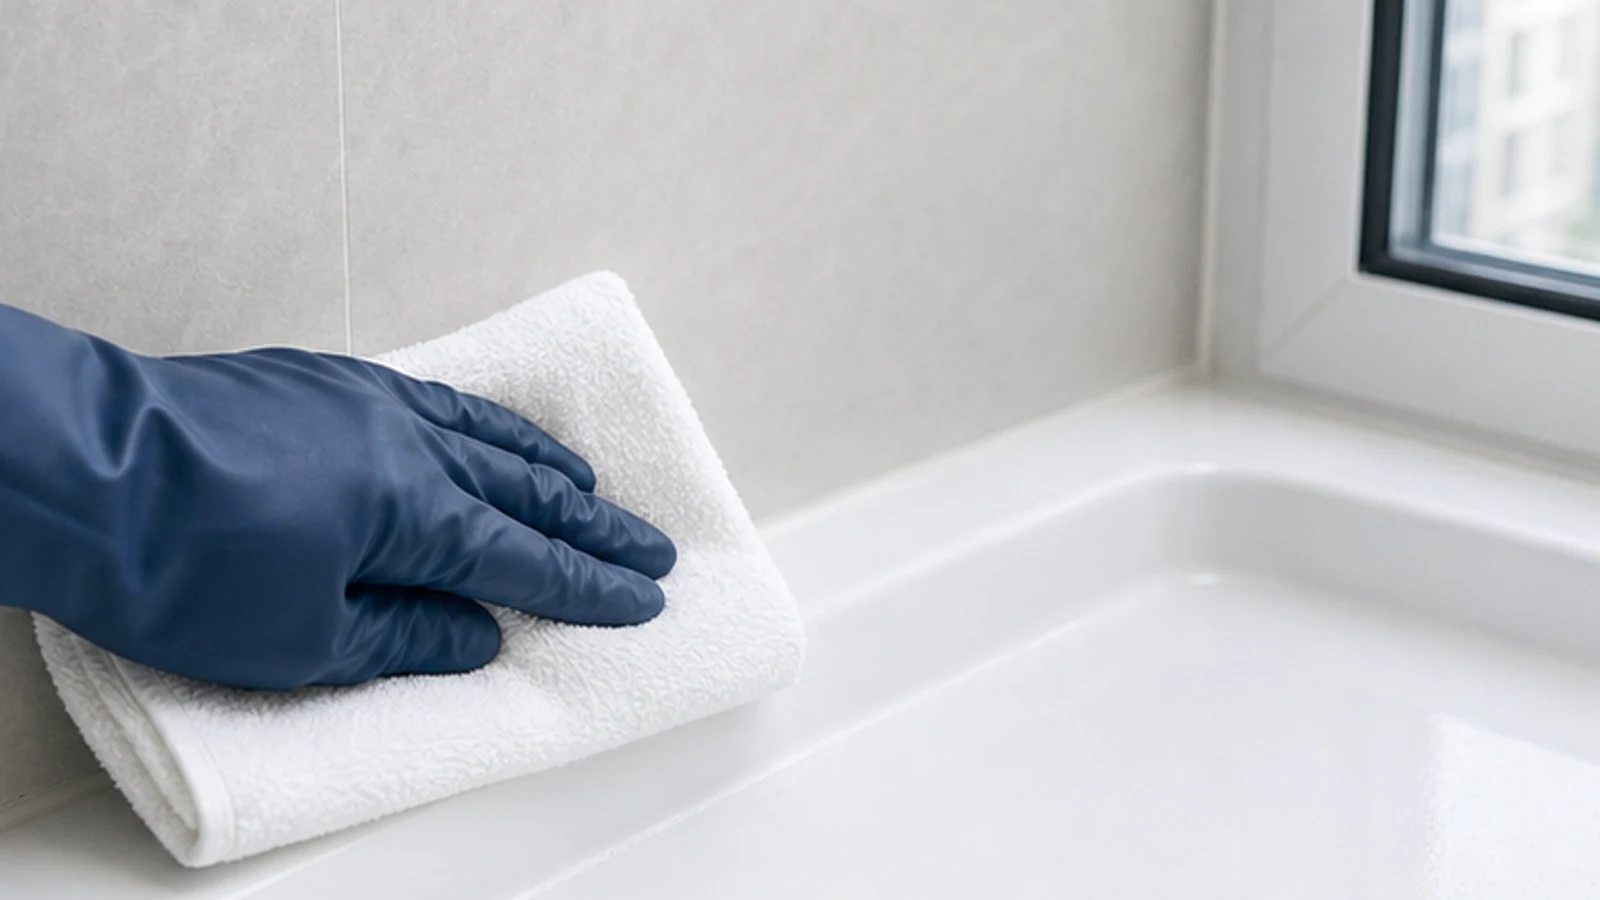
Dry the joint completely
Pat the joint and tile dry, then keep ventilation running and the shower unused until fully dry. Wash reusable cloths according to their labels and wash your hands after removing gloves. Never caulk over visible mould.
-
Step 06
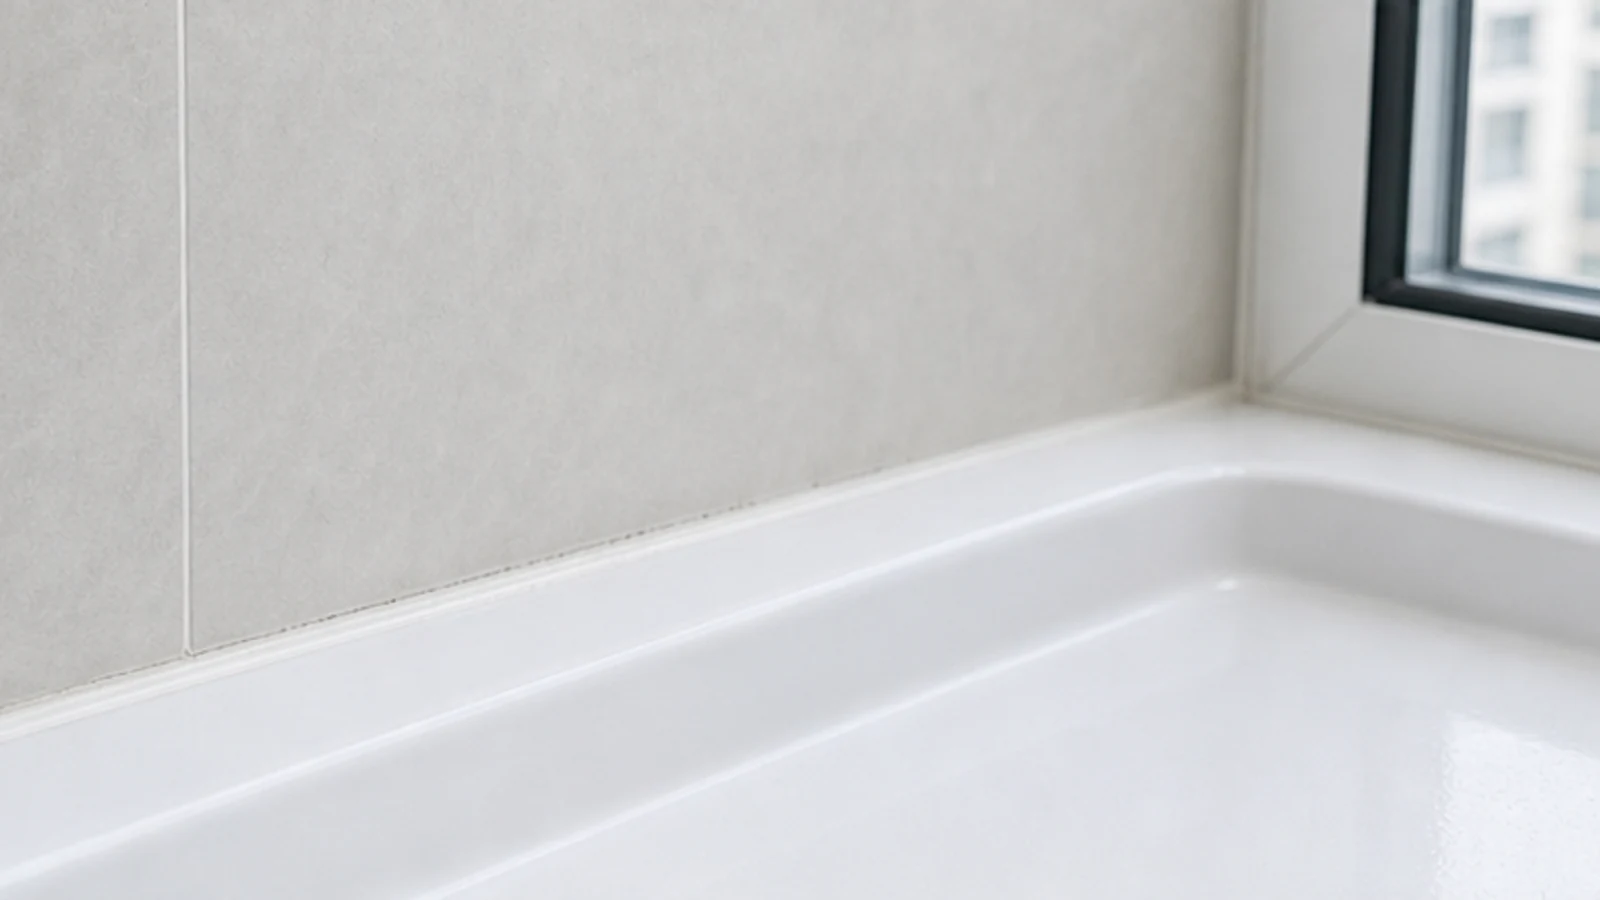
Correct moisture and monitor the seal
Check for drips, poor extraction or pooled water and correct the cause. Ventilate and remove standing water after showers. Staining may remain after cleaning; arrange sealant replacement if mould returns or the joint will not stay dry.
Quick answers
Frequently asked questions.
How long do you leave bleach on silicone?
This guide does not recommend leaving bleach on silicone. An overnight poultice increases exposure and may affect nearby finishes. For a small surface patch, EPA guidance supports detergent and water followed by complete drying. Use disinfectant only when its label and the sealant maker specifically allow it.
Why does mould keep coming back on shower silicone?
Mould returns when moisture remains available through condensation, standing water, a leak or a failed seal. Improve ventilation and drying first. If growth returns despite those changes, or appears beneath loose, cracked or soft silicone, stop repeated cleaning and arrange removal, moisture correction and replacement by a competent person.
When should bathroom mould be handled professionally?
Seek professional help when mould covers more than about one square metre, follows major water damage or sewage, keeps returning, sits behind the seal, or affects someone with relevant health concerns. Also stop when silicone is loose, cracked or soft; cleaning cannot restore a failed watertight joint.
Sources and review notes
- US EPA: Mold Cleanup in Your Home - Primary guidance for the small-area threshold, detergent-and-water cleaning of hard surfaces, complete drying and escalation after extensive water damage.
- US EPA: A Brief Guide to Mold, Moisture and Your Home - Primary guidance on moisture control, bathroom ventilation, recurrence and replacement limits for materials that cannot be cleaned.