
DIY / Bathroom
How to Whiten Shower Grout — The Full Method
Shower grout can look darker because of surface soil, soap residue, moisture or permanent staining. This method cleans intact cement grout beside glazed ceramic or porcelain with a neutral product approved for both materials. It does not promise to recolour grout or repair cracks, missing joints or water damage.
Quick answer
What is the best way to whiten shower grout?
Identify the tile and grout, then use a neutral tile-and-grout cleaner approved by their manufacturers. Patch-test, apply at the label dilution, agitate gently with a soft hand brush, rinse thoroughly and dry. Stop if grout is cracked, missing, soft, powdery, persistently wet or changes colour during the test.
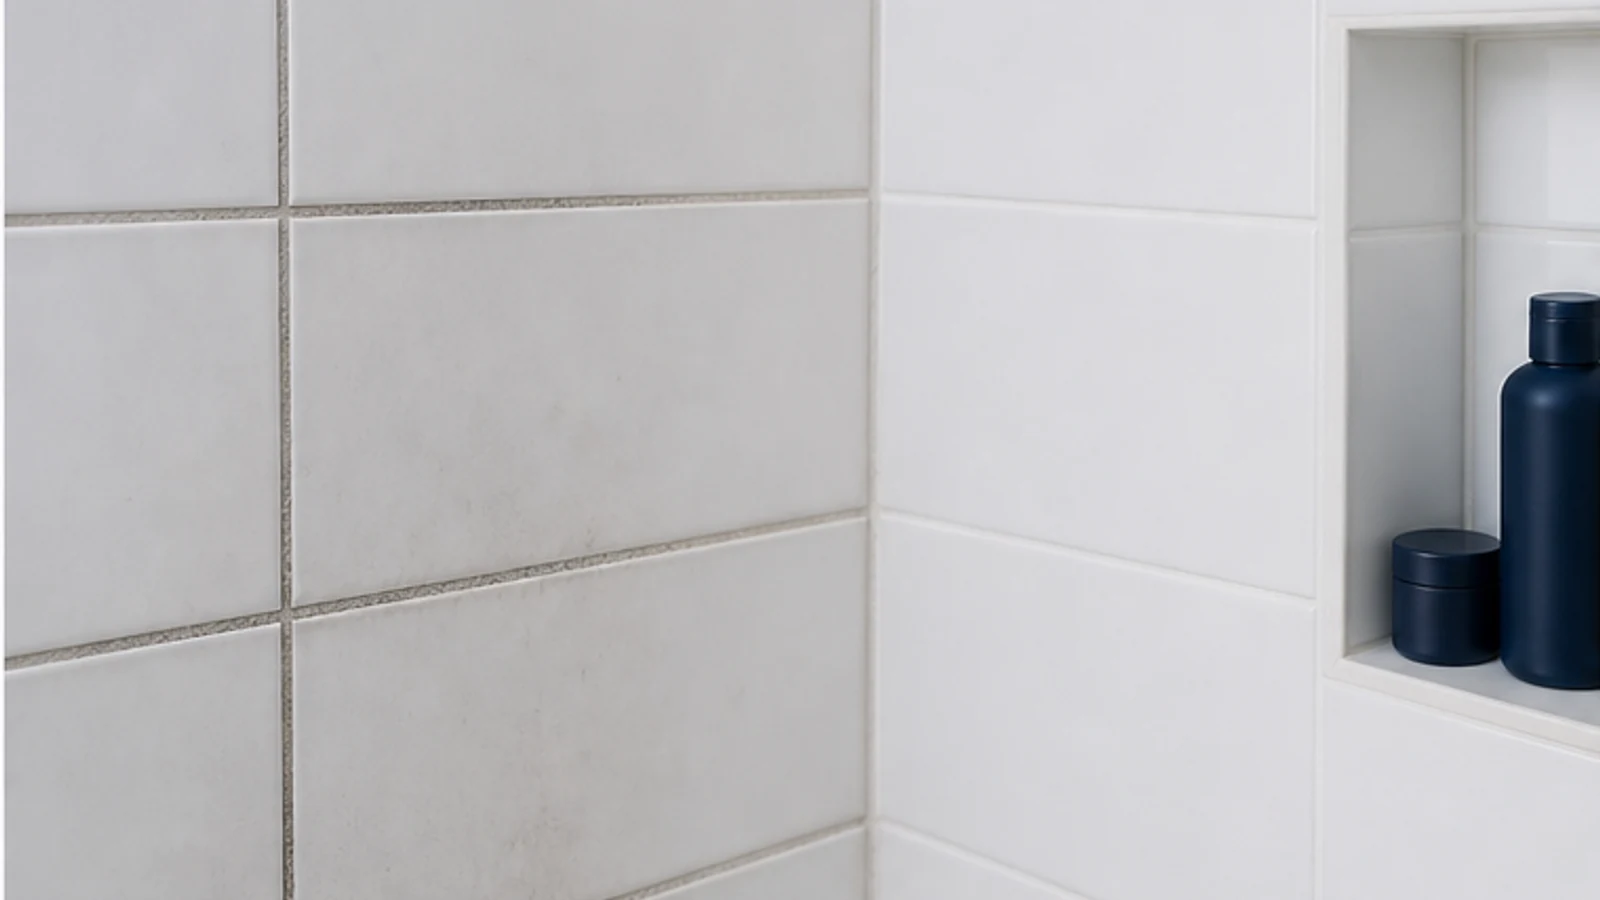
Light cement grout on glazed ceramic shower tiles / Light cement grout on porcelain shower tiles
Coloured grout without manufacturer approval / Dark, coloured, epoxy or urethane grout without manufacturer approval / Cracked, crumbly or persistently wet grout / Natural stone tile or stone-adjacent grout
What you need
What you need
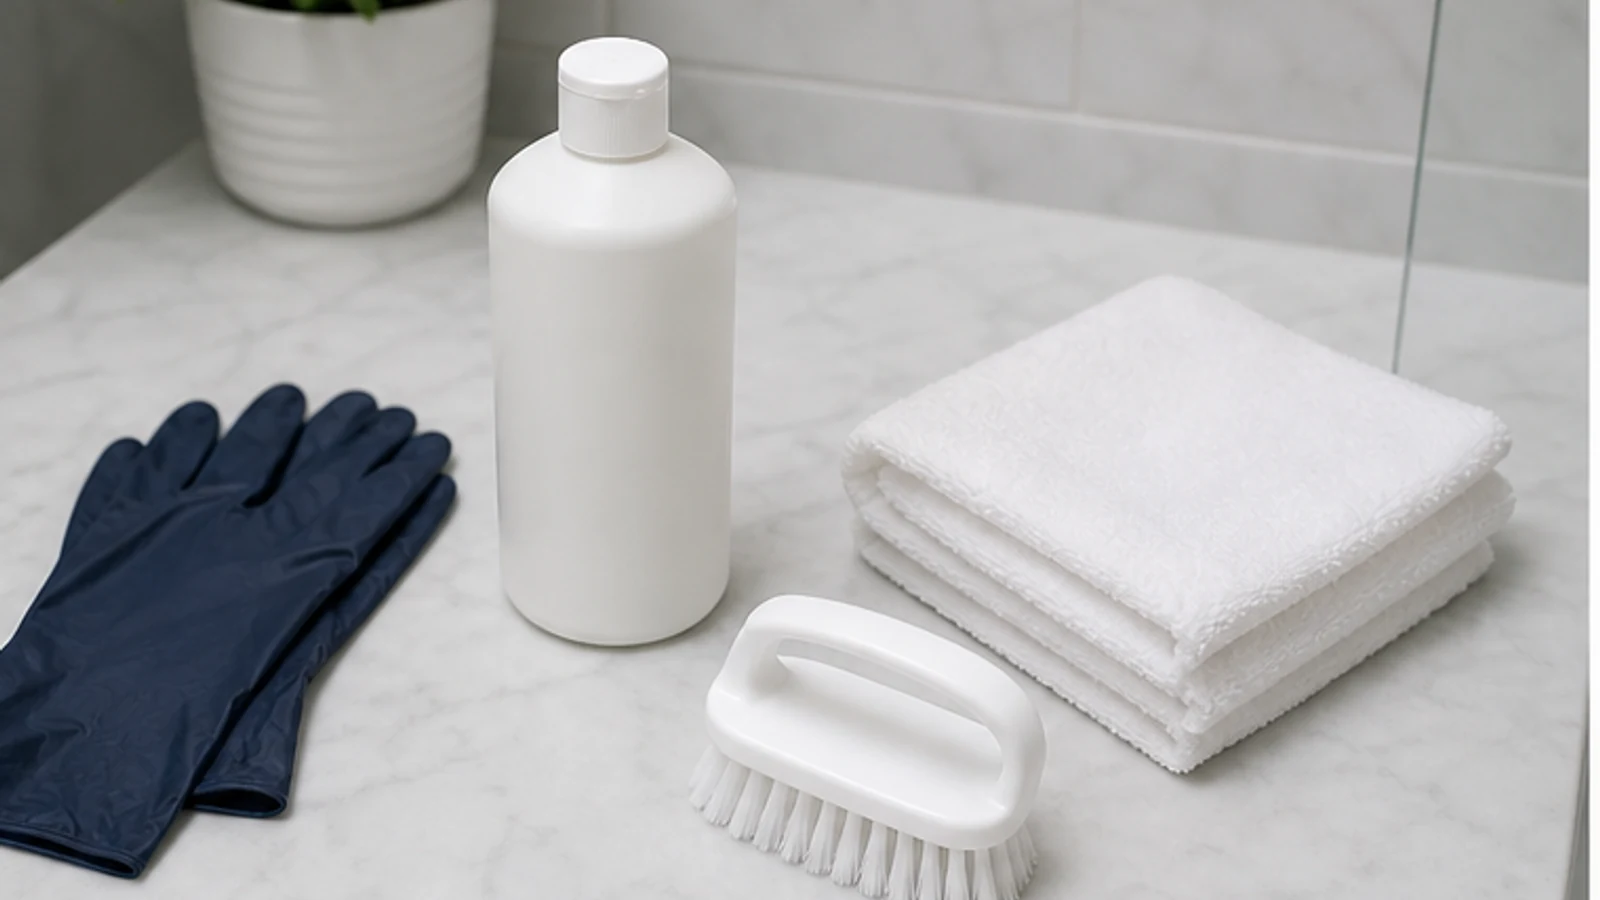
Choose a neutral cleaner whose label names your tile and grout type. Use a soft hand brush and clean rinse water. Do not substitute a homemade peroxide, acid, bleach or abrasive paste, and do not use a powered brush.
- Difficulty
- Medium
- Active time
- 45 minutes to 1.5 hours depending on area
- Total time
- 1–2 hours including drying
Manufacturer-approved neutral tile and grout cleaner
Enough for the test and work area, diluted exactly as labelled
Soft-bristled grout brush or old toothbrush
1
Small clean bowl for labelled dilution
1
Rubber or nitrile gloves
1 pair
Clean towels or cotton rags
2–3
Typical UAE retail ranges. Prices vary by pack and store, and your total is lower when you already own the reusable tools.
Step by step
How to Whiten Shower Grout — The Full Method
Continue only after identifying glazed ceramic or porcelain tile, intact cement grout and a neutral cleaner approved for both. Natural stone, coloured grout and proprietary grout systems need their own care instructions.
-
Step 01
Ventilate and prepare the shower area
Open the bathroom door or window and run the extractor. Let the shower dry, then inspect every joint. Stop for cracked, missing, soft, powdery or persistently wet grout, loose tiles or movement. Those are repair or moisture problems, not surface stains, and cleaning may conceal rather than solve them.
Air is moving noticeably through the bathroom
Grout and tile surface is visibly dry
All materials are set on a stable, dry surface
-
Step 02
Identify the system and patch-test
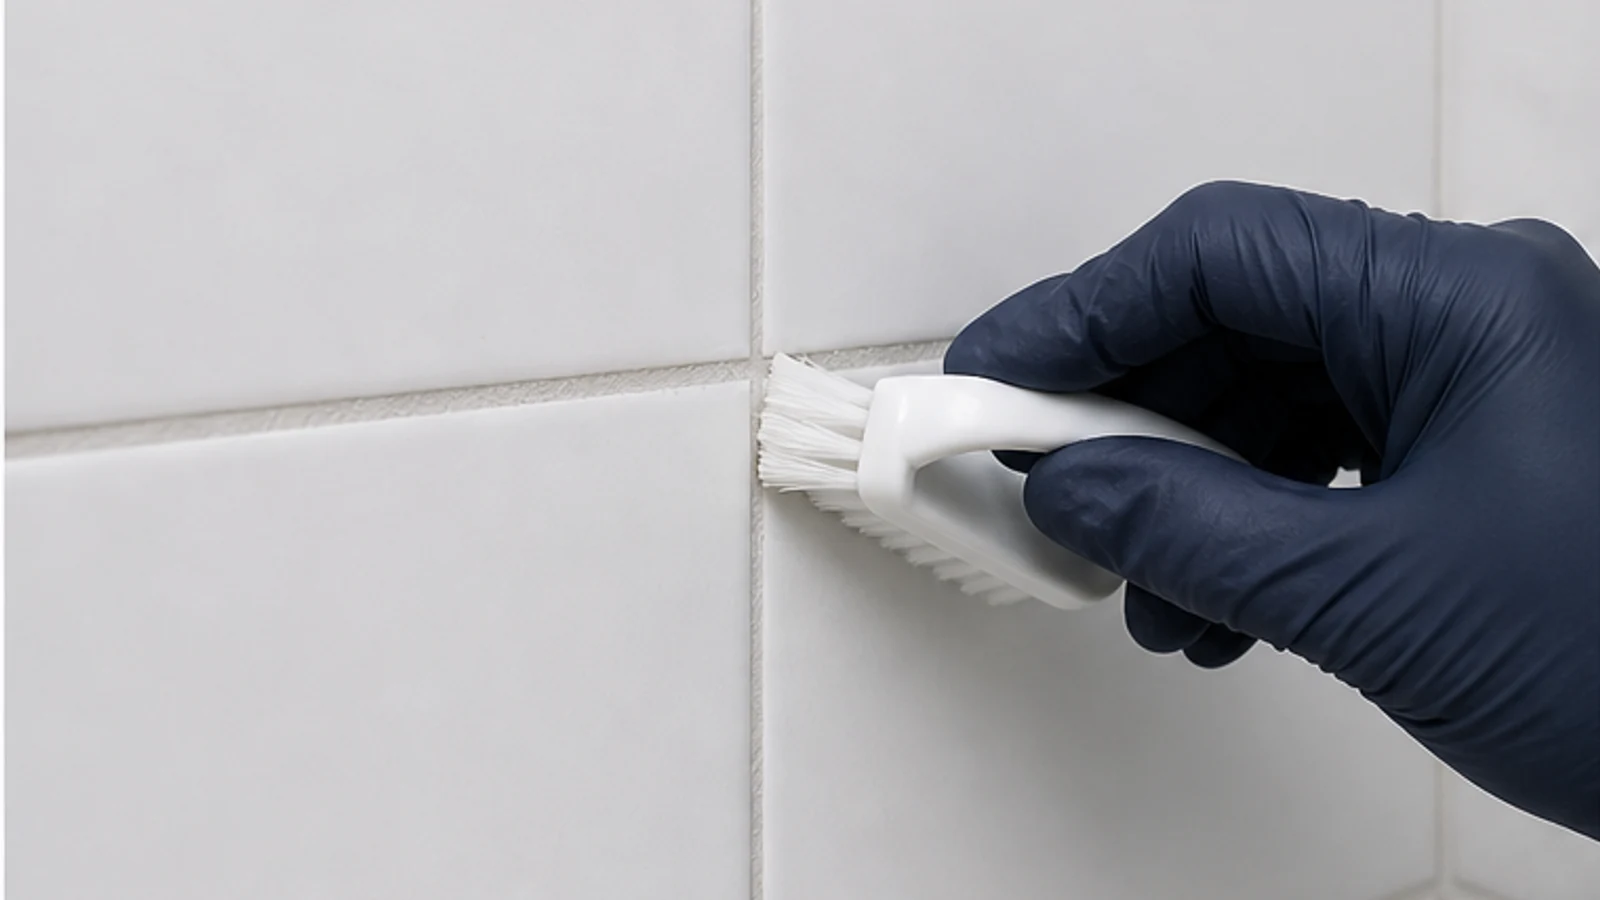
Check the tile, grout and cleaner manufacturers' instructions. Put on the label-required protection and prepare the exact dilution. Apply it to a small hidden grout line for no longer than the labelled contact time, keeping it off unapproved materials. Rinse and dry. Stop for colour loss, softening, residue or a finish change.
The tile, grout and cleaner systems are identified
The hidden patch is rinsed and fully dried
No colour, surface or firmness change appears
-
Step 03
Apply the neutral cleaner in a small section
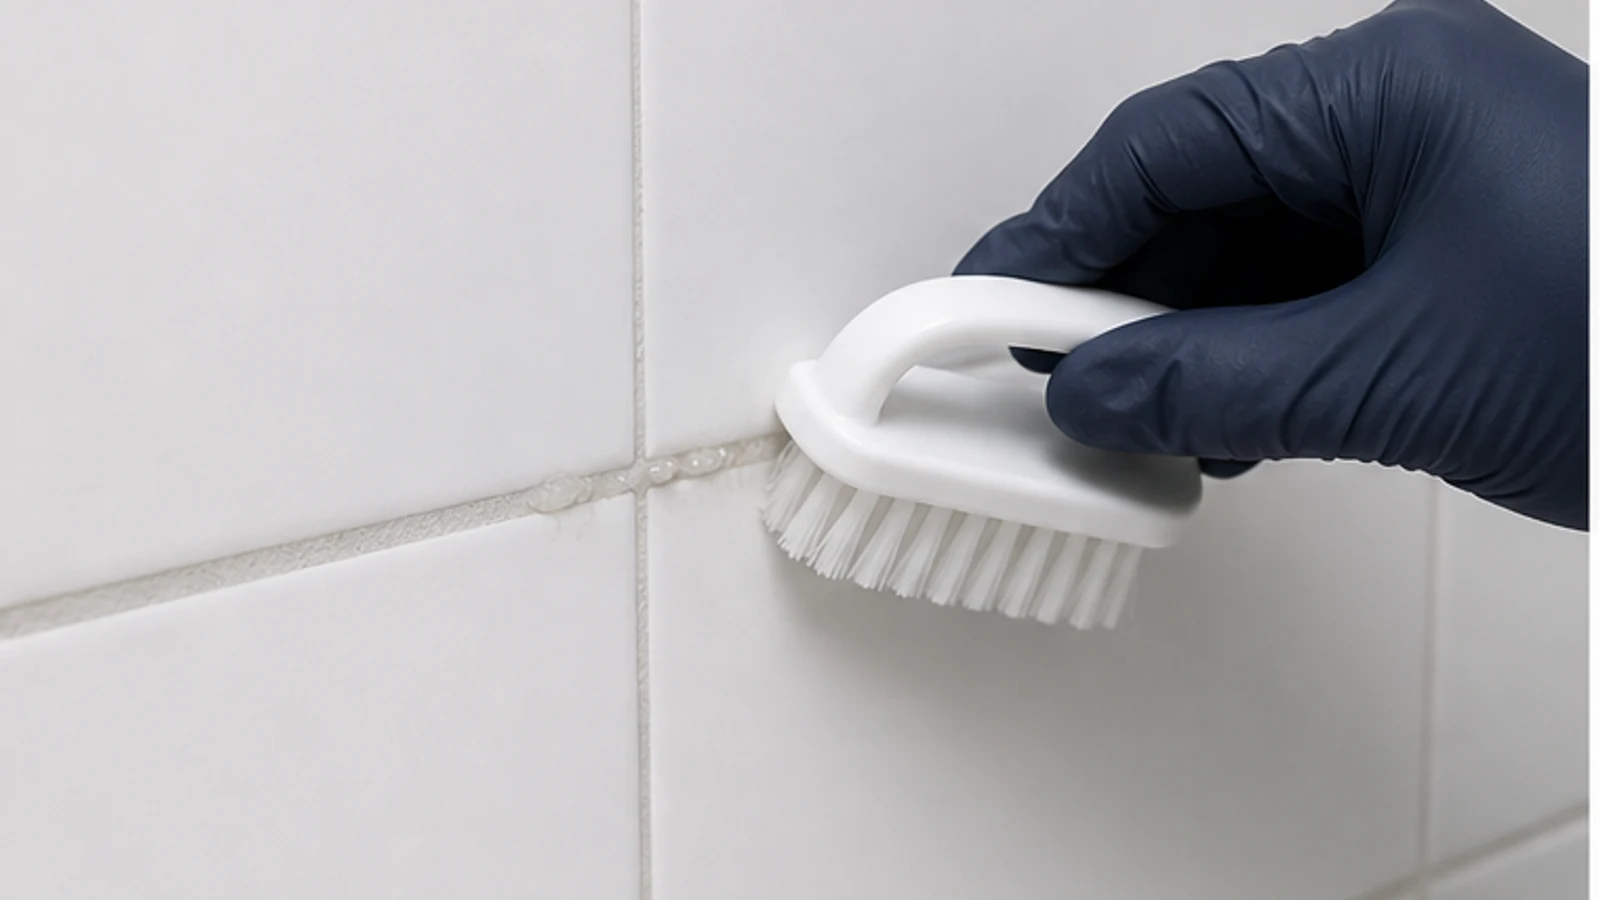
Prepare fresh solution at the label dilution. Work from top to bottom in a section about 30 cm wide. Apply with a soft cloth or brush only to the approved tile and grout, without flooding joints or letting liquid run onto stone, metal or silicone. Keep the surface wet only for the labelled contact time.
The labelled dilution is freshly prepared
Work proceeds top to bottom in a small section
Liquid does not flood joints or reach unapproved materials
-
Step 04
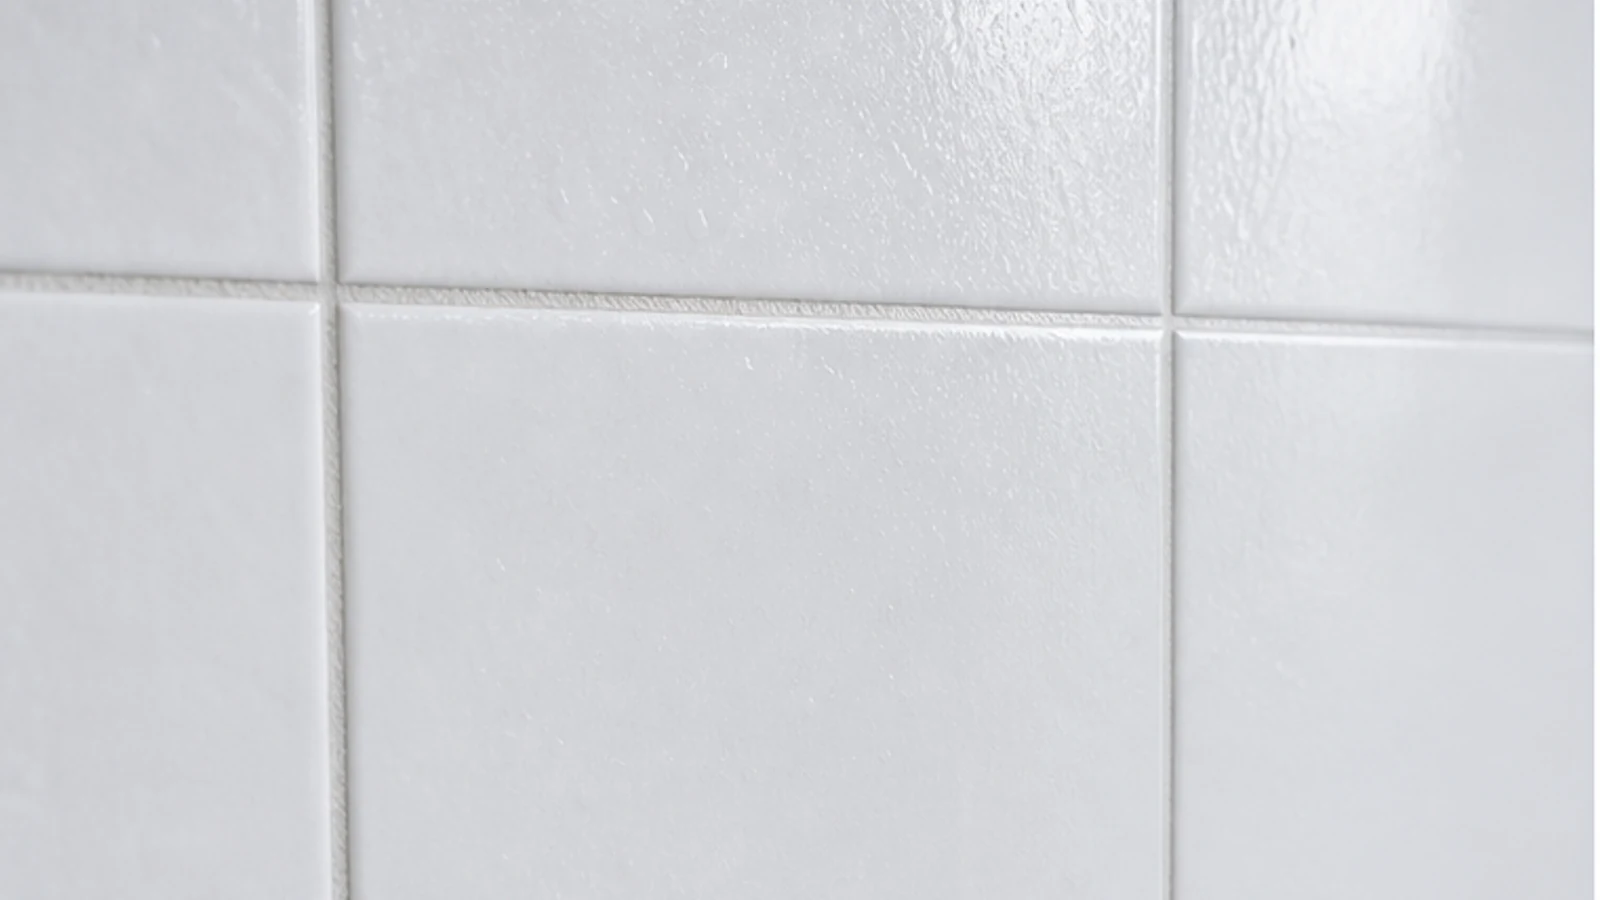
Follow the product's contact time
Use a timer and follow the product label; there is no universal dwell time. Do not allow the solution to dry, and do not top it up with another cleaner. If it reaches an unapproved surface, rinse that surface immediately. Stop and rinse for colour change, softening, unusual odour or irritation.
A timer follows the product's labelled contact time
Cleaner remains damp without pooling or drying
No irritation, colour loss or material change appears
-
Step 05
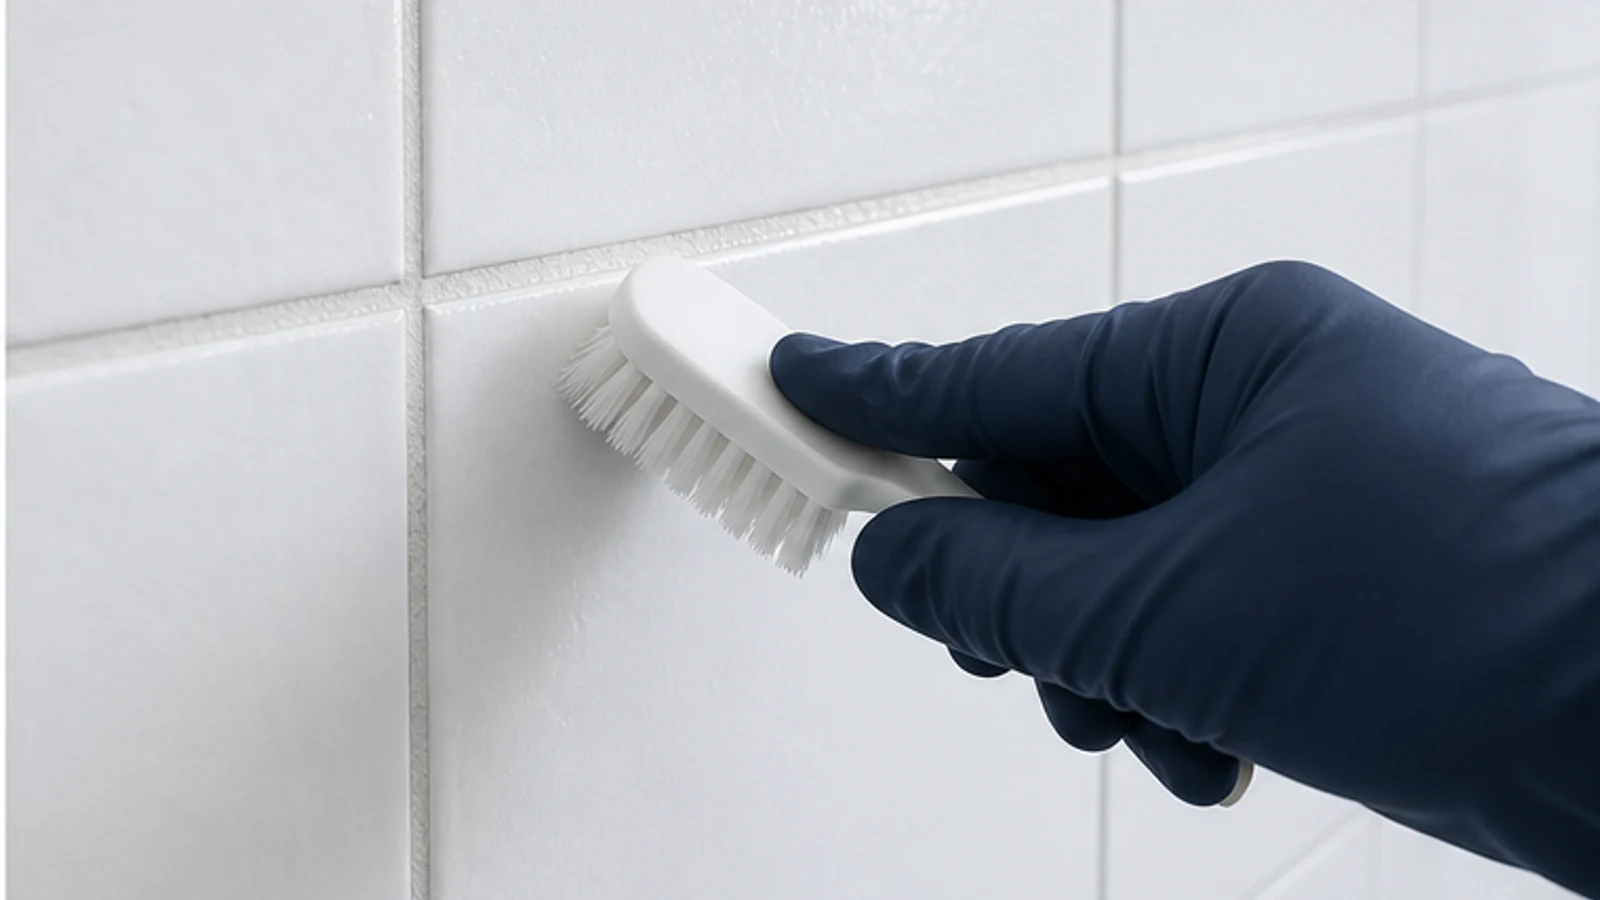
Scrub the grout gently
Agitate along the grout line with a soft hand brush and light pressure, using short strokes. The goal is to lift surface soil, not remove grout. Do not use a drill brush, wire brush, scraper or abrasive pad. Stop immediately if the brush releases grout particles or catches a cracked edge.
Grout surface is noticeably lighter in colour as you scrub
The brush bristles are not gouging or damaging the tile edge
Grout remains firm and does not crumble or erode under moderate brush pressure
-
Step 06
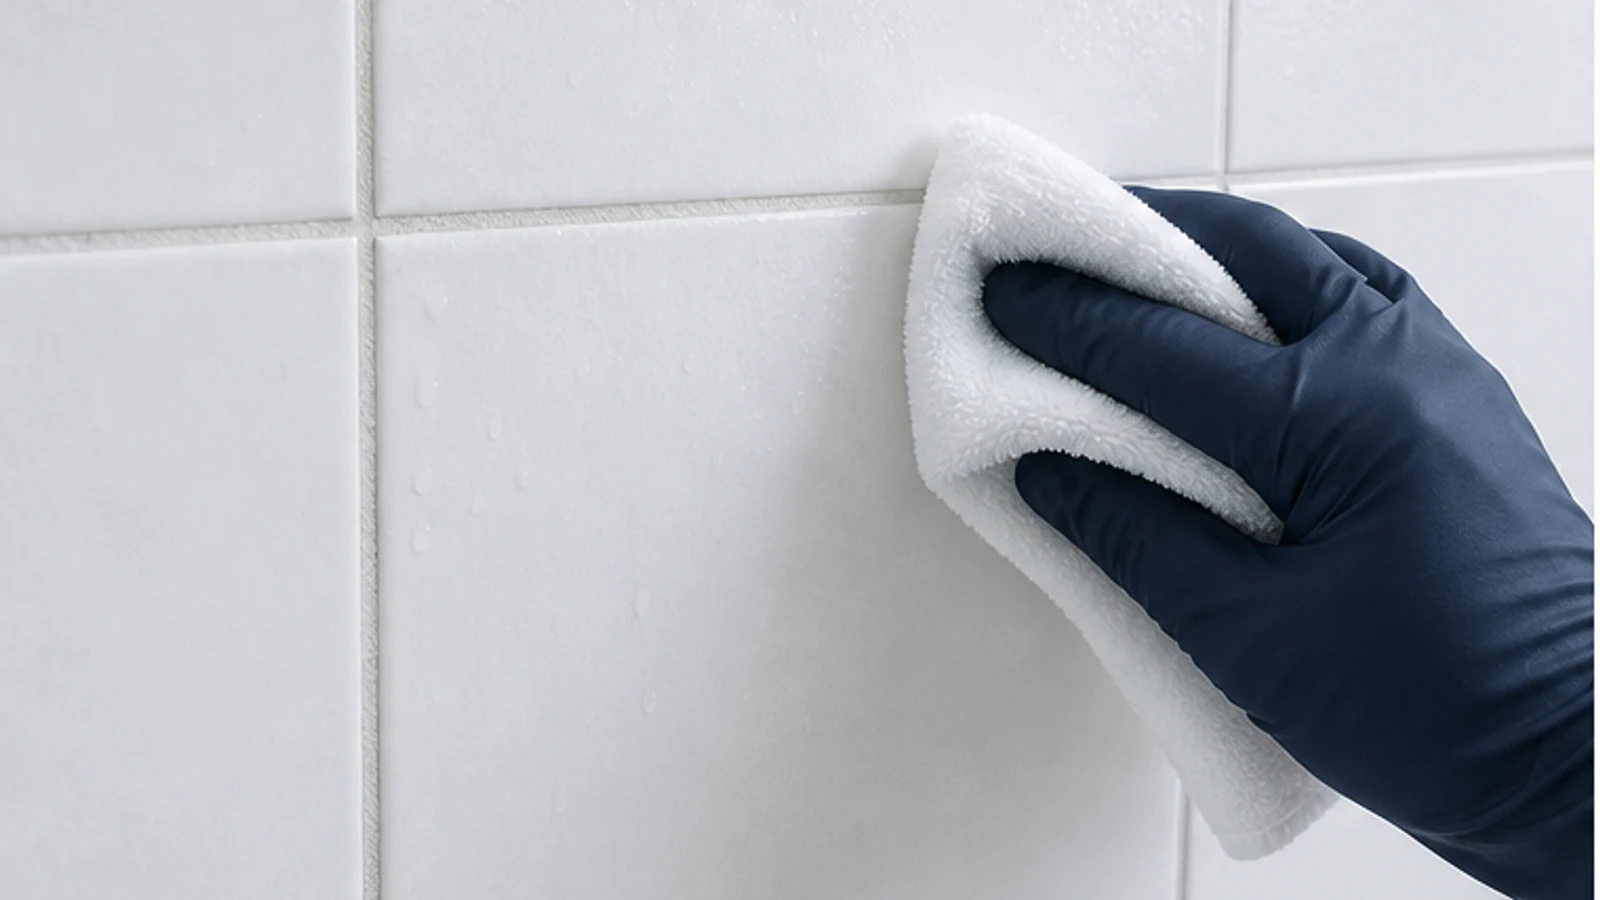
Rinse thoroughly and repeat as needed
Use clean water and a soft cloth to remove all cleaner, rinsing the cloth frequently. Follow the product label if it requires a particular rinse. Keep water controlled rather than flooding a suspect joint. Dry the tile and grout with clean towels, and keep the shower ventilated until the area is fully dry.
No cleaner residue remains in or around the grout lines
Rinse water is clear and colourless
The grout is noticeably lighter than before
The area is dry and ready for inspection
-
Step 07
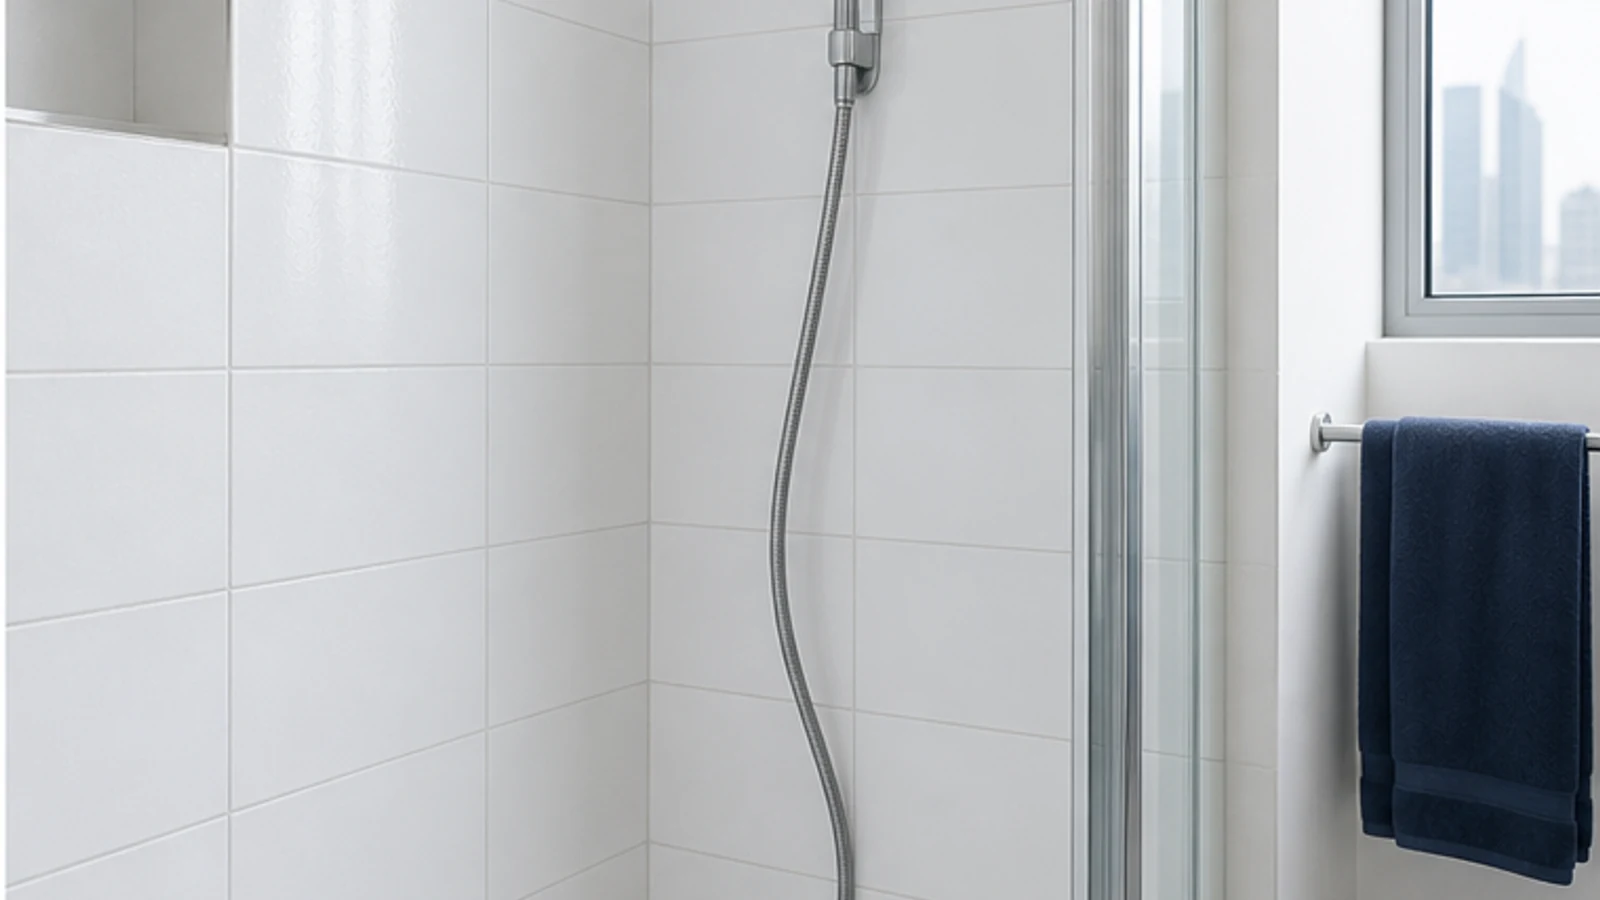
Dry and assess the result
Judge the grout only after it has dried, because wet cement grout naturally looks darker. A cleaner, even surface is success; the original colour may not return. Repeat only when the product label permits it and the first test caused no change. For permanent staining, ask about compatible professional recolouring rather than stronger chemistry.
All moisture is wiped away and the area is visibly dry
Grout appears significantly lighter and cleaner
You can see clearly where you have worked and what remains
Finished result
What success looks like
Successfully whitened grout will appear noticeably lighter, uniform in colour and free of soap residue and mineral stains. The grout will remain firm, the tile edges will be sharp and unharmed, and there will be no discolouration on the tile face.
Grout lines are significantly lighter and match clean grout elsewhere in the home
The tile surface is unscratched and undamaged; no white streaks on the tile
Grout is firm and intact; no crumbling, cracking or soft spots under light finger pressure
The area is fully dry and there is no chemical odour
Quick answers
Frequently asked questions.
Does hydrogen peroxide damage grout?
Hydrogen peroxide compatibility depends on the grout formulation, colour, sealer and nearby tile. Do not assume a pharmacy concentration is approved or mix a homemade paste. Use the grout manufacturer's named cleaner instead. If peroxide was already applied, rinse as its label directs and stop for softening or colour change.
How often should you clean shower grout?
Follow the grout and cleaner makers' maintenance schedules rather than a universal interval. In practice, remove standing water after showers and use an approved neutral cleaner when visible soil appears. More frequent gentle cleaning is preferable to occasional harsh treatment. Investigate recurring darkening that accompanies dampness, odour or joint failure.
Can I use a powered drill brush to clean grout faster?
Do not use a drill brush unless the tile and grout manufacturers explicitly approve that exact accessory and speed. Powered scrubbing can erode joints, catch edges and reduce control on a wet surface. A soft hand brush gives immediate feedback; stop if grout particles release or a joint feels weak.
What if grout is still discoloured after two applications?
Let grout dry fully before judging its colour. If two label-compliant neutral cleans leave a stable stain, stop escalating chemistry or abrasion. The colour may be permanent or within the grout or sealer. Ask the grout maker or a qualified tile professional about compatible recolouring, sealing or joint replacement.
Sources and review notes
- MAPEI: UltraCare Concentrated Tile & Grout Cleaner - Grout-system manufacturer documentation identifying a neutral cleaner for routine tile and grout maintenance.
- MAPEI UltraCare Maintenance Guide - Manufacturer maintenance guidance covering neutral detergent for routine care and the need to match stronger products to the soil and surface.