
DIY / Bathroom
How to Descale a Shower Head and Get Your Water Pressure Back
An uneven spray may come from mineral deposits at the nozzles, but weak flow can also originate elsewhere. Begin with the maker's non-chemical cleaning method. Remove or soak the head only when its exact manual permits it, and escalate a stuck fitting, leaking joint or multi-fixture pressure loss.
Quick answer
How long do you soak a shower head in vinegar?
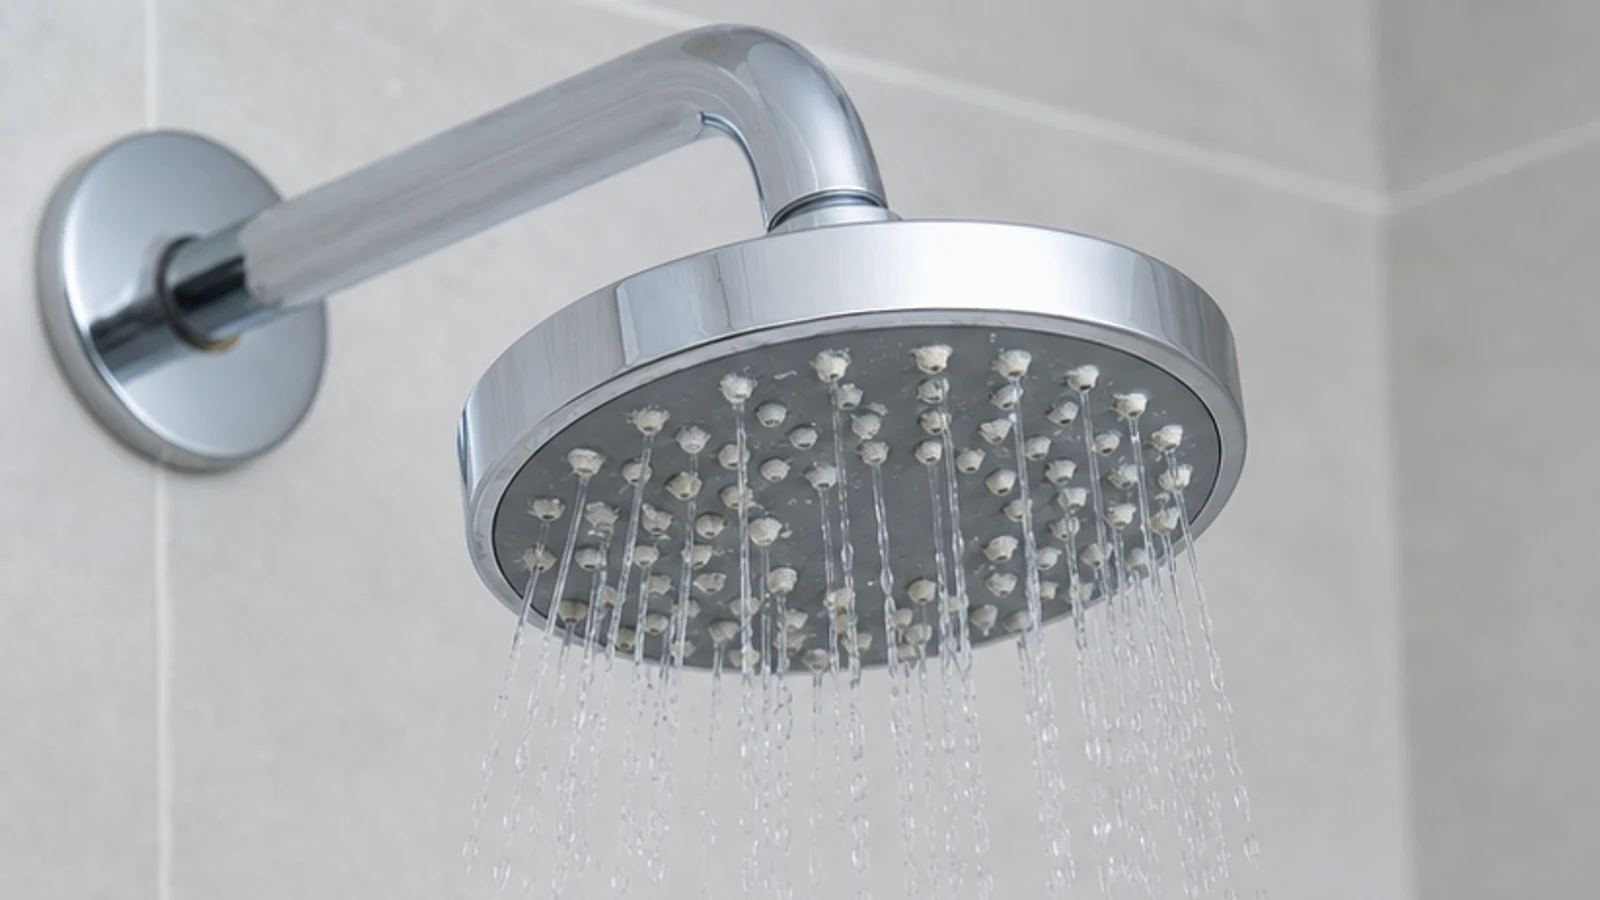
Start by rubbing flexible spray nozzles and rinsing the face with water. If deposits remain, identify the exact shower-head model and follow its care guide. Some manufacturers approve a measured vinegar-and-water soak; others specify different care. Stop for unknown finishes, fixed heads, leaks, damaged threads or weak flow at several fixtures.
Brass shower heads / Stainless steel shower heads / Chrome-plated shower heads / Removable shower head cartridges / Plastic or rubber nozzle inserts
PVD (physical vapour deposition) finishes without maker approval / Nickel or gold-plated surfaces / Black matte or specialist coatings / Natural stone or marble surrounds / Corroded or weeping joints
What you need
What you need
Find the exact shower-head care guide before buying cleaner. Flexible nozzles may need only water and a soft cloth. Purchase descaler only when the maker names the product, dilution and contact time for that model and finish.
- Difficulty
- Easy
- Active time
- 10–15 minutes
- Total time
- 1–2 hours (mostly soaking)
Manufacturer-approved descaling solution, only if specified
Exact product, dilution and volume stated in the shower-head care guide
Small non-food container, only if the care guide requires soaking
1
Soft nylon toothbrush (optional, for stubborn residue)
1
Clean cloth or microfiber towel
1
Typical UAE retail ranges. Prices vary by pack and store, and your total is lower when you already own the reusable tools.
Step by step
How to Descale a Shower Head and Get Your Water Pressure Back
Most shower heads unscrew easily and clean in a bowl. If yours is fixed, a sealed bag does the job without removal.
-
Step 01
Check the manufacturer guidance and test the finish
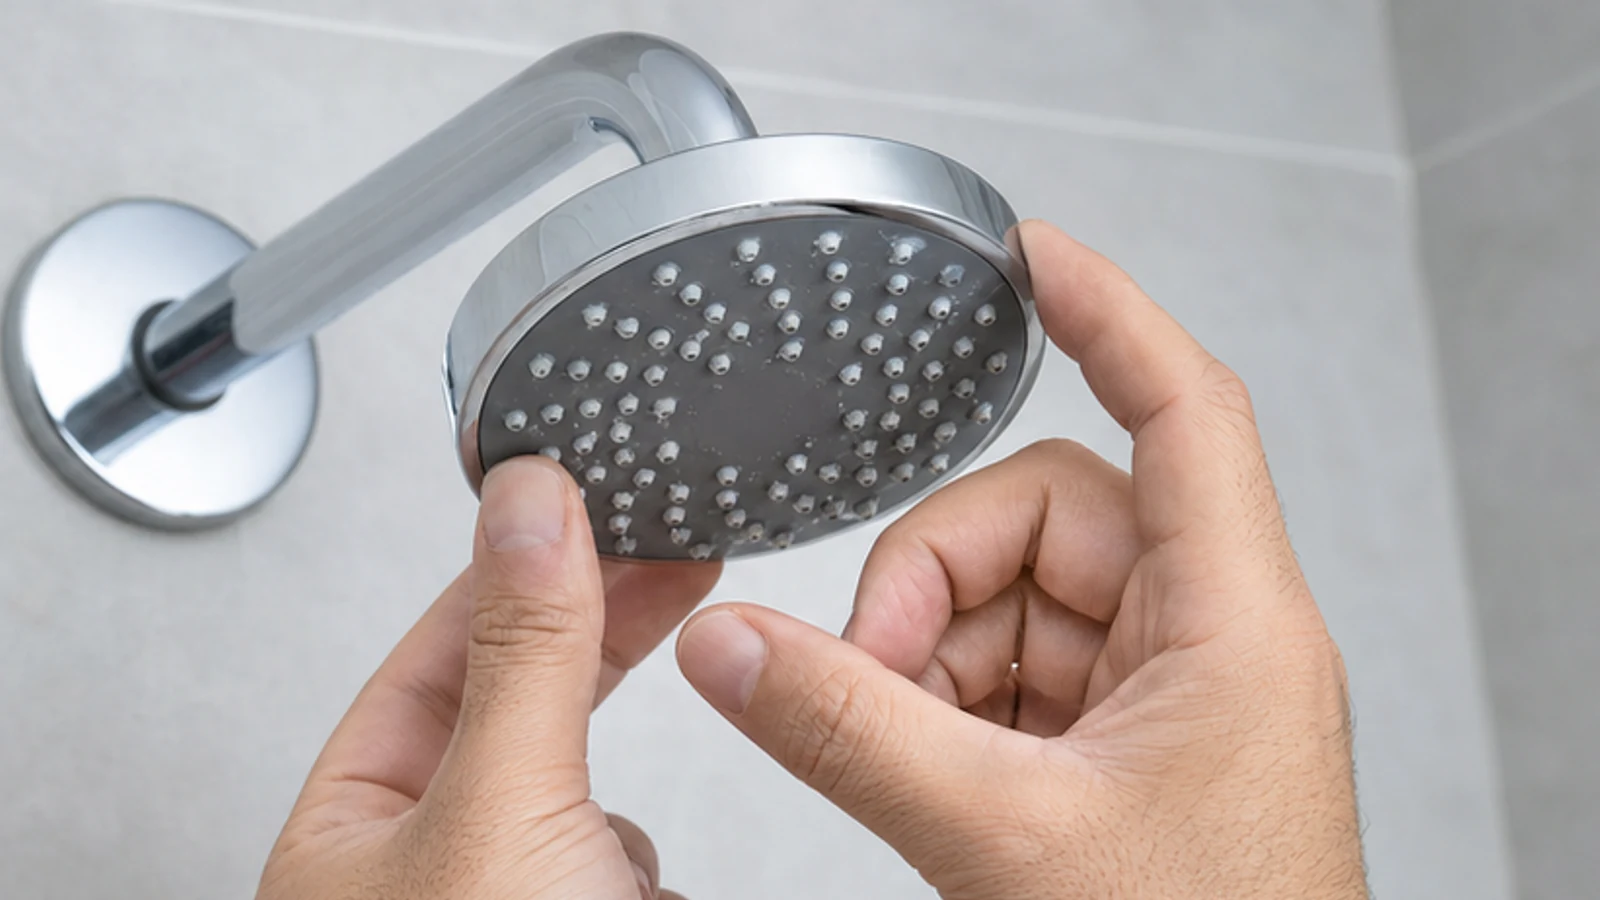
Locate the shower head's brand and model, then read its official care guide. Record whether it has flexible rub-clean nozzles, whether removal is permitted and the exact cleaner, dilution and dwell time approved for its finish. If the model or finish is unknown, use water and a soft cloth only.
Brand, model and finish are identified
The official care guide is available
Any approved cleaner and contact time are recorded before work
-
Step 02
Rub flexible nozzles and rinse first
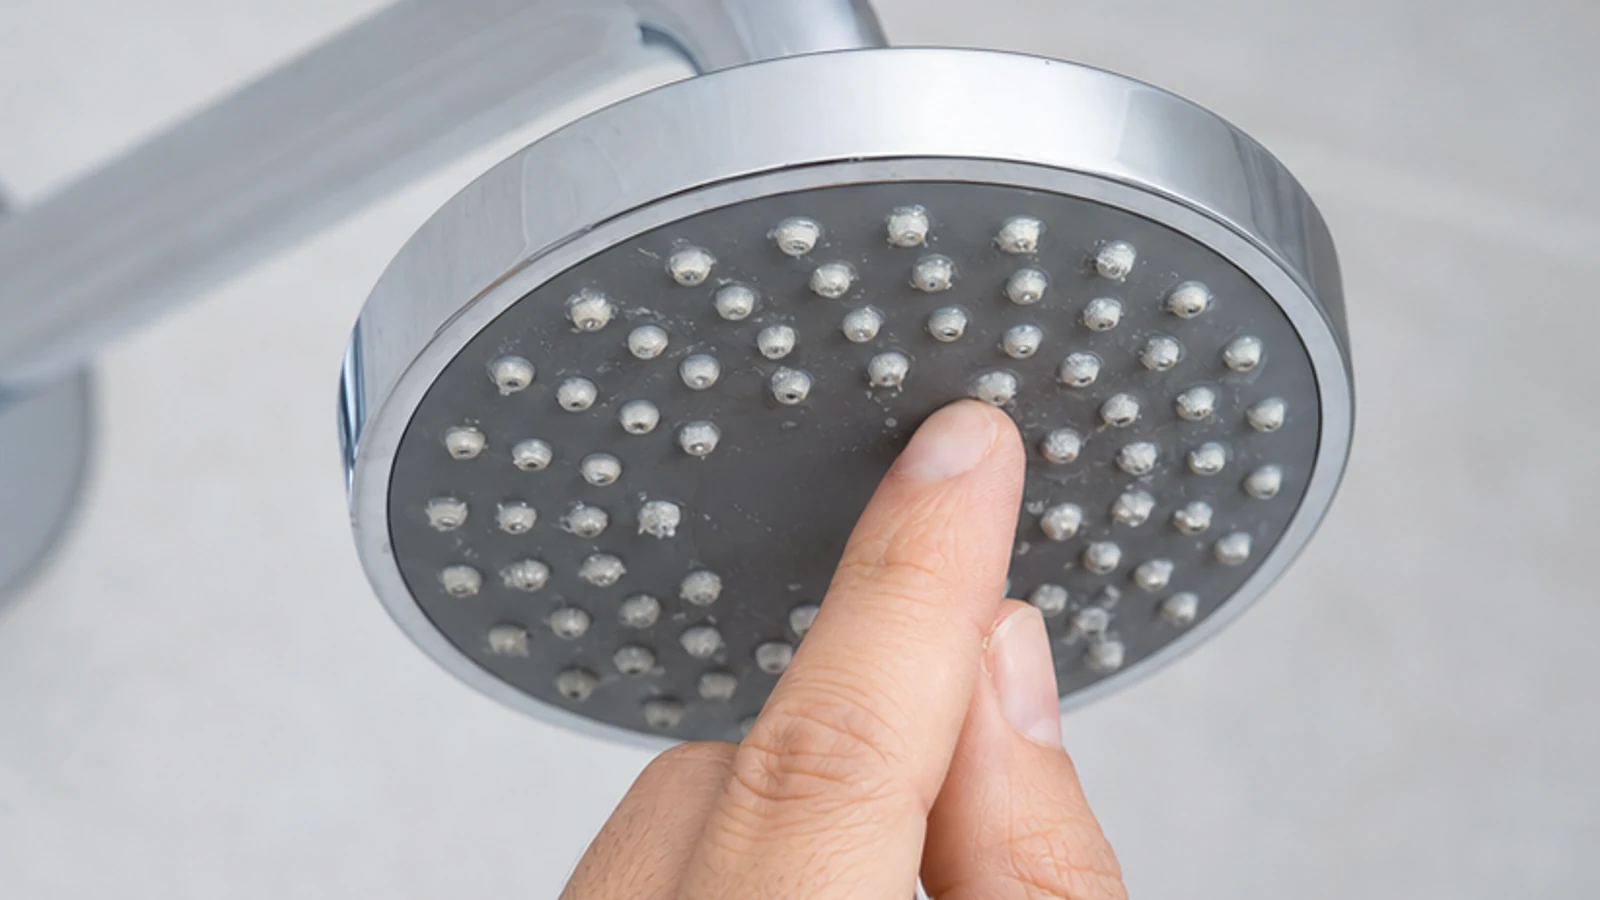
With the shower off, rub flexible spray holes gently with a fingertip or soft cloth to loosen surface scale, as makers such as Delta instruct for rub-clean designs. Run cool water for 20 seconds and reassess. Do not insert pins, needles or wire into the holes, and do not force rigid nozzles.
Flexible nozzles release visible surface deposits
Cool water passes through the head
No pin or metal tool enters a spray hole
-
Step 03
Remove the head only when the manual permits it
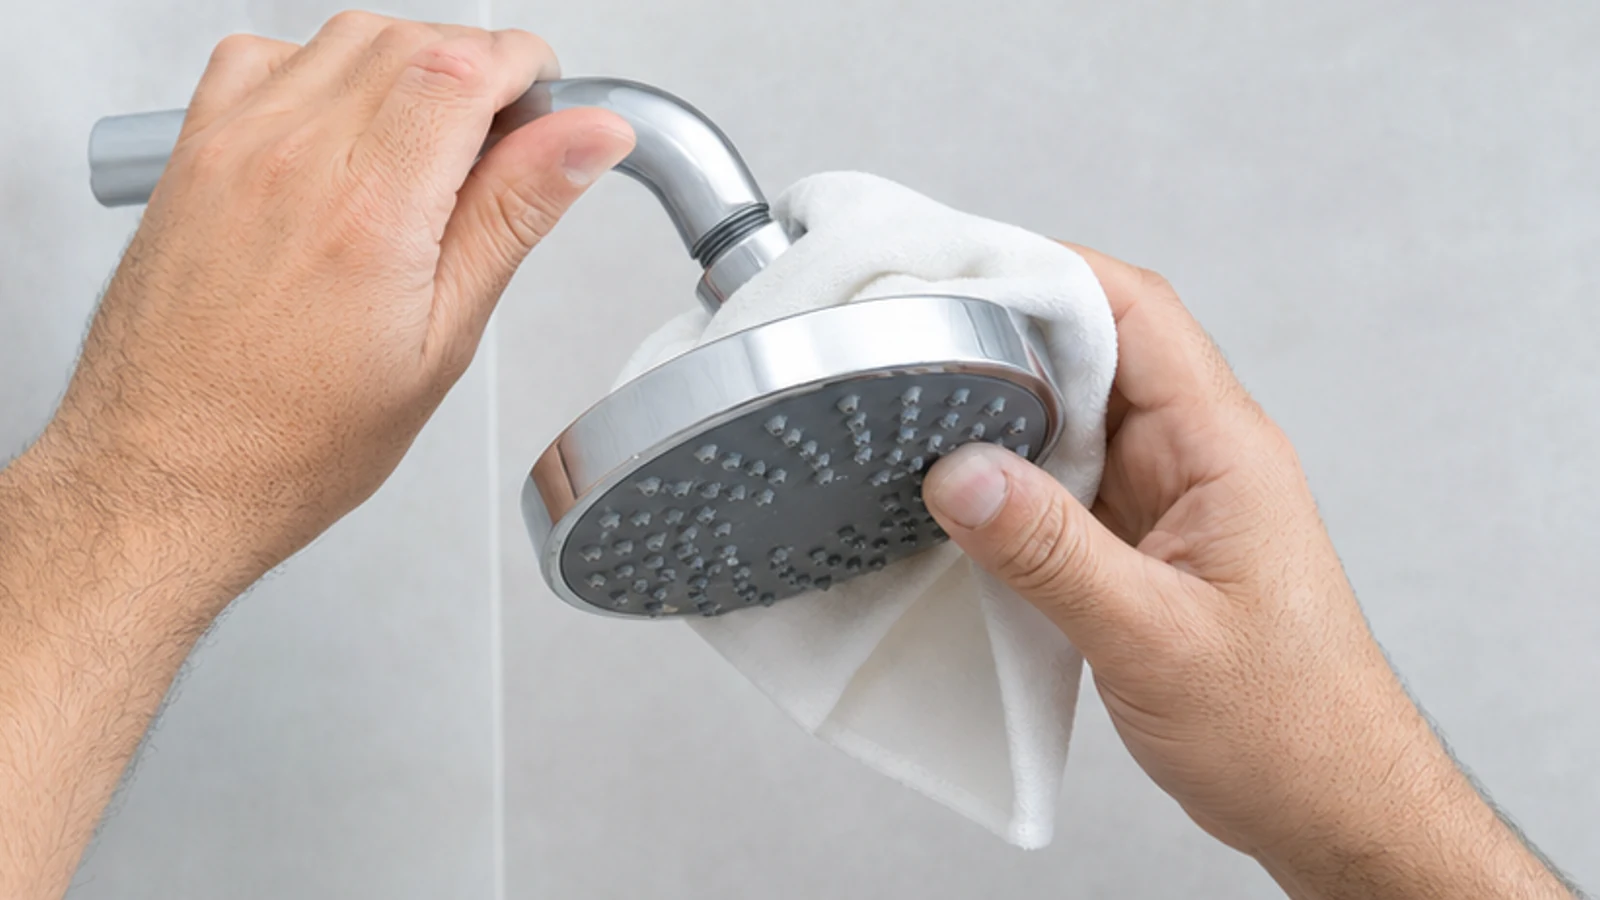
If the official instructions permit removal, turn off the shower and protect the finish with a soft cloth. Unscrew the head by hand in the direction stated in the manual, supporting the shower arm. Stop if it resists, the arm moves, the joint is corroded or tools would be needed; ask building maintenance or a plumber.
The manual explicitly permits removal
The shower arm remains still
Work stops before tools or force are needed
-
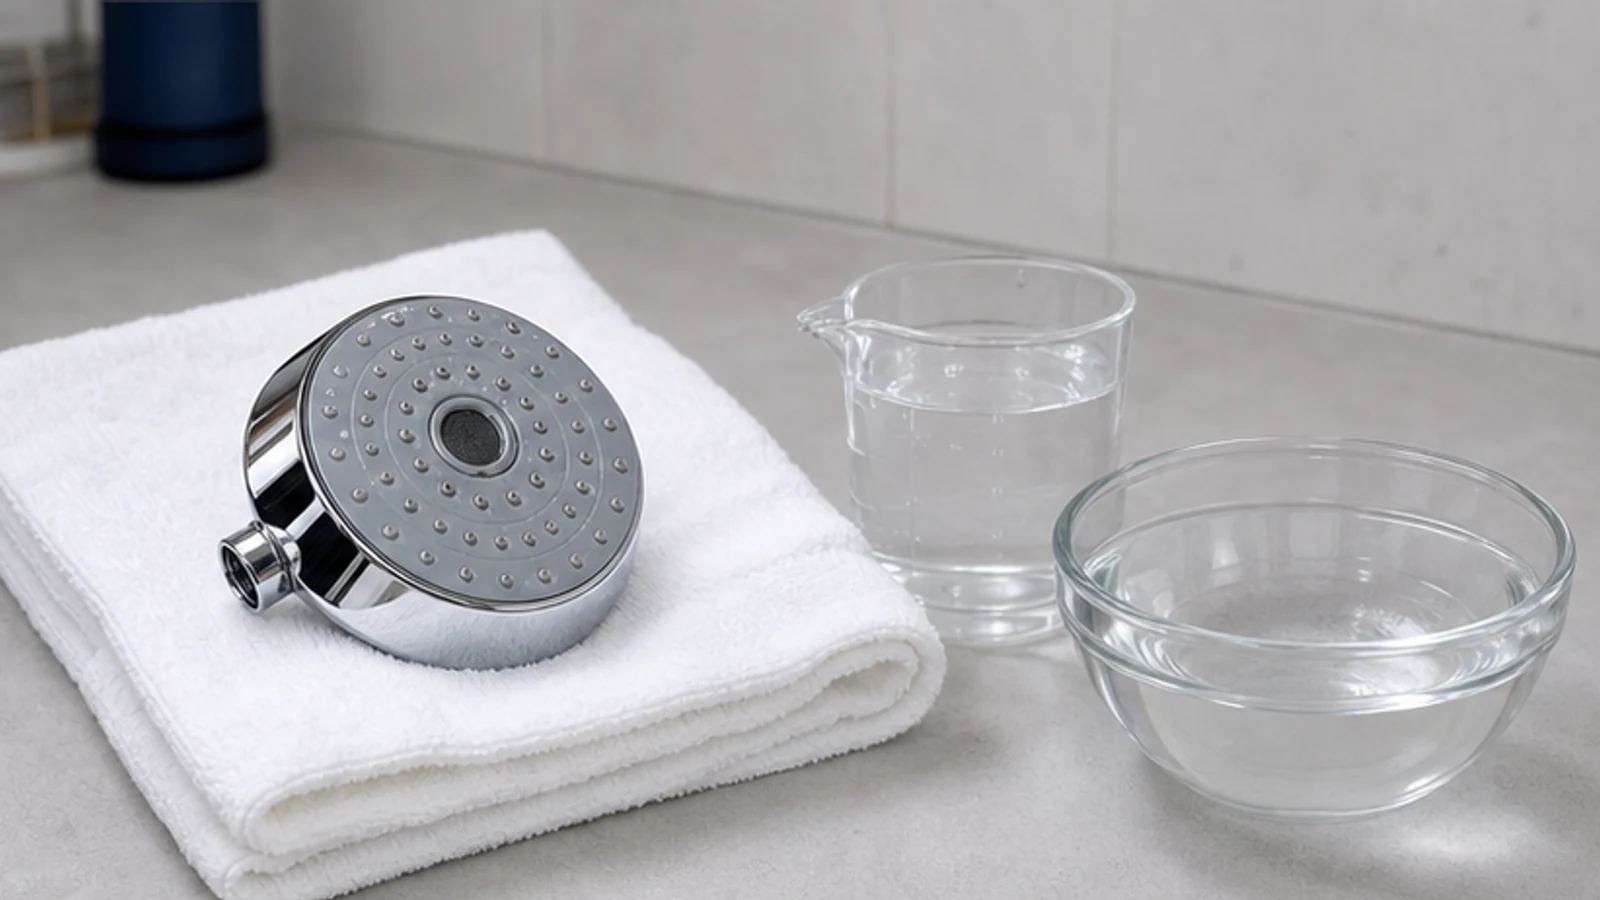
Step 04
Use only the maker-approved soak
Prepare only the solution and dilution printed in the official care guide. For example, Delta specifies equal parts white vinegar and water for certain non-Touch-Clean heads; that is not a universal recipe. Soak only a removable, compatible part for the stated time. Keep acids away from stone, grout, sealant and plated accessories.
The exact maker-approved solution and dilution are used
Only the compatible removable part contacts the solution
A timer limits contact to the approved period
-
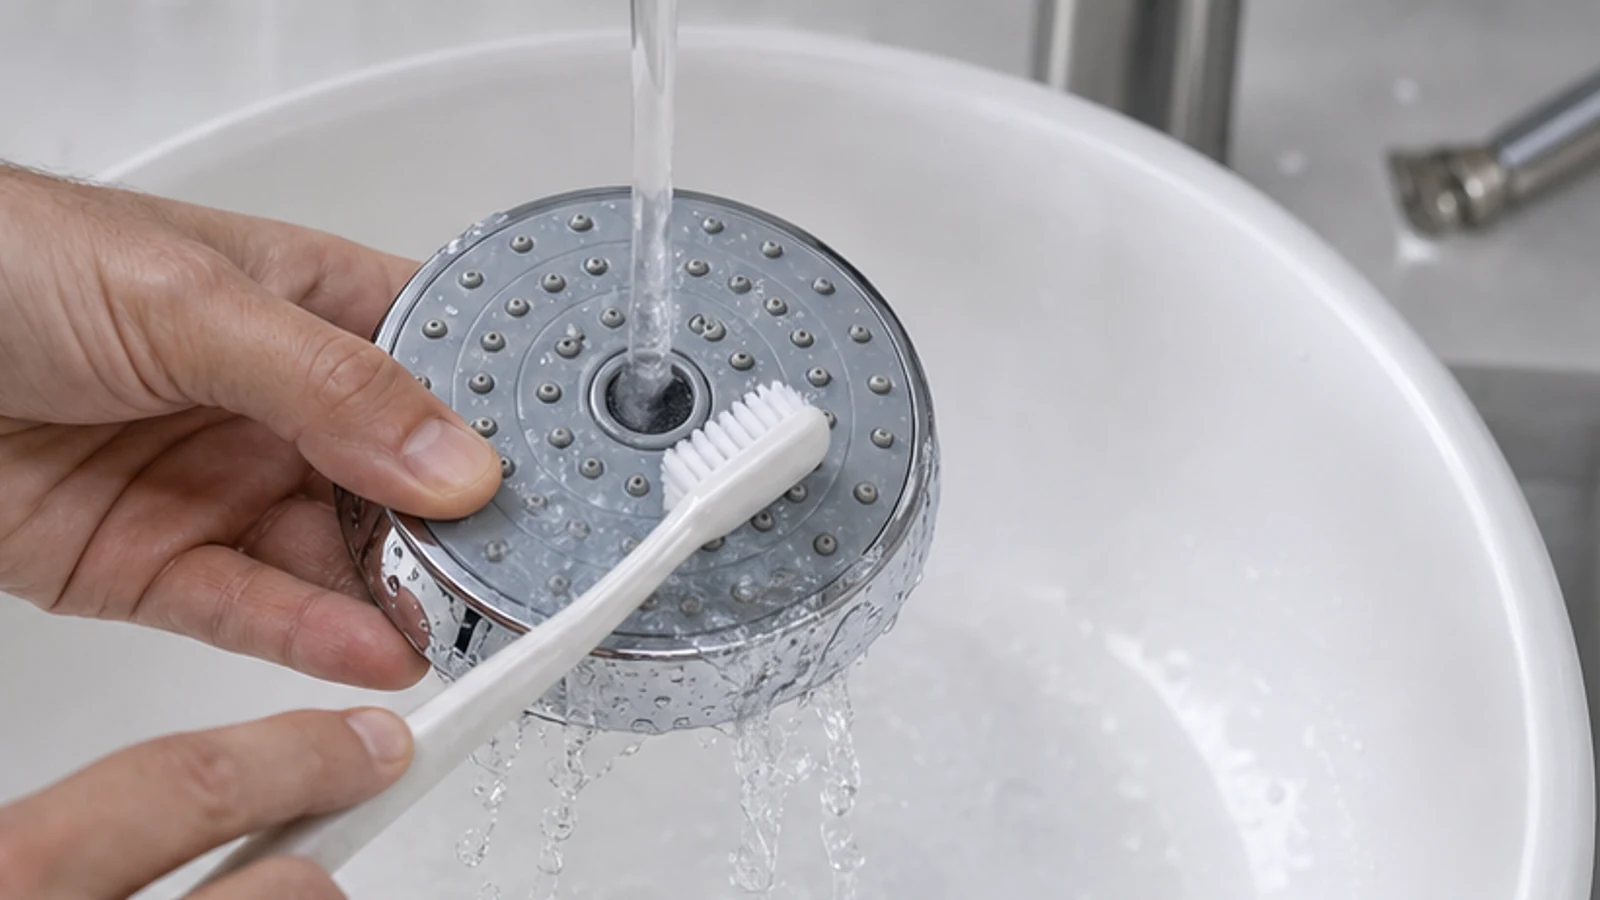
Step 05
Brush softly, rinse and dry
Remove the head from the approved solution at the specified time. Use a soft nylon toothbrush only where the care guide allows it. Rinse every surface thoroughly with clean water and dry with a soft cloth. Stop if colour, gloss or texture changes; do not repeat a chemical treatment after a finish change.
The face is rinsed thoroughly
No finish, colour or texture change appears
Only a maker-approved soft brush contacts the nozzles
-
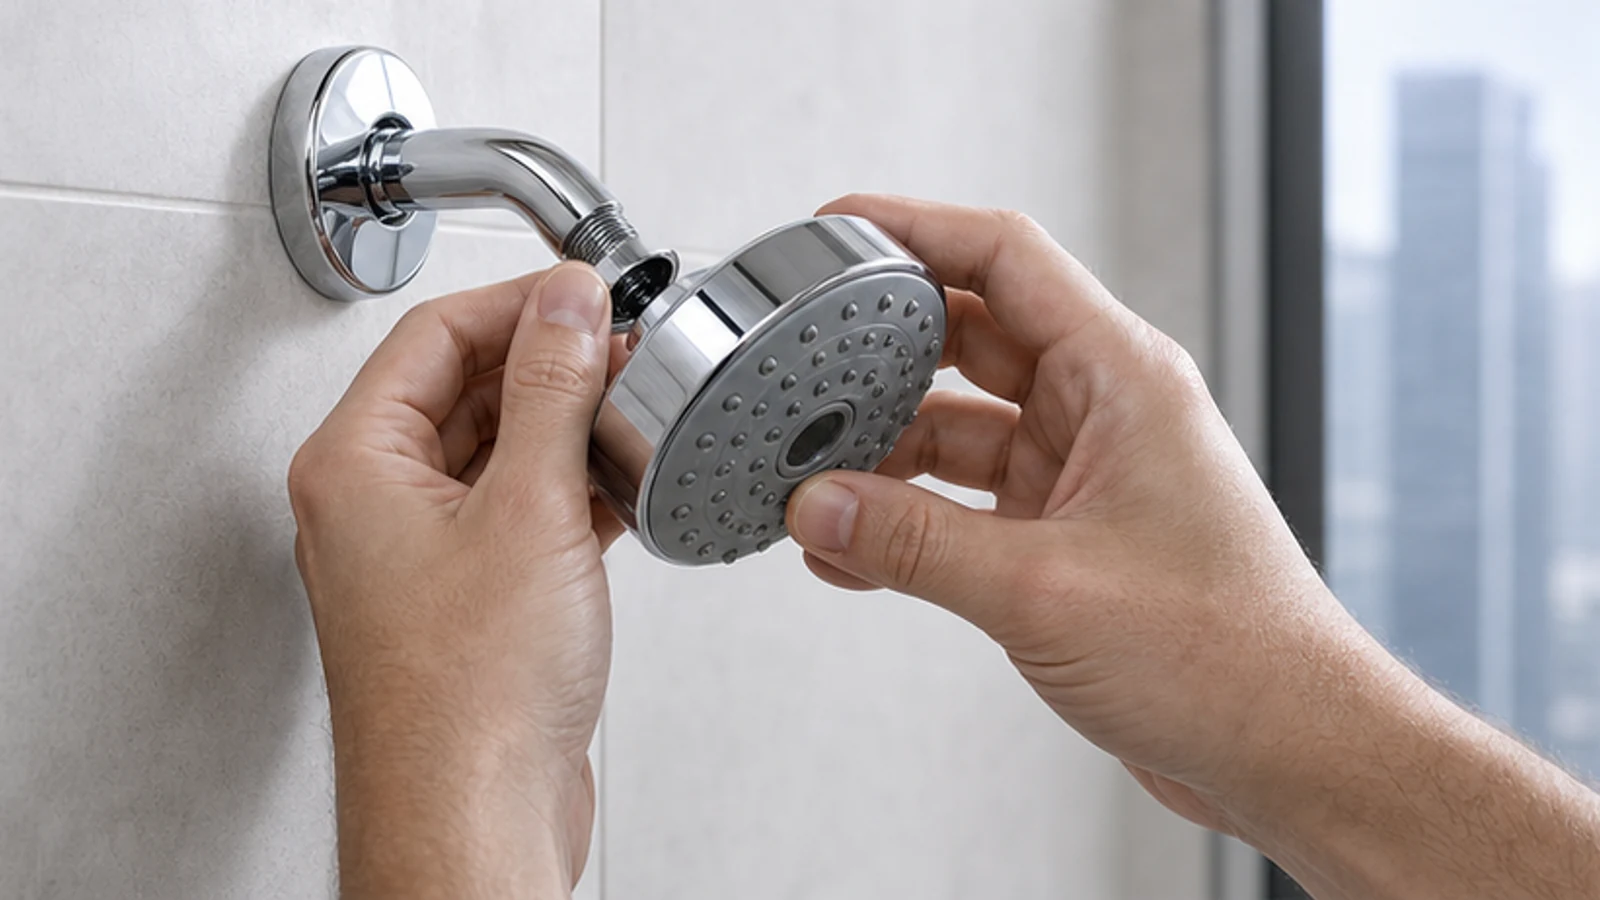
Step 06
Reinstall the shower head and test the pressure
If you removed the head, reinstall the original washer and screen exactly as the manual shows. Hand-tighten the connection; do not assume a universal washer or add tape unless the maker specifies it. Run cool water for 20 seconds, check the joint for drips and turn the water off immediately if a leak appears.
Shower head is hand-tight and does not leak at the connection
Water spray is uniform and straight, with full pressure
-
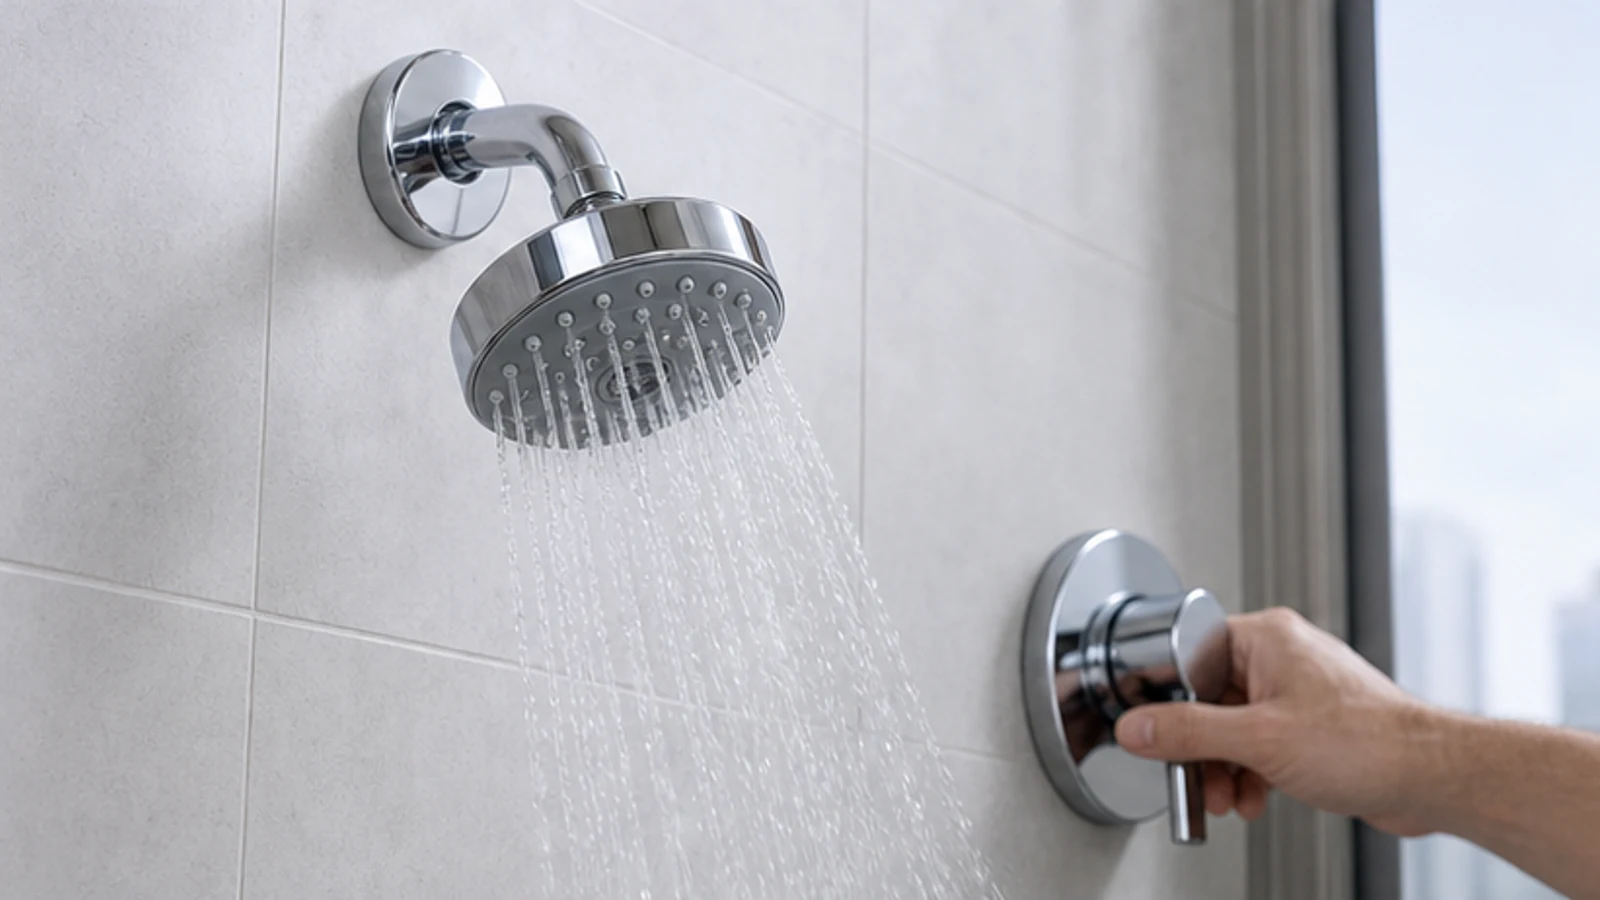
Step 07
Confirm an even spray and compare fixtures if needed
Confirm an even spray and a dry connection, then compare the basin tap. Weak flow at several fixtures, sudden pressure loss, dirty water, banging pipes or a continuing joint leak points beyond nozzle scale. Stop and contact building maintenance, a licensed plumber or the water provider rather than dismantling a valve or concealed fitting.
Sink tap runs at normal pressure
Shower head spray is full and even
Finished result
What success looks like
A properly descaled shower head delivers even water pressure across all nozzles with no sideways spray.
Water flows in a straight, uniform cone from the centre of the head
No water jets to the sides or weak spots
Connection is tight and does not leak
All nozzles are clean and white deposits are gone
Troubleshooting
When the first pass does not solve it.
Water still sprays sideways after descaling
Either scale remains inside the head, or the nozzle holes are damaged.
Soak the head again for 30 minutes to 1 hour. If the problem persists, the head may need replacement.
Weak water pressure at the shower head but strong pressure at the sink
The head may still have scale, or the aerator or internal cartridge may be clogged.
Repeat the soak. If the problem remains after a second clean, or if you cannot easily remove the head, contact a plumber.
Quick answers
Frequently asked questions.
How long do you soak a shower head in vinegar?
There is no universal soak time. Follow the shower-head maker's instructions for its exact finish and cleaner, patch-test underneath, and inspect every 15 minutes. Rinse immediately if colour, gloss or texture changes. Avoid prolonged soaking when the maker gives no acid-safe method.
How do you unscrew a shower head?
Check the exact model instructions because connection designs vary. Support the shower arm and remove the head by hand only as the manual shows. If it resists one gentle attempt, the arm moves or a tool is required, stop and use maintenance or a licensed plumber rather than applying leverage.
Why is my shower pressure suddenly weak?
Uneven sideways jets often suggest blocked nozzles, but weak flow can have other causes. Compare another bathroom fixture. If several fixtures are weak, stop; the issue may be the apartment or building supply. Contact building maintenance, a licensed plumber or the utility as appropriate.
Can I use a metal needle to clear blocked nozzles?
No. Metal needles can enlarge holes, puncture silicone inserts and damage the spray pattern. Use only a soft nylon toothbrush and a maker-approved soak. Do not extend the soak beyond the approved dwell time. Stop for a corroded joint, hidden leak, cracked head or stuck fitting.
Sources and review notes
- Delta Faucet: How can I clean or remove mineral deposits from my shower head? - Manufacturer guidance distinguishing rub-clean spray faces from non-Touch-Clean heads and specifying a 50/50 vinegar-water solution only for compatible Delta products.
- Delta Faucet: How to Clean a Shower Head - Manufacturer procedure for removal, protecting the gasket and screen, soaking, soft brushing, rinsing and reinstallation.