
DIY / Kitchen
How to Polish a Dull Stainless Steel Sink in 20 Minutes
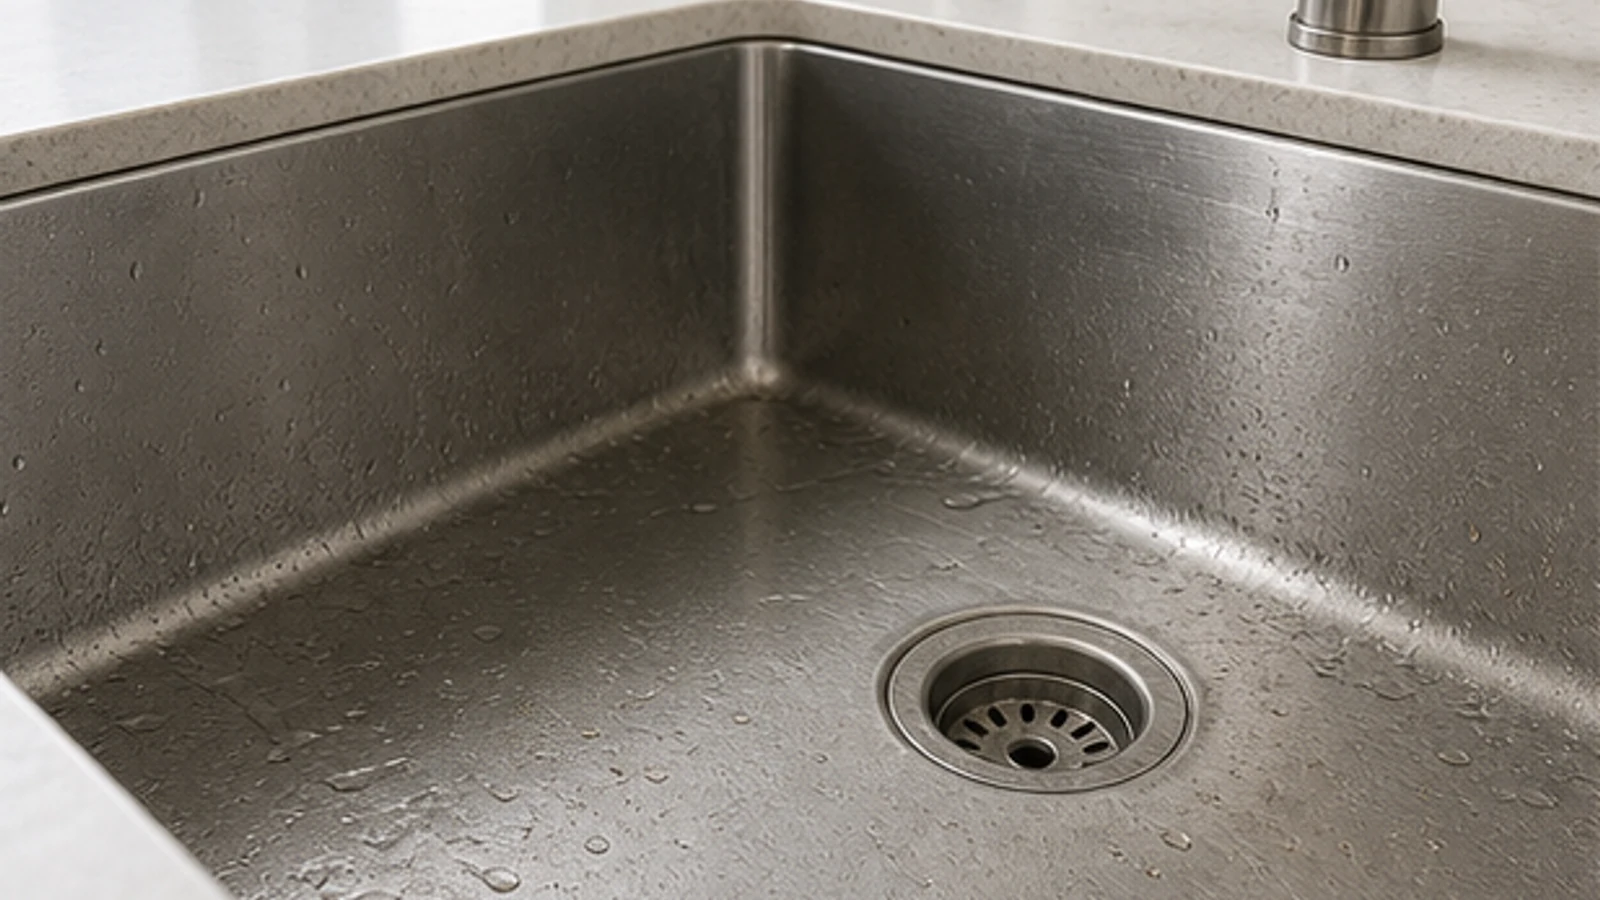
A dull stainless-steel sink often has dried water or detergent film. Follow its care guide: rinse, clean with a nonabrasive cloth along the grain, rinse again and dry. Use polish only when the manufacturer names it for that finish.
Quick answer
How do you make a stainless steel sink shine again?
Confirm the basin is uncoated stainless steel, then wash it with the maker-approved mild cleaner and a soft nonabrasive cloth, working with the grain. Rinse immediately and dry completely. If it remains dull, use only the stainless-steel cleaner or polish named by the manufacturer. Stop for pits, rust that returns, coating change, sharp edges or leaks.
Uncoated stainless-steel sinks whose care guide permits this method
Coated or composite sink finishes / Unknown sink materials / Mirror, PVD, coloured or specialty-coated finishes / Sinks with pitting, deep corrosion, sharp edges, cracks or leaks
What you need
What you need
Use the mildest cleaner permitted by the exact sink care guide. Baking soda, mineral oil and unapproved metal polish are excluded because finishes differ.
- Difficulty
- Easy
- Active time
- 15 minutes
- Total time
- 20 minutes
Mild dishwashing liquid (only if maker-approved)
2–3 drops in 500 ml warm water
Warm water
About 1 litre
Soft nonabrasive cloth
2
Sink-maker-approved stainless cleaner or polish (optional)
Label quantity
Typical UAE retail ranges. Prices vary by pack and store, and your total is lower when you already own the reusable tools.
Step by step
How to Polish a Dull Stainless Steel Sink in 20 Minutes
Work in order and check the result after each step.
-
Step 01
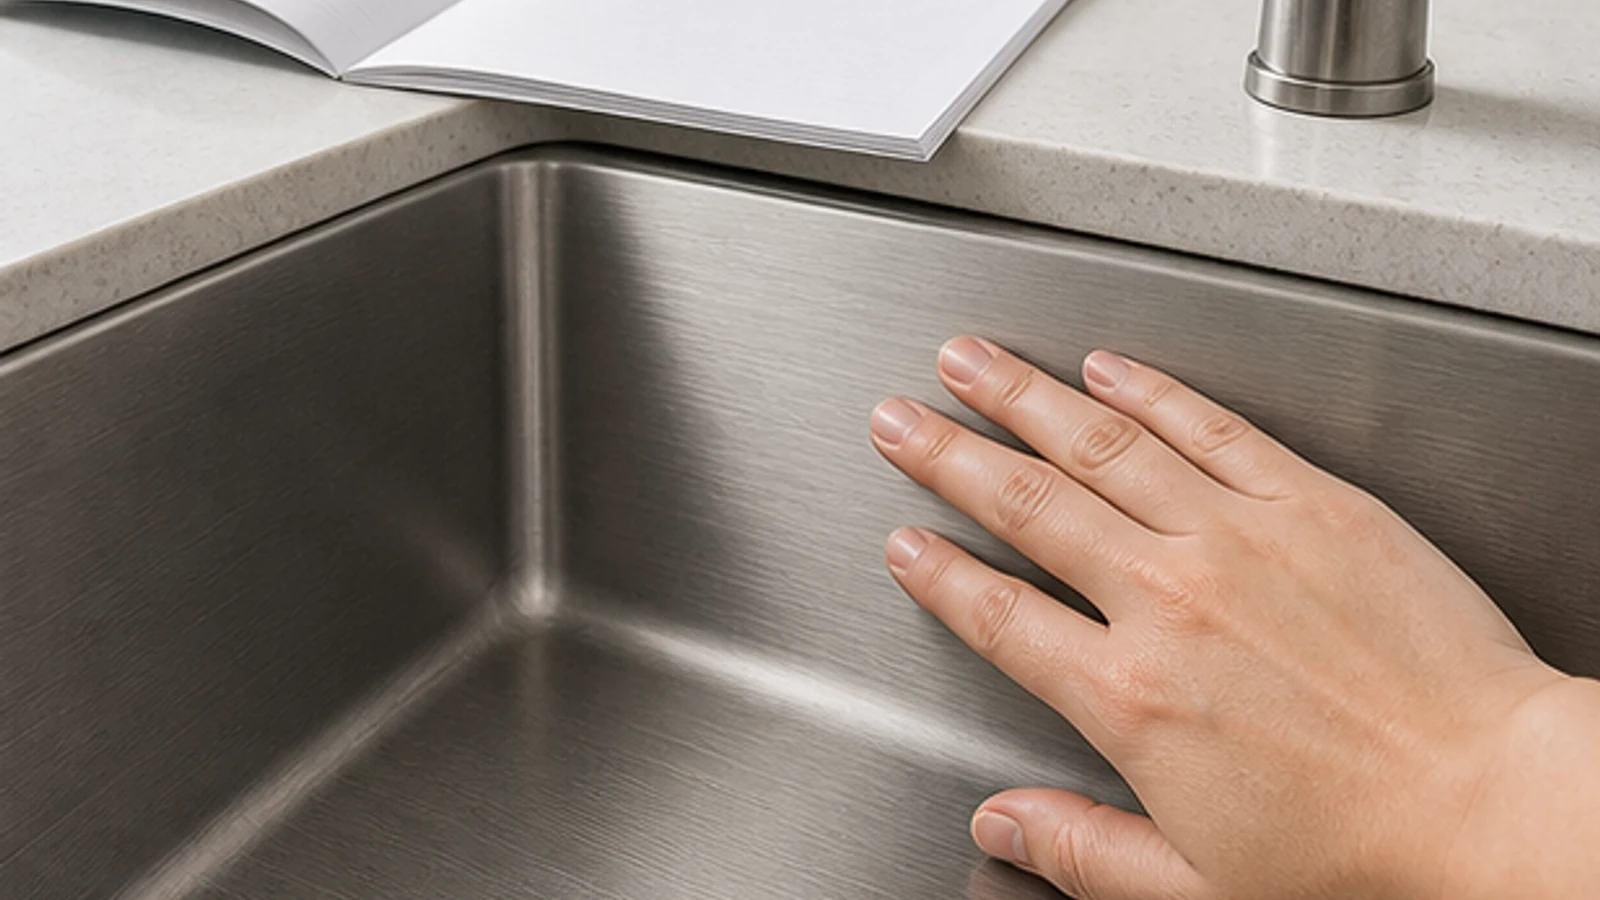
Confirm the material, finish and grain direction
Confirm the basin is uncoated stainless steel and read its care guide. Identify the fine linear grain under bright light. Stop before applying a product if the material is unknown, coloured, mirror-like or coated.
-
Step 02
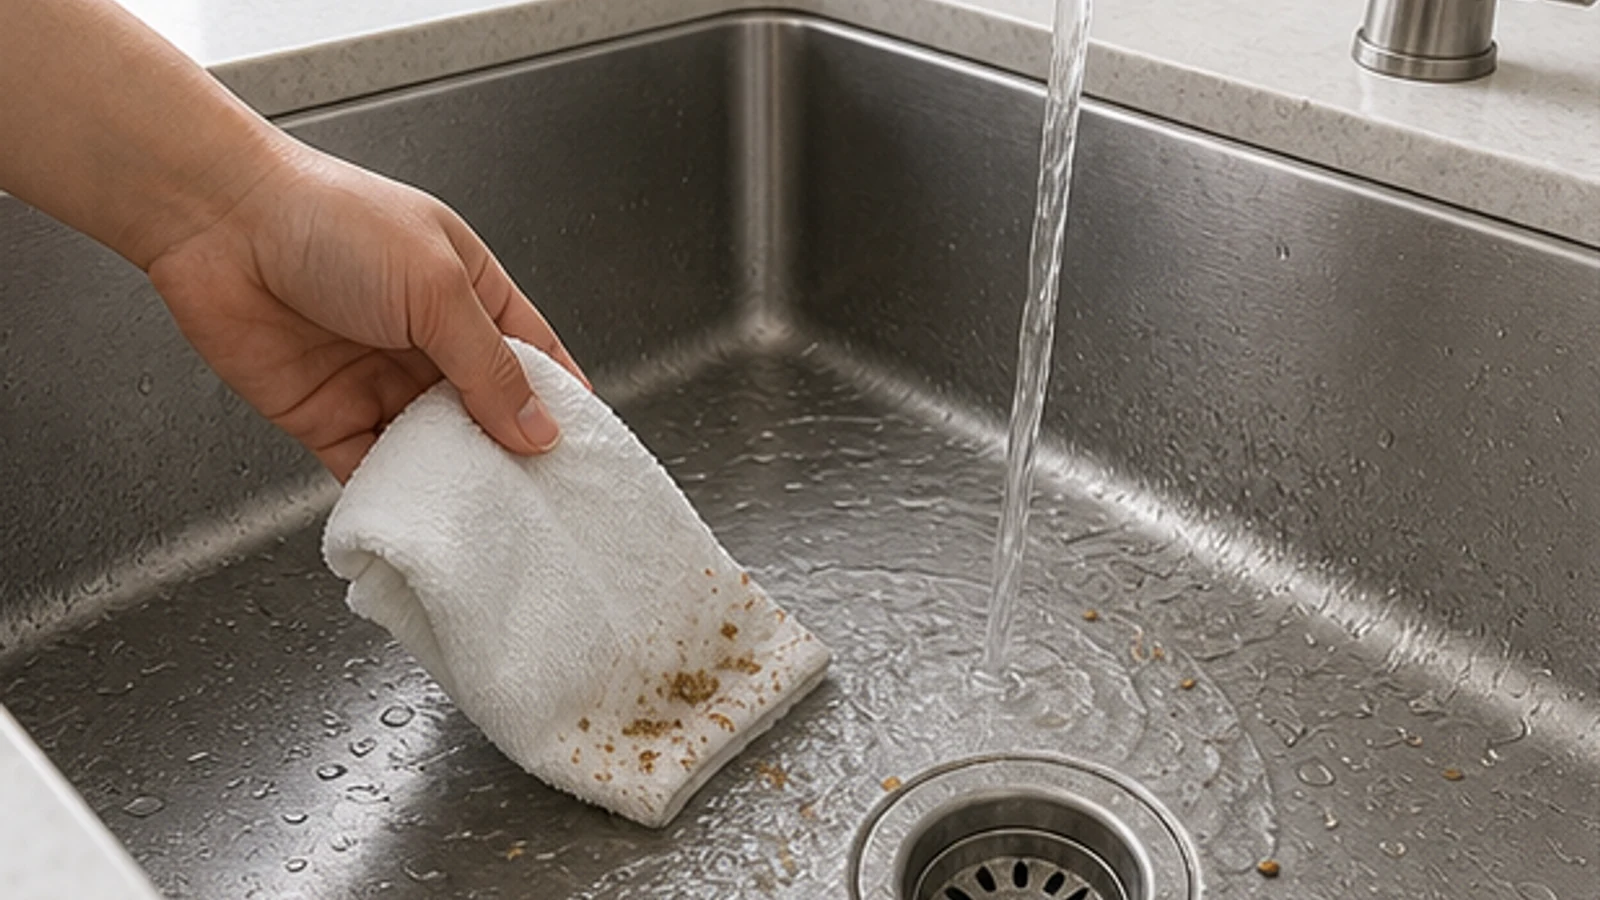
Rinse away loose grit before wiping
Remove dishes, mats and metal objects. Rinse away grit with warm water and lift crumbs with a wet soft cloth. Stop for pitting, rough rust, cracks, sharp edges or leaks.
-
Step 03
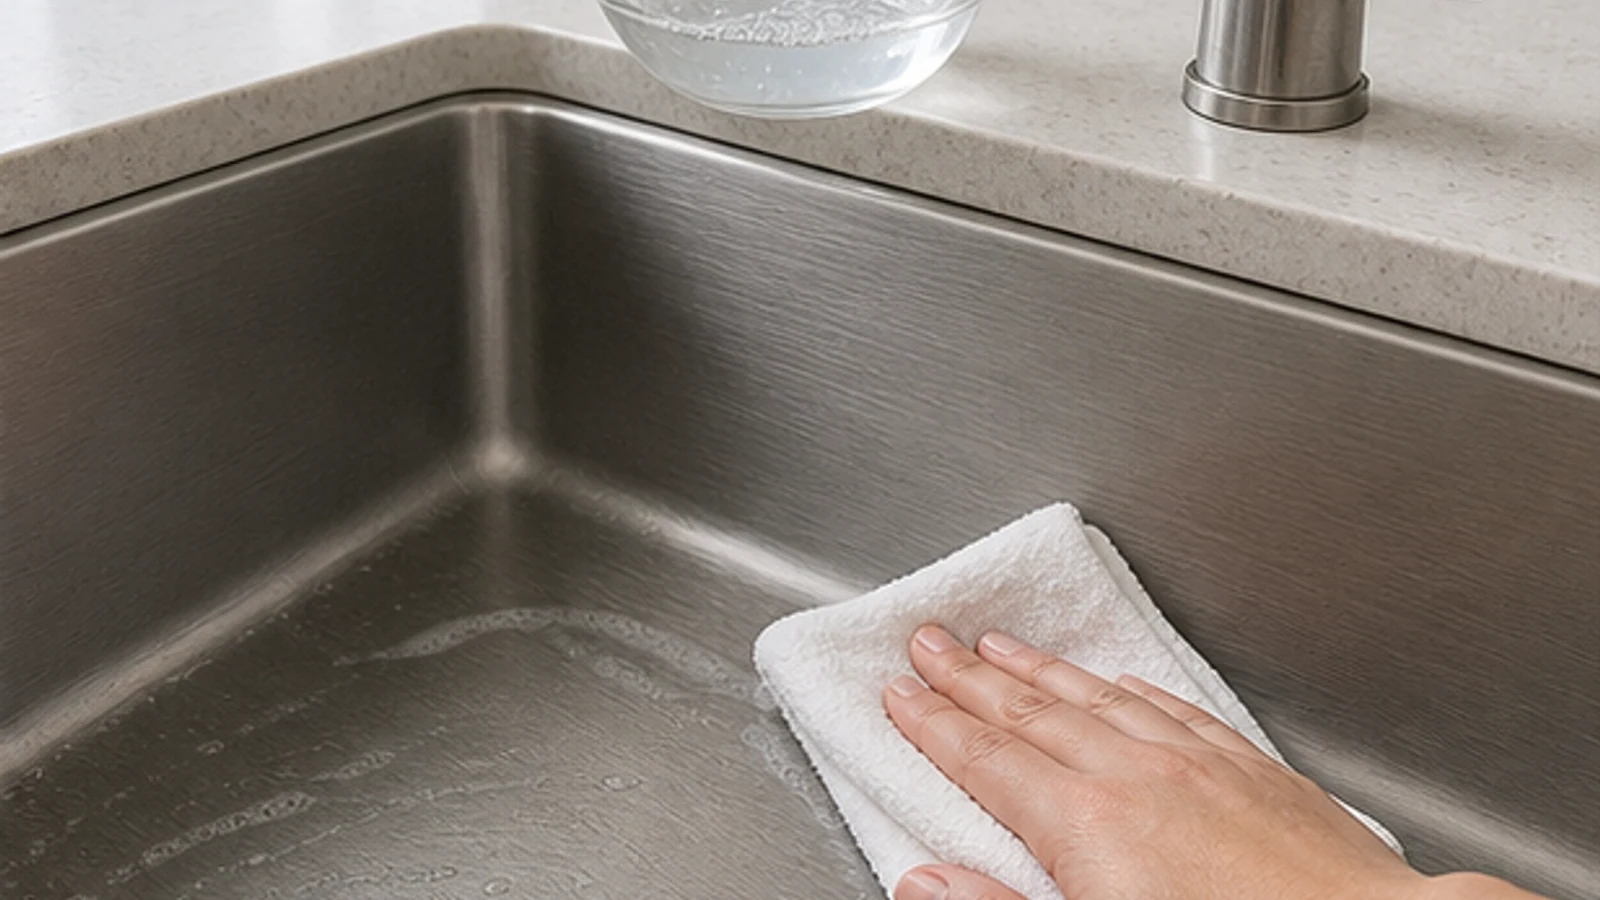
Wash gently with the approved cleaner
If permitted, mix 2–3 drops of mild dishwashing liquid into 500 ml warm water. Wipe lightly along the grain with a soft nonabrasive cloth. Stop for sheen, colour or texture change.
-
Step 04
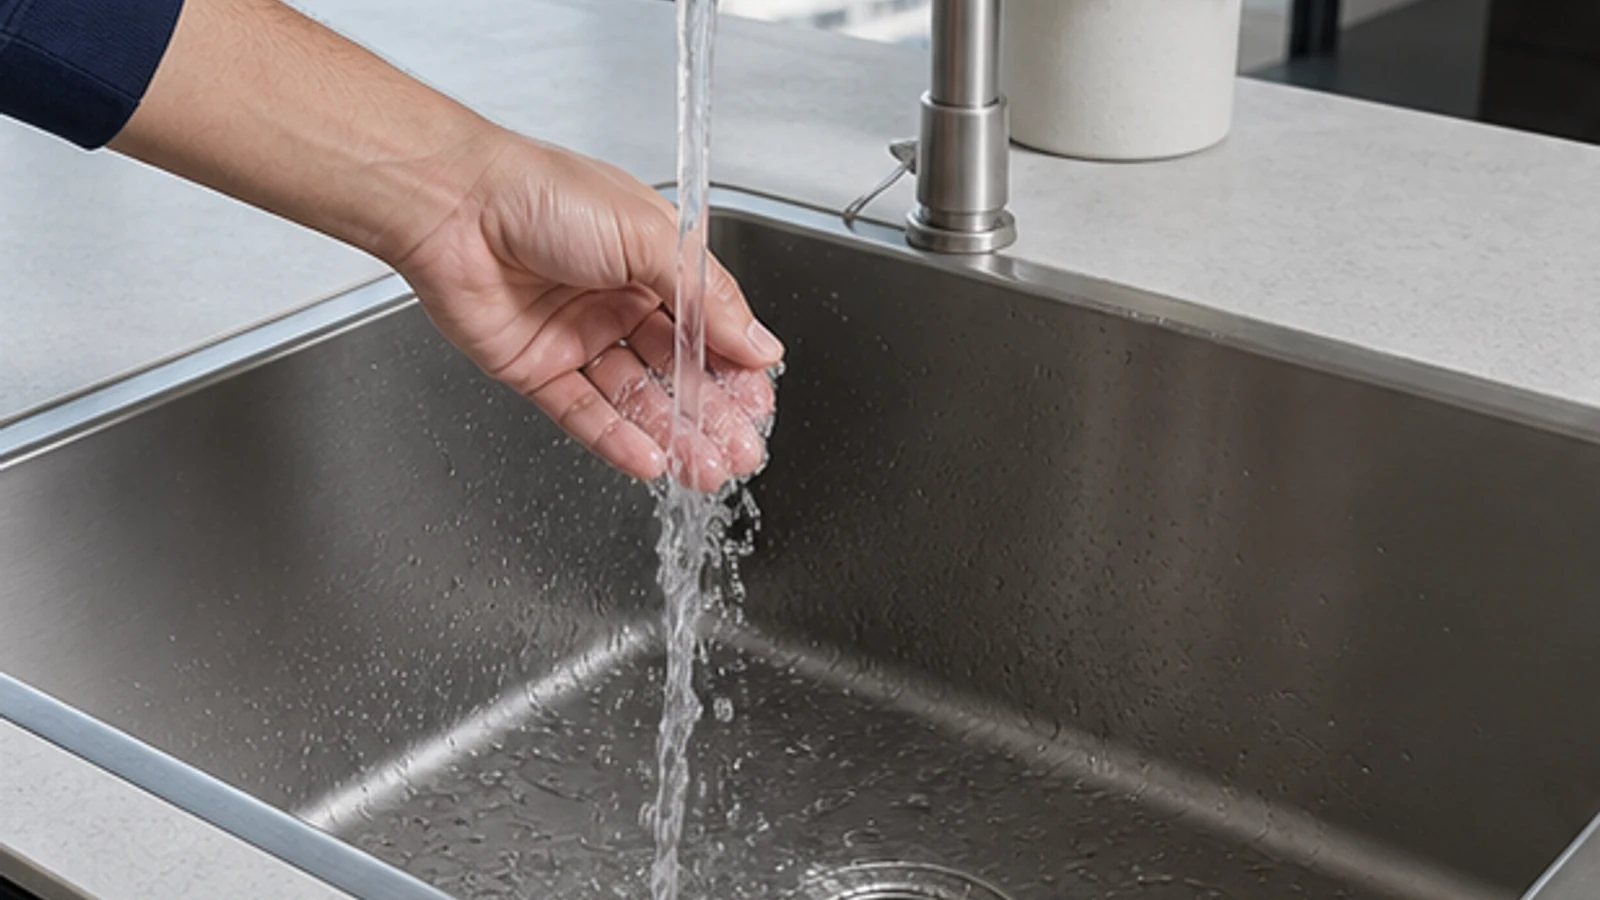
Rinse the sink immediately
Rinse the basin, sides, rim and drain area so no detergent remains. Never let cleaner dry. Rinse accidental chloride contact immediately to reduce corrosion risk.
-
Step 05
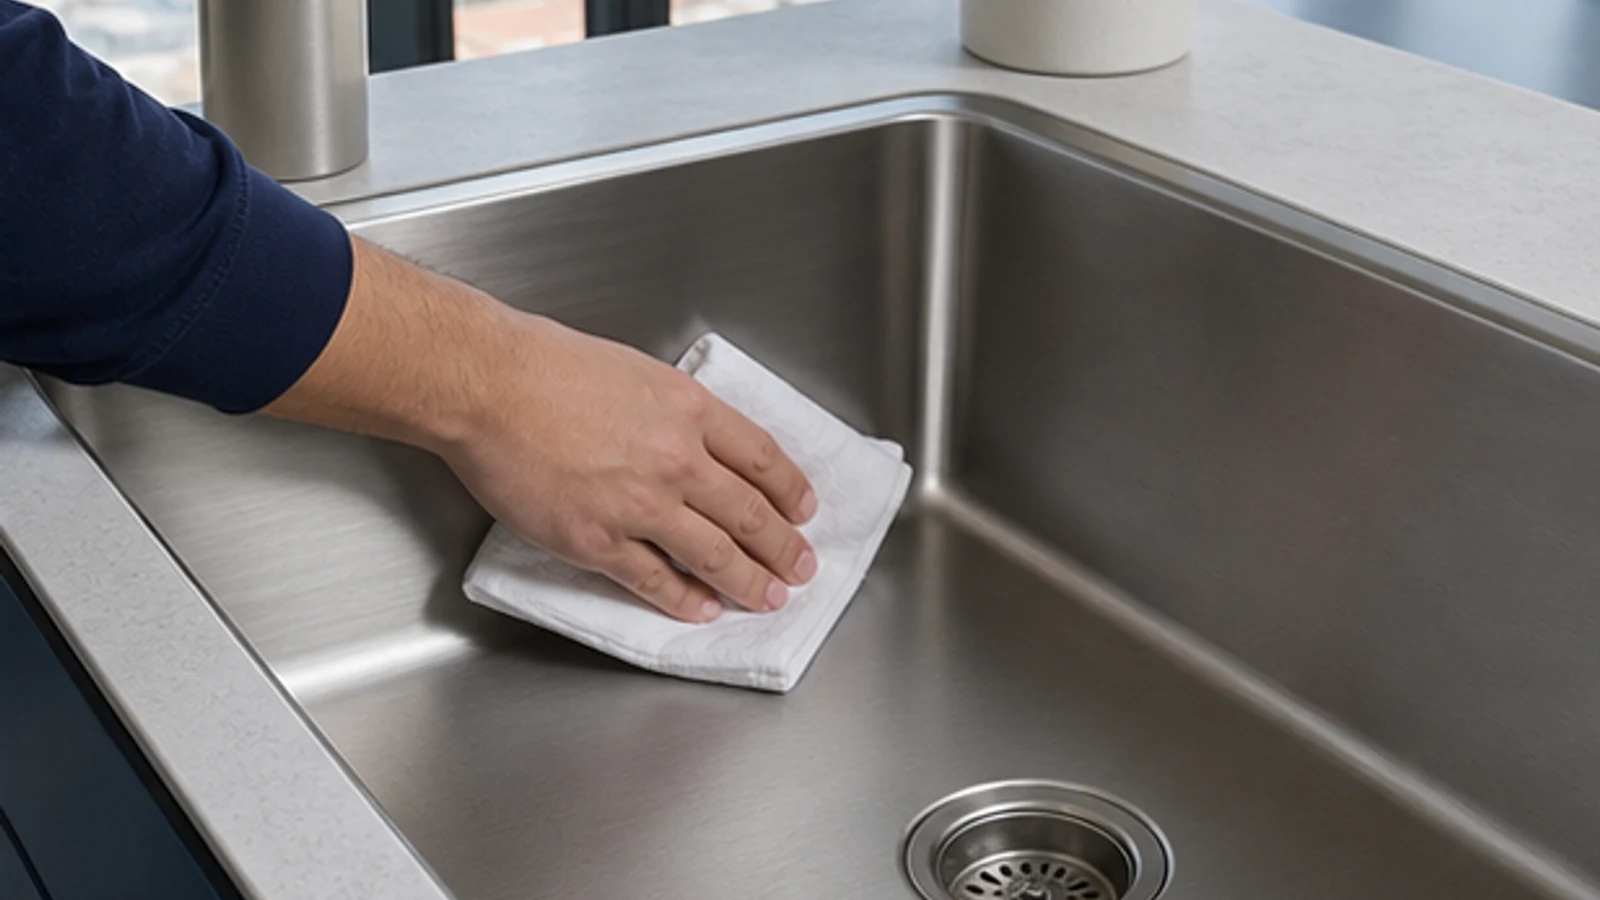
Dry the sink completely with a clean cloth
Blot the basin, sides, rim, corners and drain area with a clean soft cloth until dry. Removing standing water prevents another mineral film and may restore the shine by itself.
-
Step 06
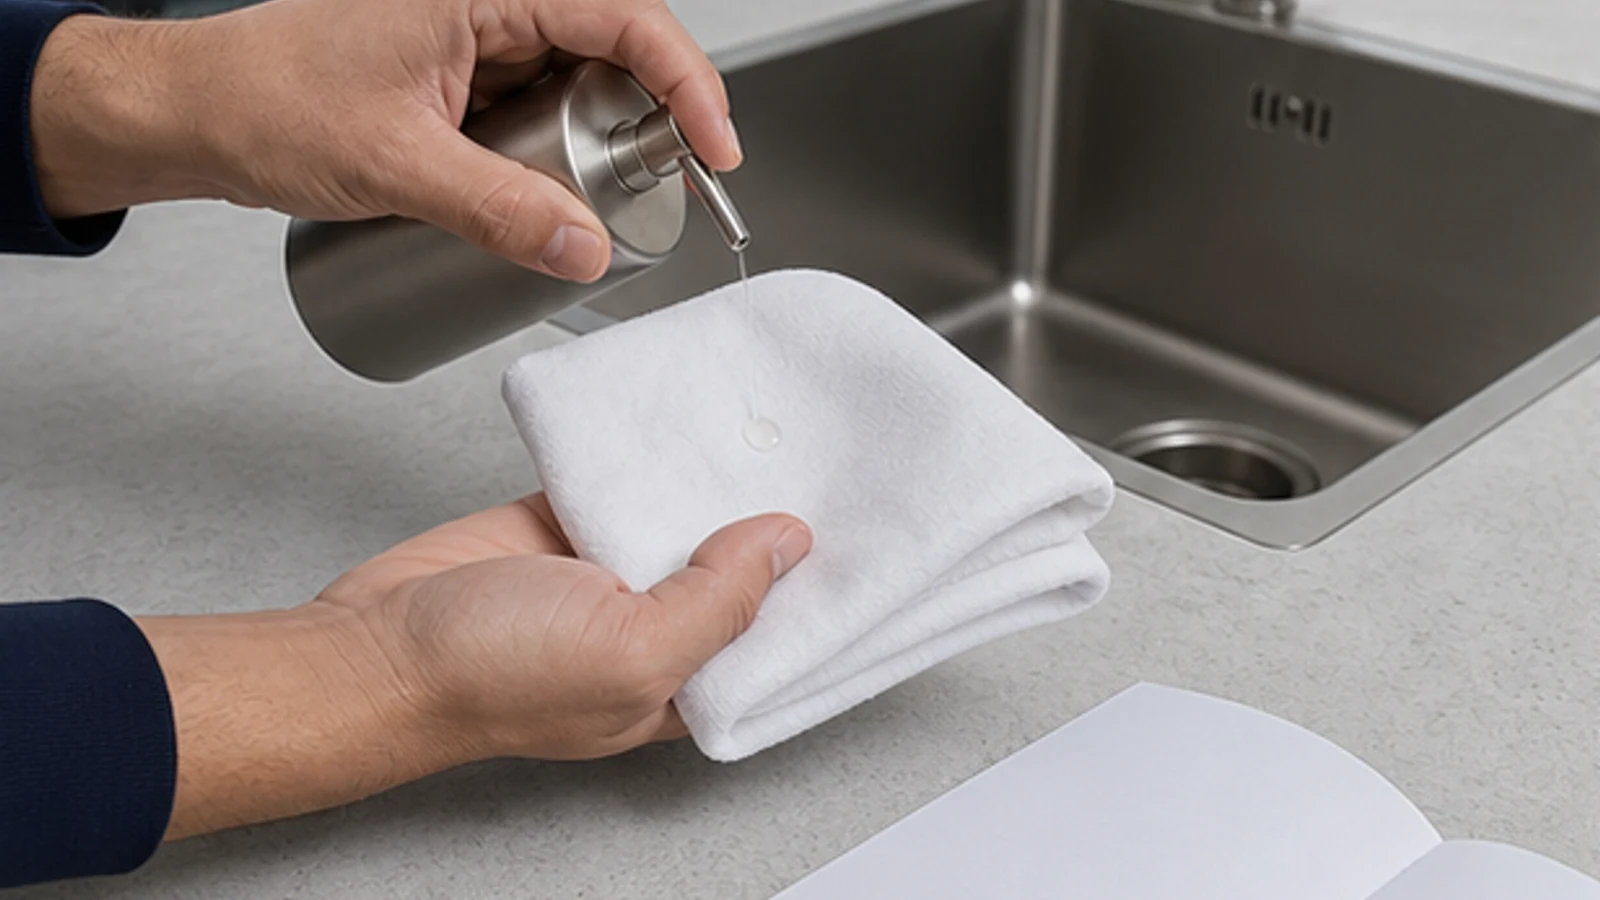
Use a named stainless cleaner only if needed
If dullness remains, use only the stainless cleaner named for this finish. Patch-test, apply sparingly along the grain and remove it exactly as labelled. Skip polishing when no approved product is identified.
Quick answers
Frequently asked questions.
Why are there rust spots in my stainless sink?
Some orange spots are transferred iron from cookware or steel particles, but similar marks can also indicate corrosion or surface damage. Start with the sink maker's approved mild method. Stop if a mark is rough, pitted, spreading or unchanged after gentle cleaning and seek finish-specific advice.
Can you buff scratches out of a sink?
Do not try to erase scratches with an abrasive. Stainless sink finishes and grain patterns vary, so a mismatched pad can create a larger shiny patch. Ask the manufacturer whether the model is homeowner-refinishable. Deep scratches, sharp edges and damage near the drain need professional assessment rather than more polishing.
How often should you polish a stainless steel sink?
Routine rinsing and drying after use usually prevents dull water deposits. Sterling recommends cleaning stainless steel weekly, but the exact cleaner should come from your sink's care guide. A separate polish is not automatically required. Stop repetitive polishing if the sheen becomes uneven or orange marks keep returning.
Sources and review notes
- Sterling by Kohler: Clean and Care for Stainless Steel Sinks - Manufacturer guidance for nonabrasive cloths, grain-direction cleaning and water-spot prevention.
- Kohler Stainless Steel Sink Homeowners Guide - Primary care limits covering rinsing, abrasives, chlorides, acids, waxes, alcohol and solvents.
- Moen: Stainless Steel Sink Hard Water Spots and Scale - Manufacturer advice to rinse and dry and avoid steel wool, wet items and prolonged bleach contact.