
DIY / Kitchen
How to Clean a Greasy Oven Safely — Is Baking Soda Allowed?
There is no universal baking-soda method for ovens. Samsung publishes a short baking-soda treatment for some models, Bosch recommends warm soapy water instead, and Whirlpool AquaLift instructions require water with no chemical additives. Find the exact model and follow its cleaning section; never substitute an overnight paste for a specified cleaner or built-in cycle.
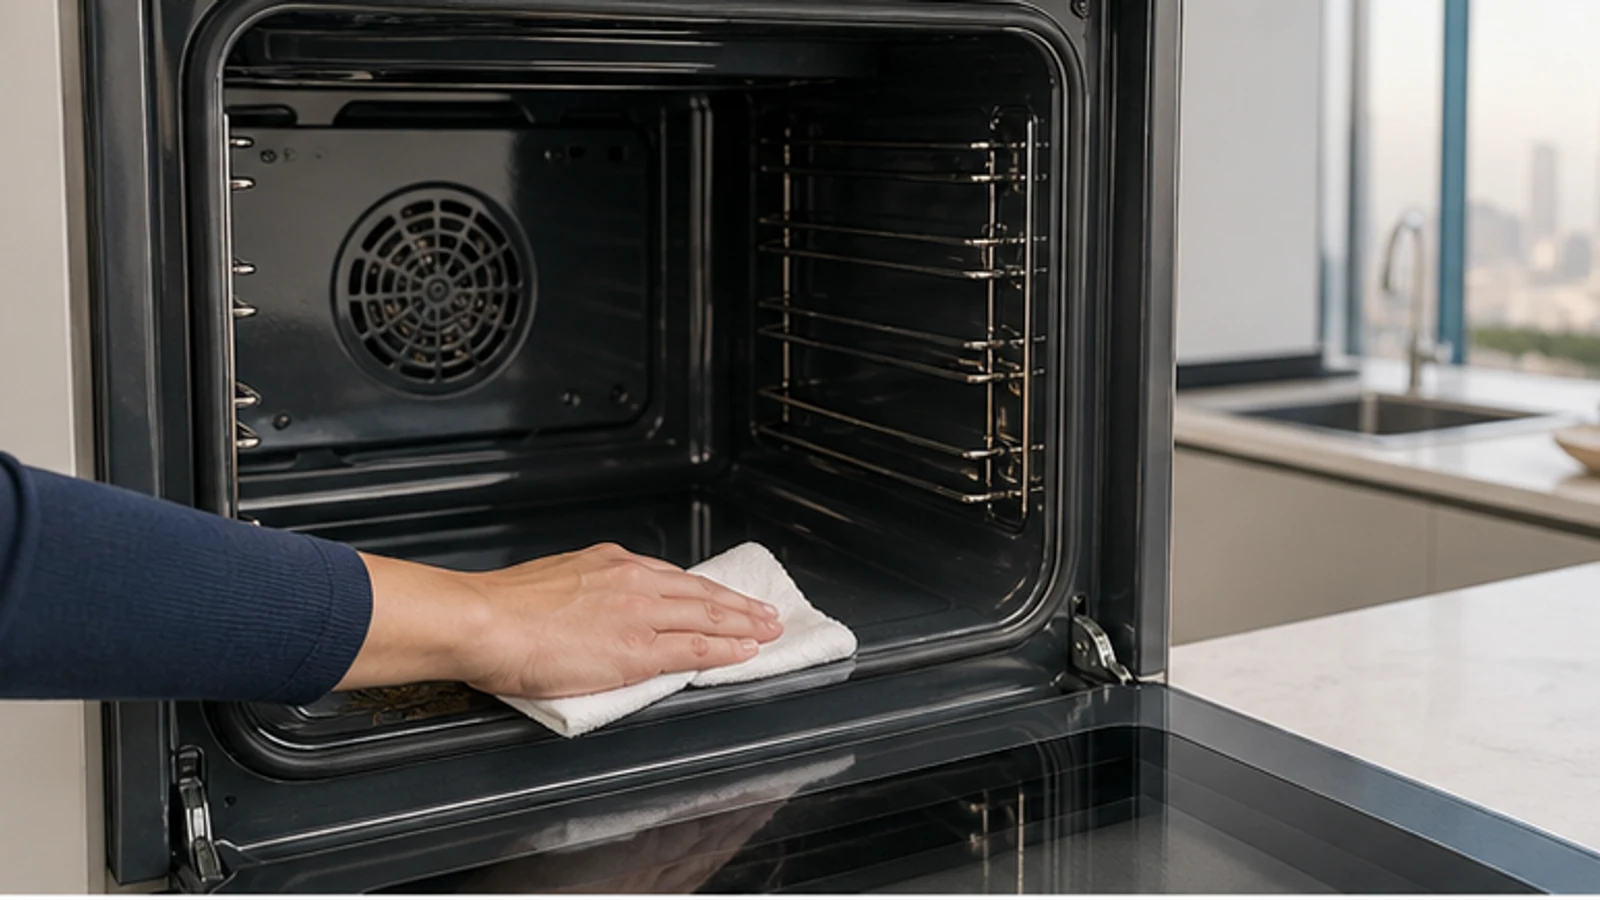
Quick answer
How long do you leave baking soda in the oven?
Do not choose a universal dwell time. Use baking soda only when the exact oven manual permits it, at that manual's ratio and time; Samsung documents equal parts baking soda and water for 20 minutes on certain ovens. Other makers prohibit that shortcut or require a built-in cycle. Keep every cleaner off elements, vents, seals and unapproved liners.
Cold oven surfaces explicitly covered by the exact model's manual-cleaning instructions / Removable racks and accessories cleaned by their own model instructions / Exterior door glass when its care guide permits the selected cleaner
Catalytic, pyrolytic, steam-clean or AquaLift surfaces outside their specified cycle / Heating elements / Vents, fan openings or seals / Painted, stainless, coated or textured surfaces unless the manual names them / Cracked glass, damaged seals, exposed wiring or a damaged element
What you need
What you need
The model manual determines the supplies. Use baking soda, dishwashing liquid, a plastic scraper or a branded oven cleaner only when that exact surface and method are listed. Do not combine methods or add chemicals to a manufacturer cleaning cycle.
- Difficulty
- Easy
- Active time
- 20 minutes (application and wipe-down)
- Total time
- 30–90 minutes, or the exact model cycle time
Model-approved cleaner (baking soda only when explicitly permitted)
Manual-specified quantity and dilution
Water
Manual-specified quantity
Plastic scraper (only if the manual permits it)
1
Cloth or soft sponge (damp)
2–3
Rubber gloves
1 pair
Typical UAE retail ranges. Prices vary by pack and store, and your total is lower when you already own the reusable tools.
Step by step
How to Clean a Greasy Oven by the Correct Model Method
The owner manual is the controlling instruction. These steps help you identify and execute its manual-cleaning path without contaminating special liners, elements or vents.
-
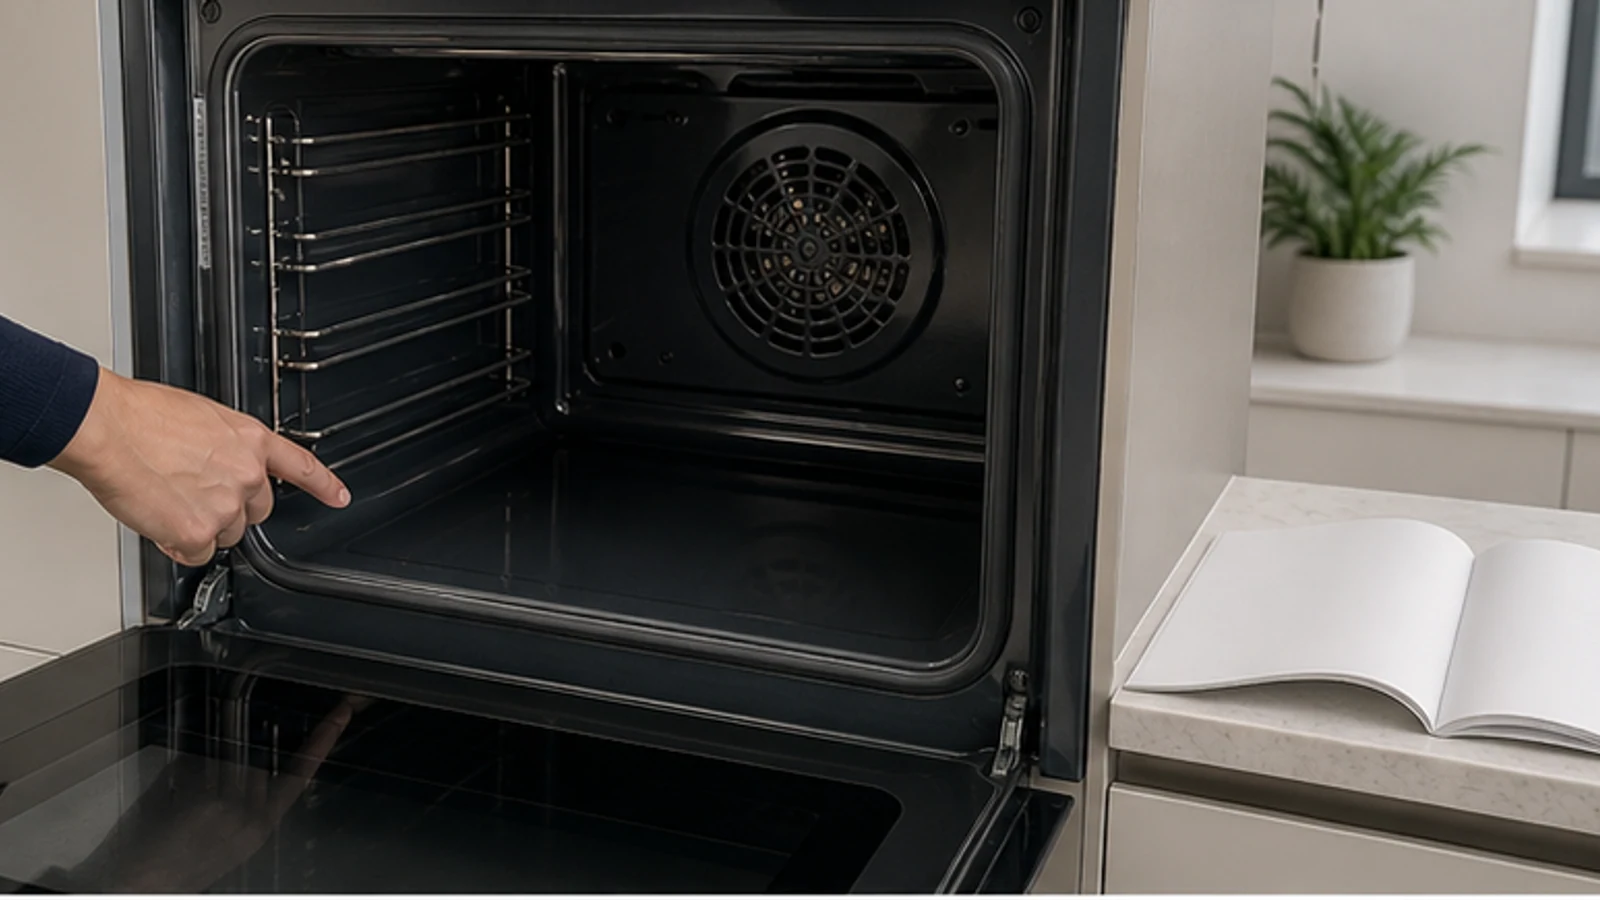
Step 01
Identify the model and cleaning system
Find the model number on the rating plate and open its current cleaning instructions. Determine whether the cavity uses manual enamel, catalytic liners, pyrolytic self-clean, steam clean or another proprietary system. Stop if the model or liner cannot be identified; surface appearance alone is not reliable.
Exact model and cleaning system are identified
Manual-cleaning surfaces and excluded parts are listed
The required cleaner, tools and cycle are confirmed
-
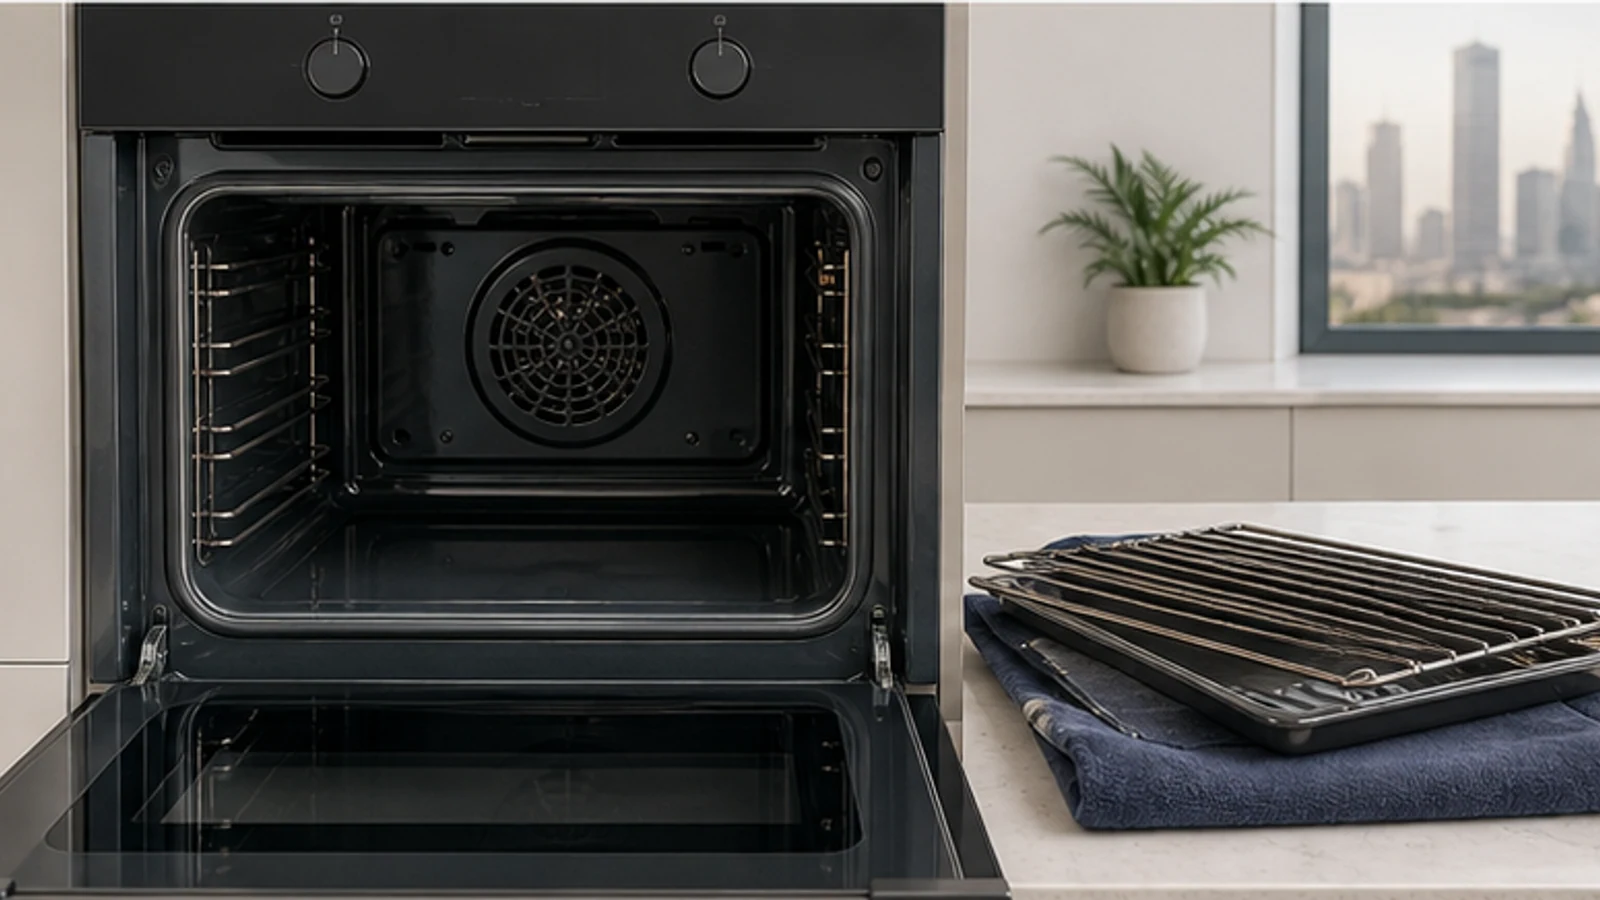
Step 02
Switch off and let every surface cool
Turn the oven off and wait until the cavity, racks, glass and elements are fully cool. Disconnect power only if the model manual instructs you to do so. Remove racks, side guides or accessories only by the documented method, because some parts must remain out of a self-cleaning cycle.
All surfaces are cool to the touch
Power state matches the manual
Only approved removable parts have been taken out
-
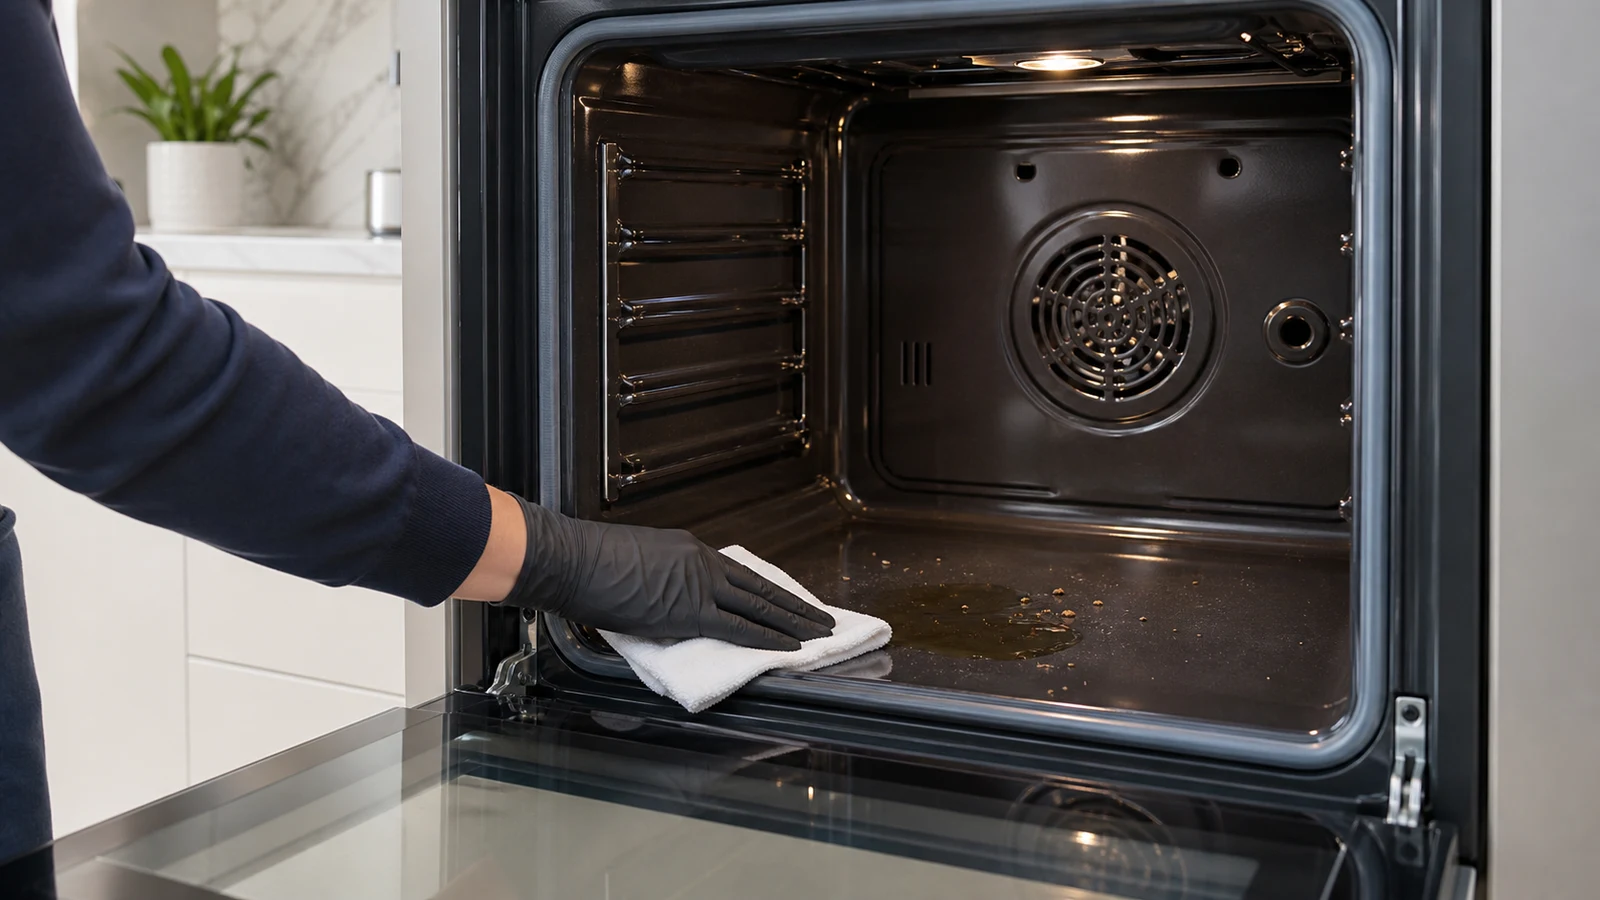
Step 03
Remove loose residue without scratching
Wipe loose crumbs and pooled grease from the cold cavity with a soft damp cloth. Use a plastic scraper only on the exact flat surface and at the angle allowed by the manual. Do not scrape a liner, element, sensor, light cover, fan opening, vent or seal. Stop for cracked enamel or damaged parts.
Loose crumbs and grease are removed
Excluded components remain untouched
No liquid has pooled near an opening or electrical part
-
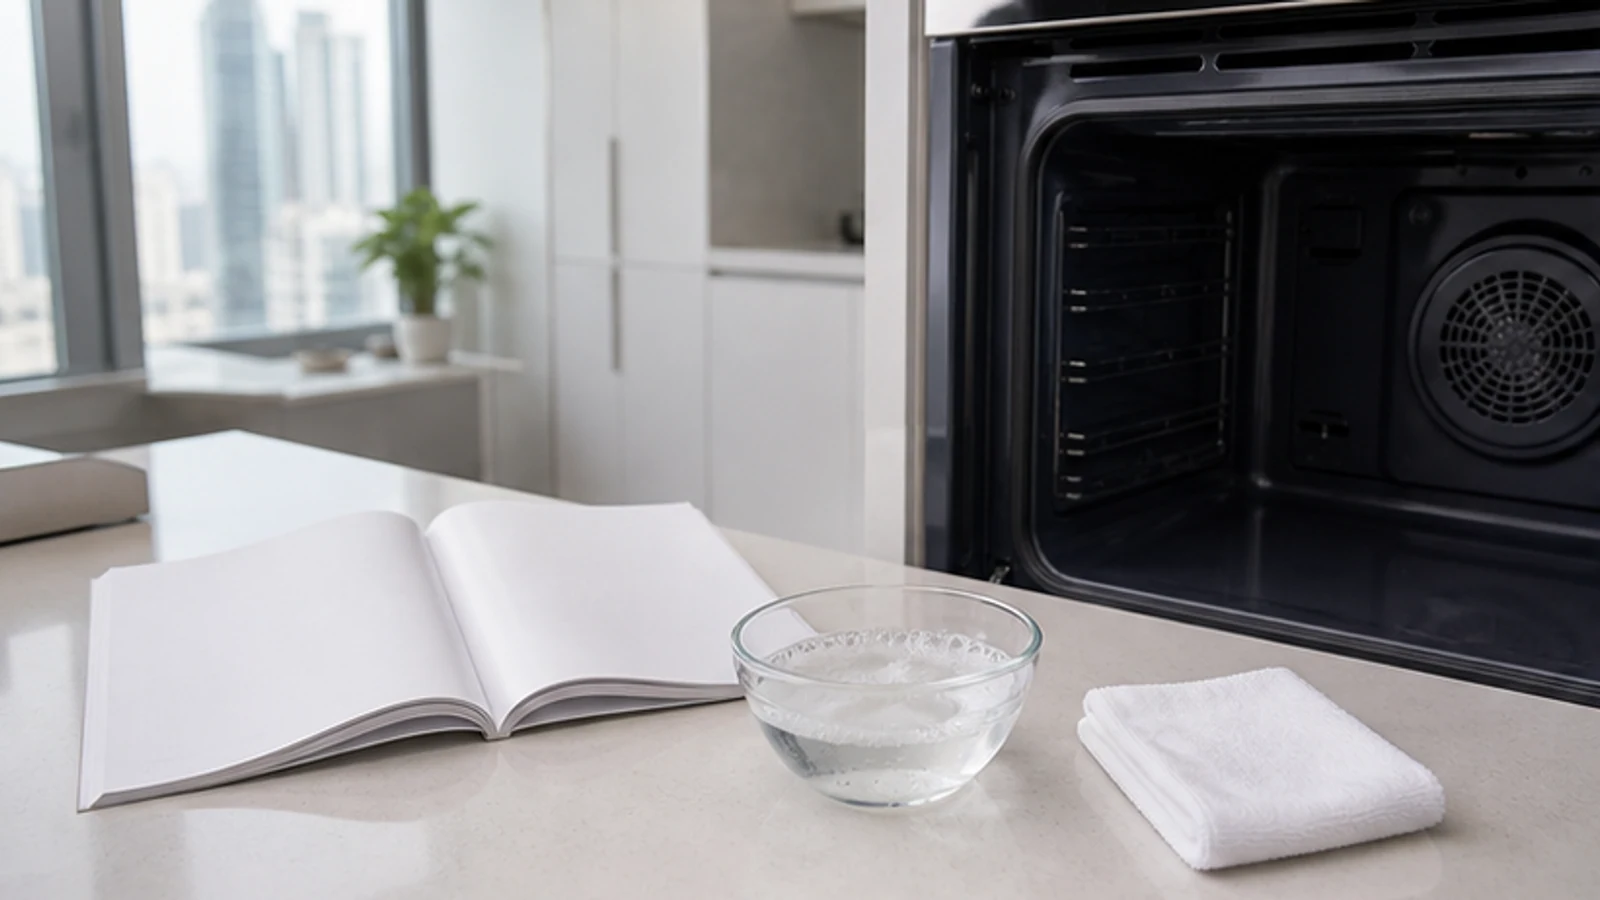
Step 04
Prepare exactly one approved cleaning method
Follow the manual's chosen path without substitution. If it permits baking soda, use its exact ratio and quantity; Samsung's published manual-clean example uses equal parts baking soda and water. If it specifies warm soapy water, a branded cleaner or a built-in cycle, use that method instead. Never mix products.
Only one manufacturer-approved method is prepared
Cleaner quantity and dilution match the instructions
No additive has been placed in a built-in cleaning cycle
-
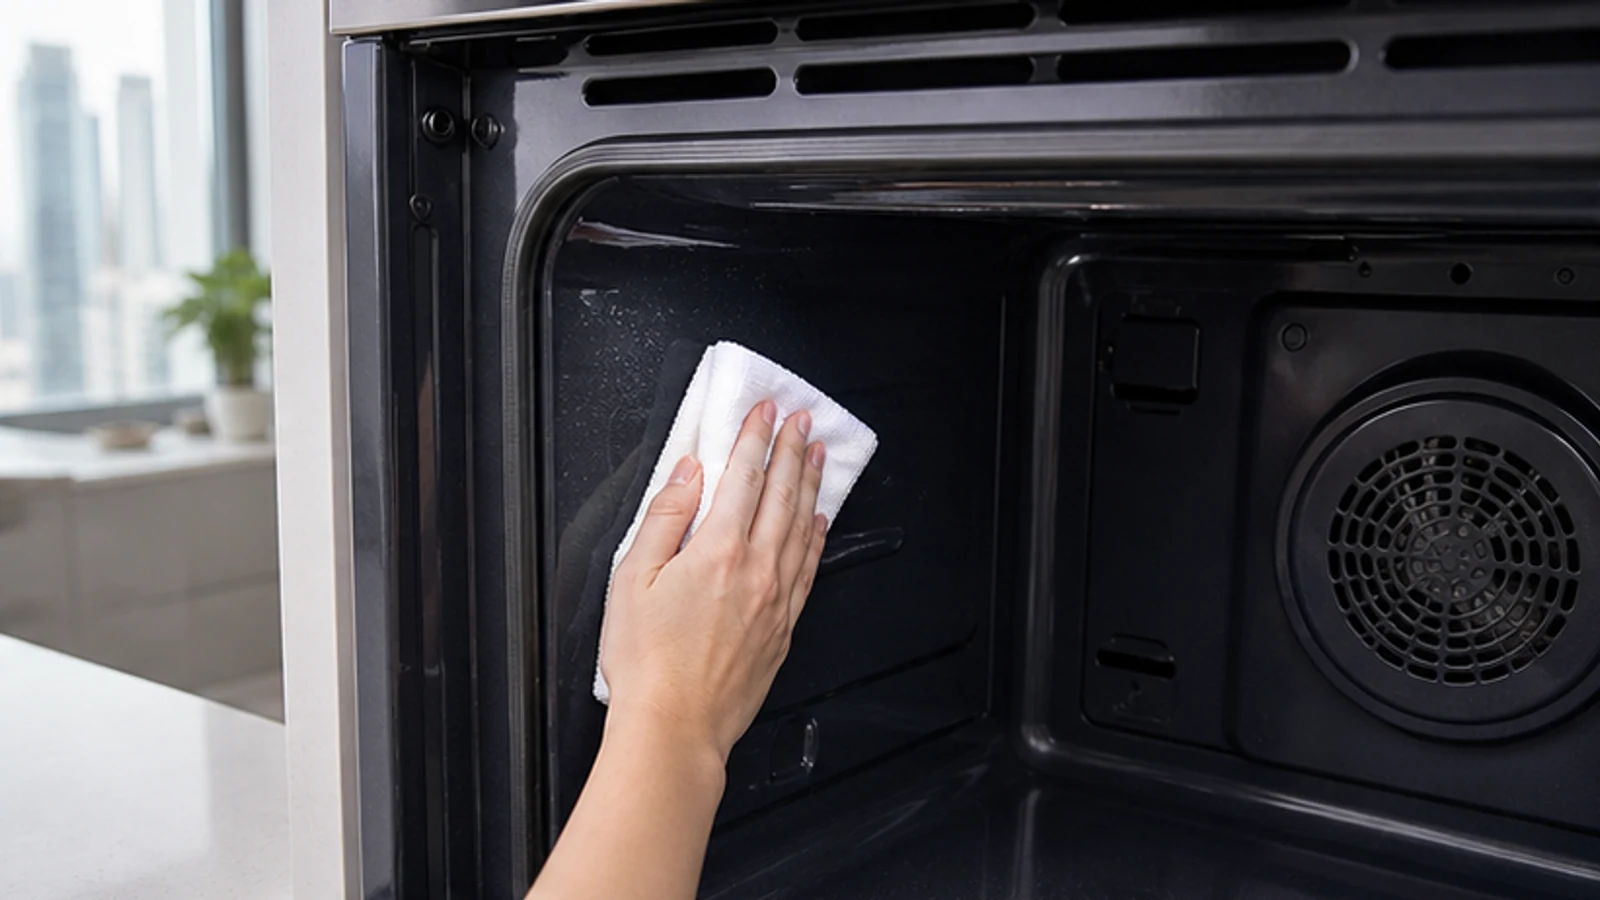
Step 05
Apply only to the named surfaces and time it
Apply the approved cleaner only where the manual allows, with the stated cloth, sponge or tool. Keep it off heating elements, catalytic panels, vents, fan openings, sensors, lights and the door seal unless the instructions explicitly include them. Use the stated contact time; do not convert a 20-minute method into an overnight soak.
Cleaner stays within the approved surface area
A timer matches the documented contact time
No cleaner reaches excluded components
-
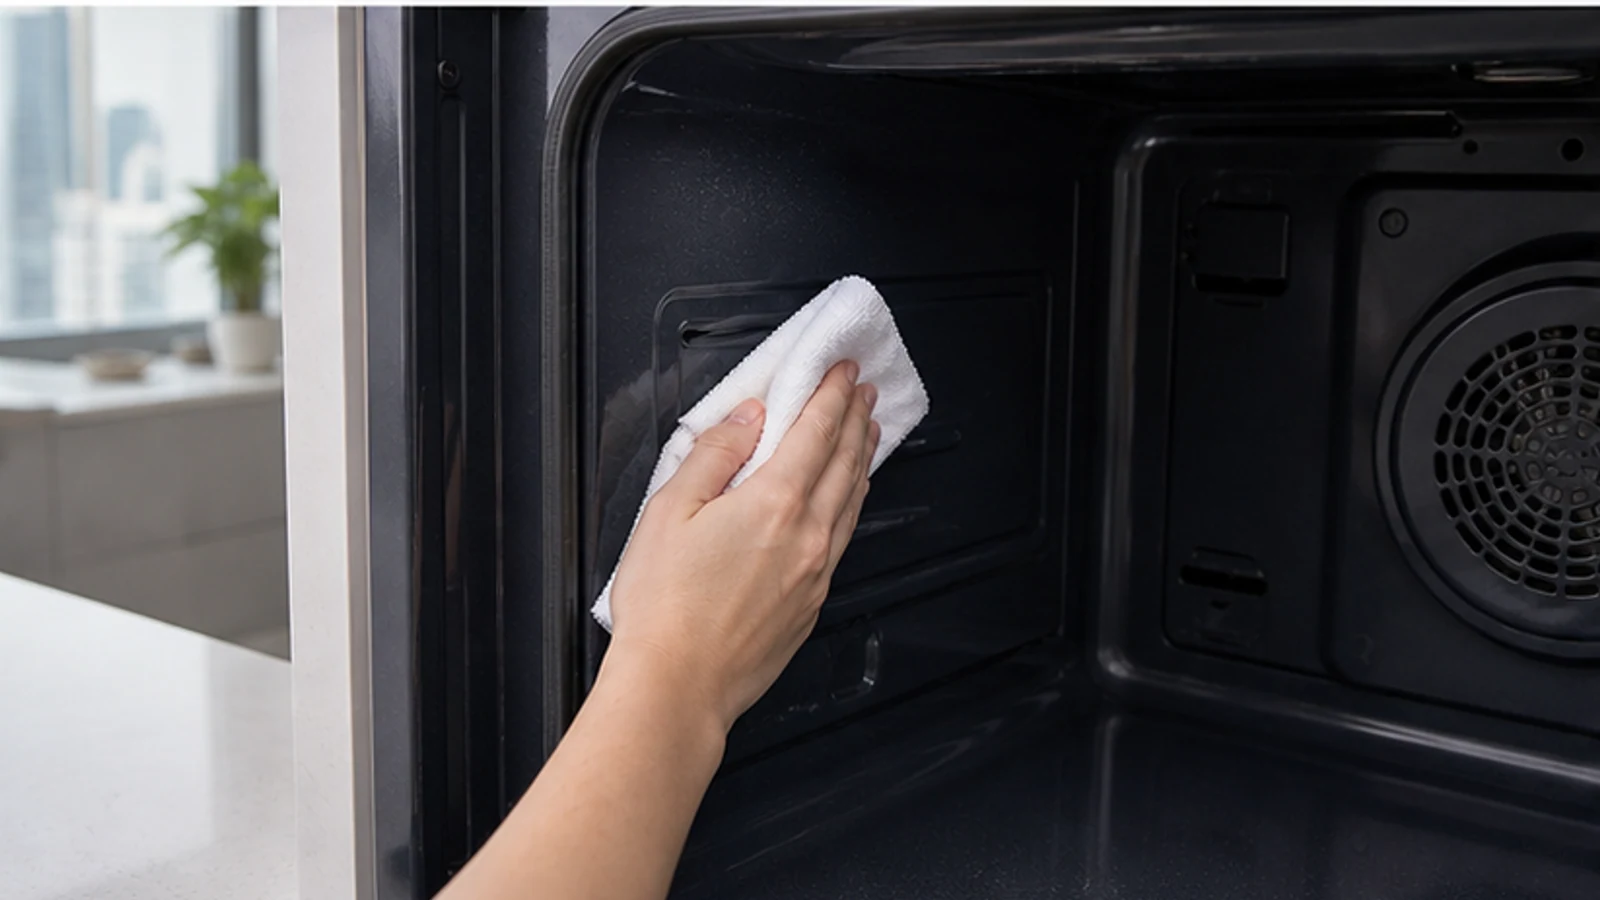
Step 06
Remove cleaner exactly as directed
At the end of the stated time or cycle, follow the manual's cool-down and removal steps. Wipe manual cleaner away with a clean damp cloth and repeat until no residue remains, unless different instructions are provided. Never reach into a hot cavity or force open a locked self-cleaning door.
The oven has completed any required cool-down
No cleaner residue remains on approved surfaces
Elements, vents, seals and fan openings remain clear
-
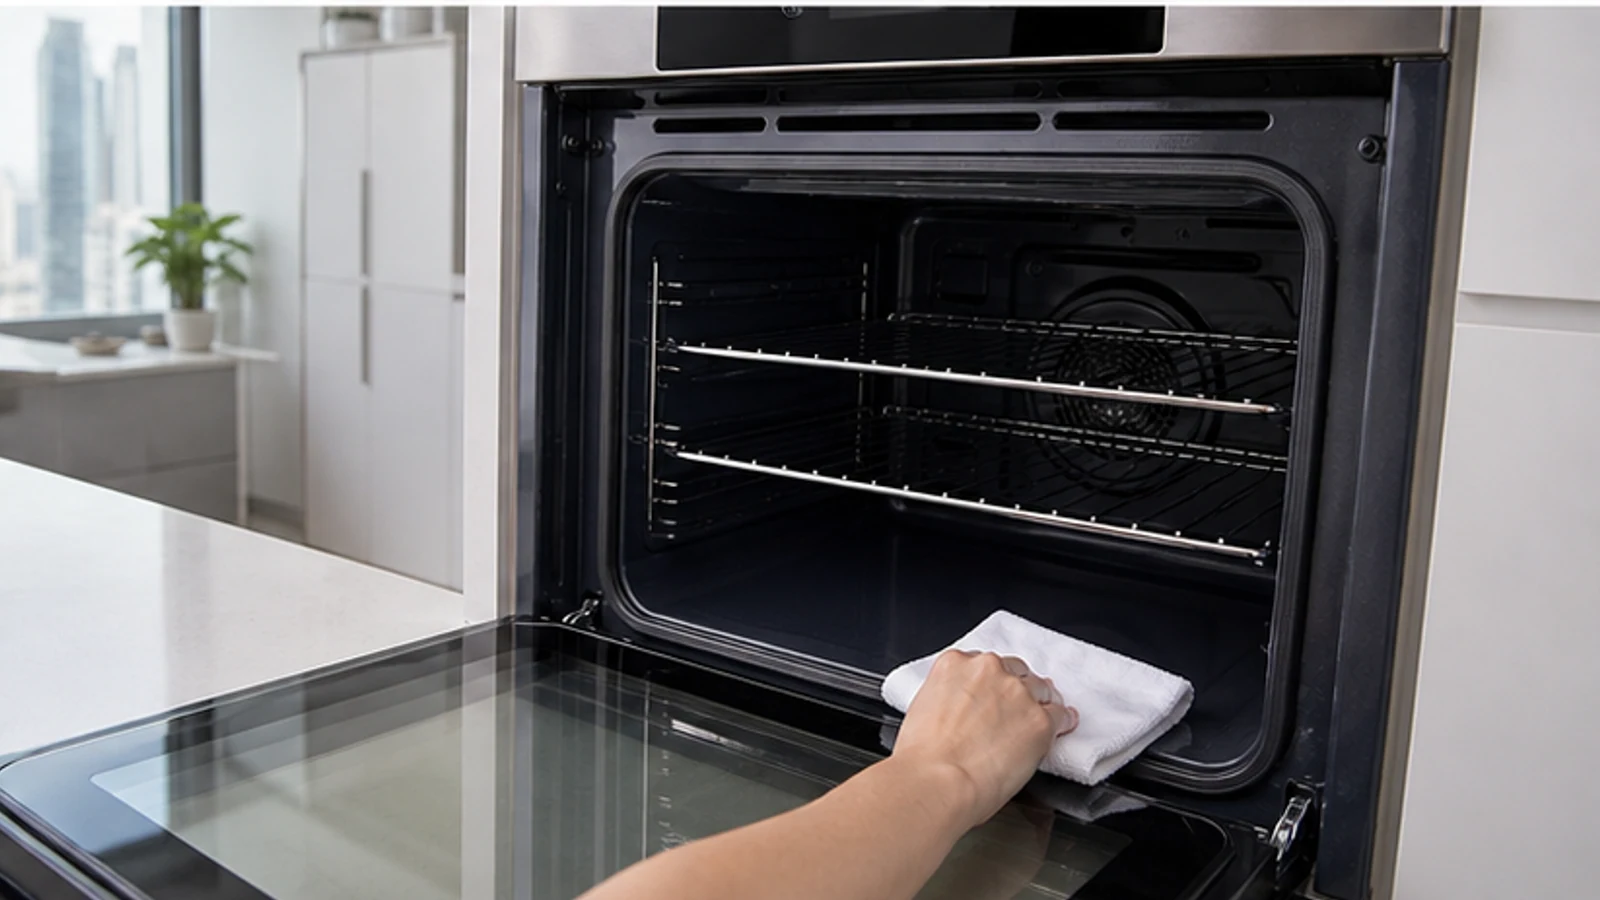
Step 07
Dry, reassemble and inspect before use
Dry the cavity as the manual directs, reinstall only the parts you removed and check that the seal, glass, elements, fan cover and racks are undamaged. Do not disassemble the door or clean between panes. If residue, chemical odour, damaged enamel, cracked glass, exposed wiring or a loose seal remains, keep the oven off and arrange service.
Removed parts are correctly reinstalled
No residue, pooled liquid or unusual odour remains
Glass, seal, elements and liner are intact
Finished result
What success looks like
A successful clean removes loose grease without changing the oven's materials or obstructing its components.
Approved cavity surfaces are cleaner without coating or colour change
Heating elements and vents are visible and clear
No cleaner residue or pooled liquid remains
Oven door glass is transparent
No fumes or odours are present
Quick answers
Frequently asked questions.
How long do you leave baking soda in the oven?
Use only the time in the exact model instructions. Samsung publishes a 20-minute baking-soda method for certain ovens, while other manufacturers recommend different cleaners or prohibit additives in their cleaning systems. There is no evidence-based universal 12- or 24-hour soak that is safe for every liner, coating, seal and sensor.
How do you clean oven glass between the panes?
Do not disassemble the oven door unless the exact manual gives a user procedure. Clean only the door surfaces and edges identified in that guide, using its approved product. Between-pane spills, condensation, loose glass, a damaged hinge or a failed seal need manufacturer support or a qualified appliance technician.
Can I use vinegar to rinse the baking soda paste?
Do not add vinegar or any second cleaner. Follow the removal and rinse instruction for the product your oven manual permits. Mixing products changes their chemistry and can create hazardous exposure or leave residue. If the manual-approved cleaner cannot be removed, stop and contact the manufacturer before heating the oven.
Does lemon steam clean an oven?
Use steam only through the model's documented steam-clean function and with the specified water quantity. Do not heat lemon, vinegar or homemade cleaner to improvise a cycle. Some systems, including Whirlpool AquaLift, explicitly require water without chemical additives. Hot water and steam can scald, so observe every cool-down instruction.
Sources and review notes
- Bosch: What Oven Cleaner Should I Use? - Manufacturer guidance for warm soapy water, spot cleaning and model-specific self-cleaning.
- Samsung: How to Clean a Samsung Oven - Manufacturer instructions for cool surfaces, nonabrasive tools and a short baking-soda method on covered models.
- Whirlpool AquaLift Clean Cycle Instructions - Primary instructions requiring measured water without chemical additives and a complete cool-down.