
DIY / Doors, Windows & Cabinets
Heavy Sliding Balcony Door: Clean the Track Safely
A heavy glazed balcony panel can create crush, fall and breakage hazards. Safe renter scope is routine track cleaning only: remove loose sand with a vacuum, wipe accessible surfaces with the door maker's approved method, clear only documented visible drainage openings and test gently. Roller screws, panel removal and generic lubricant are service work.
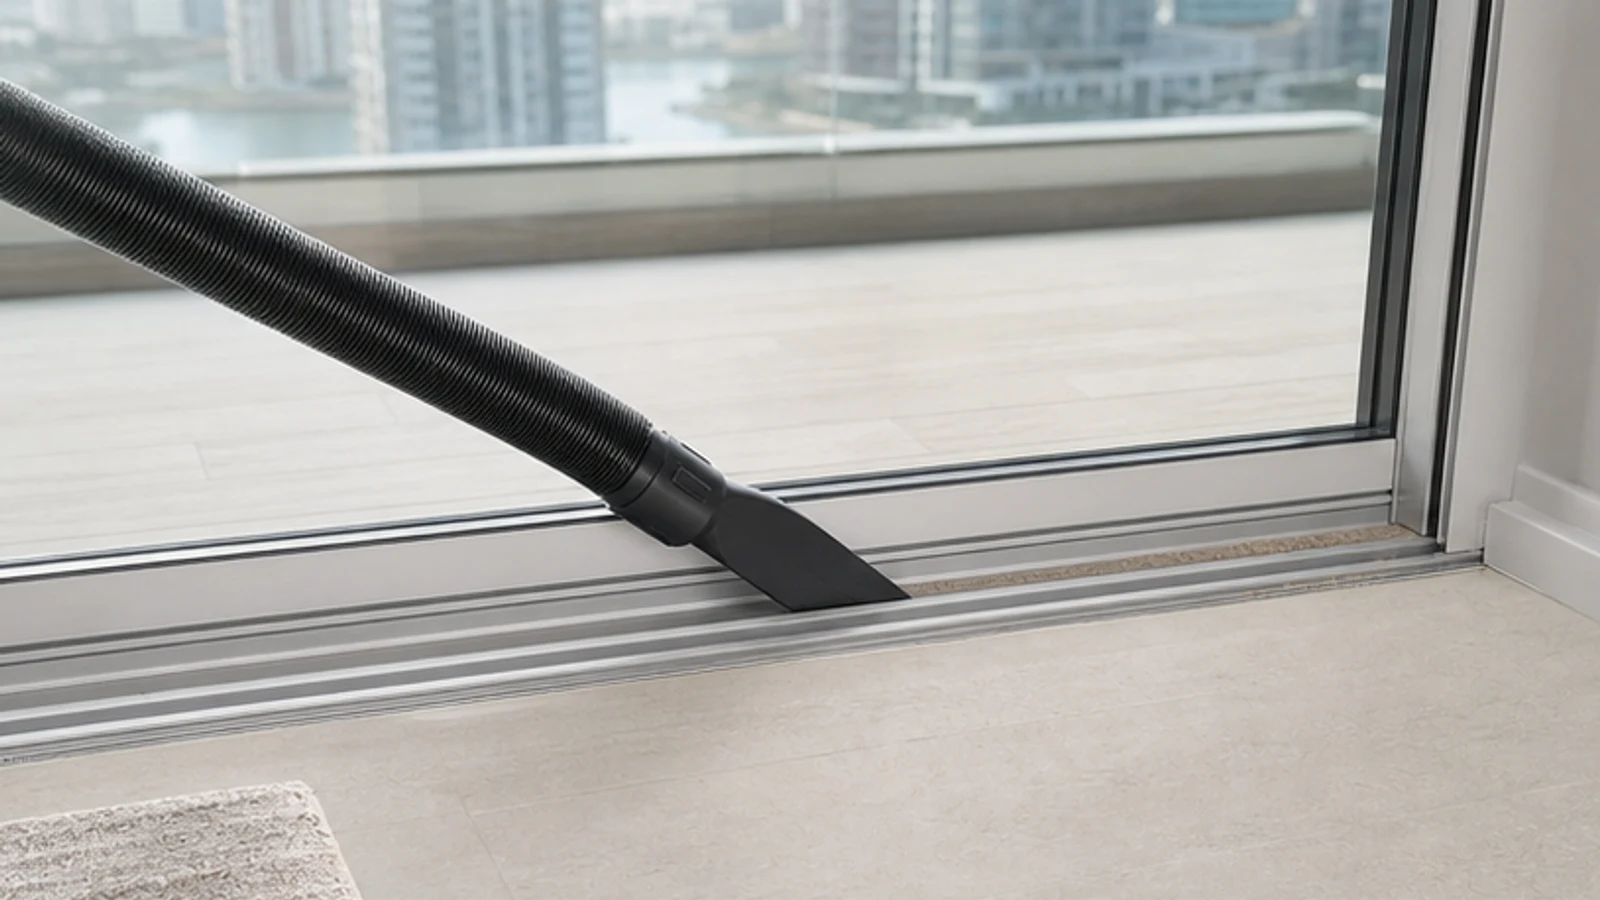
Quick answer
Why is my sliding door so hard to open?
Keep the glazed panel installed and supported by its frame. Vacuum loose sand from the accessible track, wipe it with a soft barely damp cloth using only the door maker's approved cleaner, dry it and test gently. Do not spray generic silicone or turn a roller screw. Grinding, unsafe lock operation or continued resistance needs authorised service.
Aluminium-frame sliding glass doors / Balcony and terrace doors / Dual-track sliding glass panels
Wooden sliding doors (use specialist lubricants) / Doors with visible cracks, loose glass or damaged locks / Doors exposed to fall hazards without secure railing
What you need
What you need
Use a vacuum, soft cloths and only the mild cleaner permitted by the exact door maker. This general guide includes no lubricant or adjustment tool.
- Difficulty
- Easy to Medium
- Active time
- 20 minutes
- Total time
- 30 minutes
Vacuum cleaner with hose attachment
1
Lint-free microfibre cloth or soft brush
1
Typical UAE retail ranges. Prices vary by pack and store, and your total is lower when you already own the reusable tools.
Step by step
How to Clean a Heavy Sliding Balcony Door Track
Keep the glazed panel installed. Clean only accessible track surfaces and stop before lubrication, roller adjustment or panel removal.
-
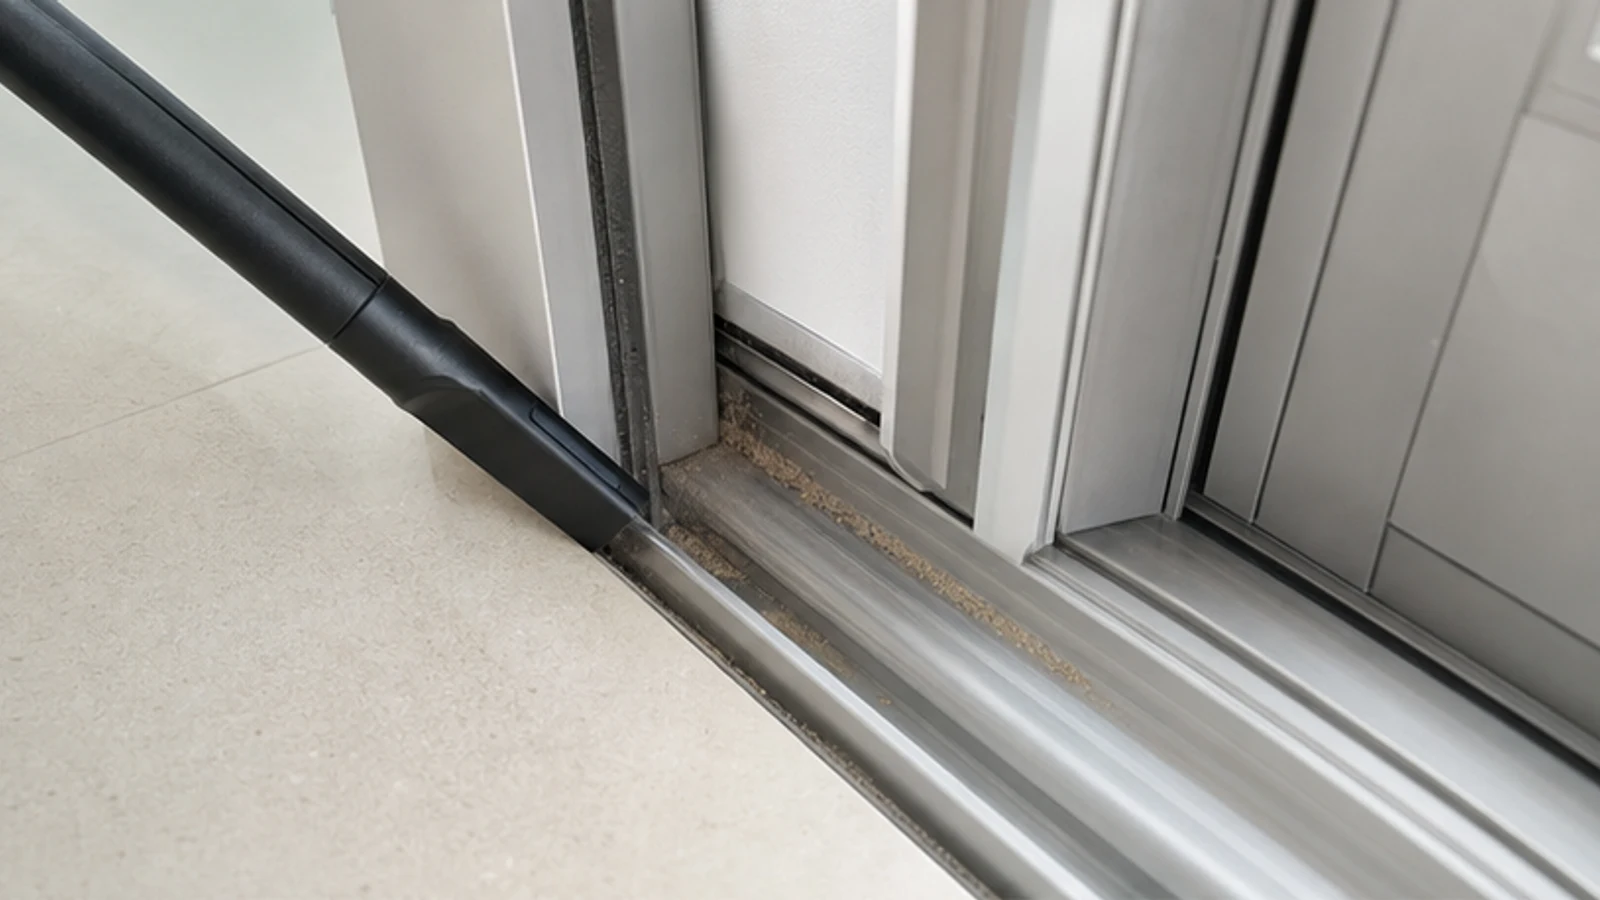
Step 01
Vacuum the entire track
Attach the hose to your vacuum and run it along the full length of both the top and bottom track channels, including the corners where sand collects. Pay special attention to the bottom track, which bears the roller weight and traps the most debris. Move slowly to ensure suction captures all loose particles.
Bottom track is visibly free of sand, dust and debris
No granular residue remains in the corners
-
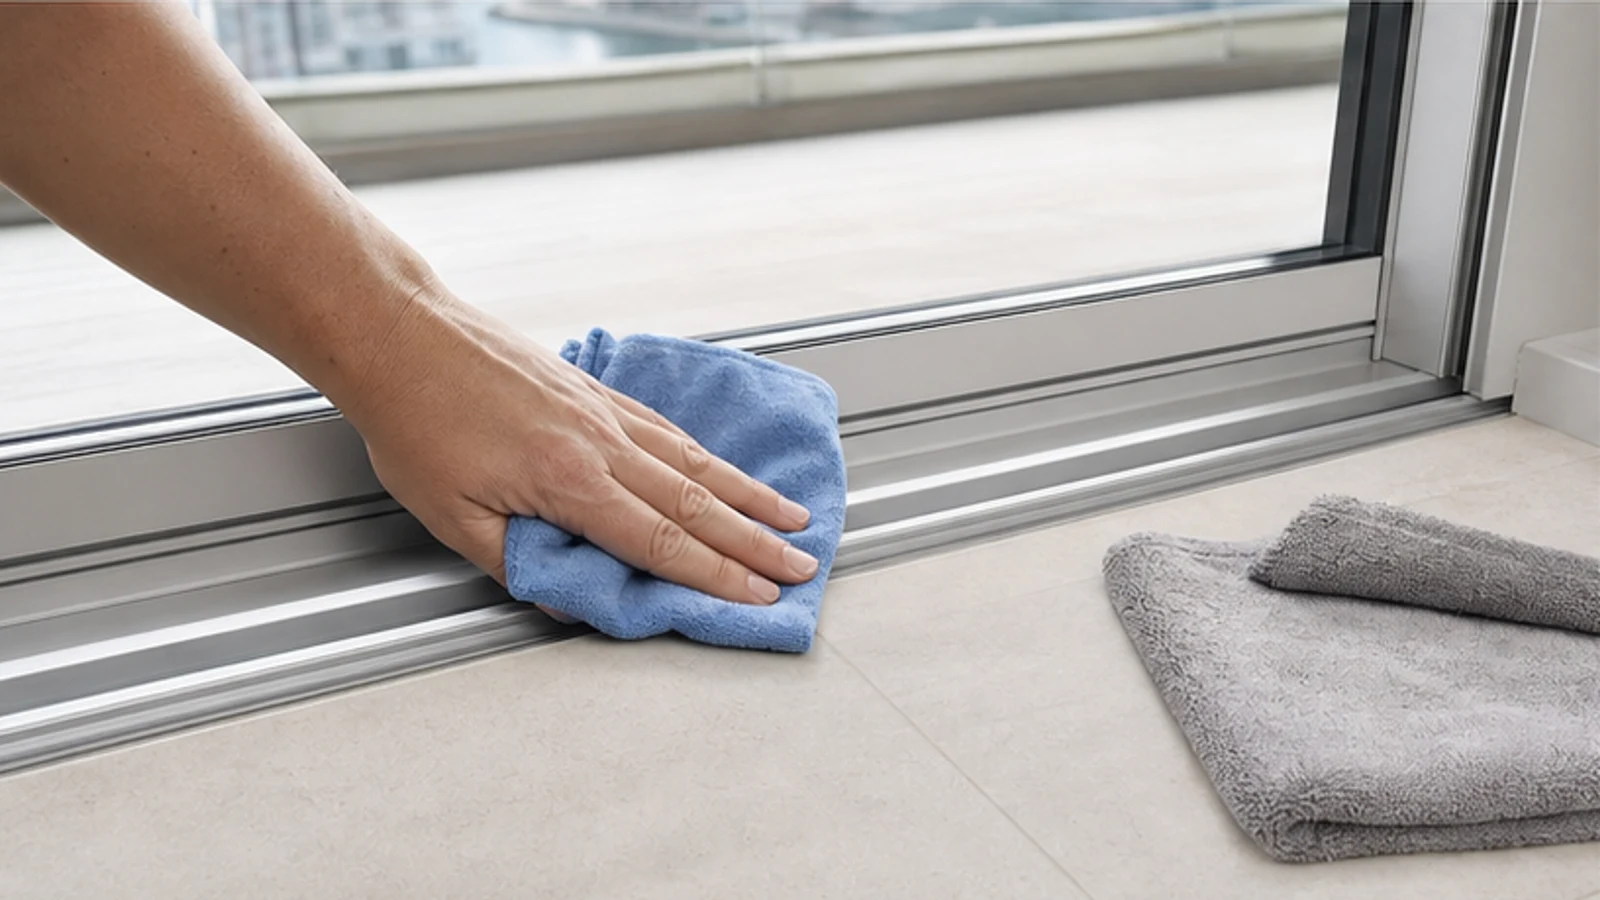
Step 02
Wipe the track clean with a cloth
Dampen a microfibre cloth with water only—no soap or solvents yet. Wipe the entire length of both top and bottom track channels, the rollers at the bottom, and the door frame's vertical edges. Repeat with a dry cloth to remove all moisture and any remaining fine dust particles.
Track surface is visibly dry and streak-free
No moisture or dust residue remains
-
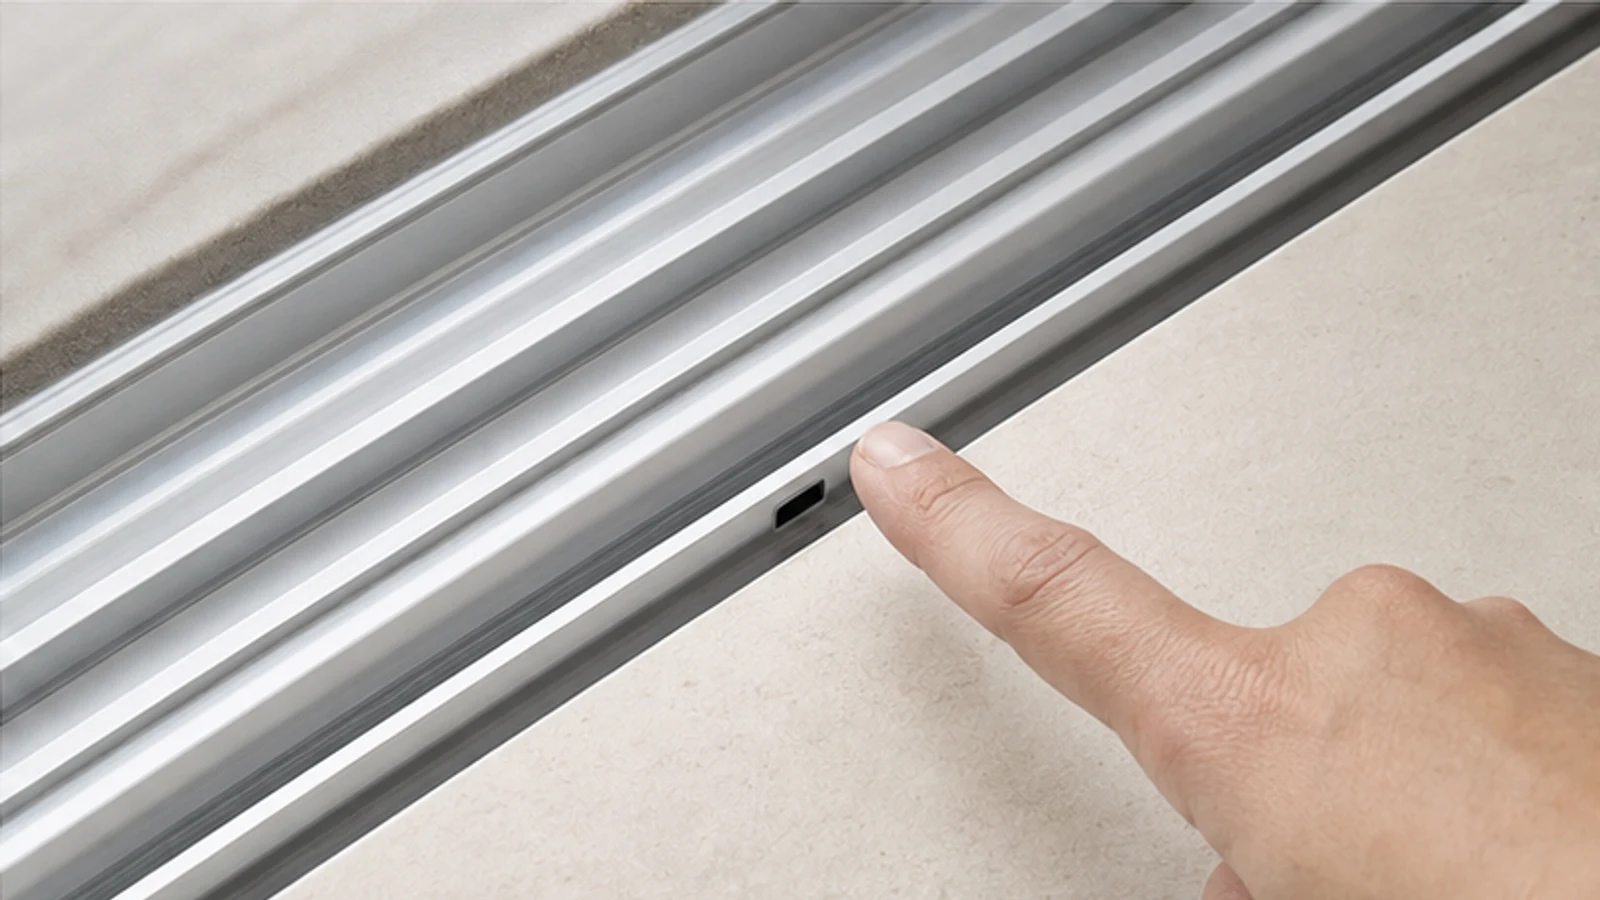
Step 03
Inspect the accessible track and drainage path
With the panel stable, inspect only the exposed track from inside. If the maker documents visible weep openings, confirm they are not covered by loose debris without probing or enlarging them. Stop for sharp damage, corrosion, bent track, loose seals, cracked glass or any need to lean outside.
The accessible track is intact and free of sharp damage
Only documented visible drainage openings are observed
-
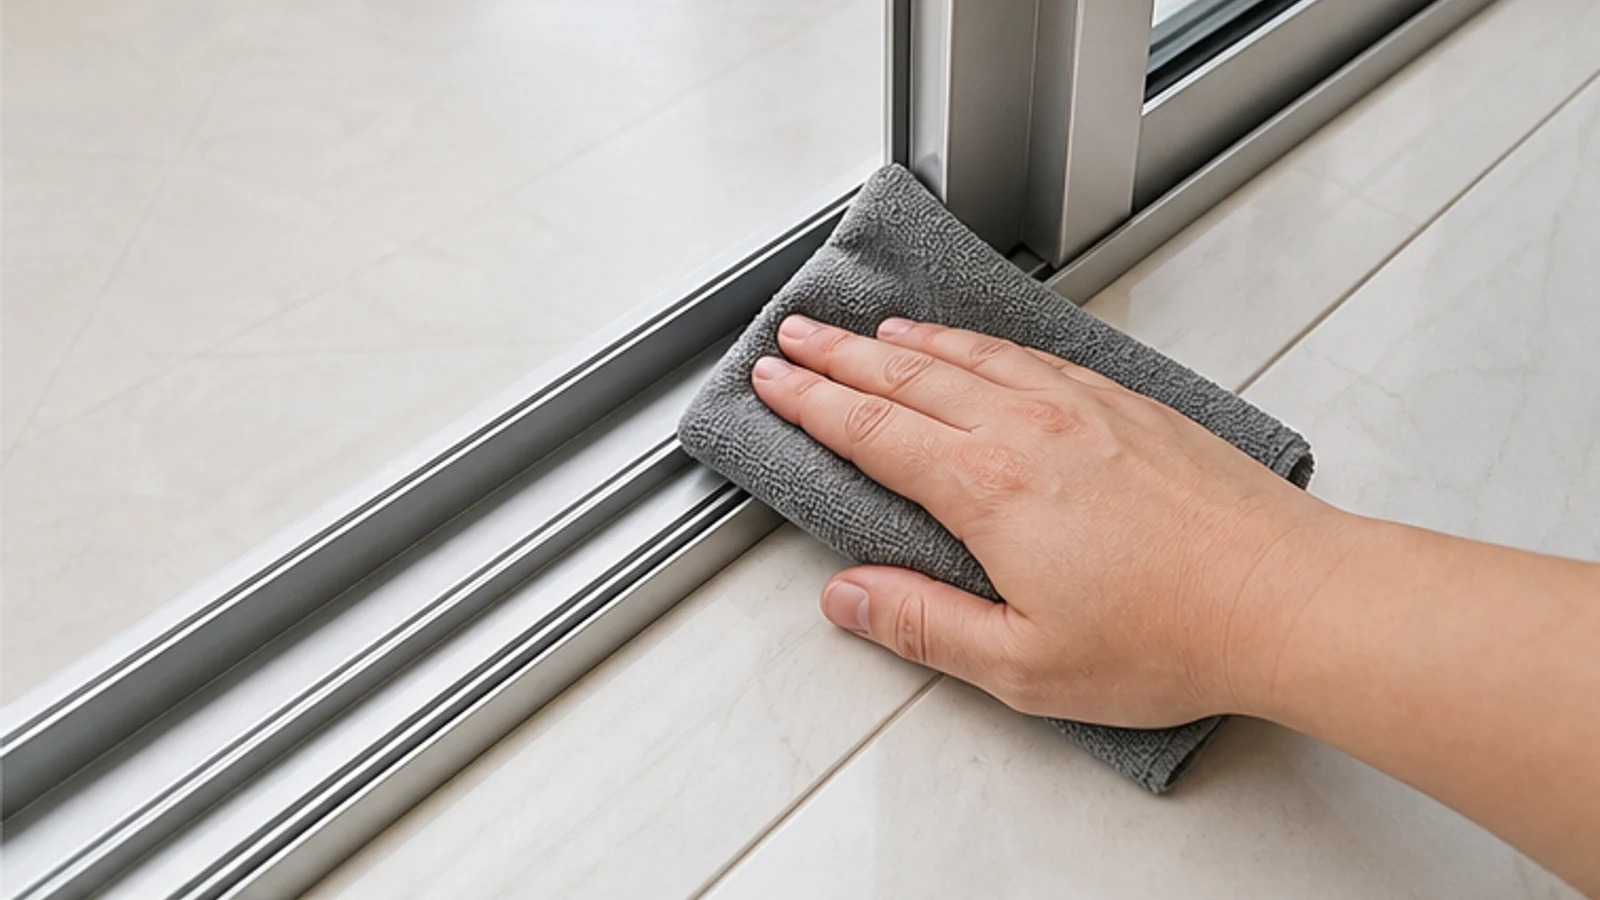
Step 04
Dry the track completely
Use a clean dry cloth to remove every trace of moisture from accessible track surfaces. Do not spray silicone, PTFE, oil, penetrating fluid or cleaner into the rollers. Lubricant type and placement are model-specific and are outside this general guide.
Track surfaces are clean and visibly dry
No spray or lubricant has been applied
-
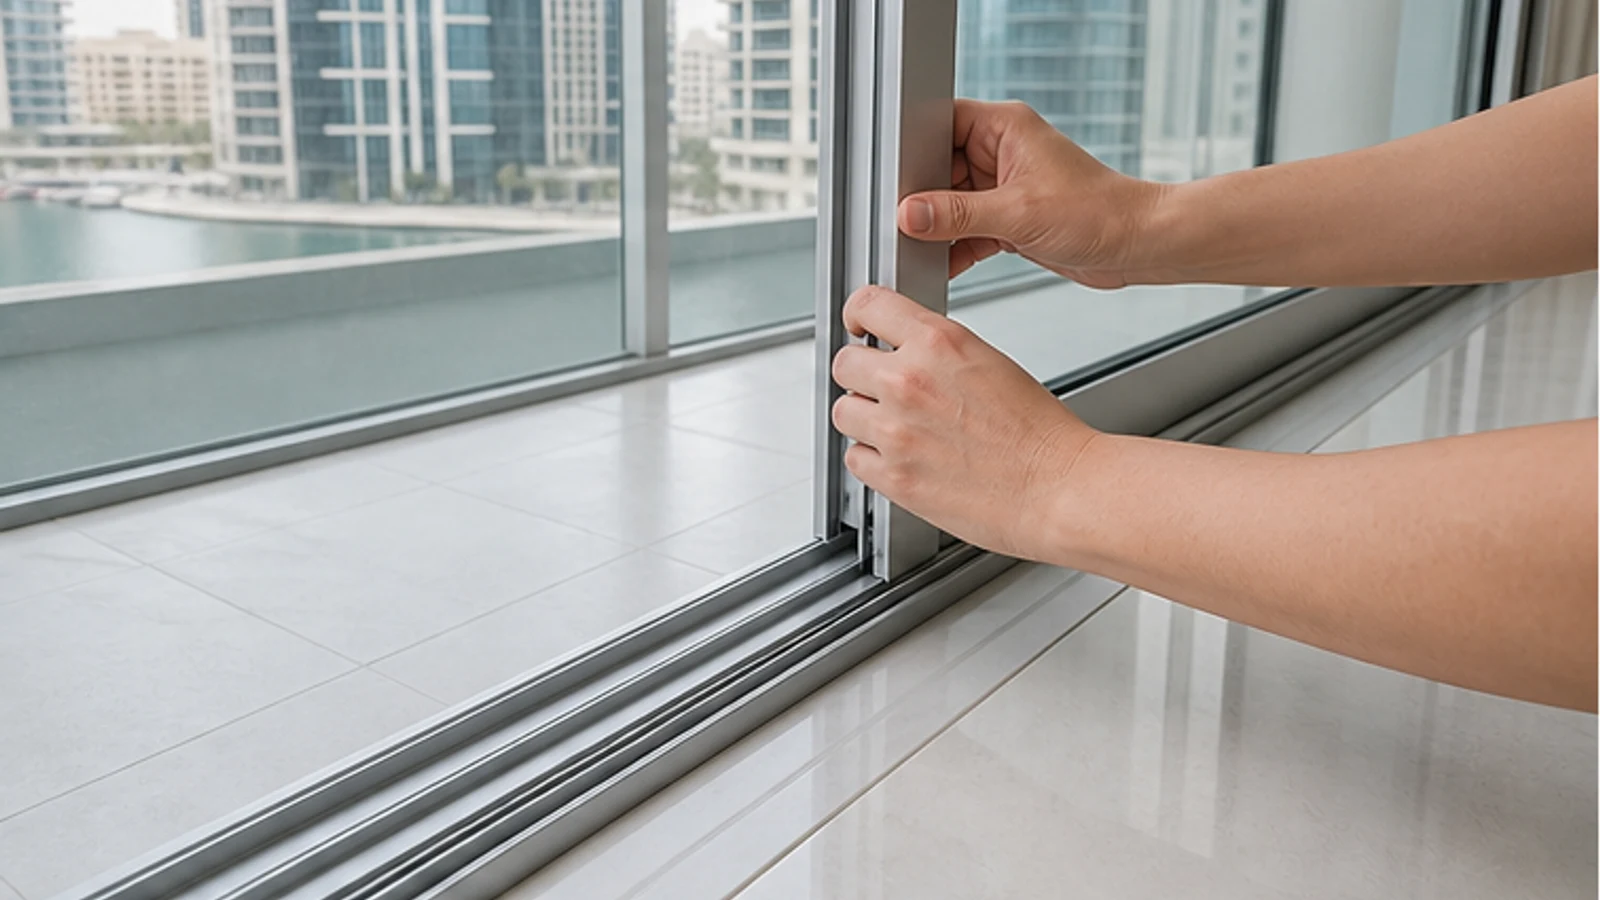
Step 05
Test the door movement
From a stable indoor position, move the panel only far enough to test it without force. Stop immediately for grinding, rocking, unsafe lock operation, visible deflection or continuing heavy resistance. Do not repeat forceful tests or proceed to a screw adjustment.
Door opens and closes with light, even resistance
No grinding, clicking or binding sounds occur
-
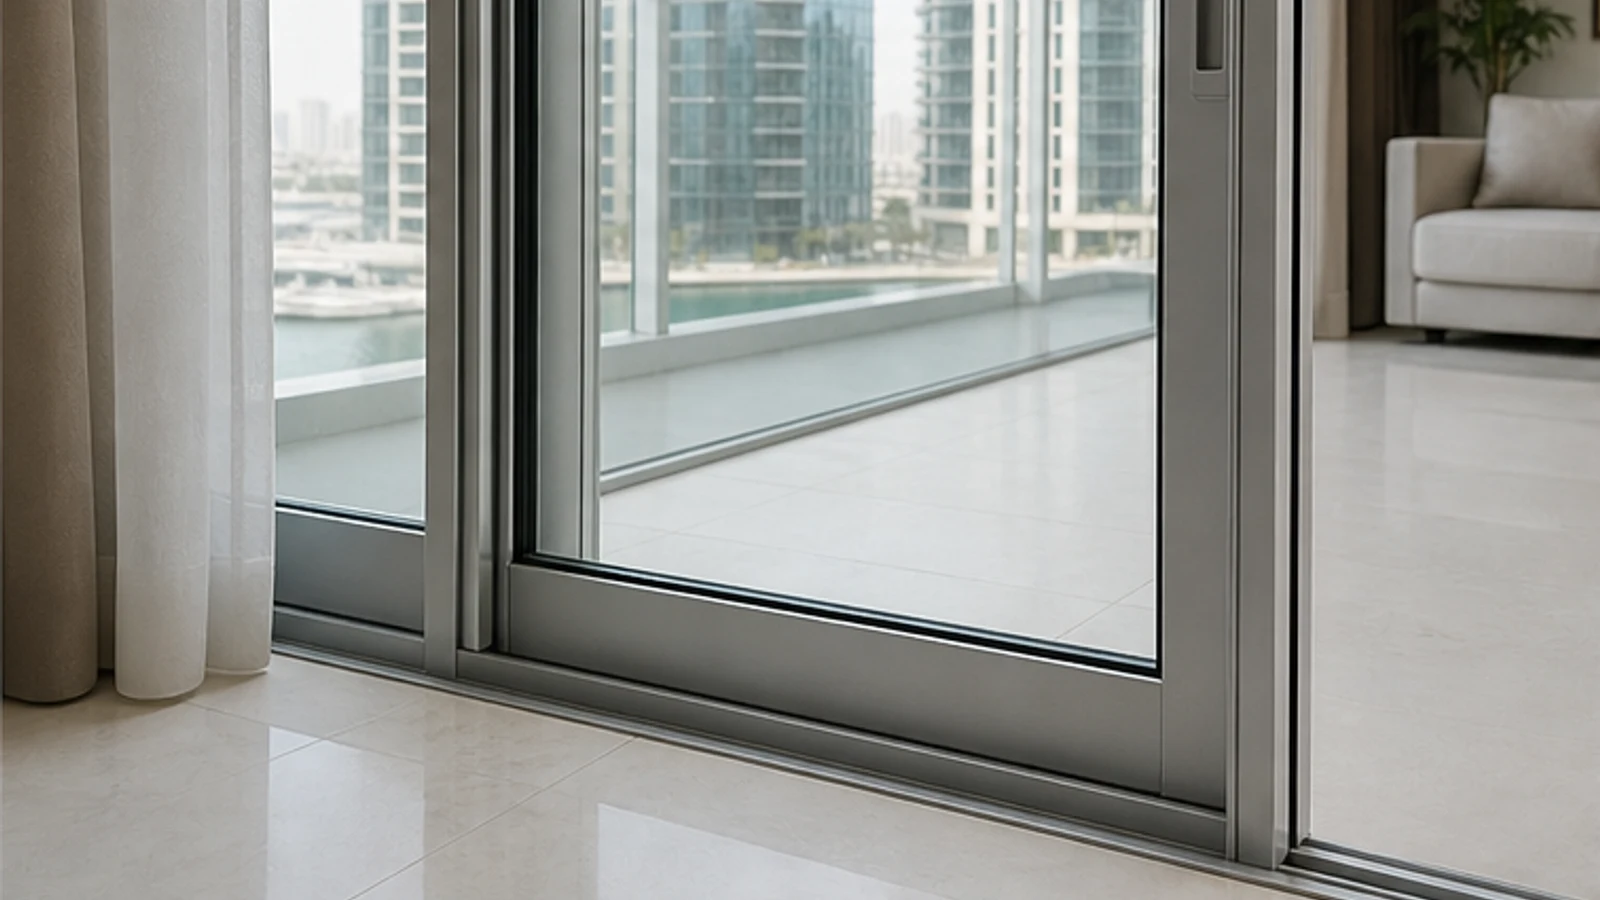
Step 06
Arrange authorised service if resistance remains
If cleaning did not restore safe movement, close and secure the door only if that can be done without force. Contact the property manager or the door maker's authorised service provider. Do not turn roller, lock or frame screws, and never lift or remove the glazed panel.
No adjustment screw is touched
The heavy panel remains installed in its frame
Unsafe movement or locking is reported for service
Finished result
What success looks like
A successfully cleaned door moves without new noise or force and still locks correctly; no lubricant, screw adjustment or panel removal was needed.
Door opens and closes smoothly without sticking or binding
No grinding, squeaking or clicking noises during movement
Door sits flush and does not rock side to side
Lock engages fully and latch does not bind
Rubber seals remain intact and sit evenly in the frame
Troubleshooting
When the first pass does not solve it.
Door still binds or sticks after cleaning
Remaining debris in hidden track sections, misaligned roller, or damaged seal may still be causing friction.
Repeat the vacuum step with closer attention to the corners and ends of the track. Test again. If binding persists, stop and consult the manufacturer's service guide or contact a professional; do not attempt further adjustment.
Door makes a grinding or scraping noise
Rollers may be worn, out of alignment, or catching on debris despite cleaning.
Ensure the accessible track is dry and stop testing if noise continues. Do not touch roller screws or lift the panel; a damaged or misaligned roller requires authorised service.
Door feels loose or rocks side to side
A roller, guide, frame or prior adjustment may be damaged or misaligned.
Stop moving the panel and keep people clear. Do not try to reverse an unknown adjustment. Contact the property manager or the door maker's authorised service provider.
Glass is visibly cracked or loose
Impact, settlement or previous adjustment damage may have affected the glass seal.
Stop immediately. Do not adjust the door further. Contact a glazier or your property manager; a cracked or unseated panel is a safety and weather-sealing hazard.
Quick answers
Frequently asked questions.
Why is my sliding door so hard to open?
Loose sand and debris can increase friction, but worn rollers, damaged guides, distorted frames or lock problems can feel similar. Vacuum and wipe only the accessible track using the door maker's method. If resistance remains, stop; do not add generic lubricant or turn a roller screw.
Where is the adjustment screw on a sliding door?
Location and function vary by model, and a similar-looking fastener may secure another component. This renter guide deliberately does not identify or turn it. If cleaning does not restore safe movement, give the door label and photos to the property manager or maker's authorised service provider.
Should you oil a sliding door track?
Do not oil it generically. Door makers specify different products and application points, while oil can attract debris and unapproved sprays can affect finishes, seals or rollers. This guide uses no lubricant. Follow the exact model's maintenance instructions or ask authorised service to lubricate it.
What should I do if the door becomes unstable or tilts?
Stop moving it, keep people clear and do not try to reverse a screw. A rocking or tilted glazed panel can leave its guides or damage the lock and glass. Contact building management or authorised door service immediately; cracked, loose or displaced glass requires a glazier.
Sources and review notes
- Milgard: Window and Door Care Tips - Manufacturer guidance supports routine track vacuuming and identifies roller adjustment as model-specific maintenance.
- Andersen: Operating Gliding Patio Door Panel Adjustments - Shows that adjustment depends on identifying the exact Andersen product and following its written panel guide.