
DIY / Floors
Repair a Short Run of Crumbling Grout on a Dry Tiled Wall
Loose grout can reflect movement, moisture or a weak installation, so this is not a universal one-hour renewal. DIY scope is one short, accessible joint on a dry interior ceramic or porcelain backsplash with solid tiles and a known matching grout. Floors, showers, balconies, stone, perimeter joints and recurring cracks require a tile professional.
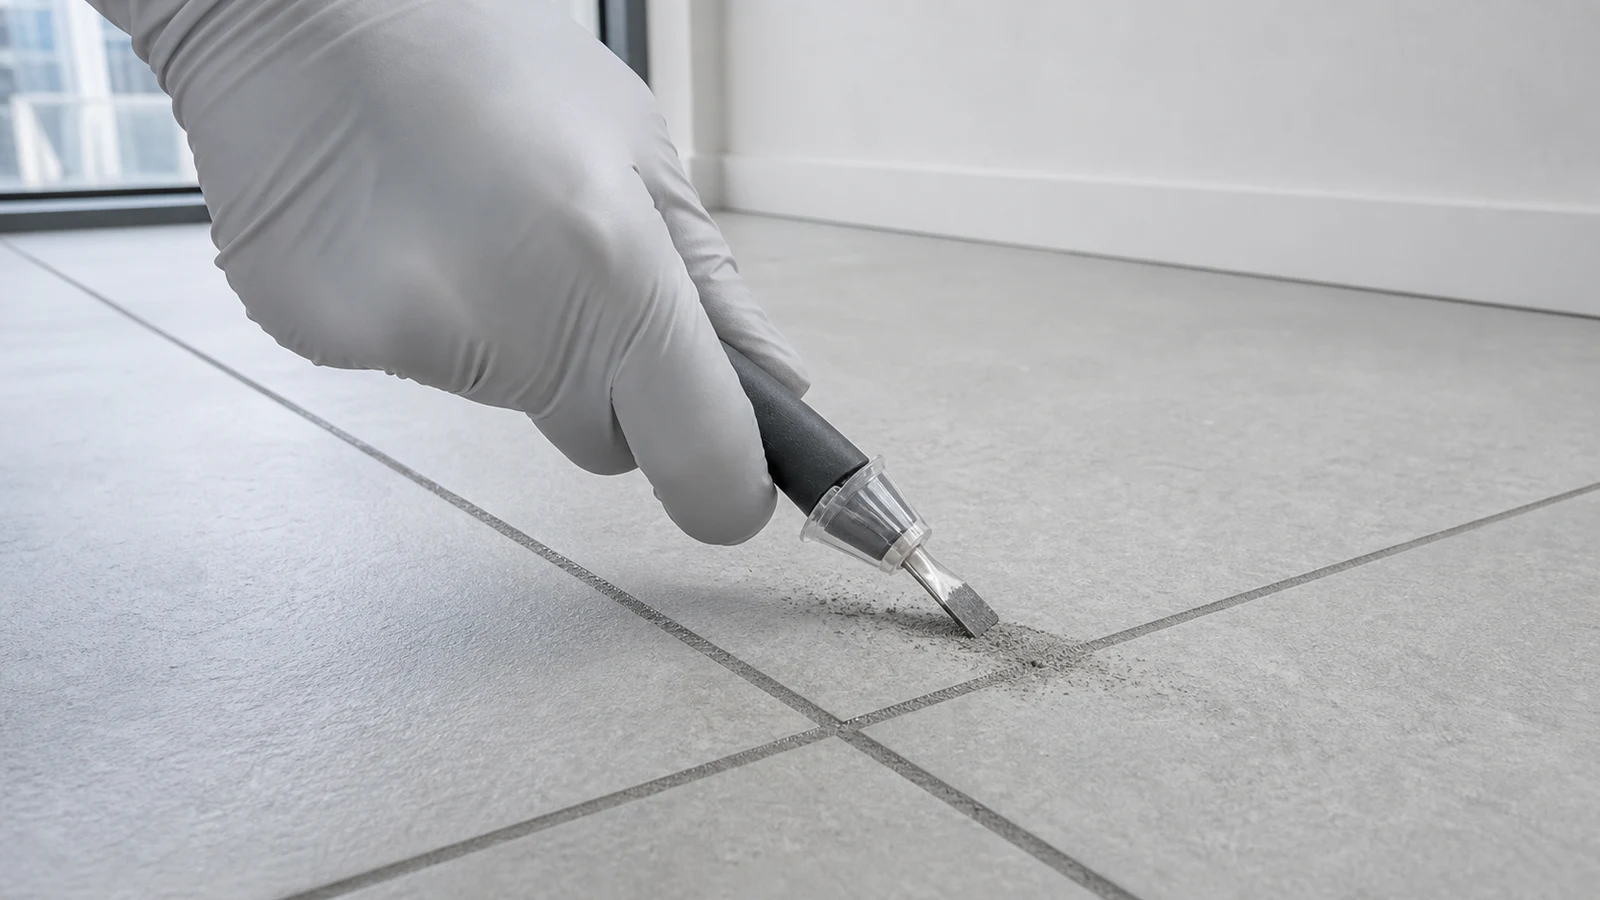
Quick answer
Can you repair a small crumbling grout joint yourself?
Only on one short, dry interior wall joint with solid ceramic or porcelain tile and a positively identified matching grout. Use a hand grout saw, remove the depth required by that grout maker without touching the substrate, vacuum, apply exactly as directed and observe its full cure. Stop for movement, moisture, stone, floors or wet areas.
One short joint on a dry interior ceramic backsplash / One short joint on a dry interior porcelain backsplash
All floors, showers, baths, wet rooms, balconies and patios / Natural stone, glass, decorative or unidentified tile / Movement joints (which require flexible sealant, not grout) / Tiles with hollow sound or visible cracks / Areas showing active dampness or waterproofing failure / Joints of unknown depth or width incompatible with the product
What you need
What you need
Use only the exact grout type approved for the existing joint width and dry-wall application. Ready-to-use grouts are not interchangeable; their product data sheet controls preparation, cleanup and cure.
- Difficulty
- Medium
- Active time
- 45–60 minutes
- Total time
- 1 hour plus 24–72 hours cure (follow product label)
Exact matching grout approved for the existing dry wall joint
1–2 tubes (check product volume per joint length)
Hand grout saw sized to the joint
1
Vacuum or handheld dust extractor
1
Natural sponge (non-abrasive)
1
Disposable nitrile gloves
1 pair
Safety glasses
1 pair
Typical UAE retail ranges. Prices vary by pack and store, and your total is lower when you already own the reusable tools.
Step by step
How to Repair Crumbling Grout
Before you start, put on safety glasses and gloves, test your grout on a hidden tile, and ensure the room is well ventilated.
-
Step 01
Assess the joint and stop if unsafe
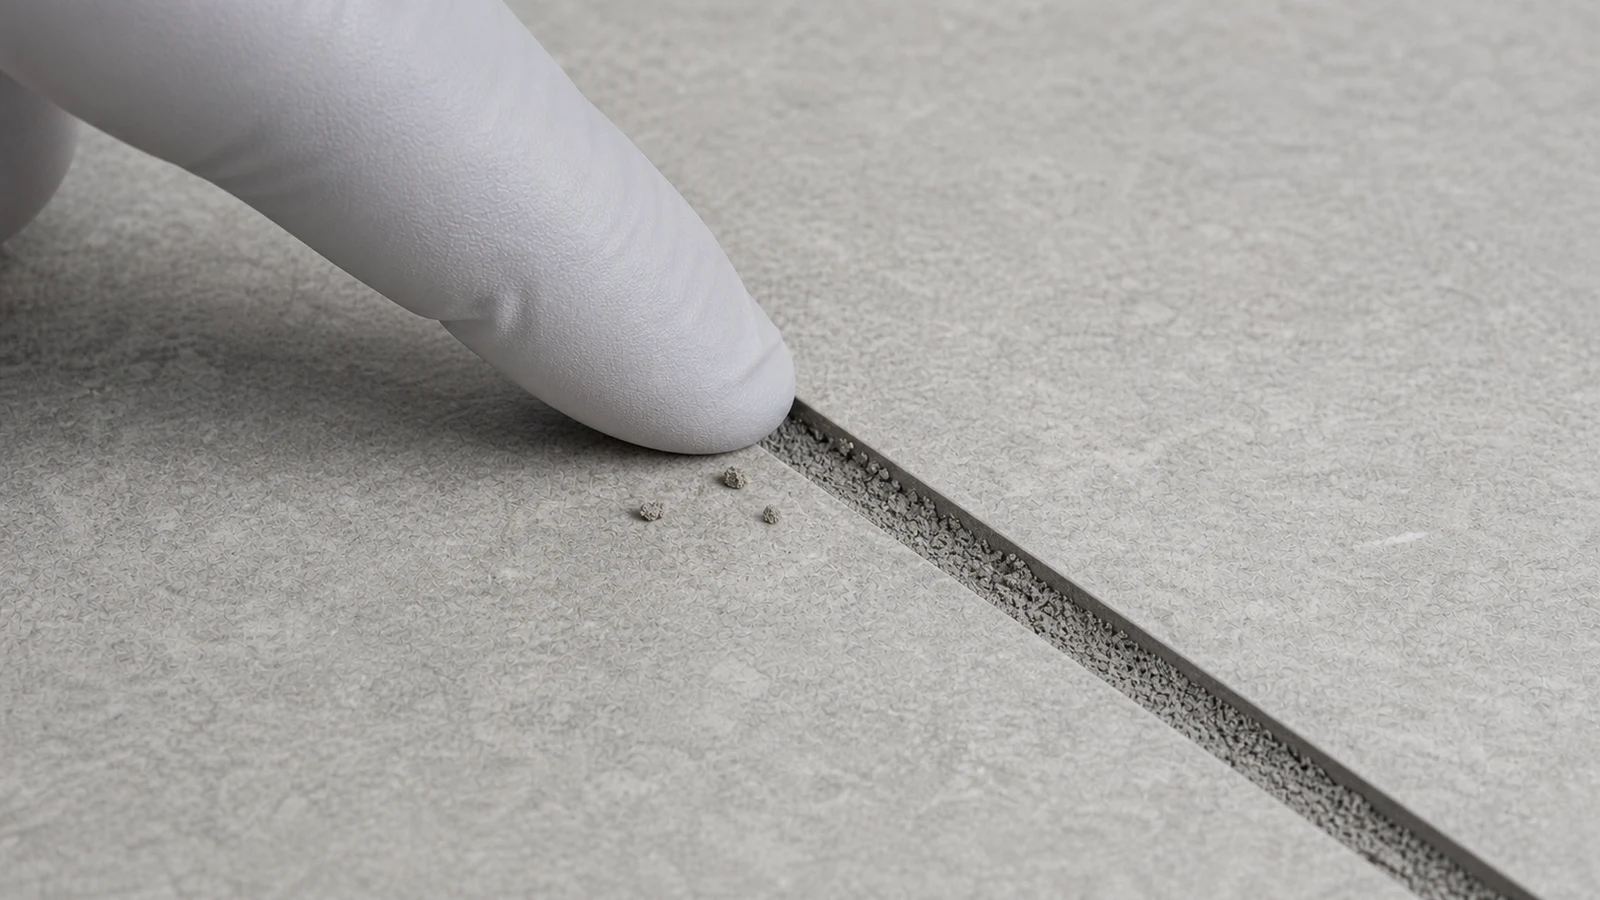
Inspect without tapping or forcing the tile. Stop for any movement, crack through tile, dampness, mould, staining, soft substrate, recurring failure or a joint at a corner, perimeter, counter or material change. Continue only on one short, dry field joint between solid ceramic or porcelain backsplash tiles.
Tile does not move or sound hollow when tapped
No visible dampness, mould or waterproofing damage
Joint is not a structural or perimeter movement joint
-
Step 02
Remove loose grout with a depth-controlled tool
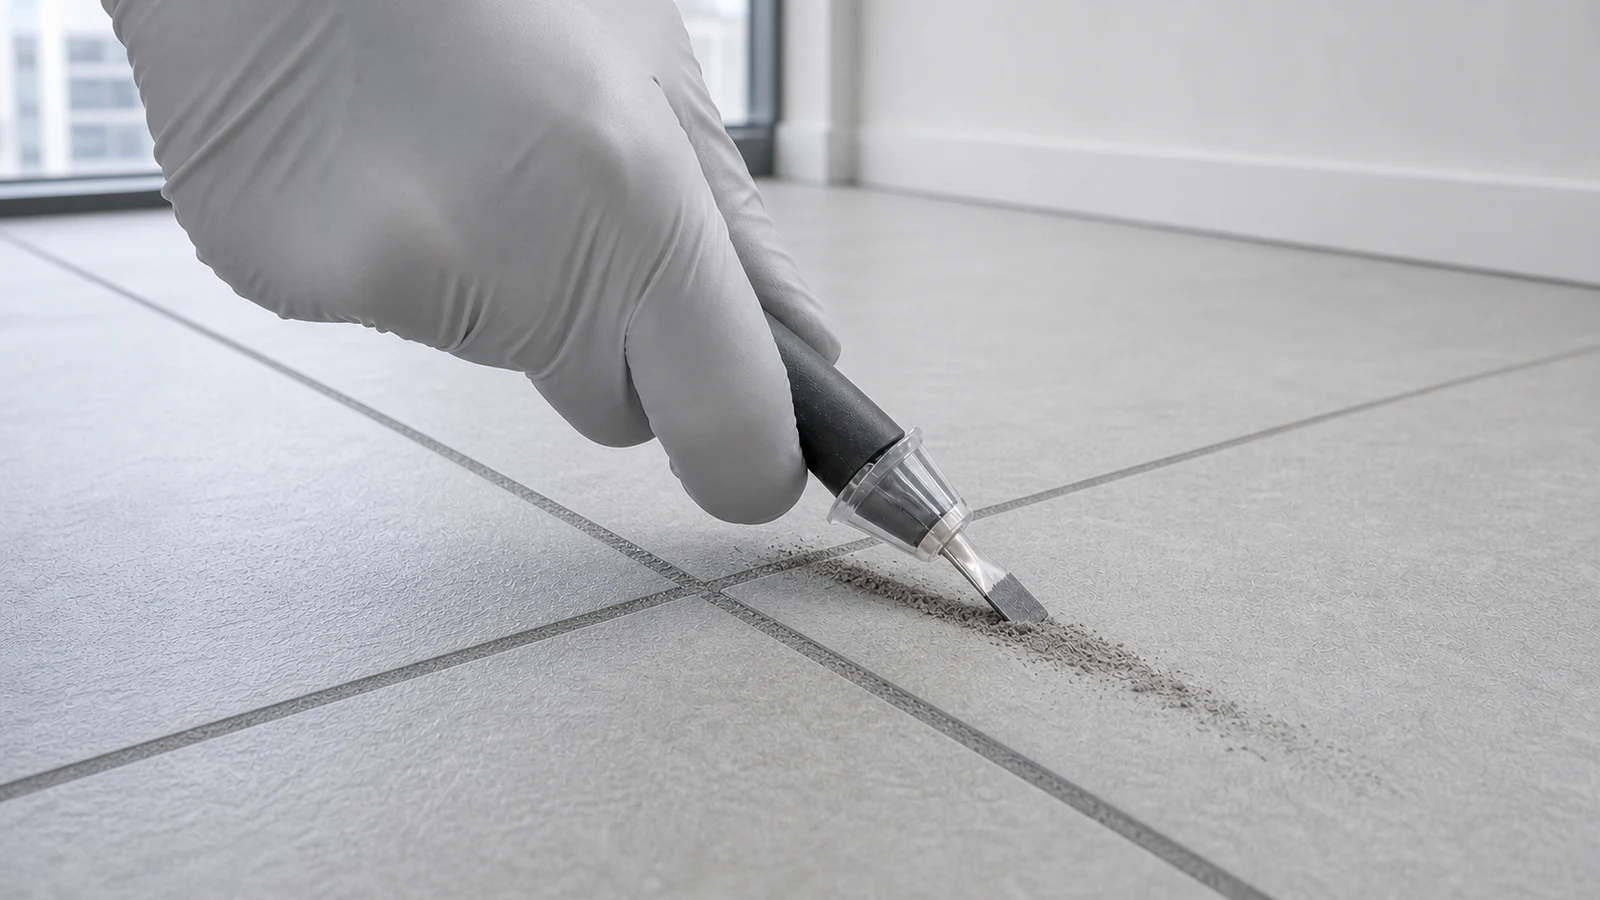
Check the replacement grout data sheet for the minimum removal depth; LATICRETE guidance uses at least half the joint depth. Use only a correctly sized hand grout saw, keep it centred and stop before touching tile edges or substrate. If you cannot achieve the required depth safely, stop and call a tile professional.
All loose and crumbly grout is removed from the joint
Tile surfaces on either side remain undamaged
Joint depth is even and ready for refill
-
Step 03
Vacuum the joint and surrounding surfaces
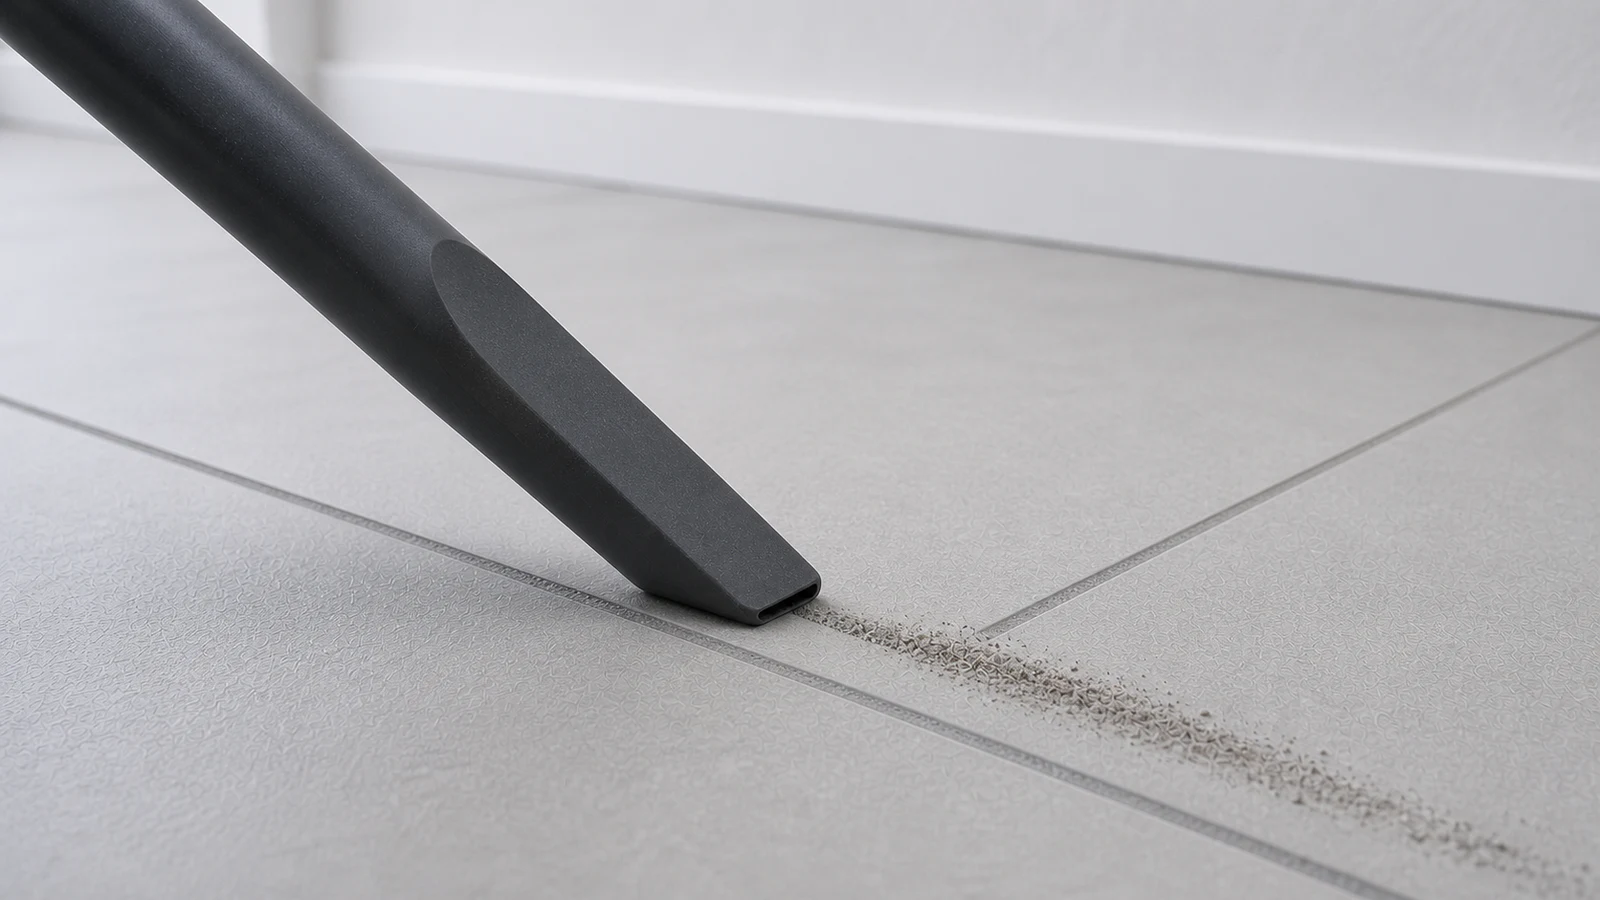
Vacuum loose dust without blowing it into the room, then prepare the joint exactly as the selected grout data sheet states. Do not assume a damp joint will dry in a fixed time. Any unexpected moisture, odour or staining means stop and have the source assessed.
Joint is visibly clean and free of dust and debris
Surrounding tile surface is dry
No loose particles remain in or around the joint
-
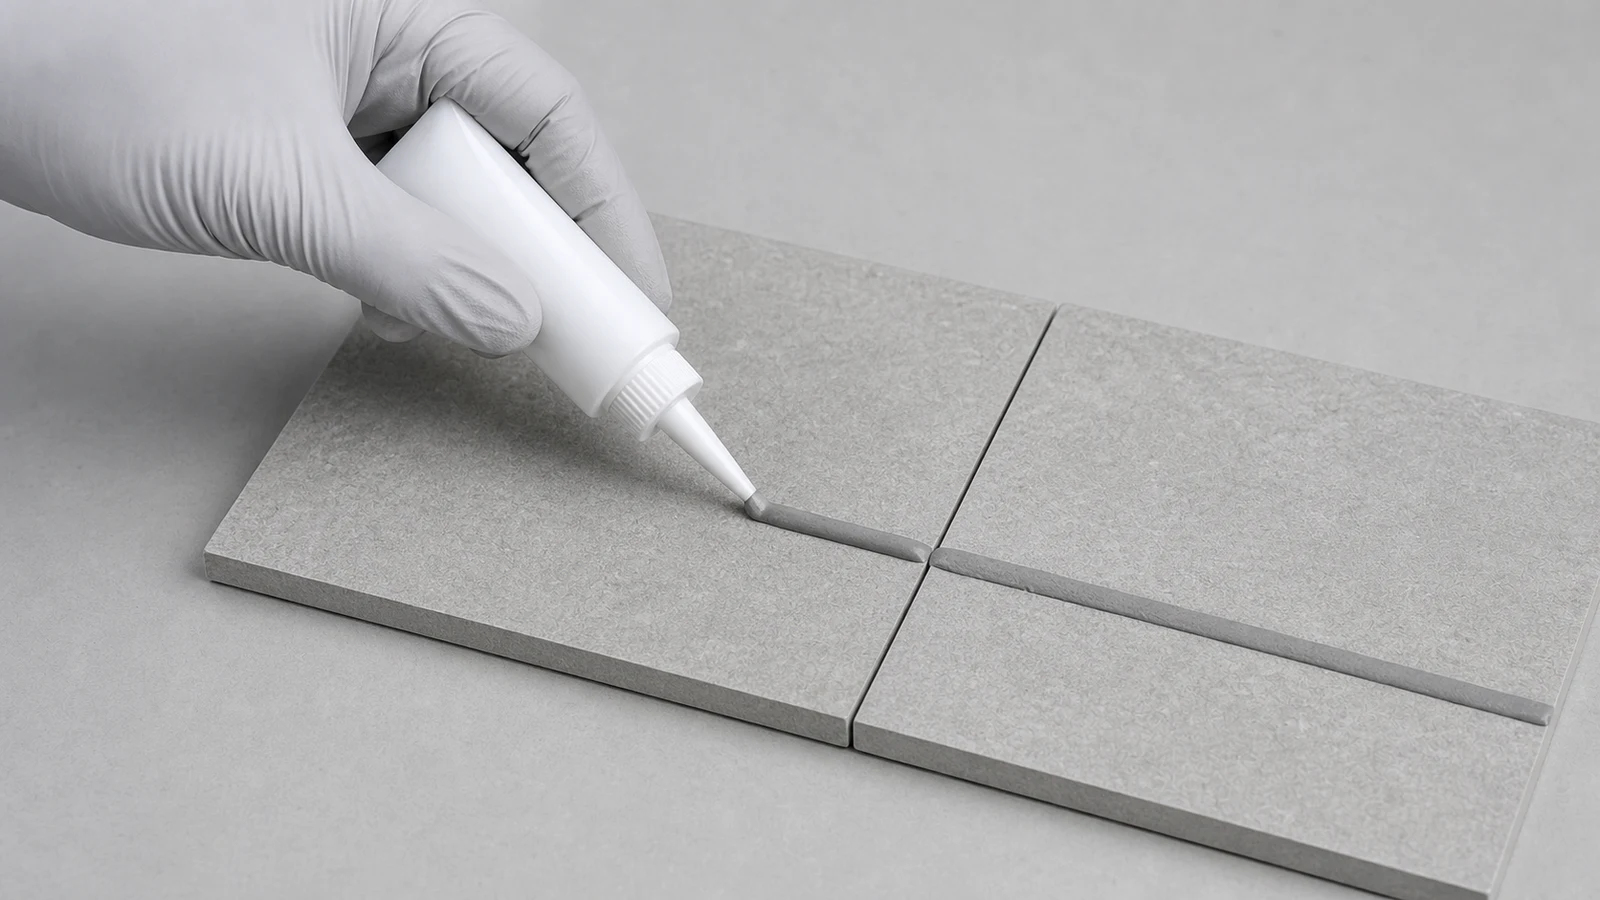
Step 04
Test the grout on a hidden area first
Hidden-test the exact grout on a spare tile or genuinely inconspicuous matching joint, including its label-directed cleanup. Let the sample reach the full stated cure before judging colour, haze or scratching. Do not continue if the tile surface or finish changes.
Grout colour matches your existing grout under normal apartment lighting
Grout sets within the time stated on the label
No discolouration or adhesion problems are visible after full cure
-
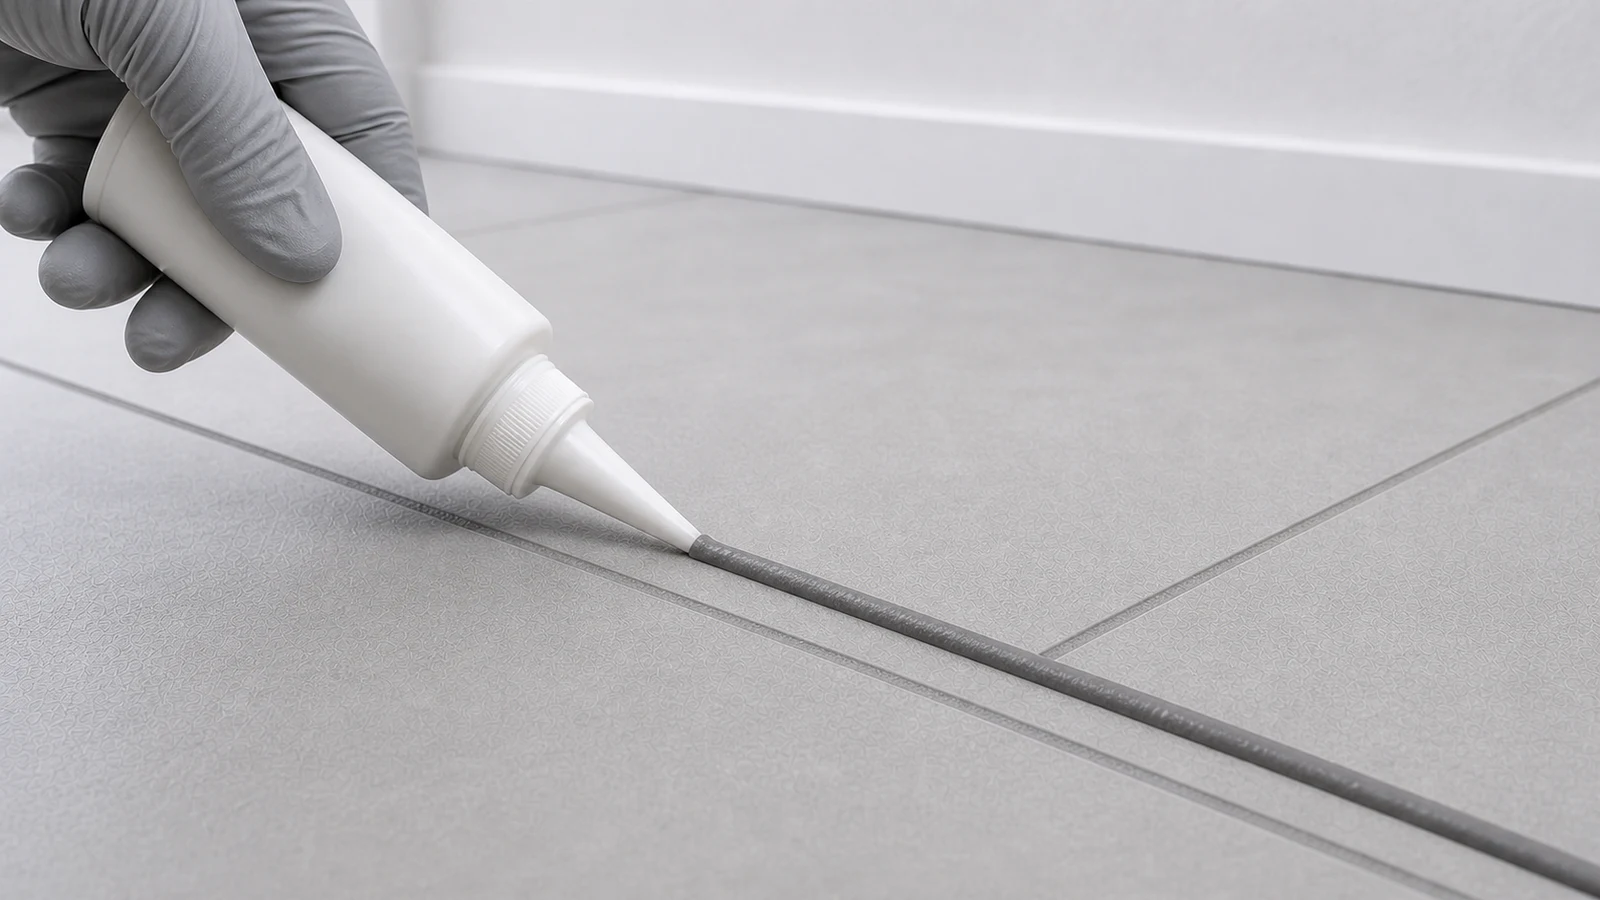
Step 05
Apply the matching grout exactly as directed
Use the product's specified applicator, joint width, temperature and filling method. Work only the short tested section and keep grout out of perimeter or movement joints. Do not invent a 45-degree tube method or overfill unless the selected grout instructions explicitly require it.
Joint is completely filled with grout
No air pockets or voids are visible within the joint
Grout protrudes slightly above the tile surface
-
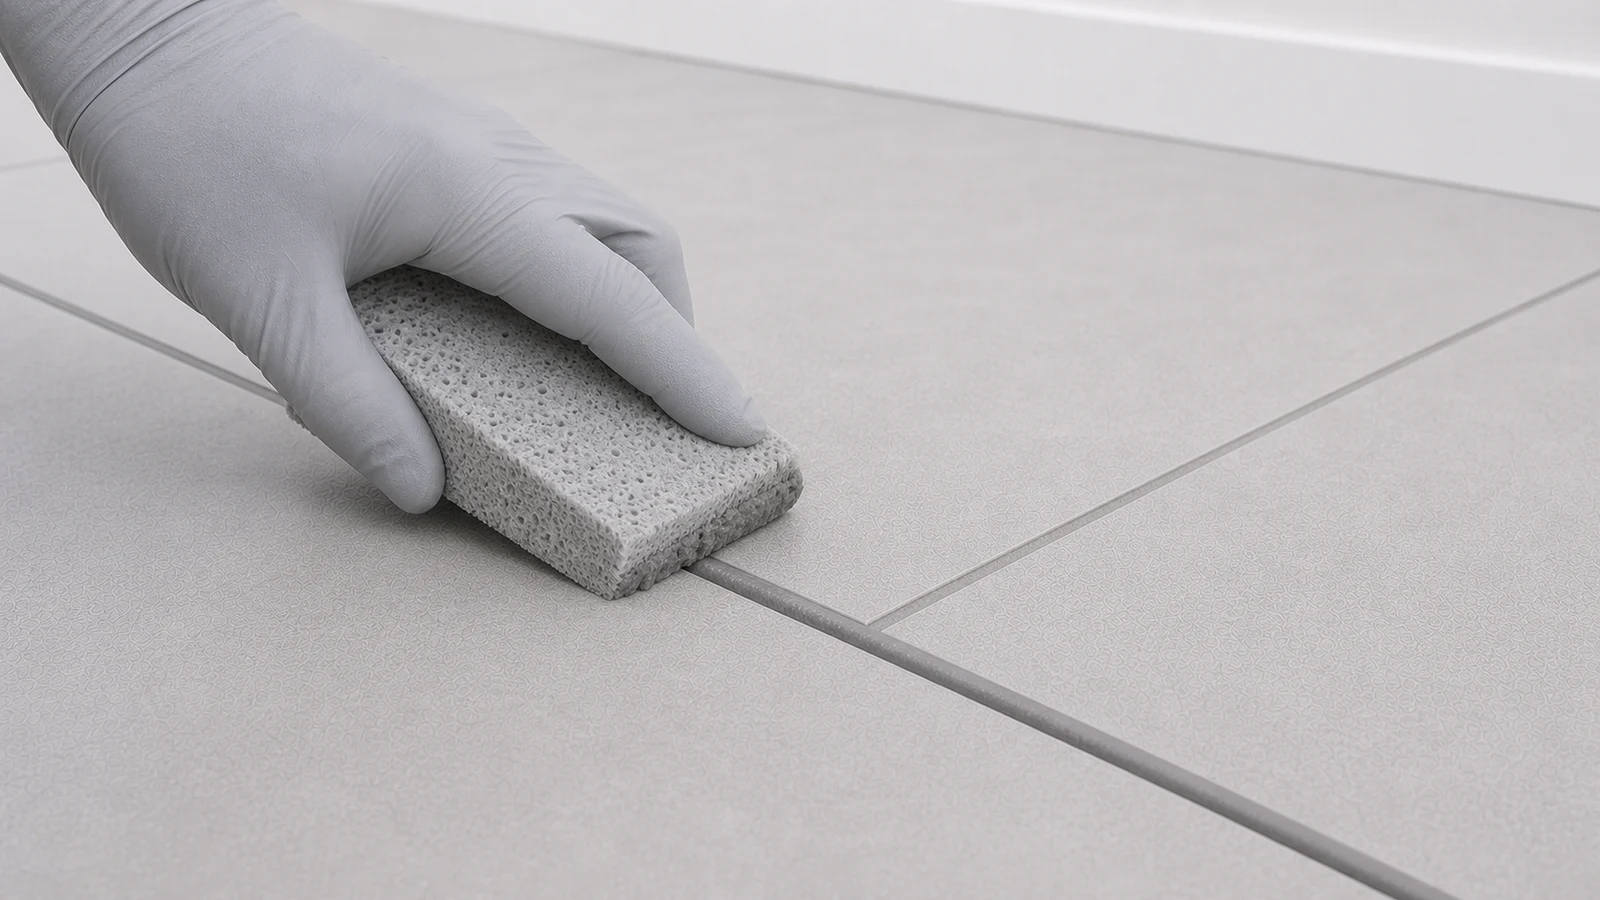
Step 06
Tool and smooth the grout flush with the tile
Begin cleanup at the exact time and with the sponge moisture specified by the grout maker. Use a lightly damp, non-abrasive sponge diagonally across the joint; never use a bare finger. Change rinse water frequently and stop if grout pulls out or the tile scratches or hazes.
Grout is flush and level with the tile surface
Excess grout is removed from the tile surface
The joint profile is consistent along its length
Tile surfaces are clean and free of grout haze
-
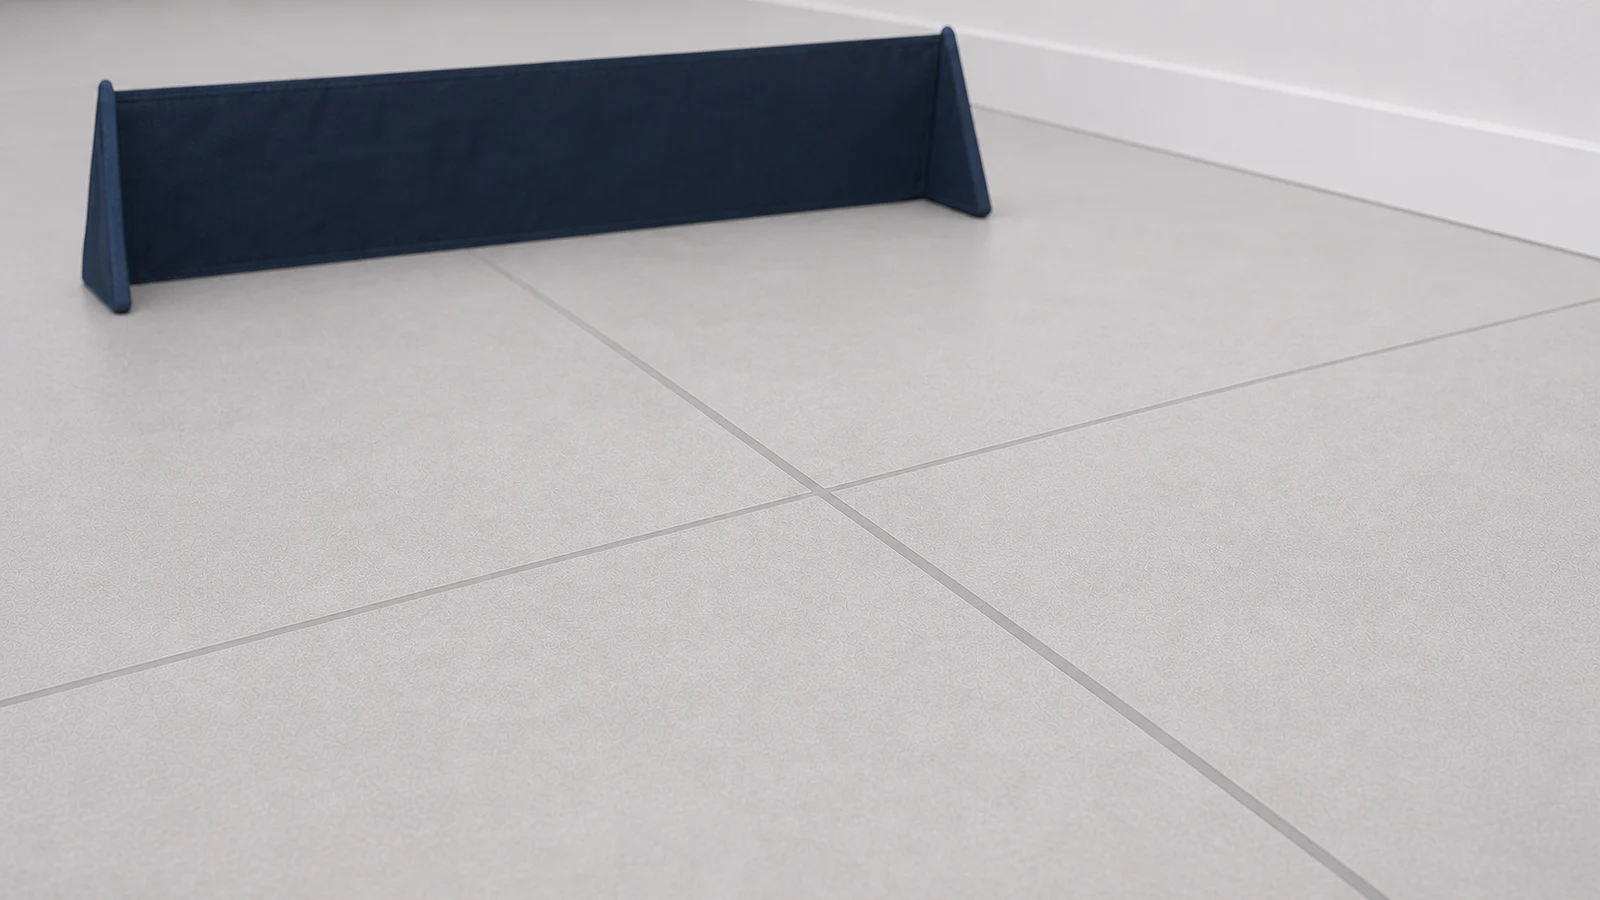
Step 07
Keep the area dry for the full cure period
Keep the repair dry and untouched for the full product-stated cure, which varies with grout and conditions. Do not quote a generic 24–48-hour window. Maintain only label-approved ventilation and inspect after cure; a new crack, softness, haze or dampness needs professional assessment.
No water or moisture contacts the joint
Area remains dry for the full cure period shown on the label
Grout is fully hard when cured and resists finger pressure
Finished result
What success looks like
A properly repaired grout joint will be flush with the tile surface, match the colour of surrounding grout, and feel hard and solid once fully cured.
Grout is level with the tile surface on both sides of the joint
Colour is consistent with adjacent original grout under your apartment's lighting
Joint resists finger pressure and shows no cracks or shrinkage after cure
Tile surface is clean and free of grout haze or residue
No water seepage or dampness is visible at the joint after 48 hours of normal use
Quick answers
Frequently asked questions.
Can you grout over old grout?
Do not skim generic grout over a shallow or crumbling joint. LATICRETE directs regrouting to remove at least half the existing joint depth back to sound material. The replacement grout must also be compatible. If you cannot create that depth without damaging tile or substrate, stop.
How long before new grout can get wet?
There is no universal wait. Grout chemistry, temperature, humidity and ventilation change cure time. Keep the repaired dry-wall joint untouched for the exact period in the selected product data sheet. This guide excludes showers and wet areas, so it never uses water exposure as a cure test.
What colour grout should I choose to match existing grout?
Use the original product record, spare material or a supplier match under the room's normal light. Colour alone is insufficient: grout chemistry and joint-width rating must also match. Hidden-test and fully cure a sample first. Stop if the product scratches, hazes or changes the tile finish.
What if the grout joint is deeper than a pre-mixed tube can fill?
Do not assume a tube has a universal depth or build the joint in improvised layers. Read the exact grout data sheet for permitted joint width, depth and substrate. If the existing joint falls outside that range, or sound material cannot be reached safely, ask a tile professional.
Sources and review notes
- LATICRETE: Cement Grouts Troubleshooting FAQ - Requires careful removal of at least half the existing joint depth back to sound grout before regrouting.
- MAPEI: Instructions for Tiling and Grouting with Premixed Grouts - Manufacturer instructions for sectional application, lightly damp sponge cleanup and keeping movement joints for compatible flexible sealant.