
DIY / Kitchen
How to Brighten Dark Grout on a Kitchen Backsplash Safely
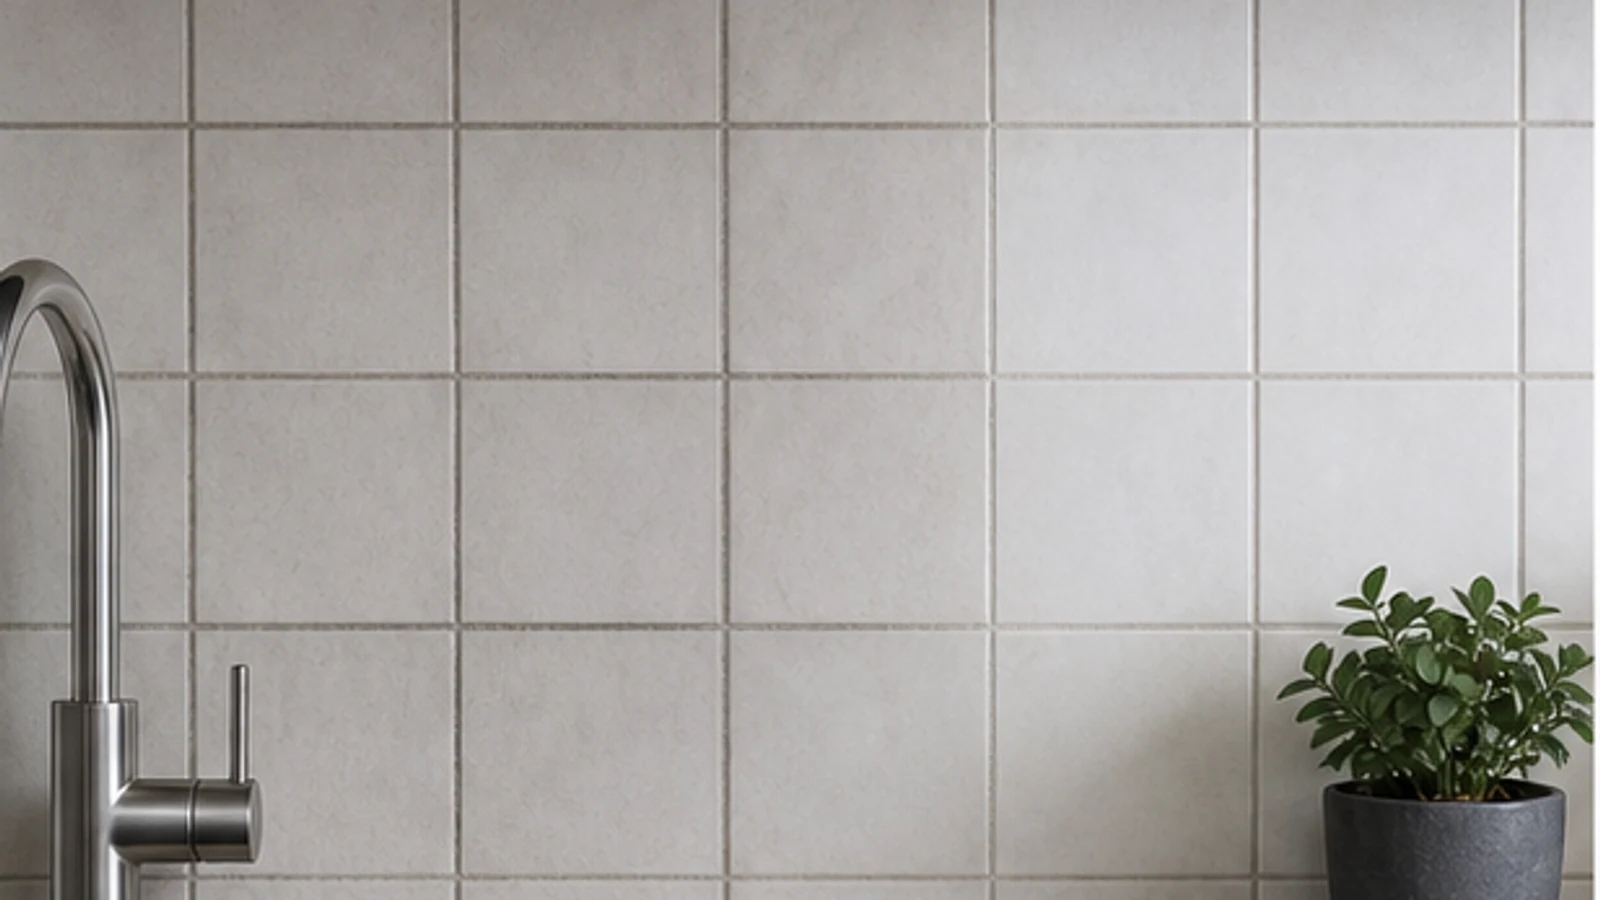
First determine whether the grout is dirty, naturally dark, damp or damaged. For intact grout, start with a pH-neutral cleaner specifically labelled for the identified tile and grout, using its dilution and contact time. Cleaning can remove surface soil but cannot turn a dark grout colour white; a compatible grout colourant is a separate cosmetic treatment for clean, dry, sound joints.
Quick answer
How do you whiten grout without bleach?
Identify the tile, grout and sealer, then use a pH-neutral cleaner labelled for all three. Apply it at the label dilution, agitate gently with a soft nylon brush, rinse fully and let the grout dry before judging the colour. If sound grout is still discoloured, use only a compatible labelled grout colourant and follow its preparation and cure instructions.
Sound cement, epoxy, urethane or acrylic grout when the chosen cleaner is labelled for that exact system / Glazed ceramic, porcelain or natural-stone backsplashes when the surface maker approves the cleaner
Unknown tile, grout or sealer / Cracked, loose, crumbling, powdery or persistently damp grout / Recurring dark growth or a musty odour / Natural stone unless its care guide approves the selected cleaner / Grout beside an unsealed electrical outlet or damaged caulk joint / Colourant over dirty, wet, nonporous or incompatible grout
What you need
What you need
Buy a pH-neutral cleaner labelled for the identified tile, grout and sealer. Do not improvise a peroxide, baking-soda, vinegar or bleach paste. A grout colourant is optional and must list the existing grout type as a compatible substrate.
- Difficulty
- Easy to Medium
- Active time
- 15–20 minutes
- Total time
- 30–60 minutes for cleaning, plus the colourant label's dry and cure time
pH-neutral tile-and-grout cleaner
Label dilution for about 1 m²
Clean water
1–2 litres for dilution and rinsing
Soft nylon grout brush
1
Two clean white cloths
2
Disposable gloves (latex or nitrile)
1 pair
Clean damp cloth or sponge
1
Compatible labelled grout colourant (optional)
1
Typical UAE retail ranges. Prices vary by pack and store, and your total is lower when you already own the reusable tools.
Step by step
How to Whiten Dark Grout on a Kitchen Backsplash
Identify every surface and product before starting. The cleaner label and the tile, grout and sealer care guides control the dilution, tools, contact time, rinsing and PPE.
-
Step 01
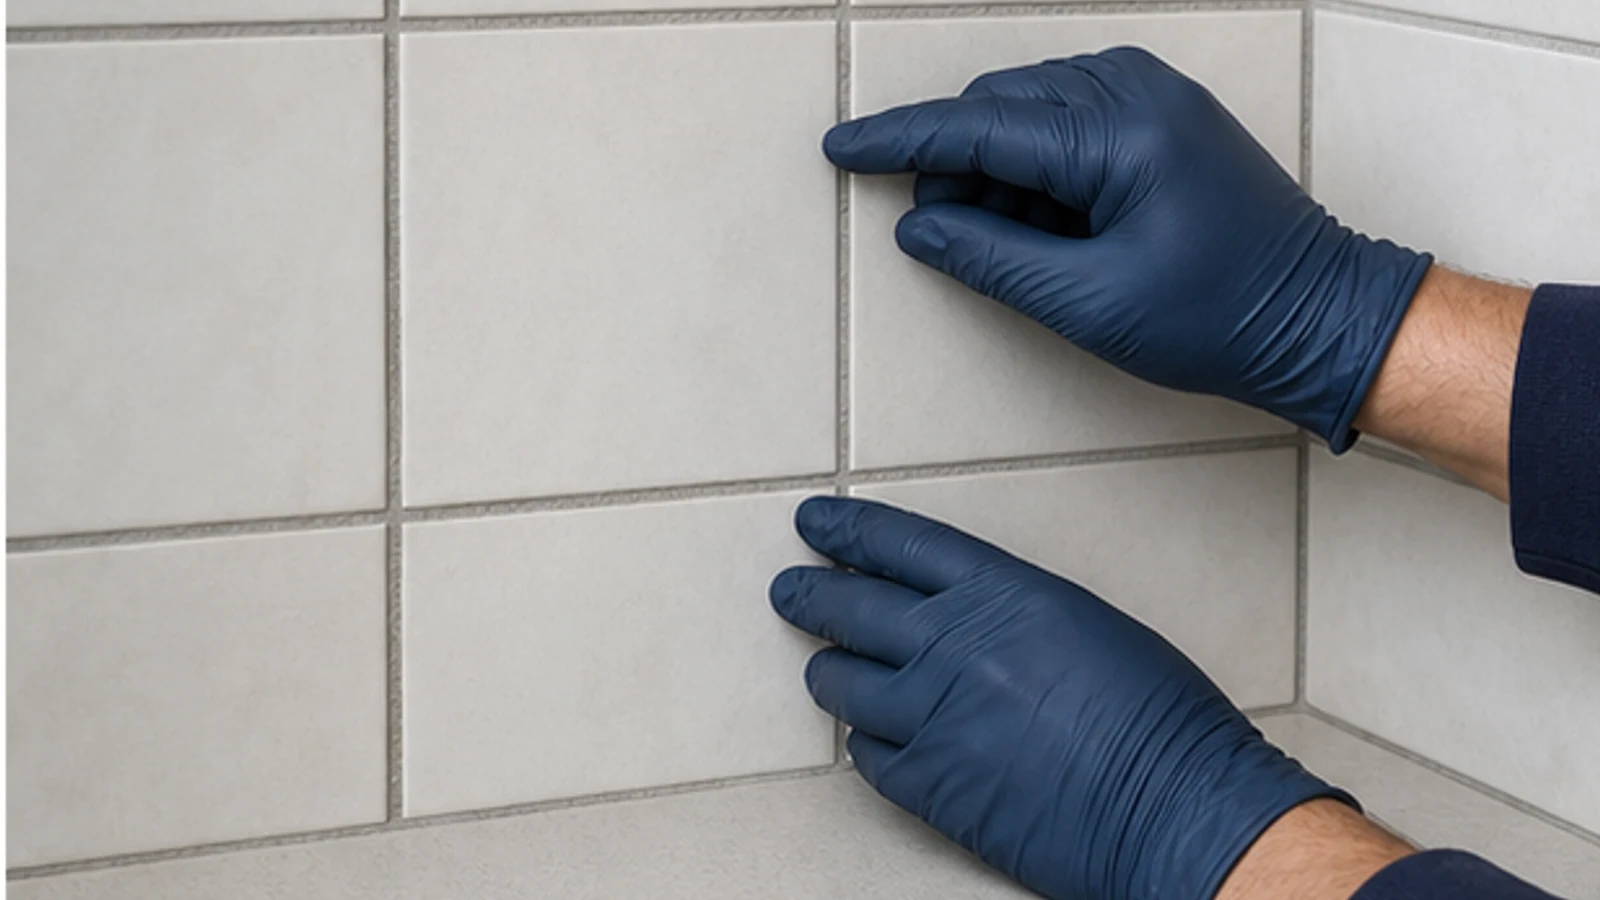
Identify the tile, grout and sealer
Check installation records, spare product bags or the landlord's handover documents. Determine whether the tile is ceramic, porcelain or natural stone and whether the grout is cement, epoxy, urethane or acrylic. If any surface is unknown, ask the supplier before choosing a cleaner. Do not scratch the grout as a test.
Tile, grout and any sealer have been identified
Cleaner label lists every installed surface
No cracks, loose tile, crumbling grout or persistent dampness are present
-
Step 02
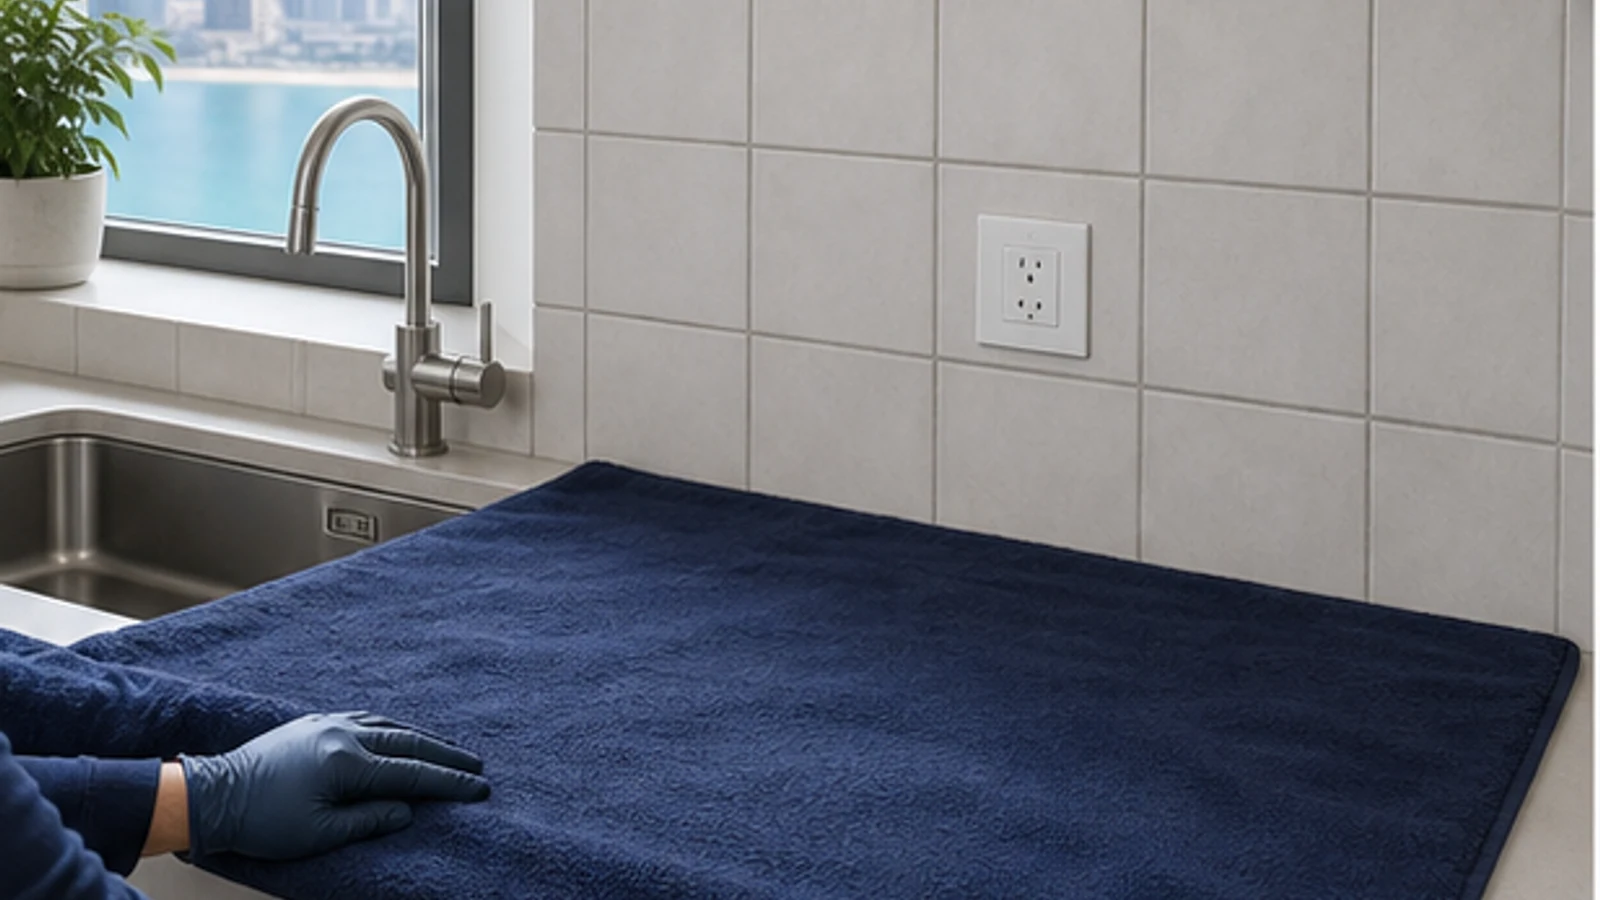
Protect the work area and follow the label PPE
Remove uncovered food and small appliances from the counter. Keep cleaner away from sockets, switches and damaged caulk. Open a window if the label requests ventilation, wear its specified gloves and eye protection, and protect the countertop with a clean towel that is compatible with its finish.
Food and appliances are outside the splash zone
Electrical openings and the countertop are protected
Label-specified PPE and ventilation are in place
-
Step 03
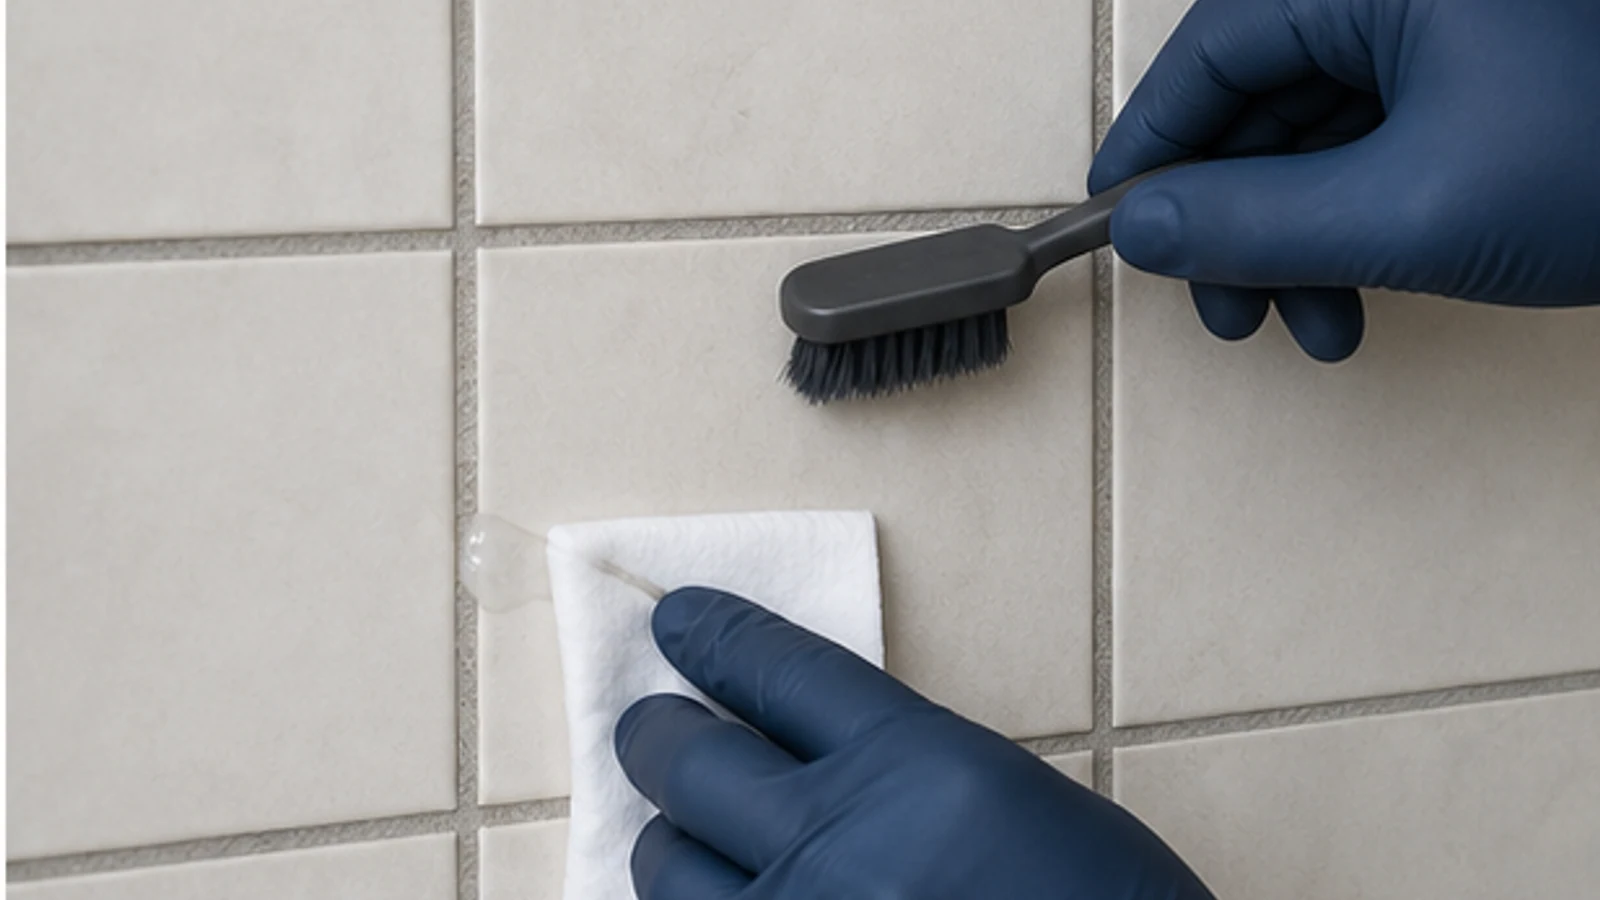
Remove dry soil and patch-test the labelled cleaner
Lift loose dust and crumbs with a dry soft brush or cloth. Prepare the pH-neutral cleaner exactly at the label dilution. Apply it to one inconspicuous joint, agitate only with the permitted soft tool, rinse and let the area dry. Stop for colour loss, softening, haze or a change in sheen.
Loose grit has been removed without scratching
Cleaner is diluted exactly as labelled
The dry patch test shows no surface or colour change
-
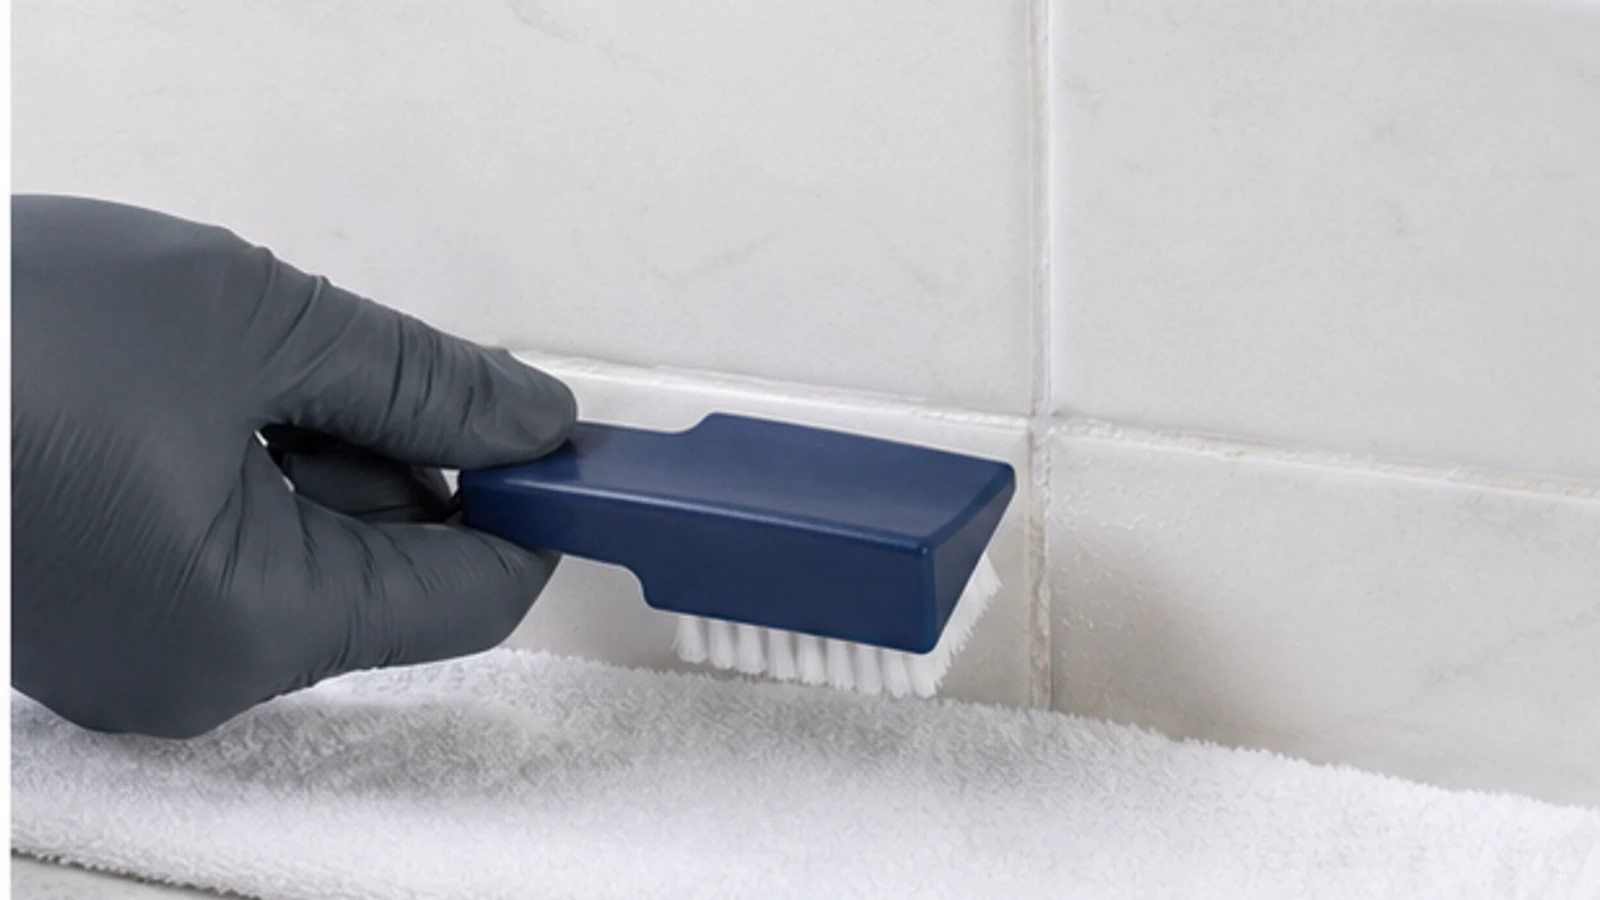
Step 04
Clean one small section at a time
Dampen a white cloth or soft nylon grout brush with the prepared cleaner instead of spraying the wall. Apply it to a 20–30 cm section and agitate lightly along the joint. Keep runoff away from sockets, seams and the counter edge. Do not use a metal brush, abrasive pad or powered scrubber.
Only a small controlled section is wet
The soft tool stays on the grout without scratching tile
No cleaner reaches an electrical opening or unapproved surface
-
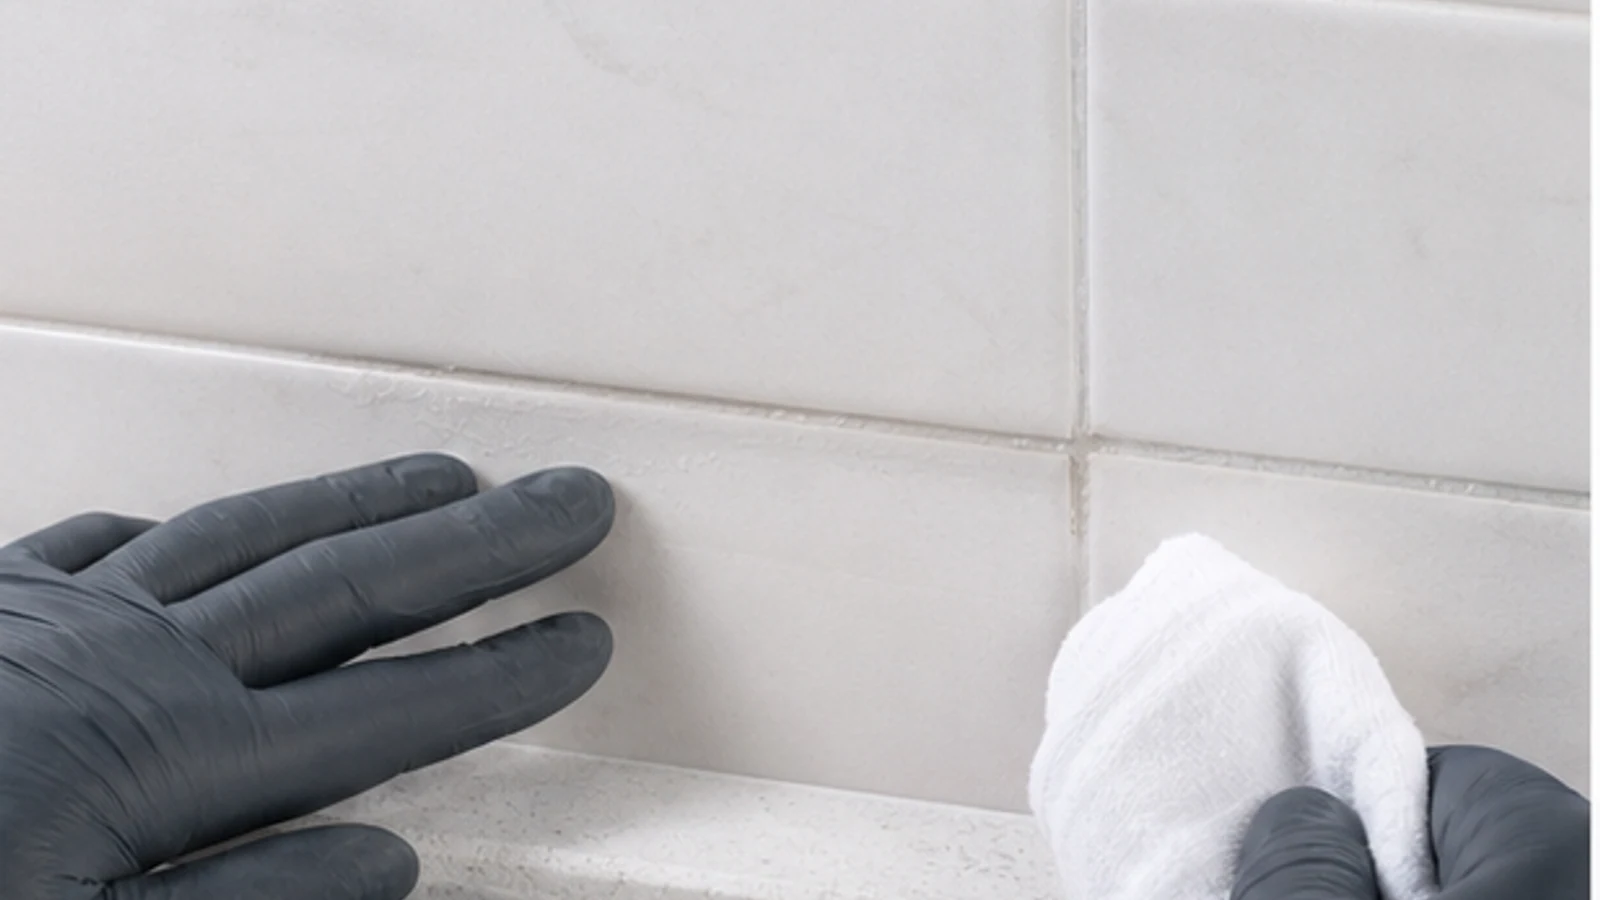
Step 05
Use only the label contact time
Leave the cleaner on the section only for the label's stated contact time and do not let it dry unless the instructions specifically say otherwise. Do not mist it with another product or add more concentrate. Wipe it off early if grout softens or either surface changes colour or sheen.
A timer is set to the product's stated contact time
Cleaner has not dried or spread beyond the test section
No material change is visible
-
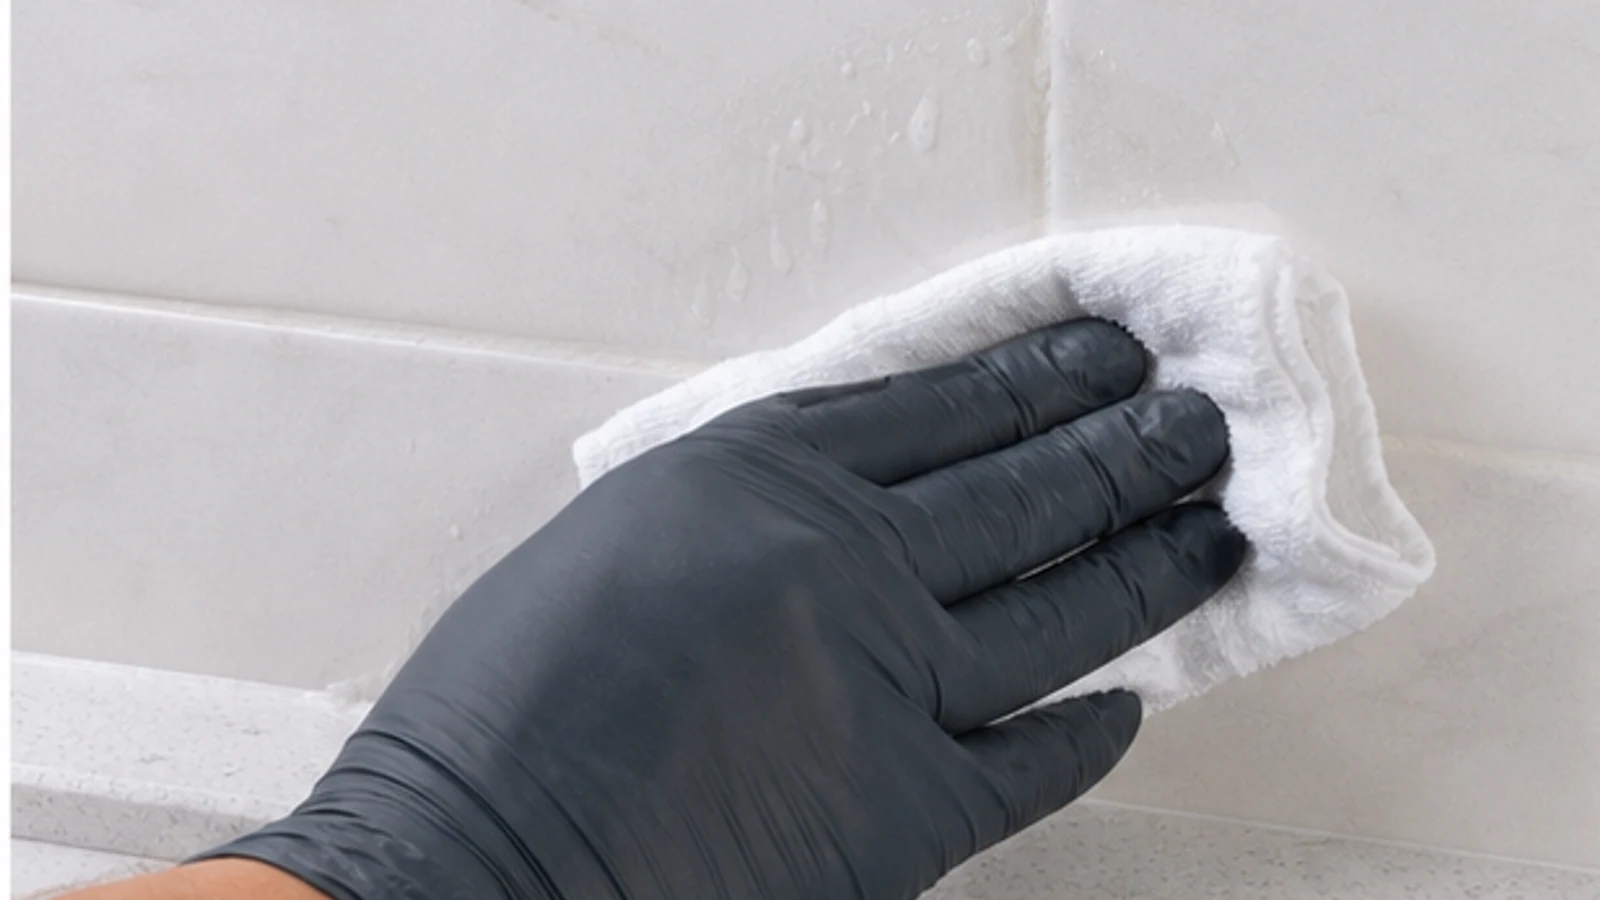
Step 06
Rinse every section completely
At the end of the label time, wipe with a clean cloth dampened only with water. Rinse the cloth often and repeat until no cleaner or foam remains on tile or grout. Use little enough water that it cannot enter outlets, open joints or the wall. Repeat the process on the next section.
No cleaner residue or foam remains
Rinse water stays away from electrical and open joints
Grout remains firm and tiles retain their original sheen
-
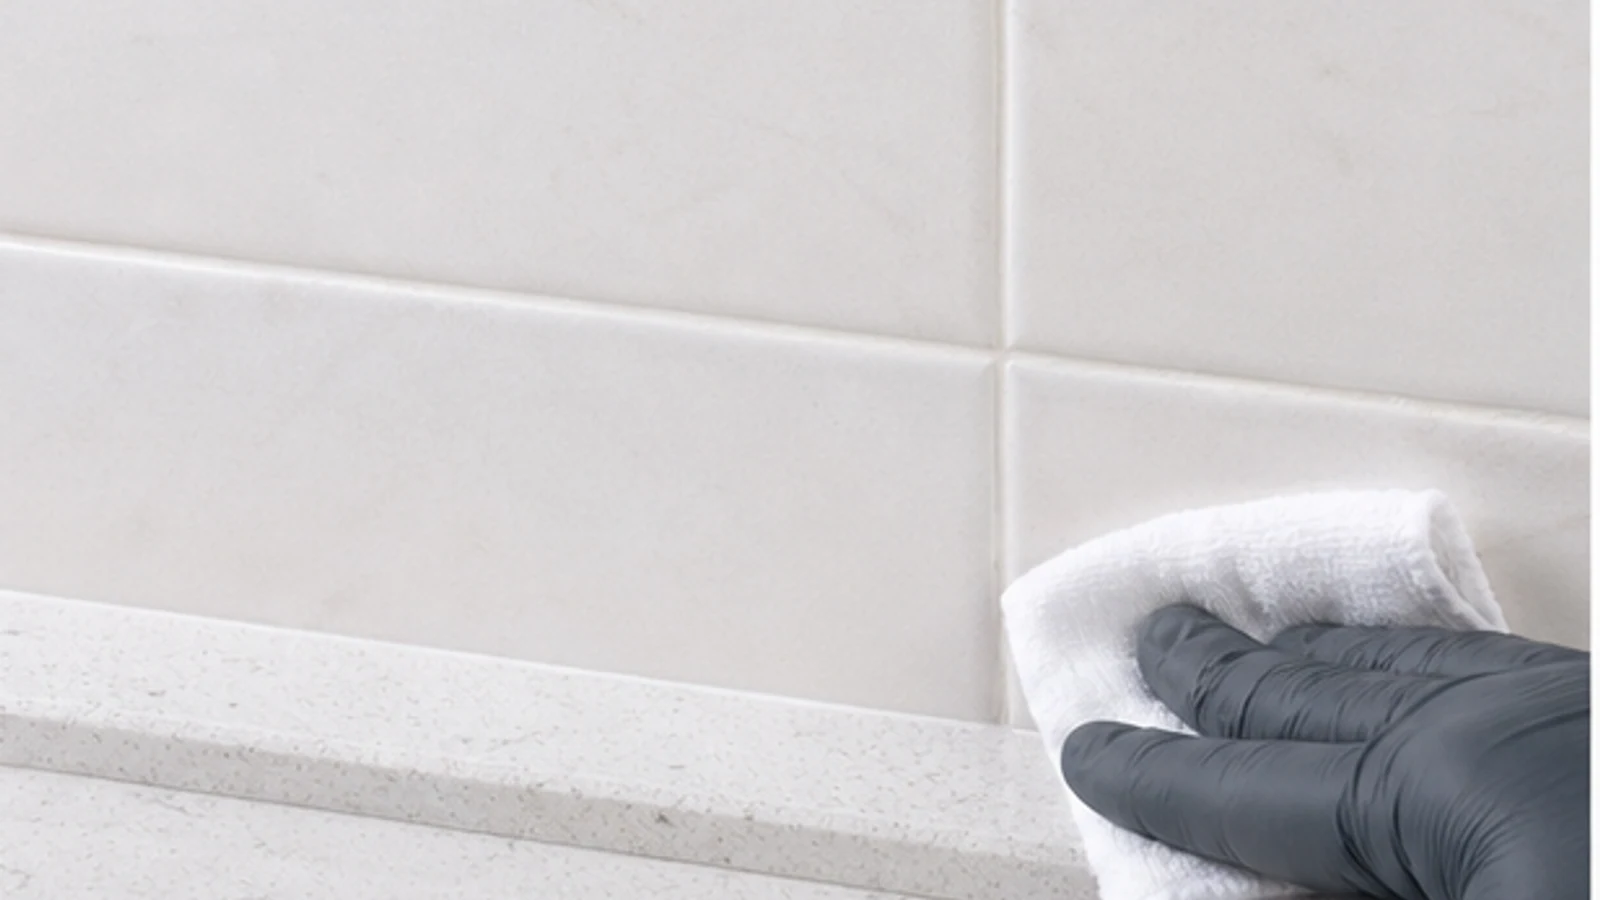
Step 07
Dry fully before judging the colour
Blot the backsplash with a clean dry cloth and let the grout dry for the period stated by its manufacturer before comparing colour; wet grout naturally looks darker. If sound, fully dry grout remains uneven, consider a colourant only after confirming product compatibility, porosity, preparation, PPE and cure instructions from its current technical data sheet.
All visible moisture has been removed from the backsplash
Grout has dried for the manufacturer-required period
The original grout colour is distinguished from removable soil
Finished result
What success looks like
Successful cleaning removes surface soil without changing or weakening the installed materials.
Grout is as clean as its original colour and condition allow
Loose surface grime and cooking residue are no longer visible
Tiles are clean and dry with no residue
Grout is intact—no cracks, crumbling or soft patches visible
Troubleshooting
When the first pass does not solve it.
Grout remains visibly dark after cleaning and rinsing
Staining may be deep, embedded or caused by a coloured dye in the original grout mix rather than surface grime.
Let the grout dry for the manufacturer's full assessment period and compare it with an installation record or hidden joint. If it is sound but permanently discoloured, use only a compatible labelled colourant after completing its required preparation and porosity checks.
Quick answers
Frequently asked questions.
How do you whiten grout without bleach?
Use a pH-neutral cleaner labelled for the identified tile, grout and sealer. Follow its dilution and contact time, agitate with a permitted soft nylon brush, rinse completely and let the joint dry before assessing colour. Household peroxide and baking-soda recipes are not universally compatible with grout, sealer or adjacent stone.
Do grout pens actually last?
A labelled grout colourant can refresh compatible, sound grout, but performance depends on substrate, preparation, coat thickness, cure and cleaning routine. Do not rely on a lifespan claim. Read the technical data sheet and warranty, test a joint, and never use colourant to conceal dampness, mould, cracks or crumbling grout.
Why does grout turn dark?
Grout can look darker because it is wet, soiled, stained, pigmented or affected by installation conditions. Recurring dark patches may indicate moisture or biological growth. Let a cleaned test area dry fully before deciding. Do not bleach or colour over a joint that is damp, musty, cracked, soft or discoloured.
Is baking soda and hydrogen peroxide safe for tile grout?
Do not assume so. Compatibility depends on the tile, grout, pigment and sealer, and a hidden test cannot replace their care instructions. Use a cleaner labelled for every installed material. Never mix household cleaners. Natural stone and sealed grout especially require their manufacturers' approved products and application limits.
Sources and review notes
- LATICRETE Cement Grout Care and Maintenance - Manufacturer guidance for pH-neutral routine cleaning and material-specific stain treatment.
- LATICRETE Ceramic and Porcelain Tile Care - Manufacturer care limits for tile, grout and sealer, including unsuitable household cleaners.
- MAPEI UltraCare Grout Refresh Technical Data Sheet - Primary product instructions for compatible substrates, preparation, application, PPE and cure.